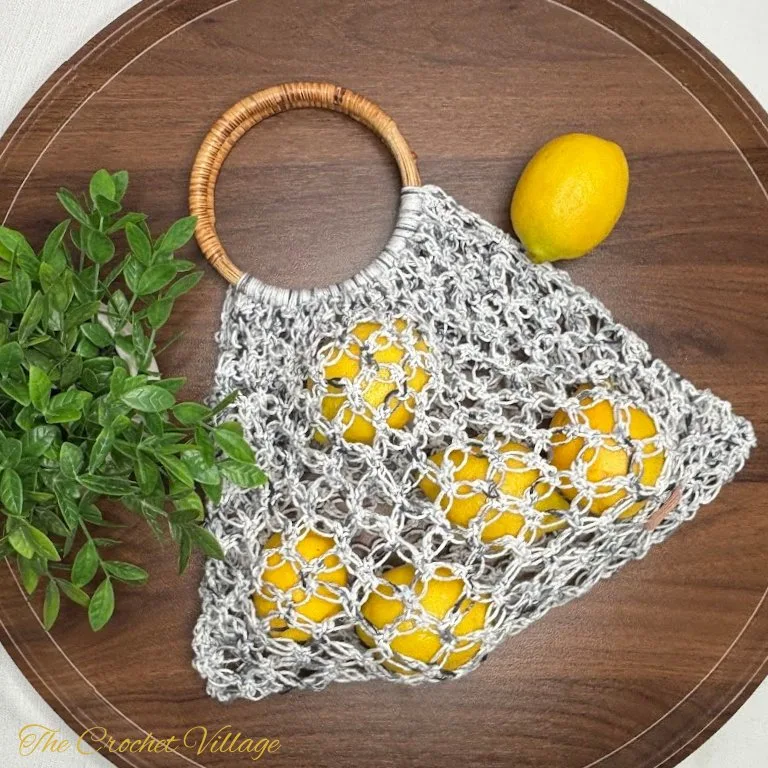
Want to crochet a reusable bag that’s both pretty and practical for your trips to the market? You’ve got to try The Evergreen Market Bag pattern. Made with the Solomon’s Knot stitch, it’s easy and fun to work up, stretchy yet strong enough to carry all your fruits and veggies. The wooden handles make it comfortable to carry, even when it’s full. It’s the perfect way to skip plastic and create a handmade bag you’ll love to use again and again.
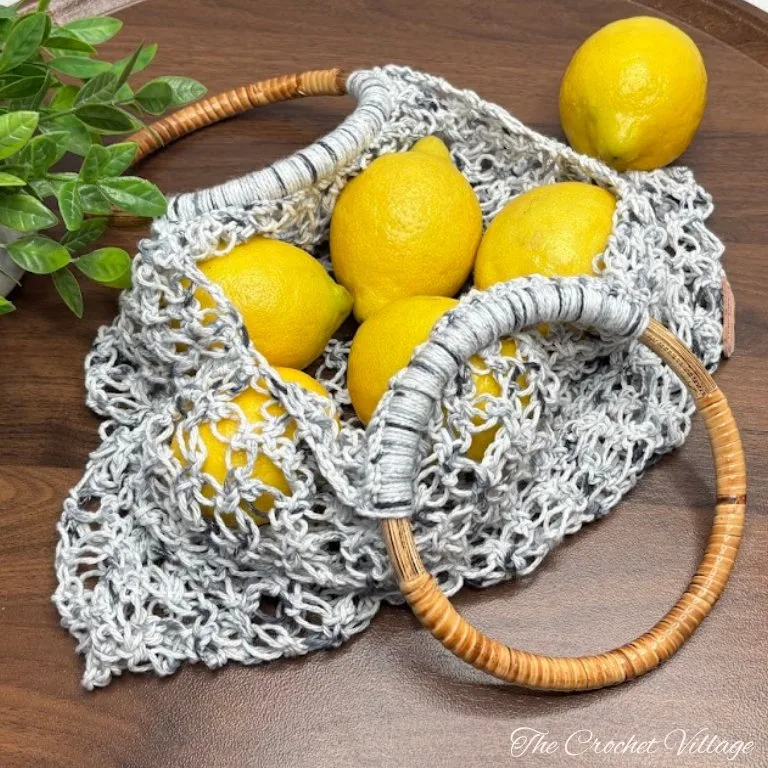
Say hello to The Evergreen Market Bag—a free crochet market bag pattern that’s both beautiful and practical! 🌿
This stylish produce bag features the lovely Solomon’s Knot stitch — also known as the Lover’s Knot, Hailstone Stitch, or Love Knot. It’s a pretty and interesting stitch that creates a strong, lacy mesh fabric, perfect for holding fruits, veggies, and all your market goodies! What makes this fruit bag extra special is how it stretches to carry your groceries, then gently bounces back to its original shape after use.
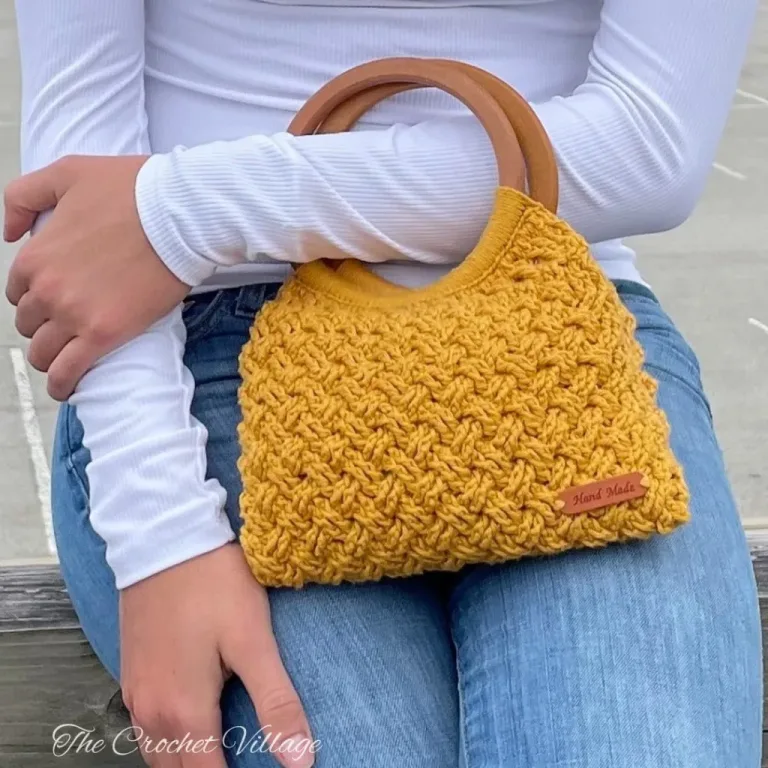
One of the standout features of this handmade market tote is the round wooden handles. They provide a comfortable grip and make the bag easy to carry, even when it’s filled with heavy groceries. These handles are practical and add a stylish touch to your reusable shopping bag.
Whether you’re heading to the farmers market or just need a stylish reusable produce tote, this crochet market bag is a must-try.
Keep reading to find the free pattern, or if you prefer a printable add-free PDF, you can find it on Etsy, Ravelry, and my online store!
Related: How to photograph crochet items
Before we start this Free Crochet market Tote Pattern
Free Crochet Solomon’s Knot Market Bag Pattern – Start Here
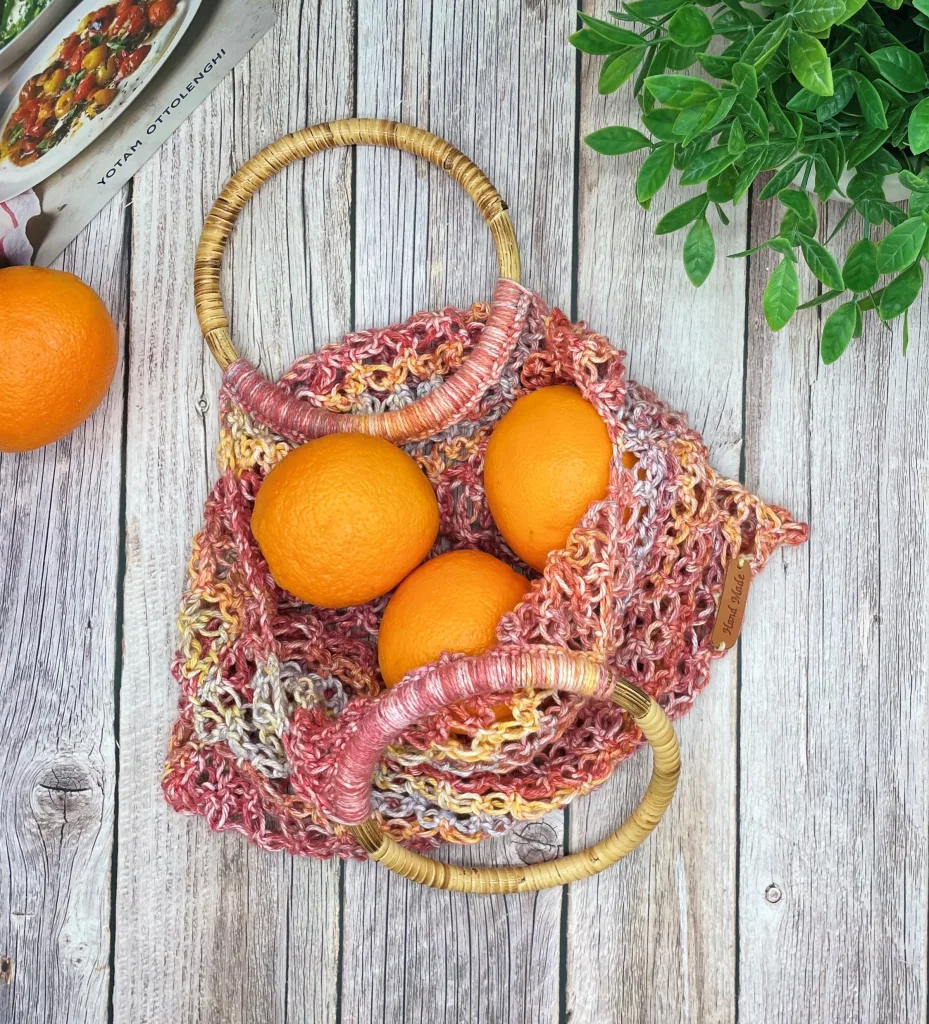
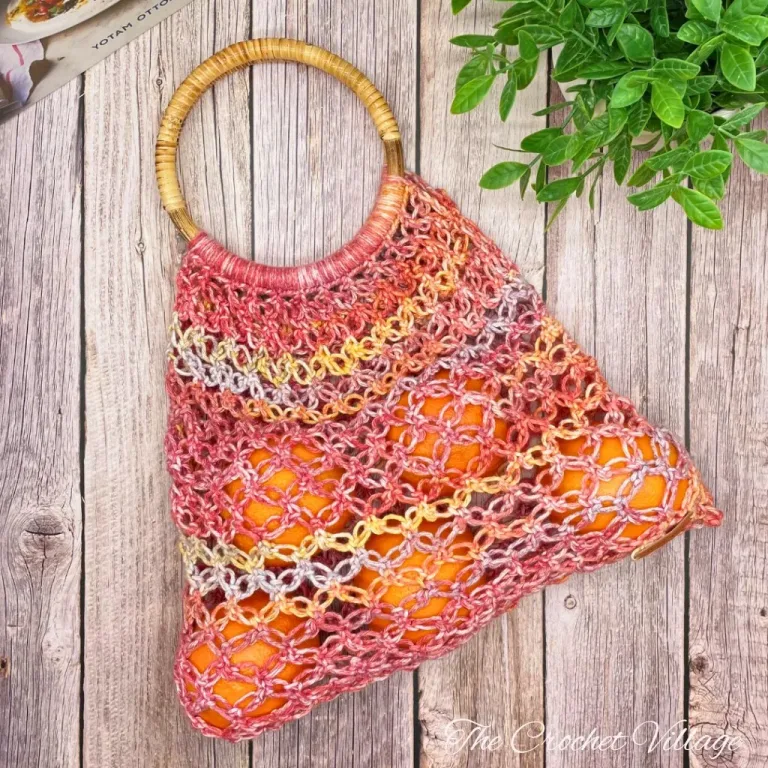
Recommended Yarn: 🧶I Love This Cotton Yarn #4 worsted weight yarn,100% cotton. Color shown: Harvest
Yardage: About 153 yards (1 skein)
Yarn Substitution
Crochet Hook: (H) 5mm hook
Other Materials
- Faux leather tag
- 2 Wooden rings
- Tapestry needle: to weave in ends.
Gauge: 4” square = 6 rows and 3 SK
Finished Dimensions: Height=13“ x Width=15”
Abbreviations
- CH: Chain
- ST: Stitch
- SL ST: Slip stitch
- SC: Single crochet
- TR: Treble
- SK: Solomon’s Knot
- YO: Yarn over
- RS: Right side
- WS: Wrong Side
- Rep: Repeat
Pattern Notes
- This pattern is written in US terms.
- The skill level is intermediate.
- The bag is crocheted in rows using the Solomon’s Knot Stitch. If you are not familiar with this stitch, I recommend that you practice a little before you start this project.
How to crochet the Solomon’s Knot Stitch
Free Crochet Market Bag Pattern-Solomon’s Knot
In this free crochet Solomon’s Knot Market Bag pattern, I’ll walk you through each step to create a beautiful and functional crochet shopping tote with sturdy round wooden handles.
If you prefer a print-friendly, ad-free PDF, a premium version of the full tutorial set is available for a small fee in all my shops (linked below).
Prefer A Printable PDF?
Treat yourself to the ad-free, beautifully formatted version of this design for a small fee!
Step 1 – Attach the 1st handle
Row 1: (RS) Make a slip knot, then SC around the 1st handle as follows: *slide the crochet hook inside the handle, place the yarn over the handle, YO, slide back the hook forward, YO, pull through both loops,* rep *to* 55 more times, then turn. (56 SC)
Step 2 – Crochet the bag
Row 2: (WS) SC in 1st ST, 2 SK (on top of the SC you just made), *skip next 4 ST, SC in next ST, 2 SK (on top of the SC you just made), * rep *to* across ending with SC in last ST, turn.
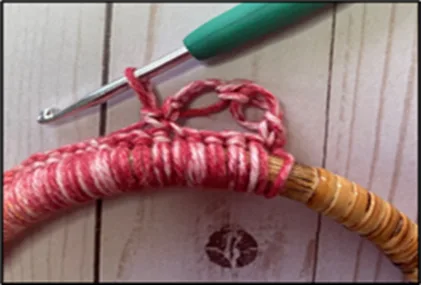
Row 3: (RS) CH4, SC in 2nd CH from hook, 1SK, SC in the SC at the center of the next Solomon’s Knot “pair”, *2 SK, SC in the SC at the center of the next Solomon’s Knot “pair”,* rep *to* across ending with SC in the SC at the center of the last Solomon’s Knot “pair”, 1 SK, TR in the last SC, turn.
Row 4: (WS) SC in the TR, *2 SK (on top of the TR), SC in the SC at the center of the next Solomon’s Knot “pair”,* rep *to* across ending with a SC in the last SC at the top of CH4, CH4, turn.
Row 5 – 29: Rep Row 3-4 (about 23” long or crochet to the desired length). At the end of the last row, turn and then attach the 2nd handle.
Step 3 – Attach the 2nd handle
Row 30: (WS) Insert the hook in the TR, slide the crochet hook inside the 2nd handle, place the yarn over the handle, YO, slide back the hook forward through the TR, YO, pull through both loop,*4 SC around the handle, insert the hook in the SC at the center of the next Solomon’s Knot “pair”, slide the crochet hook inside the handle, place the yarn over the handle, YO, slide back the hook forward through the SC, YO, pull through both loop,* rep *to* to end, finish with insert the hook in the last SC( at the top of the CH 4, SC around the handle, fasten off.
Step 4 – Finish the bag
- Fold the bag in half, the wrong side facing outward.
- Align the handles and the sides.
- Place 1 stitch marker on each side about 3” away from the handle (grab both panels).
- With a tapestry needle and the yarn, sew the sides together to close the bag one stitch at a time until you get to the stitch marker (make sure your stitches are not tight).
- Leave the 3” at the top unsewed on both sides for an easy opening.
- Fasten off. Weave in all ends, and you are all done!
I offer full support to help you with any questions or challenges you might have. Feel free to drop your comments in the section below or join our Facebook group, where I, along with my wonderful testers and community members, will be more than happy to assist you!