
If you love the look of a two-color blanket but not the pile of ends to weave in — this one’s for you.
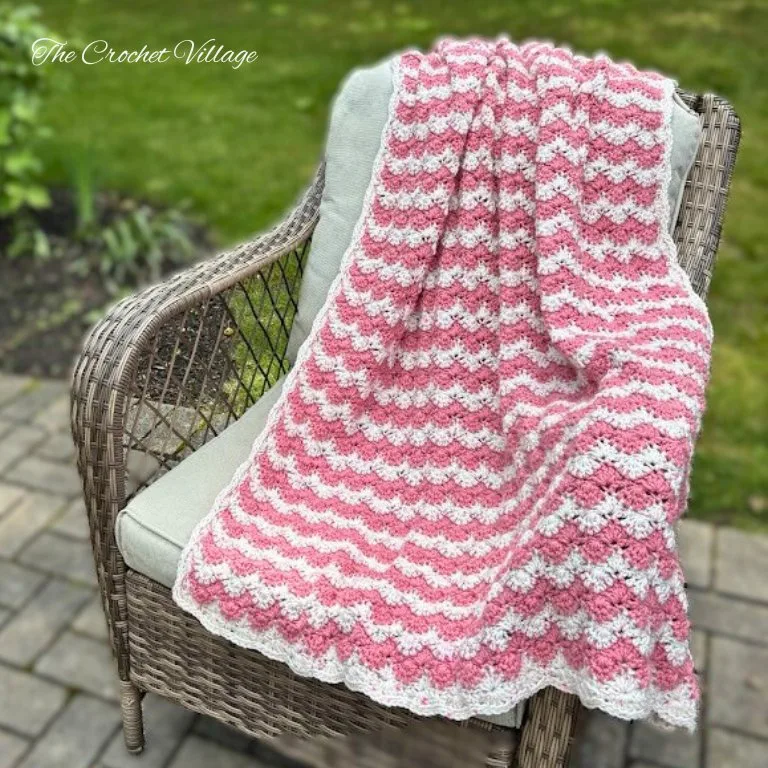
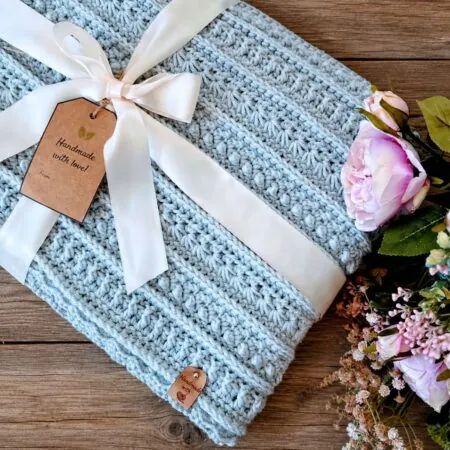
Today I’m sharing the Magnolia Blanket, a free crochet lap blanket pattern built on a soft, sculpted starburst stitch that looks far more complicated than it is. The whole blanket is a simple 2-row repeat, so once you’ve worked through the first few rows, it becomes the kind of project you can crochet on the couch with a show on in the background.

This beginner-friendly pattern works beautifully with any of your favorite #4 worsted-weight yarns and is finished with a delicate shell border that complements the design perfectly. And here’s my favorite part: there are no ends to weave in. The two colors carry up the side seamlessly, so when you fasten off, you’re genuinely finished.
This blanket is one of my all-time favorites — I just love the look, the feel, and how easy it is to make. It’s also incredibly simple to customize, and the color options are endless.
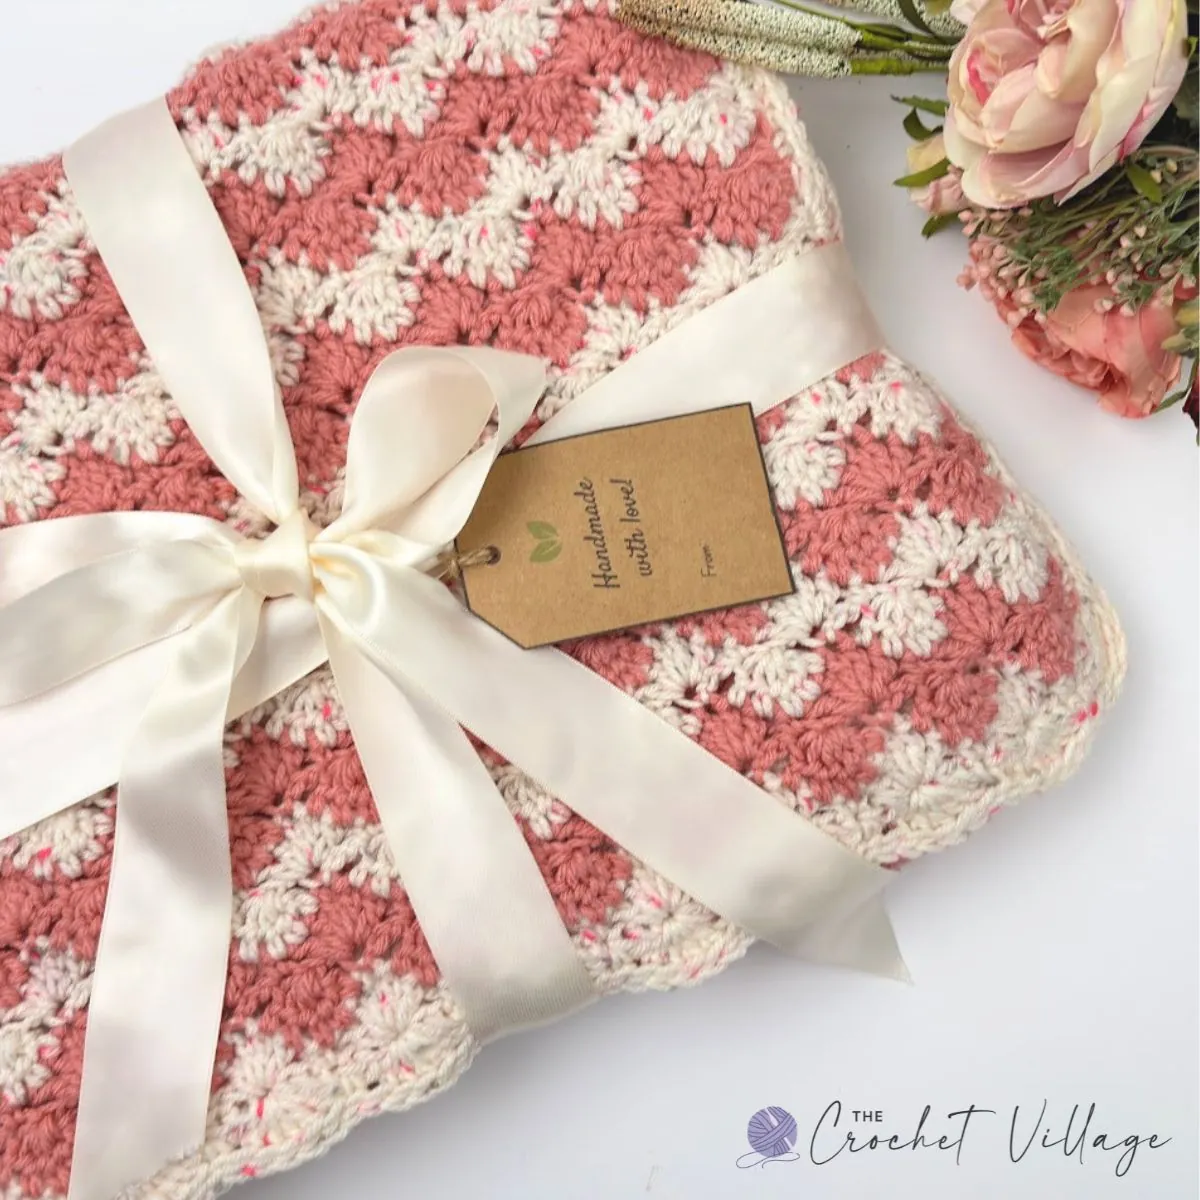
I made this Magnolia lapghan for my mom after her surgery, using her favorite colors to lift her spirits, brighten her room, and keep her cozy. She loved it. I truly enjoyed making it, and I’m sure you will too! 💕
Related: How to photograph crochet items
Magnolia Blanket Sizes: From Stroller to King
The Magnolia Blanket is written in eight sizes — Stroller, Receiving, Toddler, Lapghan, Throw, Twin, Queen, and King — so you can make everything from a sweet baby blanket to a full king size bedspread.
The free pattern below is written for the Lapghan size: 36″ wide and 46″ long. It’s a generous, cozy size that’s perfect for the sofa, and it’s a great way to try the stitch before committing to a bigger project.
If you’d like all eight sizes — plus a beautifuly formated, printable, ad-free PDF — the premium version has you covered.
Prefer A Printable PDF?
Treat yourself to the ad-free, beautifully formatted version of this design for a small fee!
Free Crochet Lap Blanket Pattern – Start Here
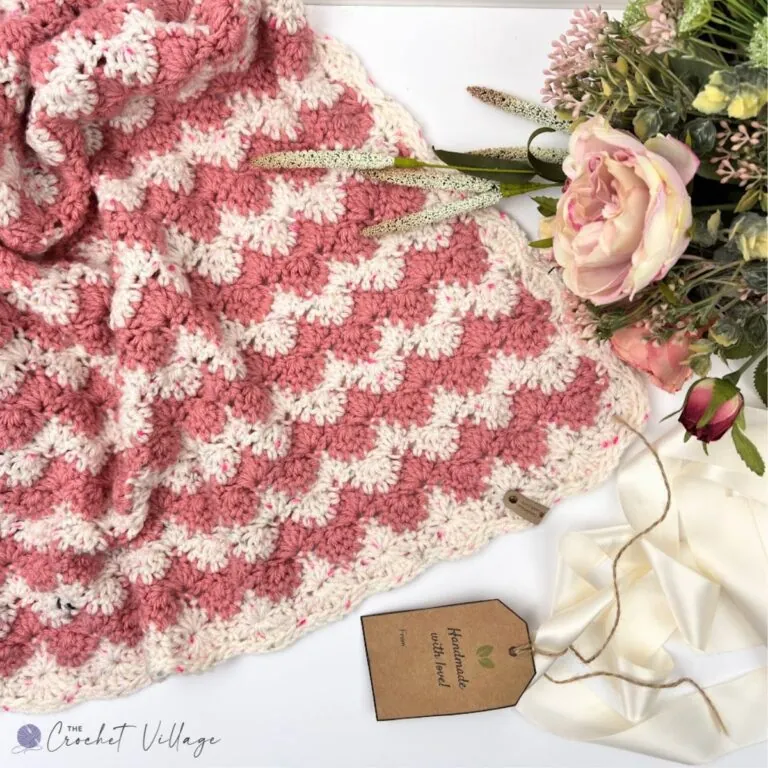
Recommended Yarn: Any worsted weight (#4) yarn in 2 or more colors. I used:
- I Love This Yarn Print, #4 worsted weight yarn. Color shown: Crushed Raspberry: Yarn A
- Big Twist Value, #4 worsted weight yarn. Color shown: Cosmetic Pink: Yarn B.
Yarn Substitution
Yardage
- Yarn A: 710 yds
- Yarn B: 849 yds
Crochet Hook: 6.5 mm
Gauge: 4” square = 8 rows x 13 ST (If you crochet a sample of 26 ST using the pattern’s stitch, it should measure about 8” in width.)
Abbreviation
- CH: Chain
- ST: Stitch
- SL ST: Slip stitch
- SC: Single crochet
- DC: Double crochet
- BLO: Back loop only
- DC5tog: 5 double crochets together
- SP: Space
- SK: Skip
- YO: Yarn over
- Rnd: Round
- Rep: Repeat
Finished Measurements: 46” in length and 36″ in width.

Pattern Notes
- This pattern is written in US terms.
- Skill level: Easy to intermediate.
Special Stitches
- Chainless single crochet foundation: Slip knot and CH 2, insert your hook into the 1st CH, *YO and pull up a loop (two loops on the hook). YO and pull through one loop (this forms the “chain” part of the foundation). YO and pull through two loops to complete the first SC.* For the next stitch, insert your hook into the “chain” part of the previous stitch, and repeat *to*. Watch here
- DC5tog: YO, insert hook in ST, YO, and pull up a loop (3 loops on hook). YO, pull through 2 loops (2 loops left). Repeat this 4 more times over the next 4 stitches — you’ll have 6 loops on the hook. YO, pull through all 6 loops to complete the 5-dc cluster.
How to change colors
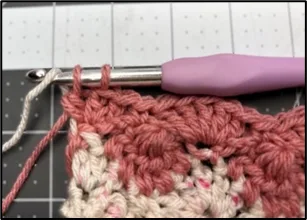
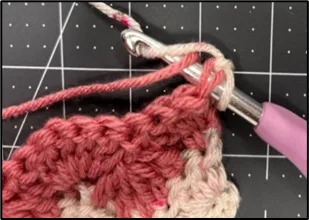
Change colors at the end of the row, no need to cut the yarn—carry it up the side like this:
- In the last ST, YO with the working yarn and insert your hook. Pull up a loop (3 loops on the hook). YO with the working yarn, going under the contrast yarn, and pull through 2 loops (Pic 1).
- YO with the contrast yarn and pull through the last 2 loops to finish the stitch (Pic 2)
- Turn your work. Insert your hook in the first stitch. YO with the contrast yarn, going under the working yarn (Pic 3). Complete the stitch and drop the working yarn. Keep your tension a little loose when you change colors.

Step 1 – Crochet the blanket
With Yarn A, work a 121-stitch SC chainless foundation.
Row 1: CH 3, then work 2 DC in the same ST.*Skip the next 2 STS, SC in the next ST, skip the next 2 STS, 5 DC in the next ST; repeat from * across until 6 STS remain. Skip the next 2 STS, SC in the next ST; skip the next 2 STS, 3 DC in the last ST. Change to Yarn B in the last DC and drop Yarn A. CH 1 and turn.
Row 2: With Yarn B, SC in the first ST, crocheting over Yarn A in that first ST. See the color-change note on the previous page. *CH 2, DC5TOG, CH 2, SC in the next ST; repeat from * across. CH 3 and turn.
Row 3: With Yarn B, work 2 DC in the first ST. *Skip the next 2 CH, SC in the next ST, skip the next 2 CH, 5 DC in the next ST; repeat from * across, ending with 3 DC in the last ST. Change to Yarn A in the last ST and drop Yarn B. CH 1 and turn.
Rows 4–96: Repeat Rows 2–3, alternating Yarn A and Yarn B every 2 rows. At the end of the last row. Turn. Continue with the border.
Note: A full photo tutorial is available in the premium version of the pattern
Note: Row 1 and Row 96 are each worked as a single row in Yarn A, so the blanket begins and ends with Yarn A. Fasten off Yarn B and weave in the end before beginning the border.

Step 2 – Crochet the border
Rnd 1: With Yarn A still on your hook, CH 3 — this counts as the first DC — and work 2 DC in the first ST. This is half of the first corner shell; you will complete it at the end of the round.
- Across the top edge: *Skip the next 2 CH, SC in the next ST, skip the next 2 CH, 5 DC in the next ST; repeat from [to] across, ending with SC in the last ST. Work 6 DC in the corner.
- Down the side edge: *Skip the next row, SC in the next row, skip the next row, 5 DC in the next row; repeat from * to the corner. Work 6 DC in the corner.
- Along the foundation edge: *Skip the next 2 STS, SC in the next ST, skip the next 2 STS, 5 DC in the next ST; repeat from * to the corner. Work 6 DC in the corner.
- Up the side edge: Work as for Down the side edge, repeating from * to the corner. Work 3 DC in the corner, already holding 3 DC. Join with a SL ST to the first DC. CH 1 and do not turn.
Rnd 2: Working loosely, SL ST BLO in each ST around. Join with a SL ST to the first ST.
Fasten off, weave in all ends and you are all done!
I offer full support to help you with any questions or challenges you might have. Feel free to drop your comments in the section below or join our Facebook group, where I, along with my wonderful testers and community members, will be more than happy to assist you!



Good day
I love this beautiful pattern!
Thank you so much! Enjoy 🙂
Thank-You, Thank-You, Thank-You for an absolutely Beautiful pattern!
You’re so very welcome! I’m so happy you love the pattern.