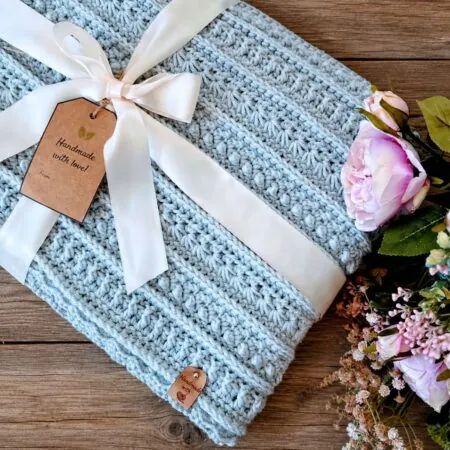
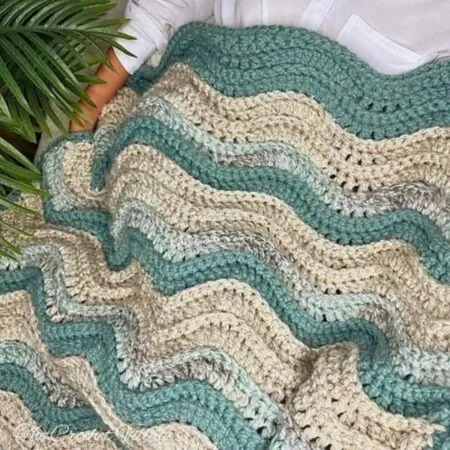
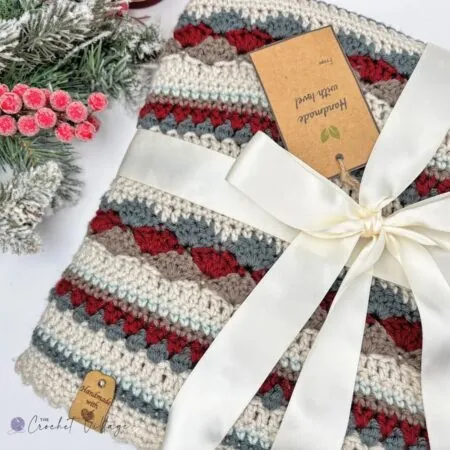
Meet the Golden Meadow Blanket—a free crochet granny chevron blanket pattern that blends the classic granny ripple stitch with soft chevron waves into one gorgeous, cozy throw. With endless color possibilities, a step-by-step tutorial, and customizable sizing, this pattern is perfect for intermediate crocheters ready to create something beautiful. Grab your hook and let’s make something stunning!

If you love timeless crochet designs with a modern twist, you’re going to love the Golden Meadow Blanket! This free crochet granny chevron blanket pattern blends the charm of a classic granny ripple stitch with beautiful, flowing waves and that iconic chevron zigzag design—all coming together in one cozy, eye-catching throw that drapes beautifully.
Whether you’re making a handmade piece for your living room or looking for the perfect crochet home decor gift, this blanket is just as fun to make as it is to snuggle up in. And the color possibilities? Truly endless. From bold, high-contrast combinations to soft, earthy neutrals, the Golden Meadow Crochet Granny Ripple Blanket pattern is completely yours to personalize.
This free chevron blanket crochet pattern is designed for intermediate crocheters, yet it’s a joy to crochet and results in a charming, classic afghan with a modern, elegant touch—the kind of throw that instantly makes any space feel cozier and more put-together.
Keep reading to find the free pattern, or if you prefer a printable add-free PDF, you can find it on Etsy, Ravelry, and my online store!
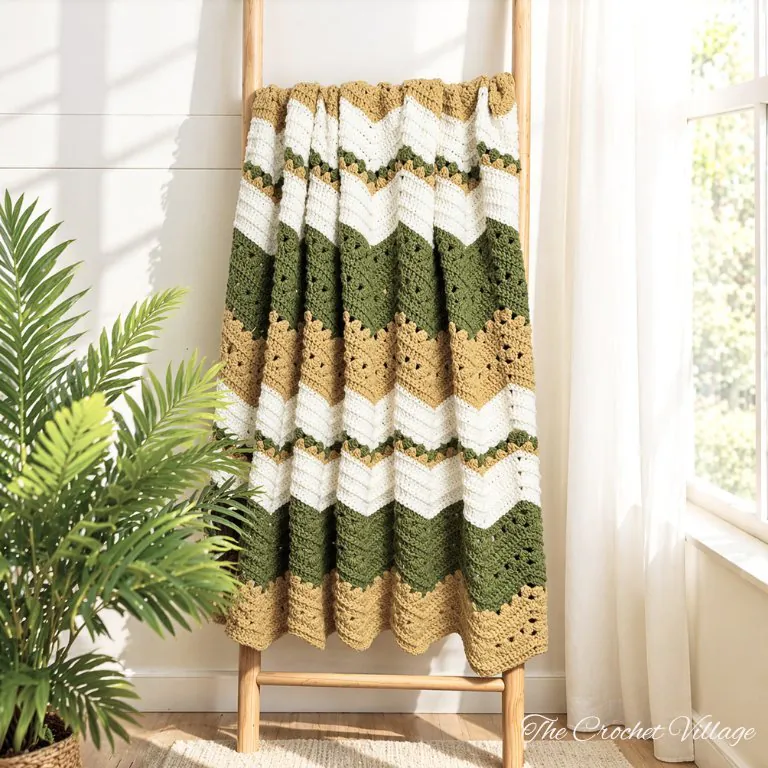
Yarn Needed for This Granny Ripple Blanket
You can use any #4 worsted-weight yarn for this granny chevron blanket pattern, but what truly makes the difference is your color choice. The right combination is what makes that chevron zigzag pattern really pop and stand out beautifully.
For my version, I used Lion Brand Pound of Love, a slightly thinner worsted-weight yarn that I was lucky enough to receive as a Christmas gift 😊. It worked up beautifully and gave the blanket such a soft, lovely drape.
But honestly, use whatever worsted-weight yarn you love and have on hand. Whether you go bold and vibrant or soft and neutral, your blanket is going to turn out absolutely gorgeous.
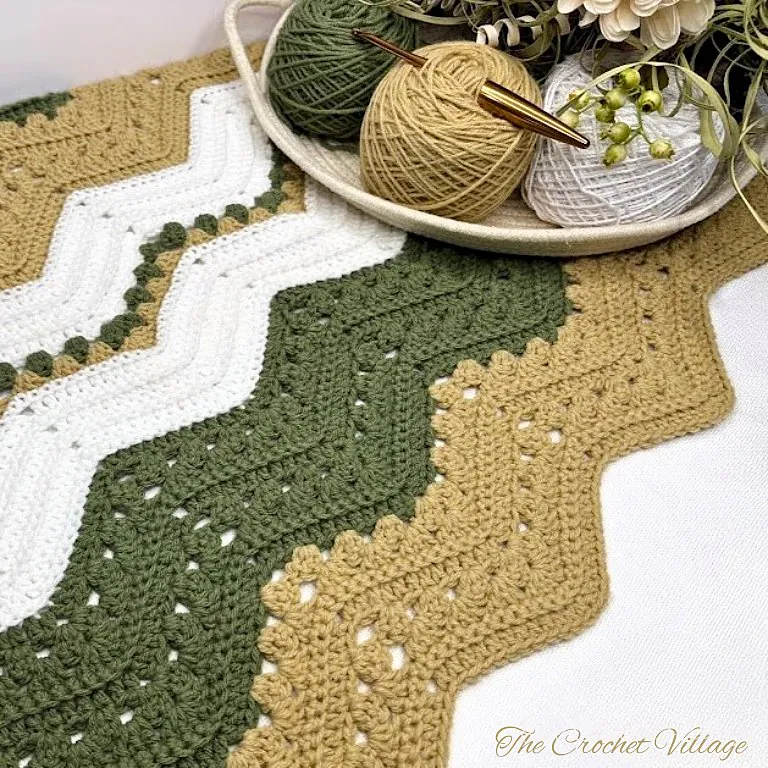
Free Crochet Granny Ripple Blanket Pattern – Start Here
Recommended Yarn:🧶Lion Brand Pound Of Love Yarn, #4 worsted-weight yarn. Colors shown:
- Olive: Yarn A
- Straw: Yarn B
- White: Yarn C
Yarn Substitution
Yardage: About 1,267 yards total
- Yarn A: 262 yds
- Yarn B: 405 yds
- Yarn C: 600 yds
Crochet Hook: (H) 5 mm hook
Gauge: 4”x 4”= 6 x 3 DC groups and 8 rows.
Other Materials
- Tapestry needle.
- Scissors.
Abbreviations
- CH: Chain
- ST: Stitch
- SC: Single crochet
- DC: Double Crochet
- BLO: Back loop only
- STSC: Stacked single crochet
- Sk: Skip
- YO: Yarn over
- Rnd: Round
- Rep: Repeat
Finished Measurements: 58 in length and 43 in width

Special Stitches
- Chainless double crochet foundation: Slip knot and CH 3 (this counts as your 1st foundation stitch). YO and insert your hook into the 1st CH, YO again, and pull up a loop (three loops on the hook). YO and pull through one loop (this forms the “chain” part of the foundation). YO and pull through two loops, then YO and pull through the last two loops to complete the first DC. For the next stitch, yarn over, insert your hook into the “chain” part of the previous stitch, and repeat. Watch here.
- Stacked single crochet: Insert your hook into the 1st ST of the row. Make a SC, insert your hook into the left vertical bar (the front leg of the SC you just made).YO and pull up a loop, YO and pull through both loops—this completes the STSC. Watch here.
Pattern Notes
- This pattern is written in US terms.
- The skill level is easy to intermediate
- I used a thinner medium-weight yarn, so if you’re using a different yarn, make sure to measure the width of your piece after working a few rows. If your throw turns out much wider than the pattern, try switching to a smaller hook.
Golden Meadow Chevron Blanket Crochet Pattern
In this free crochet granny chevron blanket pattern, I’ll walk you through all the materials you need, along with step-by-step instructions to create this beautiful Golden Meadow Crochet Blanket from start to finish.
Prefer a printable, ad-free PDF? The premium version of the Golden Meadow Blanket pattern includes a helpful color chart for easy color changes, stitch counts for each repeat, and instructions to customize the size. You’ll also find step-by-step photo guidance—all beautifully formatted for easy reference. Available for a small fee in my online shops linked below.
Prefer A Printable PDF?
Treat yourself to the ad-free, beautifully formatted version of this design for a small fee!
Step 1 – Crochet the throw
Row 1: With yarn A, crochet a 175 double crochet chainless foundation (the starting CH 3 counts as a DC), turn.
Row 2:
- STSC, sk next ST, 3 DC in next ST, * sk next 2 ST, 3 DC in next ST,* rep *to* 3 times. You should have 4 x 3 DC groups.
- [CH1,*3 DC in next ST, sk next 2 ST,* rep *to* 3 times, 3 DC in next ST. You should have 4 x 3 DC groups.
- Sk next 5 ST,*3 DC in next ST, sk next 2 ST,* rep *to* 3 times, 3 DC in next ST]. You should have 4 x 3 DC groups. Rep[to] across, ending with sk last 2 ST, DC in last ST, turn. (56 x 3 DC groups)
Row 3:
- STSC, *sk next 3 ST, 3 DC in next sp between the 3 DC groups,* rep *to* 3 times, [(3 DC, CH 1, 3 DC) in next CH 1- sp, *sk next 3 ST, 3 DC in next sp between the 3 DC groups,* rep *to* 3 times,
- Sk next 6 ST, *3 DC in next sp between the 3 DC groups, sk next 3 ST,* rep *to* 3 times], sk next 3 ST,
- Rep[to]across ending with sk last 3 ST, DC in last ST, CH 1, turn. (56 x 3 DC groups)
Row 4: SC in each ST and each CH1- sp across, turn. (177 SC)
Row 5: STSC, sk next ST,*DC BLO in next 11 ST, (DC BLO, CH 1, DC BLO) in next ST, DC BLO in next 11 ST, sk next 2 ST*, rep *to* across, ending with DC BLO in next 11 ST, sk next ST, DC in last ST, turn. (169 DC)
Row 6:
- STSC, *sk next 2 ST, 3 DC in next ST*, rep *to* 3 times, sk next 3 ST,
- [(3 DC, CH1, 3 DC) in next CH 1- sp, *sk next 2 ST, 3 DC in next ST*, rep *to* 3 times,
- Sk next 5 ST, *3 DC in next ST, sk next 2 ST,* rep *to* 2 times, 3 DC in next ST, sk next 3 ST], rep [to] across, ending with *sk next 2 ST, 3 DC in next ST,* rep *to* 3 times, sk last 3 ST, DC in last ST, turn. (56 groups)
Row 7-9: Rep Row 3-5, at the end of row 9, change to yarn B in last ST, cut yarn A
Row 10: Rep Row 6
Row 11-17: Repeat rows 3 to 6 until you reach row 17 (this should be row 5). At the end of row 17, change to yarn C and cut yarn B
Row 18-23: Rep rows 4-5 until you reach row 23. At the end of Row 23, change to yarn A, cut yarn C
Row 24: Rep Row 6. Change to yarn B at the end of the row, cut yarn A
Row 25: Rep Row 3. Change to yarn C at the end of the row, cut yarn B
Row 26-32: Rep rows 4-5 until you reach row 32 (this should be row 4). At the end of row 32, change to yarn A, cut yarn C.
Row 33: Rep row 5
Row 34- 41: Rep rows 10 to 17. At the end of row 41, change to yarn B, cut yarn A.
Row 42- 49: Yarn B. Repeat rows 10 to 17. At the end of row 49, change to yarn C, and cut yarn B.
Row 50-113: Rep rows 18 to 49 until you reach row 113. This should be row 5. At the end of the last row, fasten off.
Weave in all ends, and you are all done!
I offer full support to help you with any questions or challenges you might have. Feel free to drop your comments in the section below or join our Facebook group, where I, along with my wonderful testers and community members, will be more than happy to assist you!