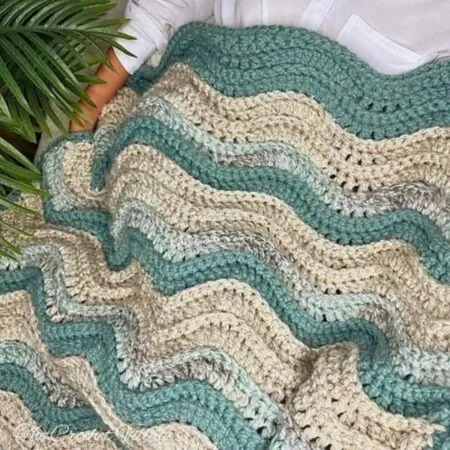
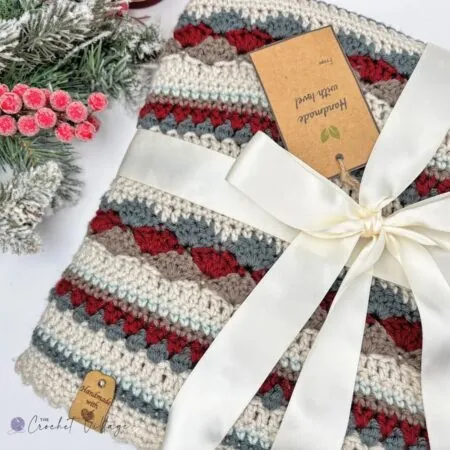
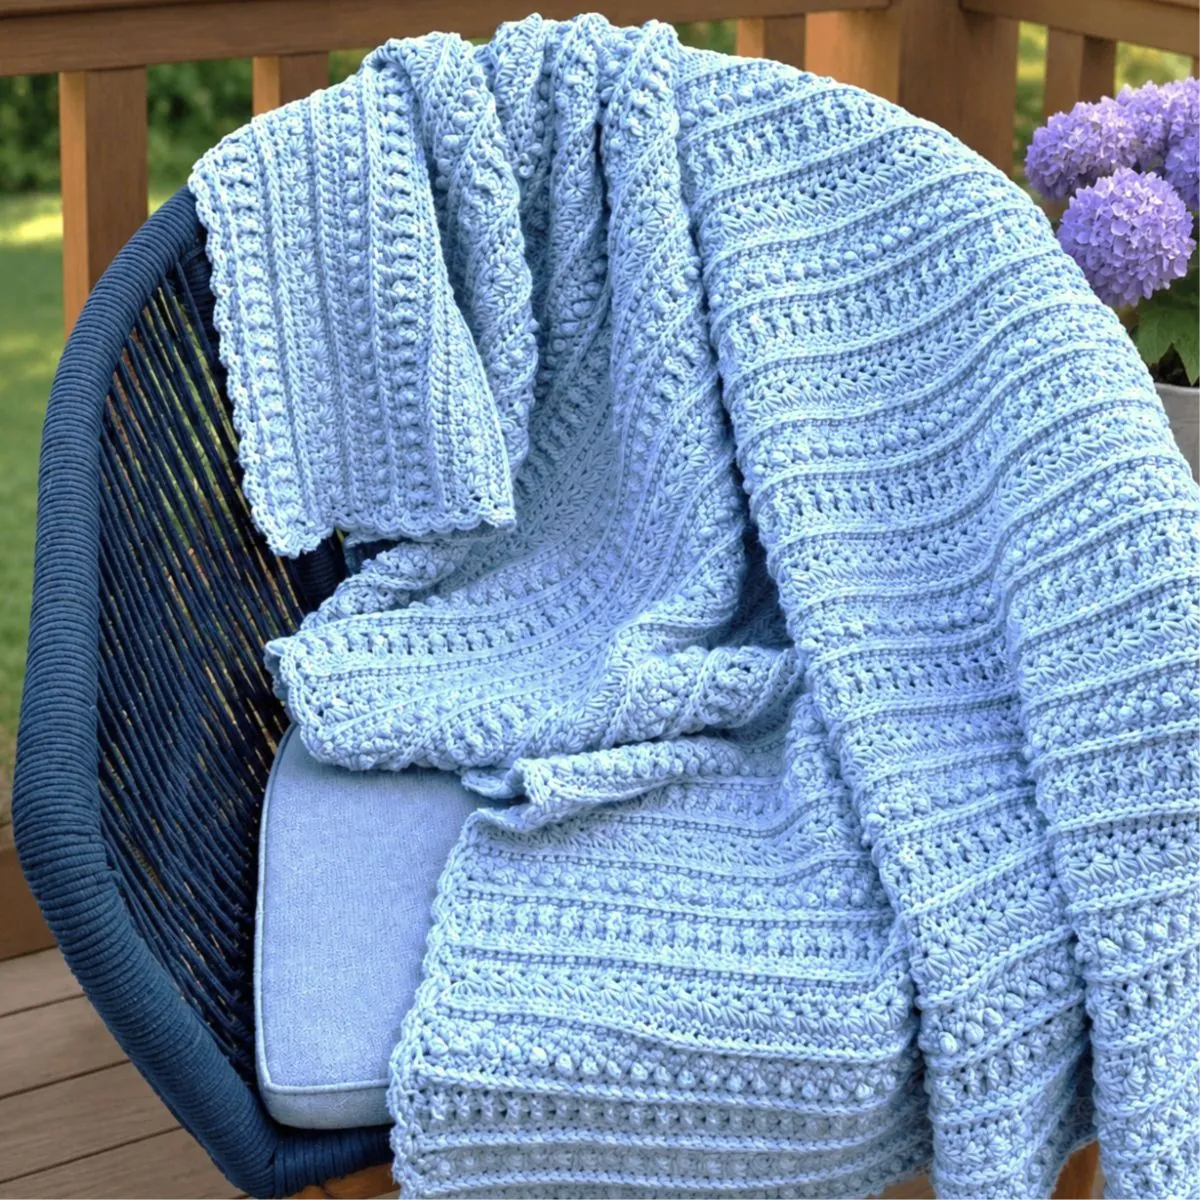
Meet the Sterling Blanket — a free crochet sampler blanket pattern that’s as fun to make as it is beautiful to look at. Every section brings a new textured stitch, so the project stays fresh and interesting from the very first row to the very last.
Whether you’re looking to expand your crochet skills or simply enjoy a relaxing project, this sampler blanket is a wonderful choice. The finished blanket is as cozy as it is beautiful, making it perfect for your home or as a thoughtful handmade gift.
Why You’ll Love This Free Crochet Sampler Blanket Pattern
Made with worsted-weight yarn, the Sterling Blanket strikes the perfect balance of softness and warmth. The finished fabric has beautiful texture and a lovely drape, resulting in a blanket that’s cozy, elegant, and just as comfortable for everyday use as it is special enough to gift.
This free crochet sampler blanket is genuinely enjoyable to make and can be easily adjusted to any size—from a baby blanket or lapghan to a full throw or king-size blanket—using the stitch count included for the repeat.
The pattern is written for advanced beginners, making it a great way to build your skills while learning a variety of textured crochet stitches.
To complete the design, I added a gorgeous border that ties all of the sampler sections together and gives the blanket a polished, timeless finish.
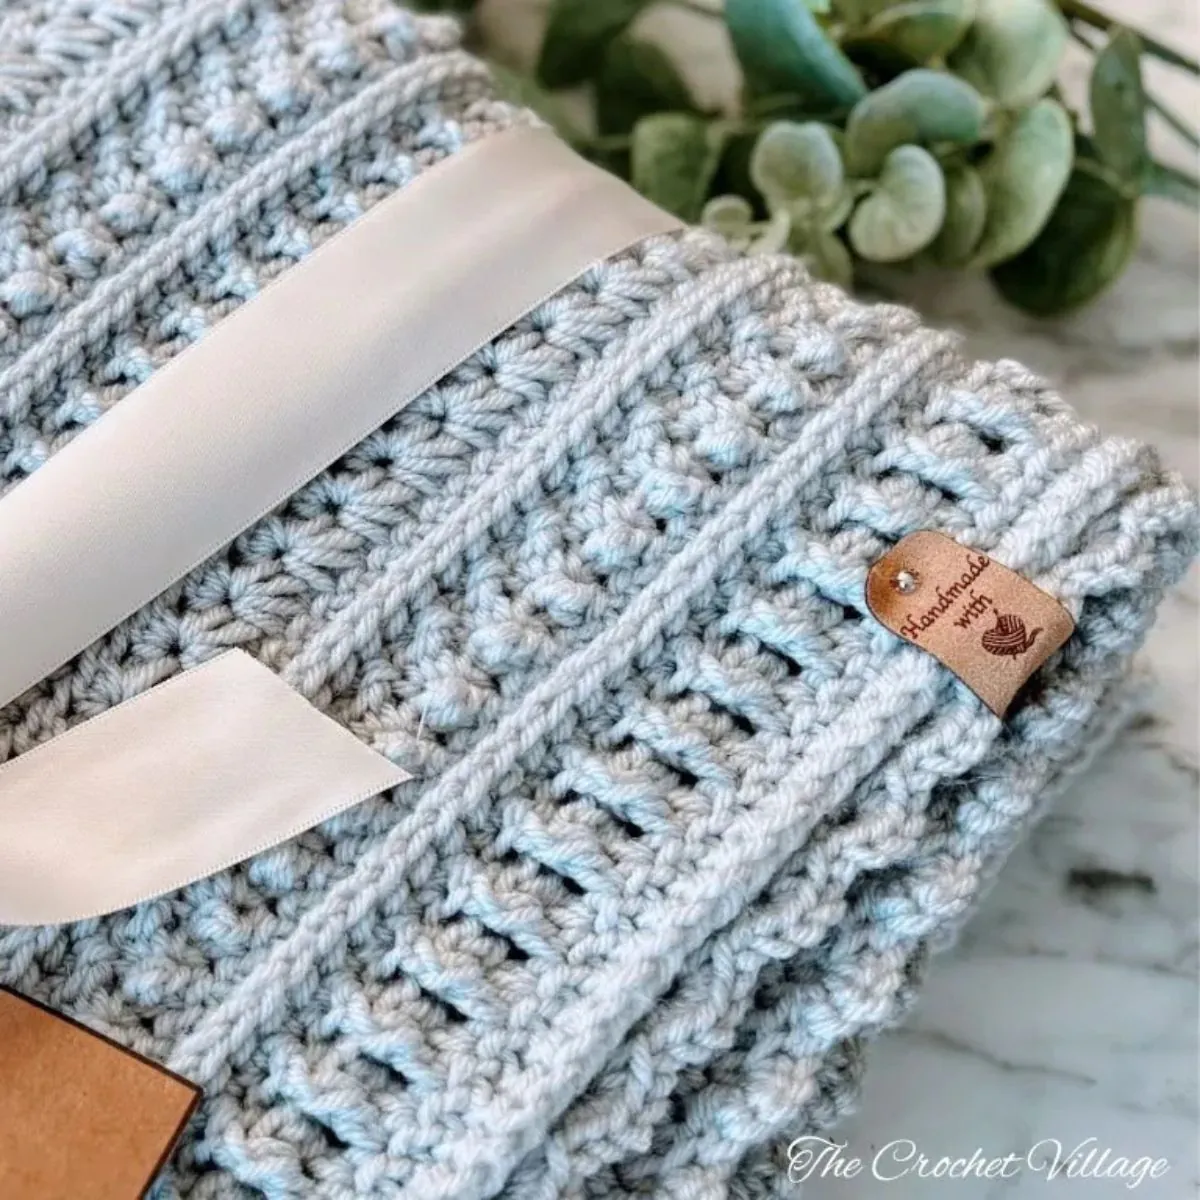
Keep reading to find the free pattern, or if you prefer a printable add-free PDF, you can find it on Etsy, Ravelry, and my online store!
A Handmade Wedding Gift, Made with Love
I designed the Sterling Blanket as a wedding gift for my niece. Over the years, I’ve made her quite a few crocheted gifts, but this one has definitely been her favorite so far!
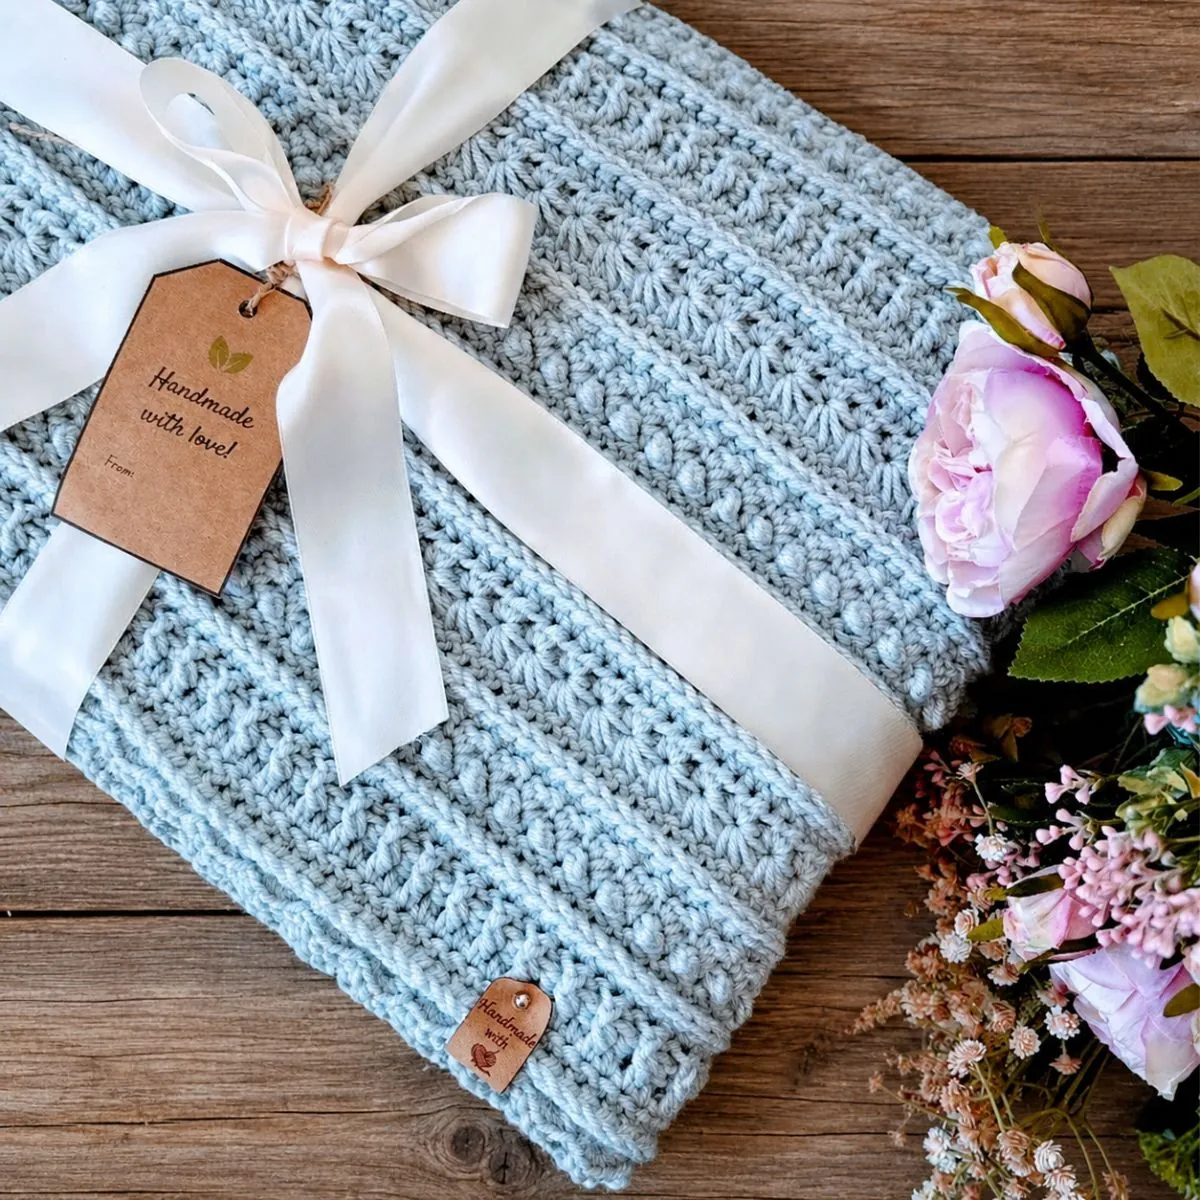
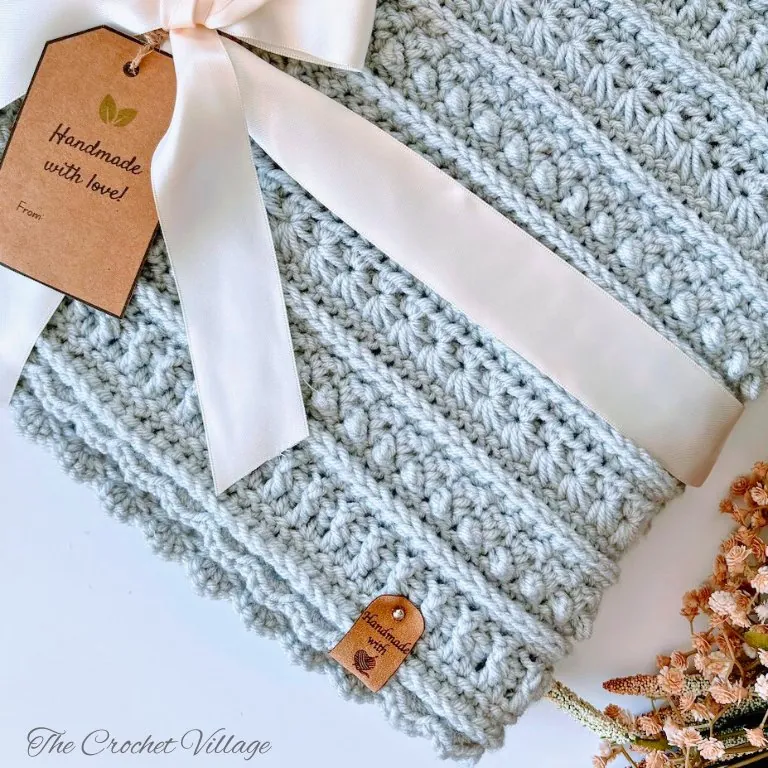
I chose a soft grayish-blue to complement the colors in her living room, then folded the blanket neatly, tied it with a ribbon, and added a gift tag (the printable tag is included with the premium PDF pattern).
Everything was tucked into a beautiful gift box, and it looked just as special as the blanket itself. The moment she opened it, I knew it was a winner—she absolutely loved it!
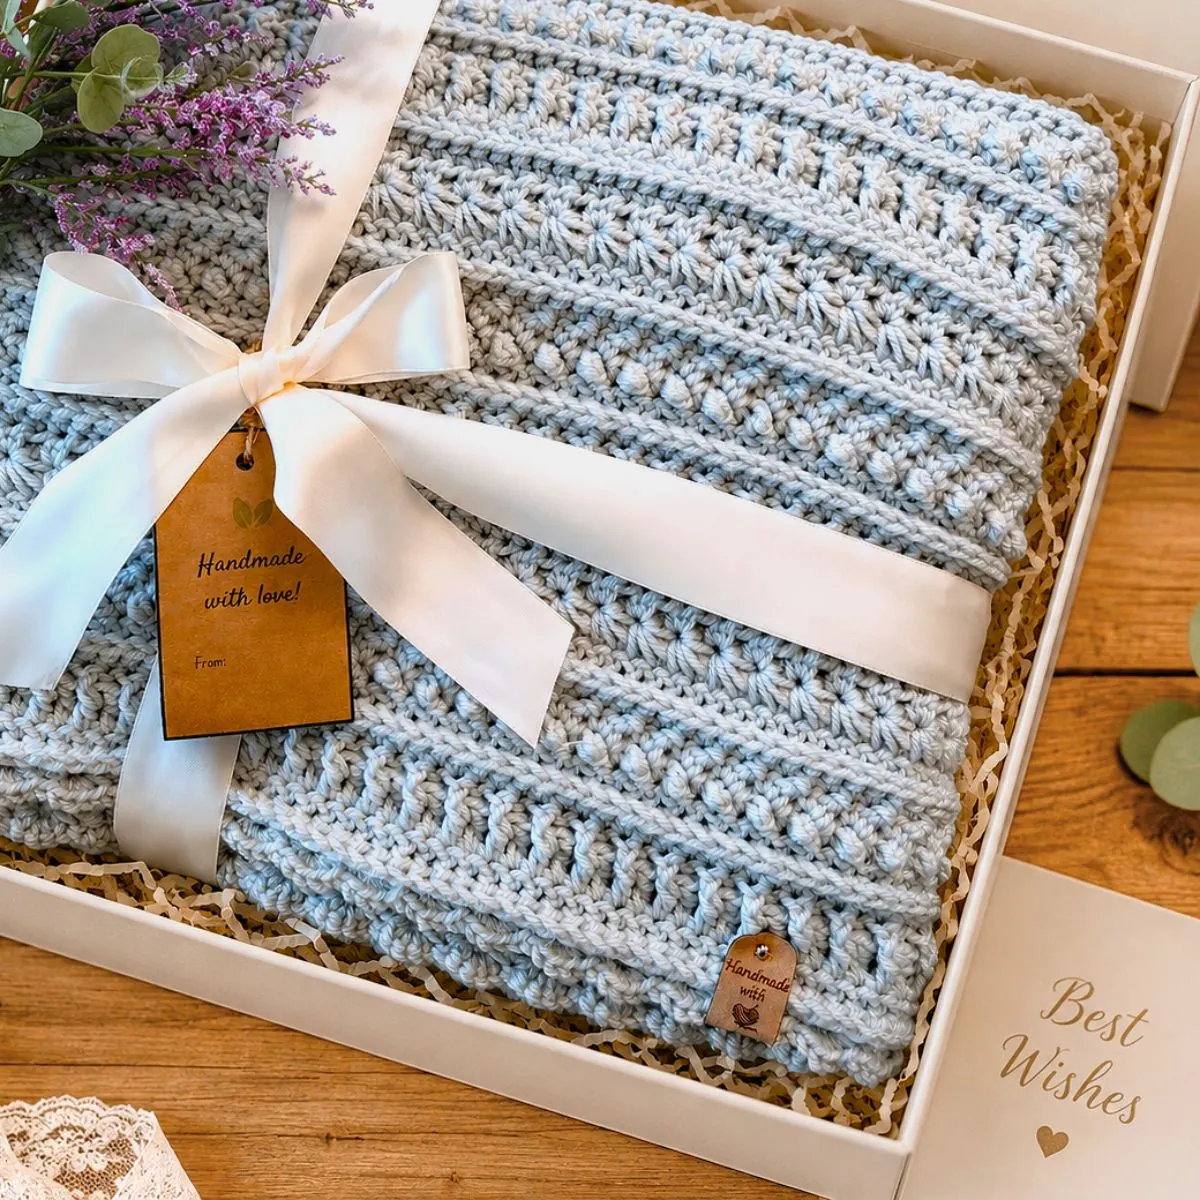
One thing I’ve learned over the years is that presentation really does make a difference when you’re giving a handmade gift. A pretty ribbon, a handwritten note or gift tag, and a nice box can transform something you’ve spent hours creating into an unforgettable gift from the very first moment it’s unwrapped.
Those little finishing touches don’t take much time, but they make your handmade creation feel even more special.
Free Crochet Sampler Blanket- Start Here
Recommended yarn: Hobby Lobby’s I Love This Yarn, #4 worsted-weight yarn. Color shown: Light Gray
Yarn substitution:
Yardage: About 2,150 yds
Finished size: Approximately 56″ long and 45″ wide
Crochet hook: 6 mm
Abbreviation
- CH: Chain
- ST: Stitch
- SL ST: Slip stitch
- SC: Single crochet
- STSC: Stacked Single crochet
- HDC: Half double crochet
- DC: Double crochet
- TR: Treble crochet
- FPDC: Front post double crochet
- BPDC: Back post double crochet
- SP: Space
- SK: Skip
- Rnd: Round
- Rep: Repeat
Gauge: 4” square = 10 rows x 13 ST (FPDC & BPDC)
Pattern notes
- This pattern is written in US terms.
- Skill level: Intermediate.
- The numbers at the end of the rows are the stitch count for that row.
Special stitches
- Stacked Single Crochet (STSC): Make a single crochet in the first stitch. Insert your hook into the side loop of the single crochet you just made, yarn over, pull up a loop, yarn over, and pull through all loops on the hook. Note: STSC will keep the edges neater. You may use CH3 instead.
- Front post double crochet (FPDC): YO, insert hook from front to back to front around the post of the ST below, YO, pull up a loop, complete DC.
- Back post double crochet: YO, insert hook back to front to back around post of ST below, YO, pull up a loop, complete DC.
Measurement and sizes
This pattern makes a blanket approximately 56″ long and 45″ wide.
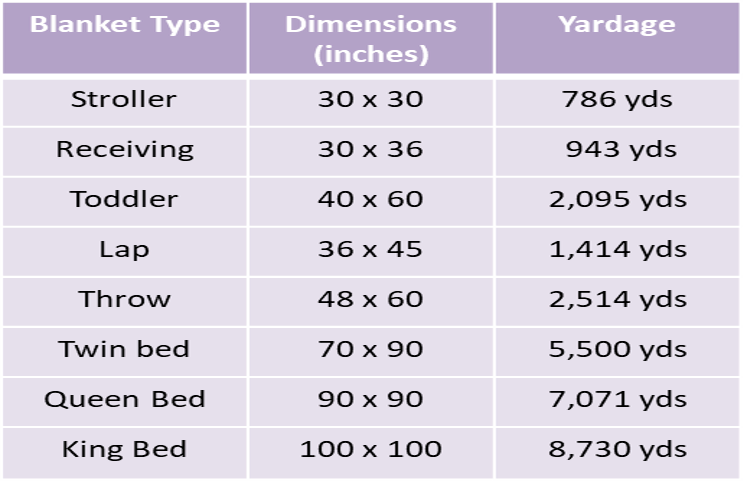
To adjust the size, start with an odd-number foundation chain to reach your desired width (see sizing table below). Then repeat the pattern rows until you reach the desired length, referring to the sizing chart for guidance.
Free Crochet Sampler Blanket Pattern + Printable PDF
Below you’ll find the complete free crochet sampler blanket pattern, including all the instructions you need to make your own Sterling Blanket from start to finish.
If you prefer to crochet from a beautifully formatted, ad-free PDF, the premium printable pattern is available for a small fee in all of my shops linked below.
Prefer A Printable PDF?
Treat yourself to the ad-free, beautifully formatted version of this design for a small fee!
Step 1: Crochet the blanket
CH 145 to make a foundation chain,
Row 1: HDC in 2nd CH from hook and each CH across, turn.(144 ST)
Row 2: CH 1, HDC in 1st ST, FPDC in each ST across until 1 ST remains, HDC in last ST, turn. (144 ST)
Row 3: STSC in 1st ST, DC in each ST across, turn.(144 ST)
Row 4: CH 1, HDC in 1st ST, *FPDC in next ST, BPDC in next ST,* rep *to* until 1 ST remains, HDC in the last ST, turn.
Row 5: CH 1, HDC in each ST across, turn.
Row 6: CH 1, HDC in 1st ST, FPDC in each ST across until 1 ST remains, HDC in last ST, turn. (144 ST)
Row 7: CH 1, HDC in the 1st ST, *TR in next ST, SL ST in next ST,* rep *to* until 1 ST remains, HDC in last ST, turn.
Row 8: CH 1, HDC in 1st ST, *SK next ST, (SC, DC) in next ST,* rep *to* until 1 ST remains, HDC in last ST, turn.
Rows 9-10: Rep Rows 5 and 6.
Row 11 (star stitch row): CH3, insert the hook into the 2nd CH from the hook and pull up a loop, insert the hook into the next CH and pull up a loop, insert the hook into the ST holding the CH 3, and pull up a loop. Insert hook and pull up a loop in each of the next 2 ST. (6 loops on hook), YO and pull through all loops, then CH 1 to form the “eye” of the star.
Continue crocheting the next star stitches:
*Insert your hook into the eye (CH1-sp) of the previous star and pull up a loop. Insert your hook into the leg of the previous star and pull up a loop. Insert hook in the last worked ST and pull up a loop, insert hook and pull up a loop in the next 2 unworked ST (6 loops); YO and pull through all 6 loops, then CH 1 to complete the star.* rep *to* until 1 ST remaining, HDC in last ST, turn.
Row 12: CH 1, HDC in the 1st ST, *2 HDC in next ST ( in the “eye” of the star ST), SK next ST,* rep *to* until 1 ST remaining, HDC in last ST, turn.
Row 13-14: Rep Rows 5 and 6.
Row 15- 158: Rep Rows 3 to 14, ending with Row 6. At the end of the last row, turn, and crochet the border next.
Step 2: Crochet the border
Work 3 SC in 1st ST, SK next 2 STS, 5 SC in next ST. Continue placing 5 SC clusters evenly around, working 5 SC in each corner. End with 2 SC in 1st ST, join with a SL ST into the 1st SC. Fasten off.
I offer full support to help you with any questions or challenges you might have. Feel free to drop your comments in the section below or join our Facebook group, where I, along with my wonderful testers and community members, will be more than happy to assist you!