
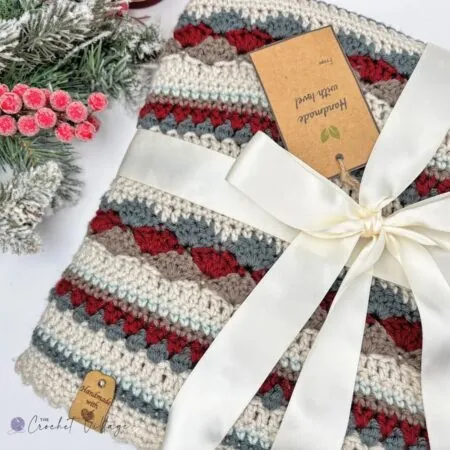
The Chestnut Throw is a free crochet throw blanket pattern for the kind of blanket you’ll actually want to keep out on the couch. The waffle V stitch gives it gorgeous three-dimensional texture and a soft, easy drape — and the whole thing is a one-row repeat, so it’s a genuinely easy crochet blanket pattern for beginners. It looks way harder than it is, honestly! It’s also been one of my best-selling patterns and a reader favorite.
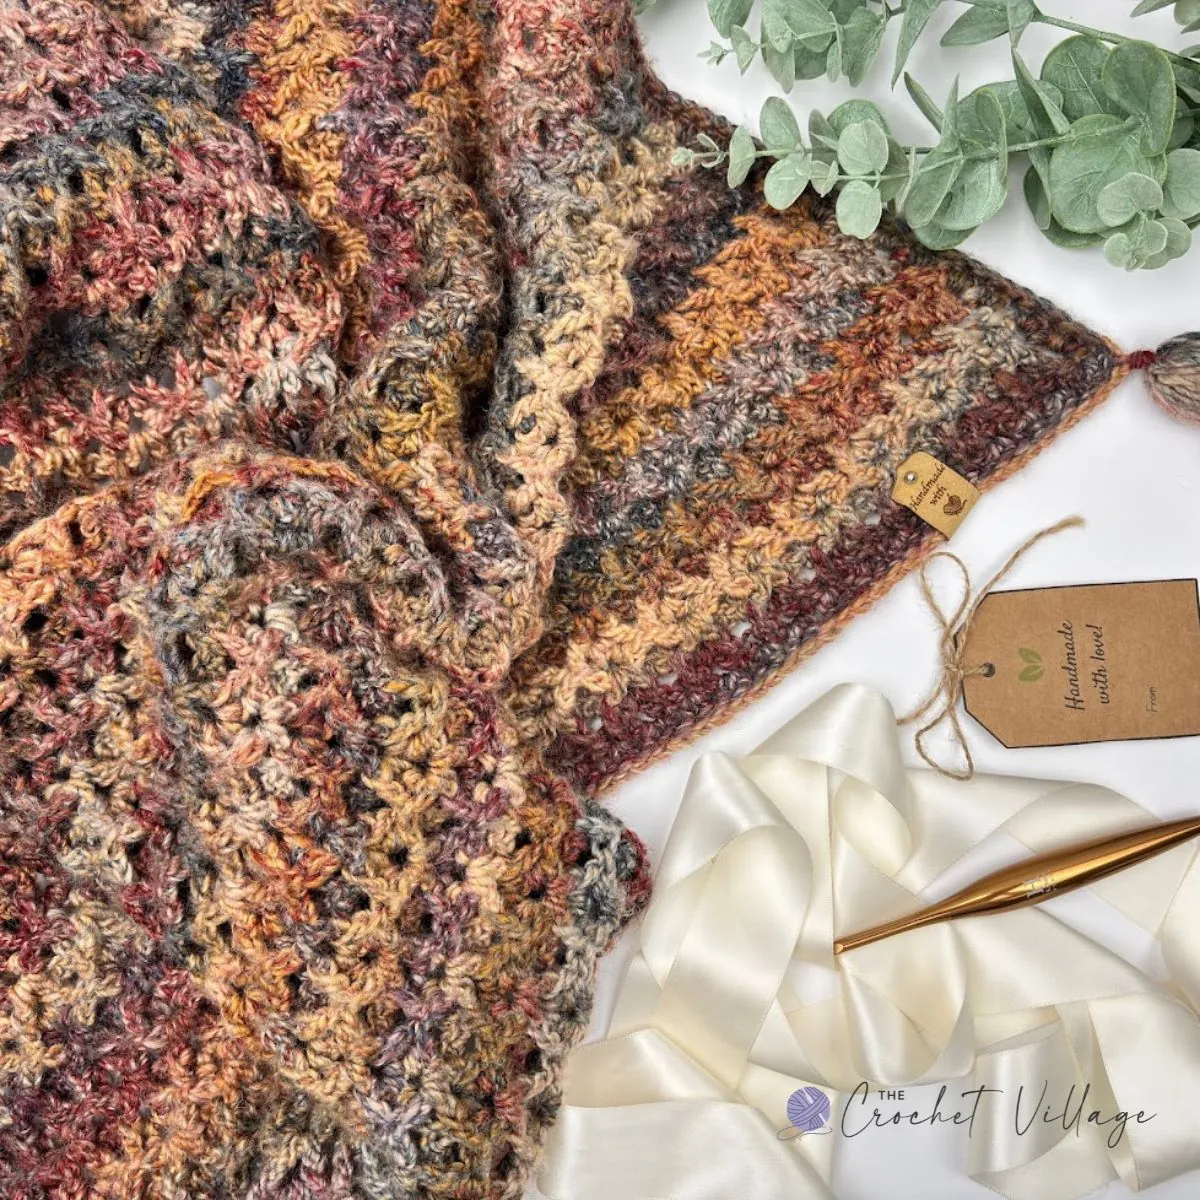
It’s also a lovely fall crochet blanket pattern. The warm colors and rich texture make it perfect for Thanksgiving, chilly autumn evenings, and all that in-between weather where you just want something over your knees. Throw it on the couch or drape it over a chair, and your living room instantly feels more like the season. 🍂
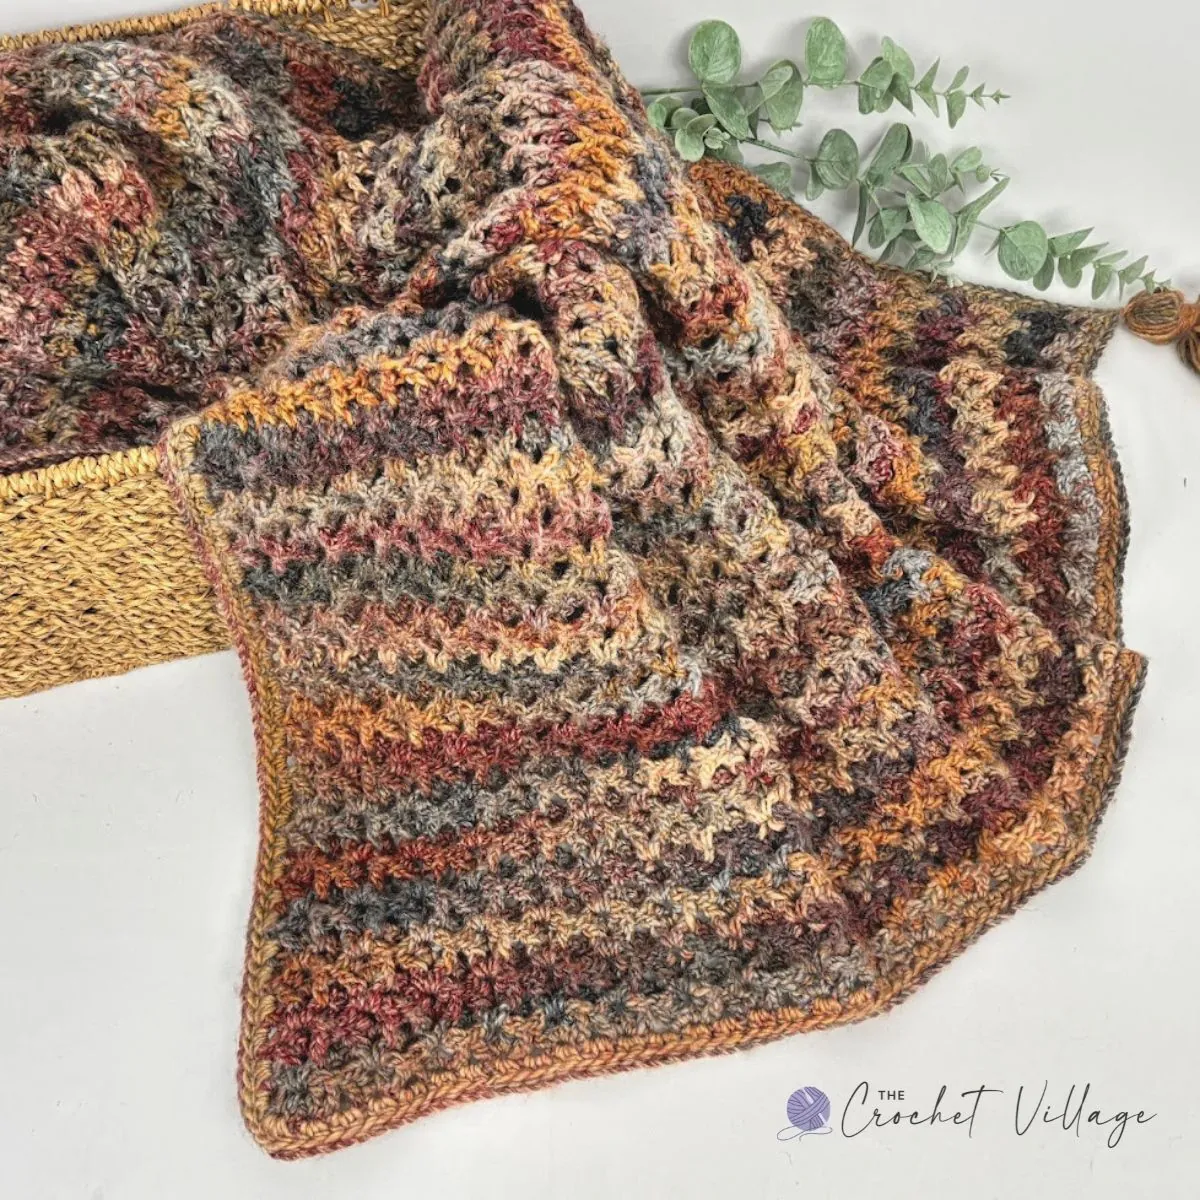
Mine’s made in bulky #5 Caron Macchiato Cakes with a K (6.5 mm) hook, in a self-striping autumn colorway of rust, burnt gold, cream, and smoky grey. It finished at about 48″ x 38″, and the yarn handles all the color changes for you. The result is a completely unique blanket — and I genuinely love mine.
Keep reading to find the free pattern, or if you prefer a printable add-free PDF, you can find it on Etsy, Ravelry, and my online store!
Make This Crochet Blanket Any Size You Want
The free pattern below includes full step-by-step instructions for the Chestnut Throw in lap size. Want more sizes? The ad-free printable PDF has six — baby, crib, lap, throw, queen, and king. — along with instructions for making the blanket any size you like.
Prefer A Printable PDF?
Treat yourself to the ad-free, beautifully formatted version of this design for a small fee!
Yarn
Any soft #5 bulky weight yarn will work beautifully here. Worsted weight (#4) works too — it’ll give you a lighter blanket with a softer drape, just check your gauge, since a thinner yarn will come out smaller with the same stitch count.
You can play with color, too. Variegated, a single solid shade, or a bold color-block design all look great in this stitch — the raised texture of the waffle V stitch shows up clearly no matter which you choose.
Tassels
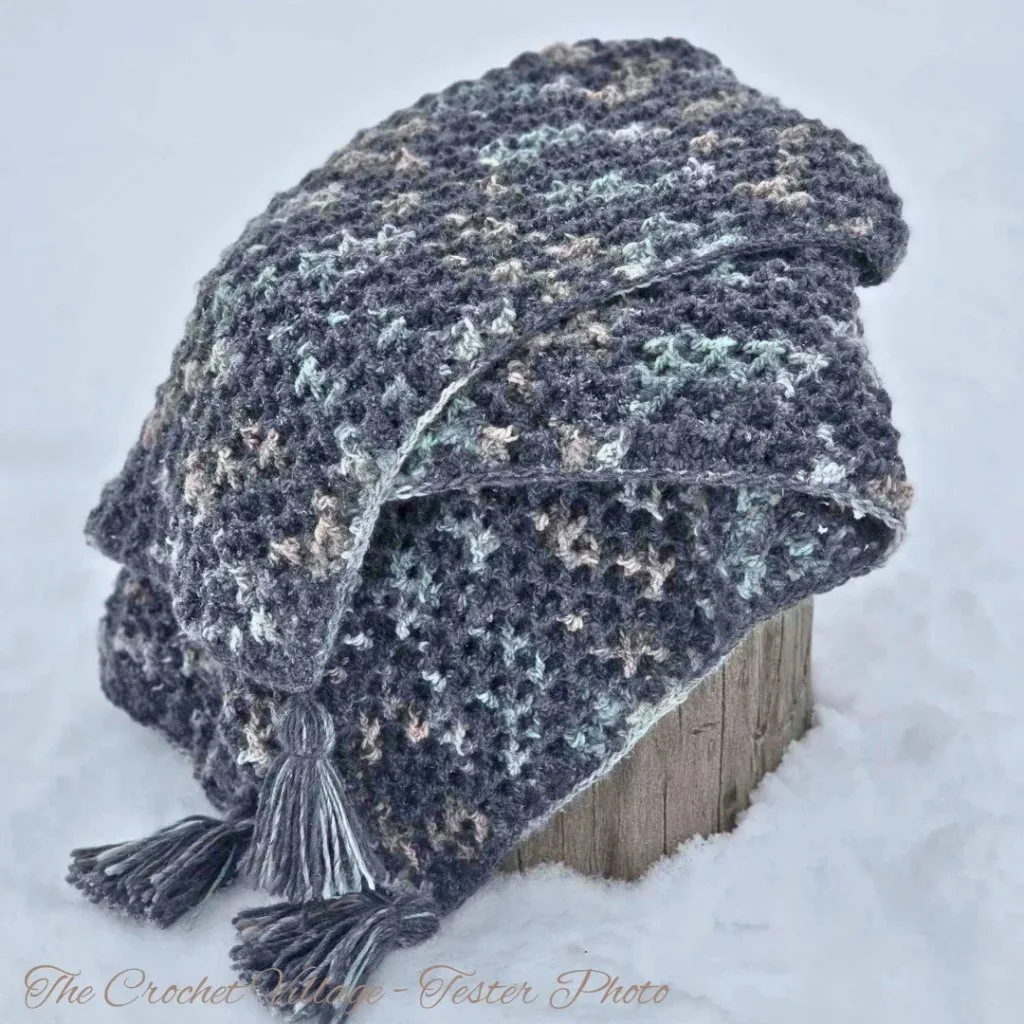
I finished mine with a tassel at each corner for a bit of extra polish, though it looks lovely without them as well. I used a tassel maker for the first time on this project and honestly, I’m never going back. So much easier.
Free Crochet Throw Blanket Pattern ~ Start here
Pattern Notes
- Terminology: Written in US terms
- Difficulty: Easy to intermediate
- The yarn: The yarn used in this pattern is a thinner bulky-weight yarn that works similarly to a Category 4 medium-weight yarn and has a beautiful drape.
- Sizes: The premium PDF includes instructions for six sizes: baby, crib, lap, throw, queen, and king. It also includes instructions for adjusting the blanket to any size. The free pattern is available in the lap afghan size only.
Recommended Yarn: Caron Macchiato Cakes #5 bulky weight yarn. Colors shown: Boundless
Yarn Substitution: These yarns are a close match, but you should always swatch.
Yardage: 1,940 yards (4 skeins)
Crochet Hook: (K) 6.5 mm hook
Gauge: My gauge is 3 groups x 8 rows in a 4“x 4” square using the pattern’s stitch.
Other Materials:
- Tag: Faux leather tags
- Tassel Maker (optional)
- Tapestry needle
- Scissors
Abbreviations
- CH: Chain
- ST: Stitch
- SL ST: Slip stitch
- SC: Single crochet
- HDC: Half double crochet
- DC: Double crochet
- FPDC: Front post double crochet
- YO: Yarn over
- Rnd: Round
- Rep: Repeat
Finished Measurements: The free pattern is written for a blanket measuring about 48” in length and 38″ in width.

Special Stitches:
Front post double crochet (FPDC): YO, insert your hook from front to back to front around the post of the next ST, YO, pull up a loop, YO, pull through 2 loops on your hook, YO, pull through remaining two loops on your hook.
Step 1 – Crochet the throw
CH 156 to make the foundation chain.
Row 1: DC in the 3rd CH from the hook. *(DC, CH 2, DC) in the next CH, DC in the next CH, skip the next 2 CH, DC in the next CH; repeat from * across until 3 CH remain. (DC, CH 2, DC) in the next CH, then DC in each of the next 2 CH. CH 2 and turn. (31 groups)
Row 2: DC in the first ST, which is the ST holding the CH 2.* Skip the next DC, FPDC in the next DC, (DC, CH 2, DC) in the next CH-2 SP, FPDC in the next DC, skip the next DC; repeat from * across, ending with DC in the last ST. CH 2 and turn. (31 groups)
Rows 3–87 ( or to the desired length) : Repeat Row 2. At the end of the last row, CH 1 and do not turn. Continue with the border.
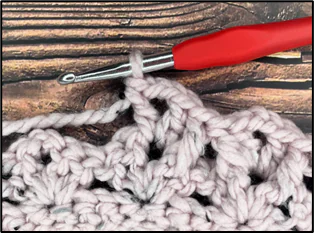
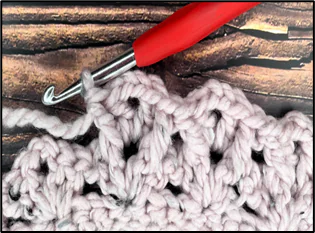
Step 2 – Crochet the border
Round 1: keep your tension tight and even. With the yarn still attached to your hook:
- Work 2 HDC in each row-end space ( visible hole) until you reach the next corner. Work 3 HDC in the corner.
- *Work 2 HDC in the next CH holding the 2 DC, then work 2 HDC in the CH 2-SP; repeat from * until you reach the next corner. Work 3 HDC in the corner.
- Work 2 HDC in each row-end space until you reach the next corner. Work 3 HDC in the corner.
- *Work 2 HDC in the CH 2-SP, then work 2 HDC in the space between the 2 groups; repeat from * until you reach the last corner.
- Join with a SL ST to the first HDC. CH 1 and do not turn.
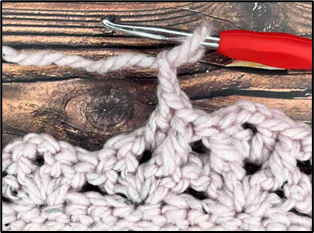
Round 2: SL ST in each ST around. See the picture below for placement. Join with a SL ST to the first ST. Fasten off.

Step 3 – Make 4 tassels
A tassel maker is easiest to use, but you can also use a 5-inch square piece of cardboard.
- Cut a 5-inch-square piece of cardboard.
- Wrap the yarn around the cardboard approximately 50 times, or as many times as desired.
- Slide a piece of yarn under the top of the loops and tie a tight knot.
- Cut the loops along the bottom edge of the cardboard.
- Wrap another piece of yarn around the tassel, approximately 1 inch from the top, and tie it securely.
- Trim the ends evenly.
- Attach one tassel to each corner of the throw and you are all done!
If needed, watch this tutorial to l to learn how to make a tassel.
I offer full support to help you with any questions or challenges you might have. Feel free to drop your comments in the section below or join our Facebook group, where I, along with my wonderful testers and community members, will be more than happy to assist you!
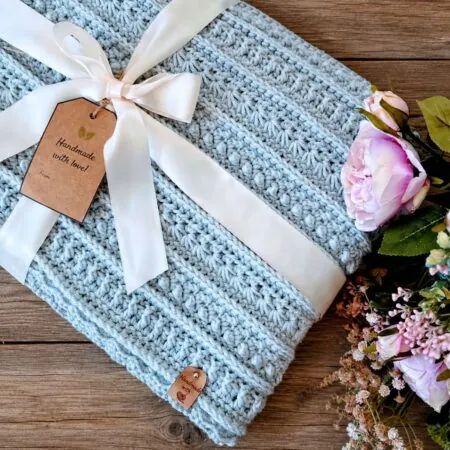

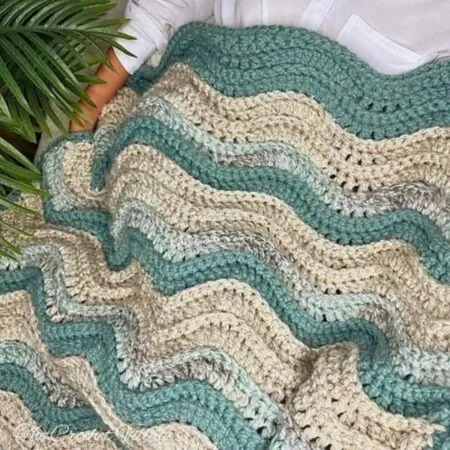



I don’t see the stitch count (multiple) to make this blanket a different size. Could you please tell me what the numbers are? Thanks
Hi Linda,
The pattern is worked in multiples of 5 plus 1. If you’re making another size, keep in mind that the stitches will shrink a little after a few rows, so it’s a good idea to add a couple of extra inches to your starting chain.
Assia: Could you please update the pattern? It must be a typo but the pattern says 5 plus 31 under “Finished Measurements”. Thank you!
Oops! 🙂 I fixed the typo—thanks so much for pointing it out!
I am doing the Chills&Thrills Blog Hop. It is day 19 and the pattern is your chestnut throw. On the page you tell Hop members to just scroll down and when one sees Exclusive Content” enter one’s email to access the blanket’s free pattern. However, I absolutely cannot find that spot.
Hi Deborah,
I removed the exclusive content widgets, so you should now be able to view the free pattern. Just scroll down or use the table of contents to jump right to the instructions.
Hi Assia, Do have a YouTube video for the Chestnut Throw?
Hi Lisa, I don’t have a video tutorial for this pattern, but I’m happy to guide you through it!