
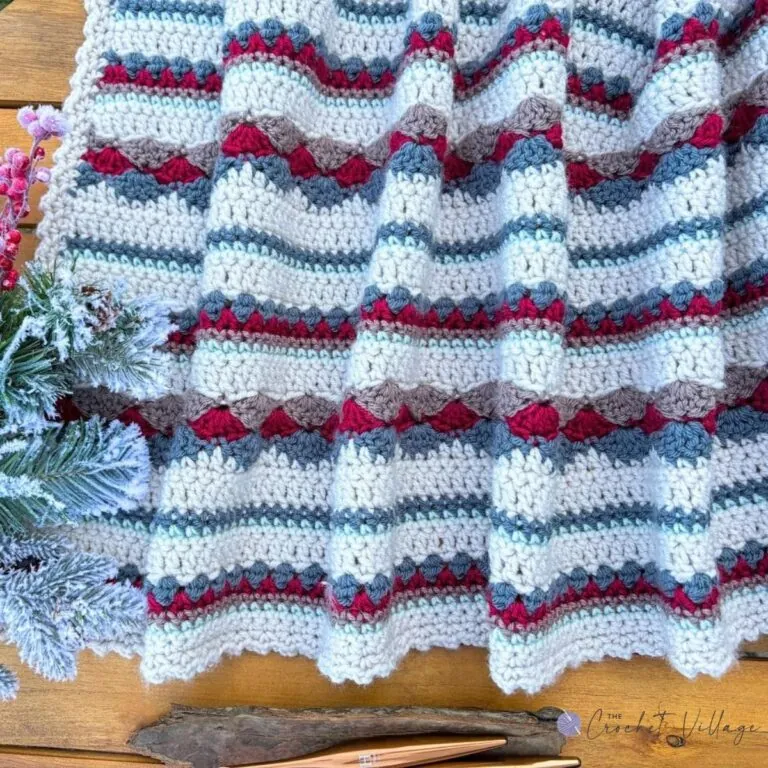
This scrap yarn crochet blanket pattern is my favorite way to use up leftover yarn. The Heartland Blanket is a free reversible sampler crochet pattern that looks gorgeous on both sides — an easy mixed-stitch, mixed-color design that works with any medium-weight yarn, adjusts to any size, and is perfect for advanced beginners. Time to raid that yarn stash!
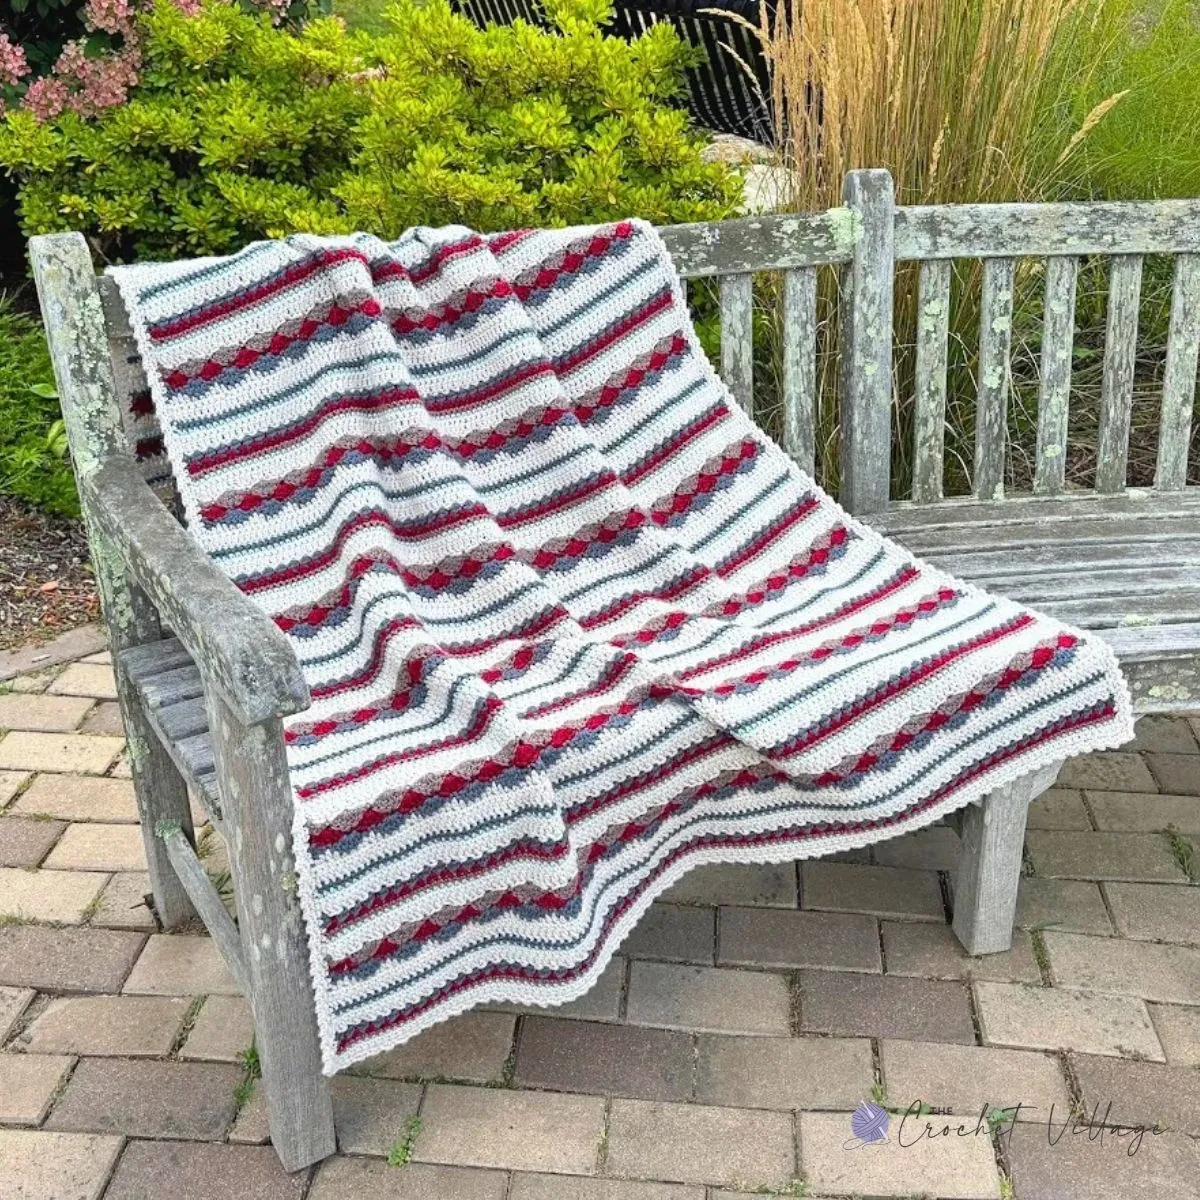
I’m so excited to finally share this free crochet blanket pattern with you! The Heartland Blanket started the way my favorite projects usually do — with a basket of leftover yarn I couldn’t bring myself to toss out. A half skein here, a leftover ball there. Instead of trying to make them match, I embraced the mix — and I’m so glad I did.
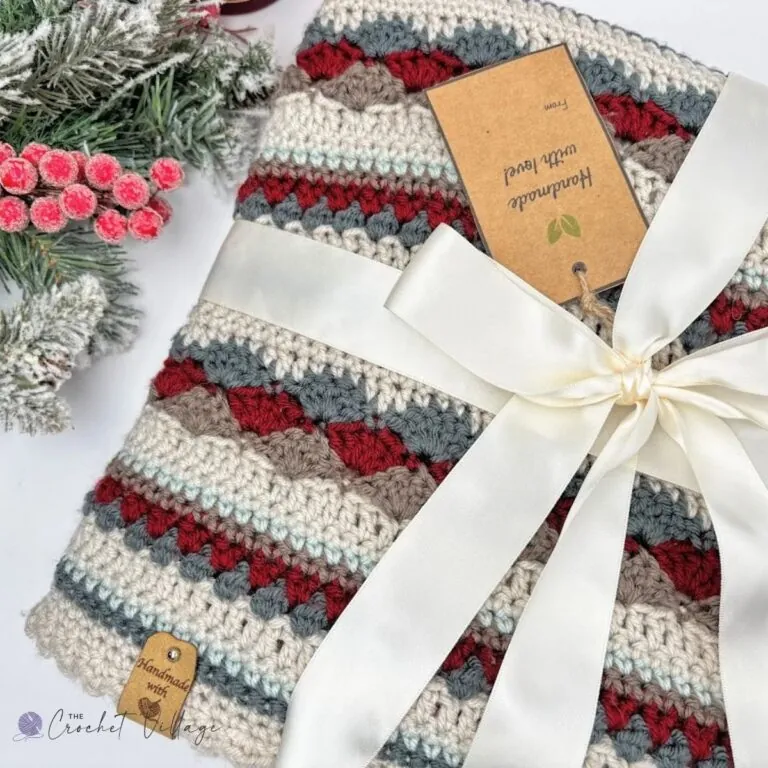
This scrap yarn crochet blanket is so much fun to make, combining mixed crochet stitches and alternating colors to create something completely one-of-a-kind. And the possibilities really are endless with a stash-buster like this — think deep reds and greens for Christmas décor, or soft pastels for the sweetest baby blanket.
This crochet throw pattern calls for #4 medium-weight yarn in 5 colors and is perfect for advanced beginners and beyond. The stitch sequence is easy to memorize, and this reversible blanket pattern is finished with a simple, pretty border — just enough to pull everything together beautifully.
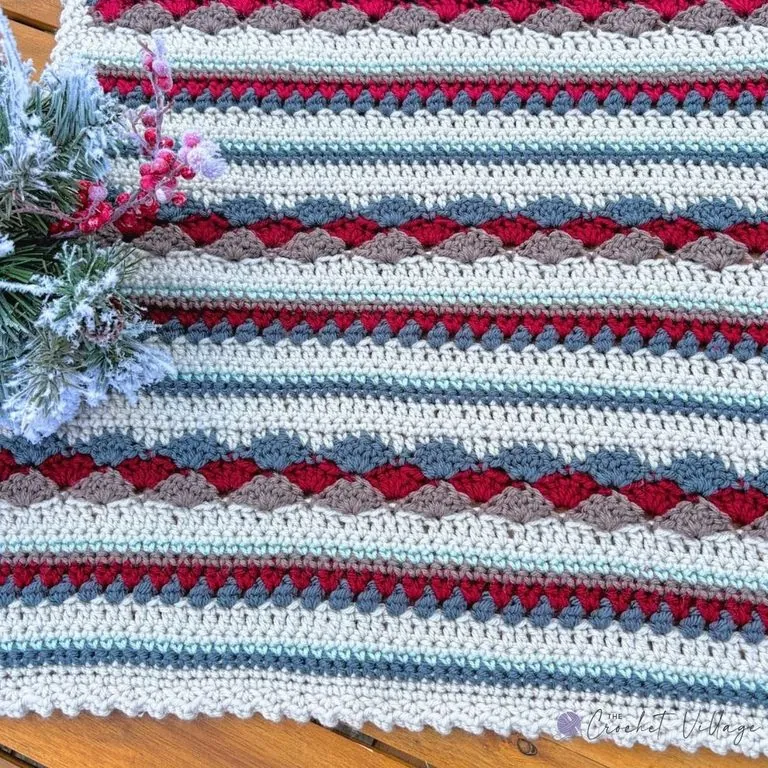
Free Crochet Scrap Blanket Pattern
In this post, I’ll share everything you need to make the Heartland Blanket in a cozy lap size — the yarn, the hook, and the full step-by-step instructions. Keep reading for the free pattern!
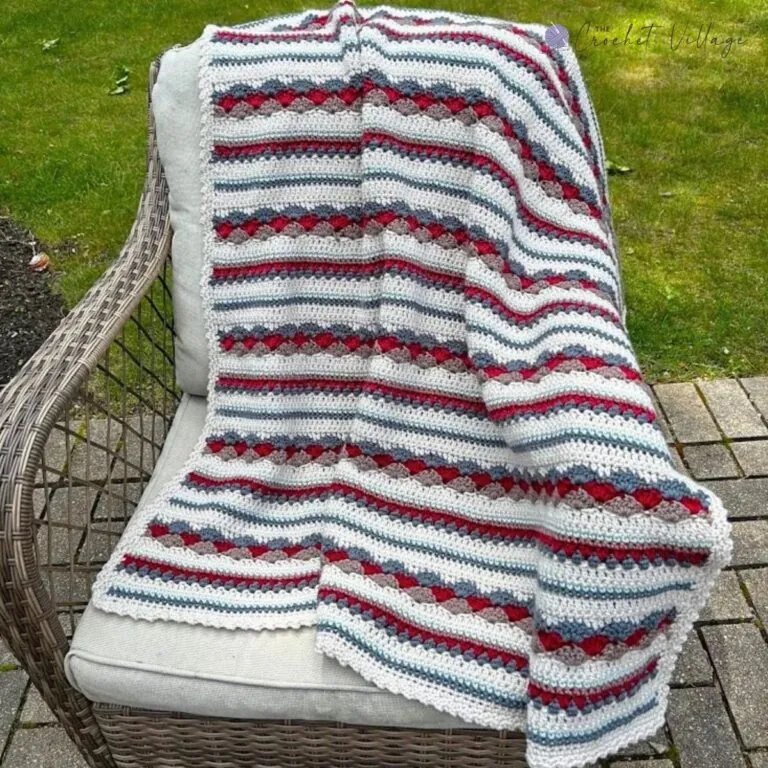
Want More Sizes? If you’d like to make yours bigger (or smaller), the ad-free printable PDF in my shop is written for 8 sizes, from a sweet baby blanket all the way up to king size. It also includes simple instructions for adjusting the dimensions to your liking, so you can make this blanket fit any bed, any couch, any snuggler.
It’s clean, beautifully formatted, and easy to print and keep beside you while you work — plus it helps support the free patterns here on the blog, which I truly appreciate
Prefer A Printable PDF?
Treat yourself to the ad-free, beautifully formatted version of this design for a small fee!
The Free Heartland Blanket Crochet Pattern
Recommended yarn: Any worsted #4 weight yarn. I used:
- Love This Yarn, colors shown:
- Linen: Yarn A
- Blue Spruce: Yarn B
- Glacier: Yarn C
- Cranberry: Yarn D
- Big Twist Yarn, color shown: Taupe:Yarn E
Yarn Substitution:
Yardage: About 1,370 yds total
- Yarn A: 649 yds
- Yarn B: 228 yds
- Yarn C: 146 yds
- Yarn D: 202 yds
- Yarn E: 144 yds
Crochet hook: (H) 5mm
Abbreviation
- CH: Chain
- ST: Stitch
- SL ST: Slip stitch
- SC: Single crochet
- HDC: Half double crochet
- DC: Double crochet
- STSC: Stacked single crochet
- SP: Space
- SK: Skip
- Rnd: Round
- Rep: Repeat
Gauge: 4” square = 12 rows x 14 DC
Finished Measurements: The pattern is written for a lap blanket measuring about 47” in length and 36″ in width.
Pattern Notes
- TERMINOLOGY: Written in US terms.
- DIFFICULTY: Easy to intermediate
- SIZE: The free pattern is written for a lap blanket.
- CHANGING COLORS: Change colors at the end of each row by switching in the last stitch. Cut the old color and continue with the new one
- The numbers at the end of the rows are the stitch count for that row.
Special stitches
Stacked single crochet (STSC): Insert your hook into the 1st ST of the row. Make a SC, Insert your hook into the left vertical bar (the front leg of the SC you just made).YO and pull up a loop, YO and pull through both loops—this completes the STSC. Watch here.
Step 1— Crochet the Blanket
With Yarn A, CH 116 to make the foundation chain.
Row 1: SC in the 2nd CH from the hook and in each CH across. Change to Yarn B in the last ST, cut Yarn A, CH 1, and turn. (115 SC)
Row 2: With Yarn B, SC in each ST across. Change to Yarn C, cut Yarn B, CH 1, and turn. (115 SC)
Row 3: With Yarn C, SC in each ST across. Change to Yarn A, cut Yarn C, CH 1, and turn. (115 SC)
Row 4: With Yarn A, SC in each ST across. CH 1 and turn. (115 SC)
Row 5: With Yarn A, STSC in the first ST and DC in each remaining ST across. Change to Yarn B, cut Yarn A, CH 2, and turn. (115 STS)
Row 6: With Yarn B, HDC in the first ST. *Skip the next ST, 2 HDC in the next ST; rep from * until 2 STS remain. Skip the next ST and HDC in the last ST. Change to Yarn D, cut Yarn B, CH 2, and turn. (114 HDC)
Row 7: With Yarn D, work 2 HDC in the space between the first HDC and the next 2-HDC group. Work 2 HDC in each space between the 2-HDC groups across, then work 2 HDC in the space between the last 2-HDC group and the final HDC. HDC in the last ST. Change to Yarn E, cut Yarn D, CH 1, and turn. (115 HDC)
Row 8: With Yarn E, SC in each ST across. Change to Yarn C, cut Yarn E, CH 1, and turn. (115 SC)
Rows 9–11: Repeat Rows 3–5. At the end of Row 11, change to Yarn E, cut Yarn A, and turn.
Row 12: With Yarn E, (STSC, 2 DC) in the first ST. *Skip the next 2 STS, SC in the next ST, skip the next 2 STS, 5 DC in the next ST; rep from * until 6 STS remain. Skip the next 2 STS, SC in the next ST, skip the next 2 STS, then work 3 DC in the last ST. Change to Yarn D, cut Yarn E, CH 1, and turn. (115 STS)
Row 13: With Yarn D, SC in the first ST. *Skip the next 2 STS, 5 DC in the next ST, skip the next 2 STS, SC in the next ST; rep from * across. Change to Yarn B, cut Yarn D, CH 1, and turn. (115 STS)
Row 14: With Yarn B, rep Row 12. Change to Yarn A, cut Yarn B, CH 1, and turn. (115 STS)
Row 15: With Yarn A, SC in each of the first 2 STS. *HDC in the next ST, DC in the next ST, HDC in the next ST, SC in each of the next 3 STS; rep from * across, ending with SC in each of the last 2 STS. CH 1 and turn.
Row 16: With Yarn A, SC in each ST across. CH 1 and turn. (115 SC)
Row 17: With Yarn A, STSC in the first ST, then DC in each ST across. Change to Yarn B, cut Yarn A, CH 1, and turn. (115 STS)
Rows 18–120: Rep Rows 2–17, ending with Row 8. At the end of Row 120, change to Yarn C, cut Yarn E, CH 1, and turn.
Row 121: With Yarn C, SC in each ST across. Change to Yarn A, cut Yarn C, CH 1, and turn. (115 SC)
Row 122: With Yarn A, SC in each ST across. Do not cut the yarn or turn. Weave in all ends before crocheting the border.
Step 2— Crochet the Border
With Yarn A still attached:
Rnd 1
- CH 1, then SC in the last ST worked on Row 122.
- Down the first side: Work SC evenly along the row ends. I worked about 2 SC in each DC row and 1 SC in each other row. Make sure the total number of SC along this side is even before the corner. In the corner, work (SC, CH 1, SC).
- Across the foundation edge: SC in each CH across to the next corner. In the corner, work (SC, CH 1, SC).
- Up the other side: Work SC evenly along the row ends as before. In the corner, work (SC, CH 1, SC).
- Across the top edge: SC in each ST across to the starting corner. Do not join; continue to Rnd 2.
Rnd 2
- Work (SC, CH 1, SC) in the starting corner CH-1 SP.
- Along each side: *Skip the next ST, work (SC, CH 1, SC) in the next ST; rep from * to the next corner.
- At each corner: Work (SC, CH 1, SC) in the CH-1 SP.
- When you return to the starting corner, join with a SL ST to the first SC. Fasten off and weave in all ends.
I offer full support to help you with any questions or challenges you might have. Feel free to drop your comments in the section below or join our Facebook group, where I, along with my wonderful testers and community members, will be more than happy to assist you!



I love this pattern
Thank you so much! I’m so glad to hear that. 🙂