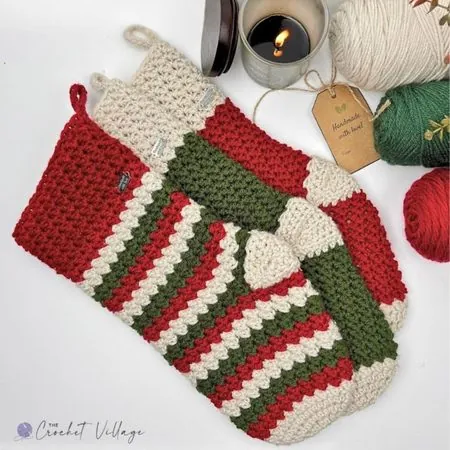
Want to crochet your own Christmas stocking? This free crochet Christmas stocking pattern will help you create a large, textured stocking full of holiday charm that you’ll enjoy making and be proud to display. The pattern is perfect for intermediate crocheters or adventurous beginners looking for their next challenge. You’ll end up with a generously sized stocking that holds plenty of treats and adds beautiful handmade warmth to your Christmas décor.
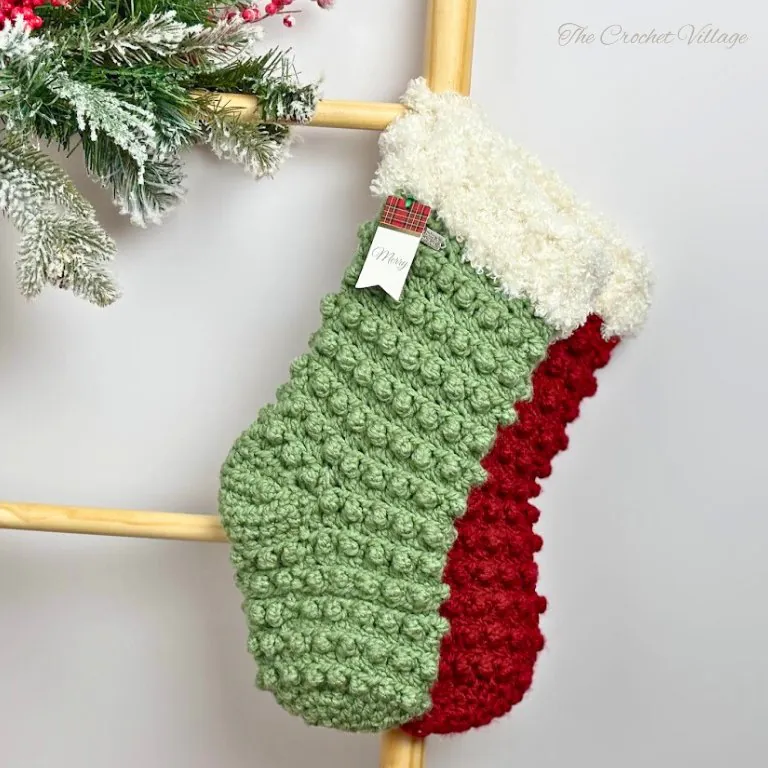
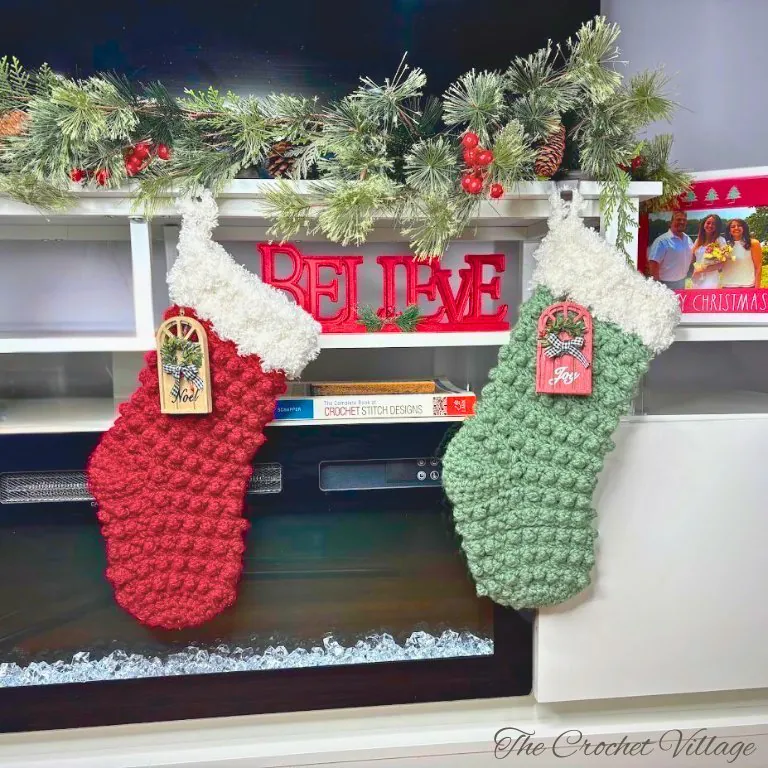
I’m so excited to share my free Winter Cove Christmas stocking pattern with you – a beautiful, large, textured crochet stocking that’s full of holiday charm and perfect for intermediate crocheters or adventurous beginners!
This easy Christmas stocking pattern creates a stunning bubble-like texture using simple treble crochet stitches (no worries, it’s not a yarn eater).
I used #5 bulky yarn to give the stocking great structure, but you can easily double up #4 worsted weight if that’s what you have on hand.
The pattern is pretty straightforward and creates a generously sized stocking with enough room for all those special holiday treats.
I finished mine with a cozy faux fur trim for a rustic, fun touch, but you can customize it with a few rows of single crochet in back loops only or maybe alternating back post and front post double crochet – whatever matches your style!
Keep reading to find the free pattern, or if you prefer a printable add-free PDF, you can find it on Etsy, Ravelry, and my online store!
Before we start this Free Crochet Christmas Stocking Pattern
Free Crochet Stocking Pattern: Start Here
Recommended Yarn:
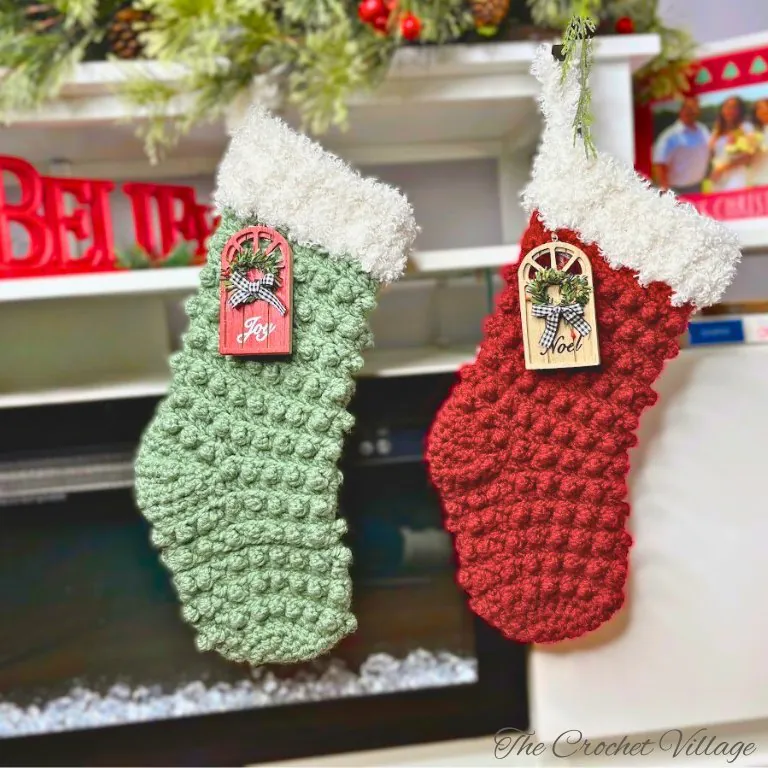
- 🧶Loops & Threads Charisma, #5 bulky weight yarn. Colors shown: Sage and Red.
- 🧶 Lion Brand Yarn Go for Faux Bulky Yarn, #6 super bulky weight yarn. Color shown: Baked Alaska
Yardage: About 180 yds plus 3 yds of faux fur yarn.
Yarn Substitution
- Premier Yarns Basix Chunky Yarn
- I Love This Chunky Bulky Yarn
- Paintbox Simply Chunky
- Lion Brand Hue + Me Yarn
Crochet Hooks
- (K) 6.5mm
- 9 mm for the trim
Other Materials
- Faux leather tags
- Tapestry needle to weave in ends
Abbreviations
- CH: Chain
- ST: Stitch
- SL ST: Slip stitch
- SC: Single crochet
- HDC: Half double crochet
- DC: Double crochet
- TR: Treble crochet
- SP: Space
- HDC2tog: Two half double crochets together
- HDC INC: Half double crochet increase
- YO: Yarn over
- Rnd: Round
- Rep: Repeat
- SM: Stitch marker
- MS: Marked stitch
Finished Dimensions: W = 6 ½“/ H = 16“
Gauge: 4” square = 8 rows and 11 pattern ST
Pattern Notes
- This pattern is written in US terms.
- Skill level: Intermediate.
- This stocking is crocheted from the toe up. It’s made up of four connected parts: the toe, the foot, the heel, and the leg.
- All parts of the stocking are crocheted in rounds except the heel, which is crocheted in rows.
- When you crochet the heel, you should turn your work at the end of the rows.
Special Stitches
- HDC2tog: Yarn over, insert your hook into the stitch, and pull up a loop; insert your hook into the next stitch, pull up a loop. You now have 4 loops on your hook. Yarn over and pull through all 4 loops.
- HDC INC: Place two HDC in the same stitch.
Winter Cove Crochet Christmas Stocking Pattern
This free crochet Christmas stocking pattern has everything you need to make your own Winter Cove stocking. In this post, you’ll find the complete materials list and detailed step-by-step instructions to guide you through every stitch.
If you’d prefer a printable, ad-free PDF, you can grab a copy for a small fee in any of my shops—links are below.
Prefer A Printable PDF?
Treat yourself to the ad-free, beautifully formatted version of this design for a small fee!
Step 1- Crochet the toe
Make a magic circle then,
Rnd 1: 8 HDC in the circle, join with a SL ST into the 1st HDC, CH1. (8)
Rnd 2: 2 HDC in every ST around, join with a SL ST into the 1st HDC, CH1. (16)
Rnd 3: *2 HDC in next ST, HDC in next ST,* rep *to* around, join with a SL ST into the 1st HDC, CH1. (24)
Rnd 4: *2 HDC in next ST, HDC in next 2 ST,*rep *to* around, join with a SL ST into the 1st HDC, CH1. (32)
Close the magic circle by pulling the tail tight, then secure it with a few knots.
Step 2- Crochet the foot
Rnd 5: *TR in the next ST, SL ST in the next ST,* rep * to* around, join with a SL ST into the 1st TR, CH1. (32)
Rnd 6: HDC BLO in same ST as the SL ST, HDC in BLO in every ST around, join with a SL ST into the 1st HDC, CH1. (32)
Rnd 7-14: Repeat 5-6, ending with row 6. Join the last row with a SL ST (place a SM here) CH1. Crochet the heel next.
Step 3 – Crochet the heel
You will switch from crocheting in rounds to rows. After finishing the heel, fold it inside the stocking. Attach one corner, crochet around to the other corner, and attach it. Then, resume working in rounds. The heel sides stay open until you close them at the end.
Row 1: HDC in same ST and each of the next 12 ST, place a SM in last ST, CH 1, turn. (13 HDC)
Row 2: HDC2tog, HDC in each of next 9 ST, HDC2tog, CH 1, turn. (11 HDC)
Row 3: HDC2tog, HDC in each of next 7 ST, HDC2tog, CH 1, turn. (9 HDC)
Row 4: HDC2tog, HDC in each of next 5 ST, HDC2tog, CH 1, turn. (7 HDC)
Row 5: HDC INC in 1st ST, HDC in each of the next 5 ST, HDC INC in last ST, CH 1, turn. (9 HDC)
Row 6: HDC INC in 1st ST, HDC in each of the next 7 ST, HDC INC in last ST, CH 1, turn. (11 HDC)
Row 7: HDC INC in 1st ST, HDC in each of the next 9 ST, HDC INC in last ST, CH 1, do not turn. (13 HDC). Join the heel next.
Step 4 – Join the heel
**A full photo tutorial is available in the premium version of the pattern.**
- Fold the heel in half, toward the inside of the stocking, SL ST into the base of the heel (in the MS), CH 1, *TR in the next ST, SL ST in the next ST,* rep *to* around until you reach the next MS. (19 ST)
- Attach the other end of the heel: Insert your hook into the (MS) and into the corner stitch of the heel. YO and complete a SL ST (counts as a ST).
- *TR in the next HDC, SL ST in the next HDC,* rep until you reach next (MS), join with SL ST, CH 1. (13 ST).
- Note: This is your new starting point. From here on, crochet in rounds. Leave the sides of the heel open; you will close them later. Next, crochet the cuff.
Step 4 – Crochet the cuff
Rnd 15: HDC in BLO in same ST as the SL ST, HDC in BLO in each ST around, join with a SL ST into the 1st HDC, CH1. (32)
Rnd 16: *TR in next ST, SL ST in the next ST,* rep * to* around, join with a SL ST into the 1st TR, CH1. (32)
Rnd 17– 28: Repeat Rnd 15 – 16. At the end of the last row, fasten off and cut your yarn. Crochet the fur trim next.
Step 5: Crochet the fur trim
Rnd 29: With a 9mm hook, slip knot with faux fur yarn, then SL ST into the top corner (on the heel side),*CH1, skip next ST, SC in next ST.* Rep * to * around. Crochet the next rounds continuously.
Rnd 30 – 31:*CH1, SC in next CH-1 sp;* repeat from * to * around. At the end of the last round, SL ST in last ST, do not cut the yarn. Crochet the hanger loop next.
Make a hanger loop: CH 12, SL ST in the 1st ST, fasten off.
Weave in all ends, and you are all done!
I offer full support to help you with any questions or challenges you might have. Feel free to drop your comments in the section below or join our Facebook group, where I, along with my wonderful testers and community members, will be more than happy to assist you!