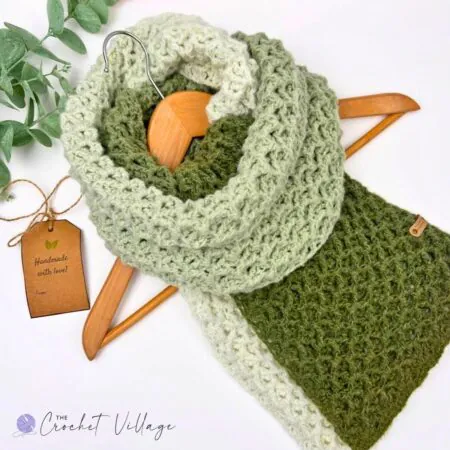
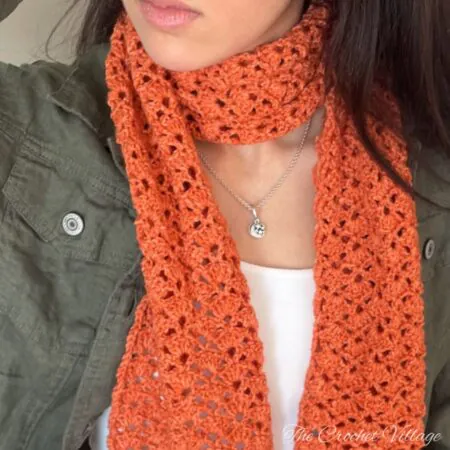
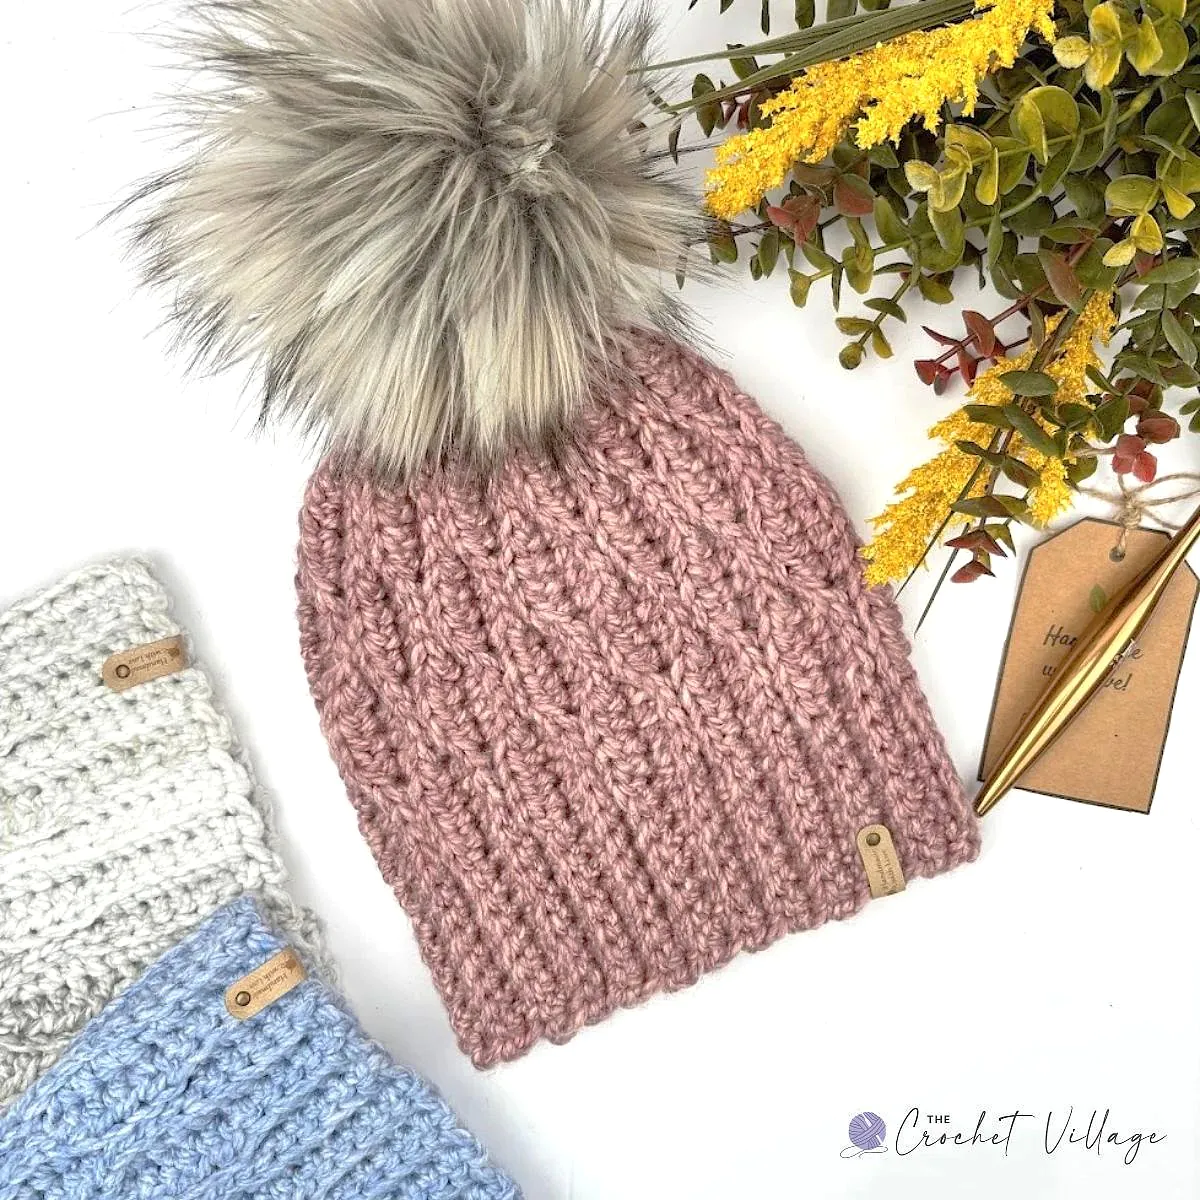
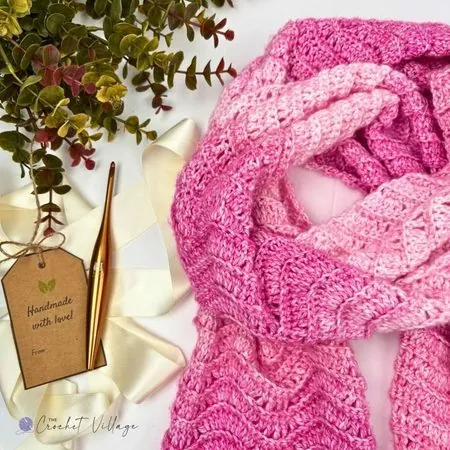
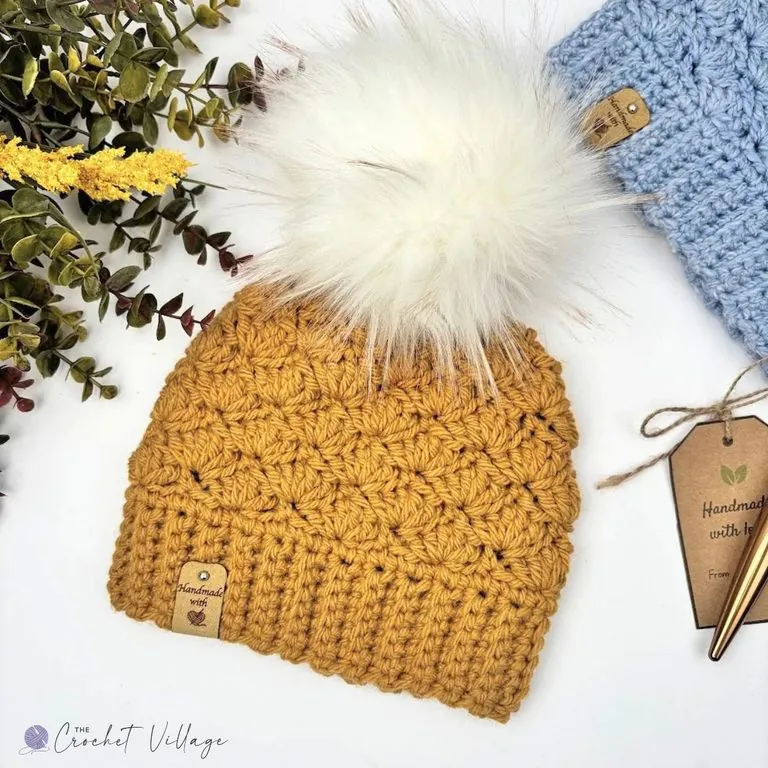
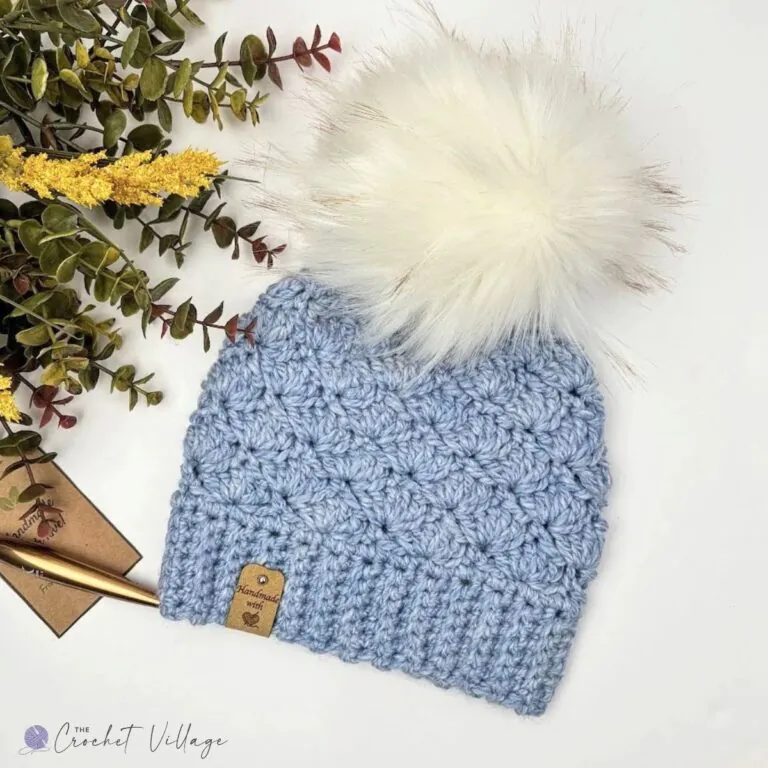
Make the Dublin Hat with this free chunky crochet pattern — it’s easy, stylish, and works up in about an hour! Perfect for yourself or as a last-minute gift, this cozy hat is a winter essential.
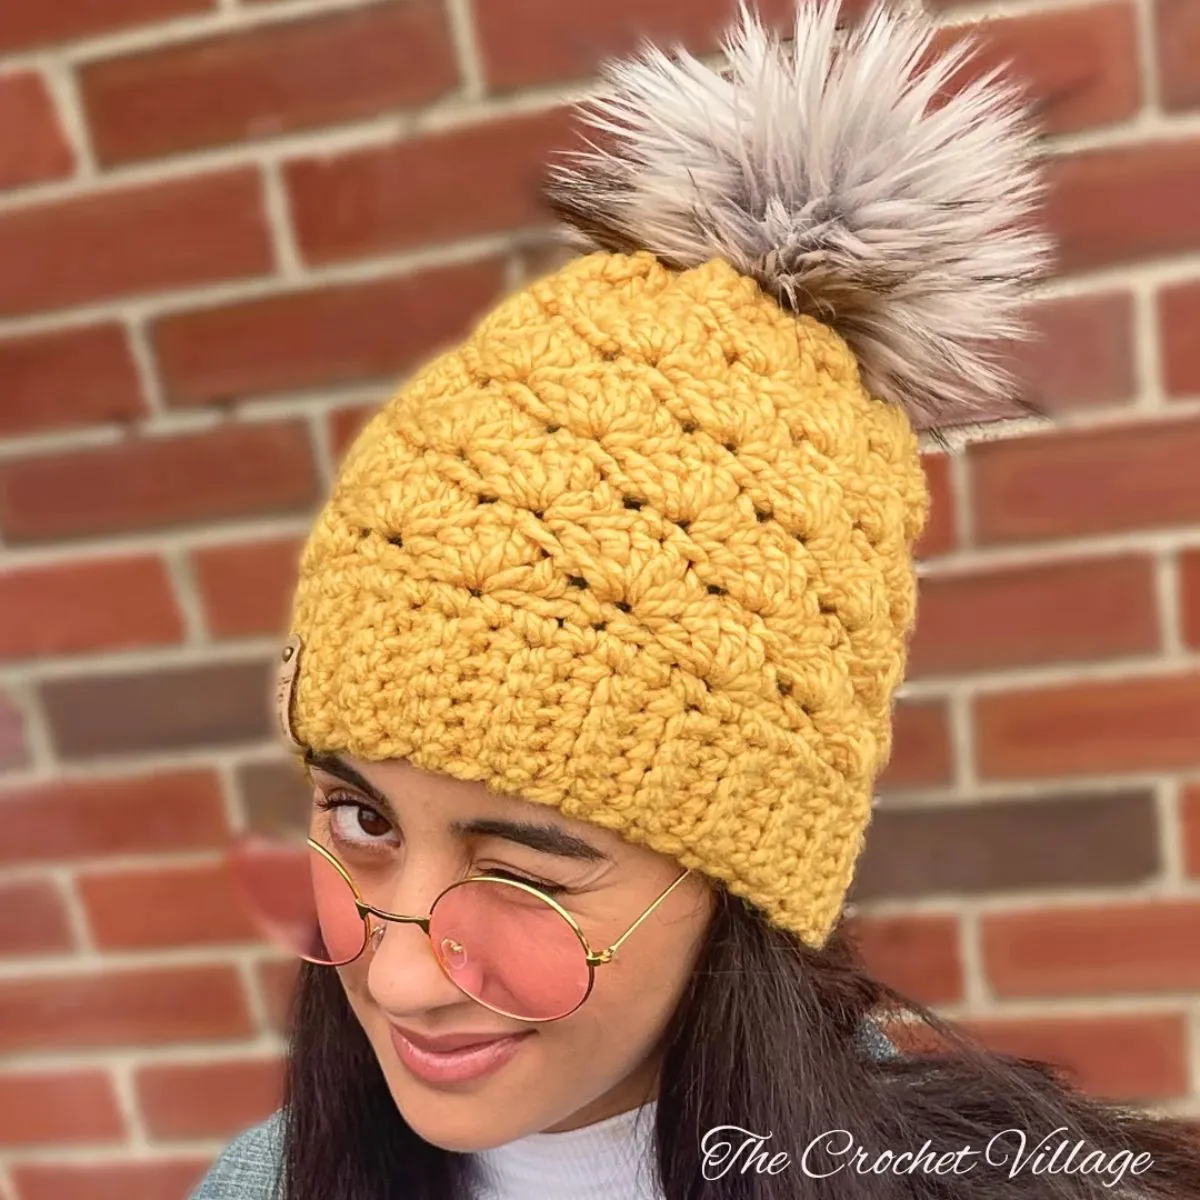
If you’re looking for a lovely chunky crochet hat that works up in about an hour — seamless, warm, and comfy, with the prettiest shell stitch texture — let me introduce you to my Dublin Hat! It’s the kind of project you can start after dinner and finish before bed, and honestly, it looks so much fancier than the hour you put into it.
This free crochet chunky hat pattern is worked from the brim up. You start with a snug, comfy ribbed brim, then work the body seamlessly in the round — that’s the part I love most! A few decrease rows at the end shape the crown, and that’s it. No seaming, no sewing up the back, no awkward join running down the side.
I used a #5 bulky yarn, which makes this hat super warm — exactly what you need for a brutal New England winter — and it’s a big part of why it works up so fast. The pattern is suitable for advanced beginners and beyond, so if you’re comfortable with the basics, you’ll be just fine.
Honestly, this is the kind of quick crochet hat pattern you keep reaching for when you need a last-minute gift or you’re stocking up for a craft market. I’ve lost count of how many I’ve made.
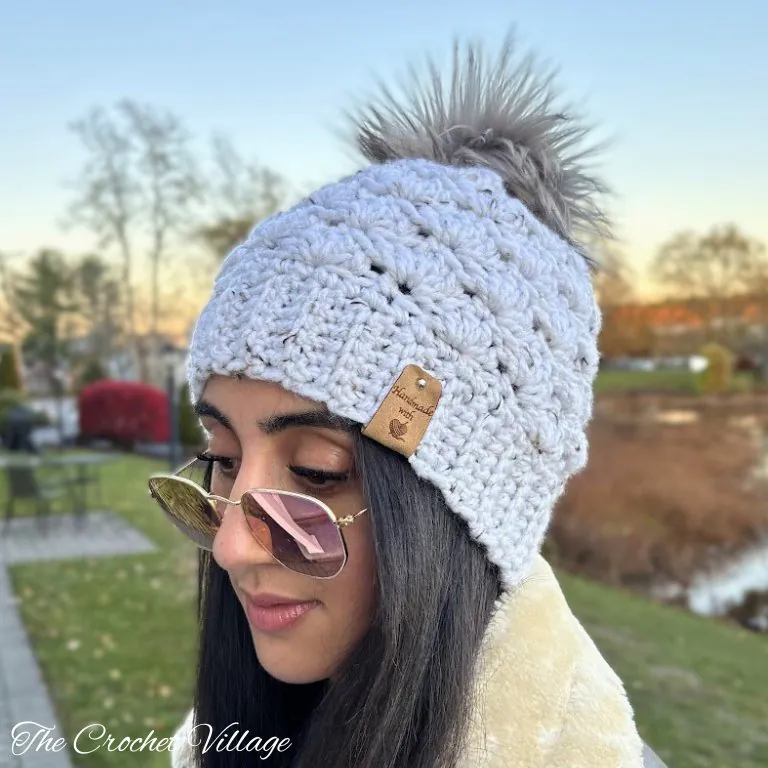
Why You’ll Love This Free Chunky Crochet Hat Pattern
- Works up in about an hour — a one-sitting project
- Completely seamless — worked in the round, so no sewing up the back
- Snug ribbed brim — stays put and keeps your ears warm
- Pretty shell stitch body — gorgeous texture
- Super warm — #5 bulky yarn makes it thick, cozy, and winter-ready
- Advanced beginner friendly — if you know the basics, you’ve got this
- Perfect for gifting — fast enough for last-minute presents and craft markets
- Three sizes available — small for kids, medium for teens and most women, large for bigger heads
In this post, I’ll share everything you need — yarn, hook, gauge, and full step-by-step instructions — to make your own bulky yarn crochet hat in teen / small adult size (which fits most women). Keep reading for the free pattern!
Prefer an Ad-Free Printable PDF?
The full pattern is always free right here on the blog!
But if you’d like more sizes, the ad-free printable PDF is written for three sizes — child, teen/small adult, and adult medium and large — plus extra tips for customizing the fit even further. It’s available in my online shops listed below for a small fee, and it helps me keep offering free patterns here on the blog, which I truly appreciate.
Prefer A Printable PDF?
Treat yourself to the ad-free, beautifully formatted version of this design for a small fee!
Free Crochet Bulky Hat Pattern Starts Here
RECOMMENDED YARN: Any #5 bulky-weight yarn. I used Lion Brand Hue + Me Yarn. Color shown: Mustard
YARDAGE: Teen/Adult small: 112 yd
YARN SUBSTITUTION
- Bernat Symphony Yarn
- Red Heart Hygge Yarn
- Bernat Softee Chunky
- Lion Brand Yarn Mandala Impressions
- Premier Yarns Rustic Yarn
CROCHET HOOKS
- 6 mm for the brim
- 8 mm for the body
GAUGE
- Brim: 2”x2”/ 6 mm hook = 6 rows and 6 ST
- Body: 2”x2” / 8 mm hook = 3 rows and 5 DC and 1 SC
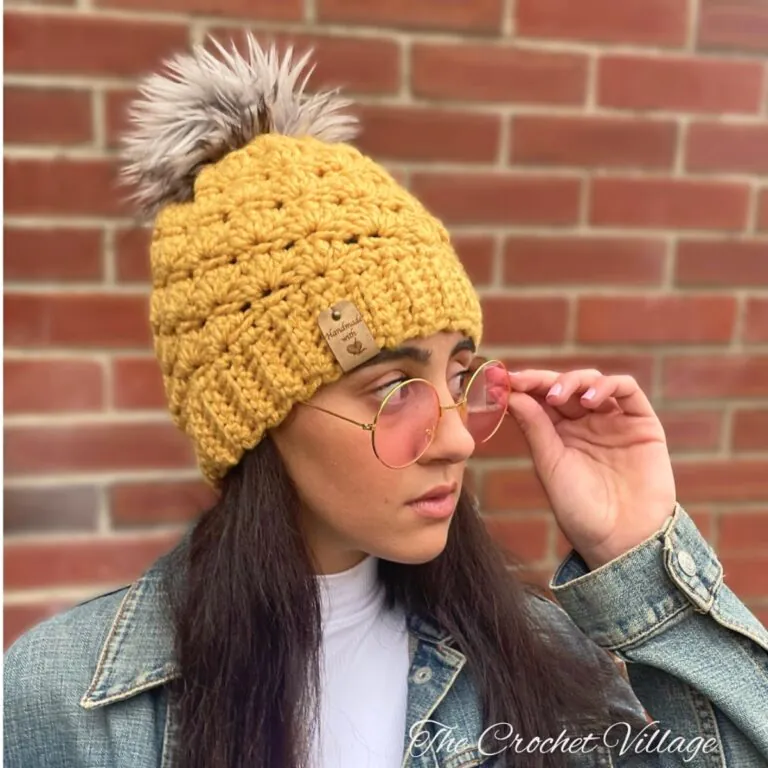
Pattern Notes
- TERMINOLOGY: Written in US terms.
- DIFFICULTY: Easy to intermediate.
- CONSTRUCTION:
- This hat is crocheted from the bottom up.
- The brim is worked in rows, while the body of the hat is crocheted in continuous spiral rounds.
- Do not join the rounds; instead, place a stitch marker in the first stitch of each round and move it up as you work to help keep track of your progress
- READING THE PATTERN:
- The numbers at the beginning of each row are the row number.
- The numbers at the end of each row are the stitch count for that row.
- SIZING: The free pattern here on the blog is written for one size: Teen / Adult Small.
- Fits head circumference: 20″ – 22″ (about ages 11 and up)
- Finished measurements: 9″ wide × 8″ tall
- Measurements are taken with the hat laid flat and unstretched.
- ABBREVIATIONS
- CH: Chain
- ST: Stitch
- STS: Stitches
- SL ST: Slip stitch
- SC: Single crochet
- SC2TOG: Single crochet 2 together
- DC: Double crochet
- BLO: Back loop only
- YO: Yarn over
- RND: Round
- REP: Repeat
- SPECIAL STITCHES:
- SC2 tog: Insert the hook into the stitch, pull up a loop; insert the hook into the next stitch, pull up a loop; YO, pull through all loops.
Favorites
Step 1 – Crochet the Brim
Row 1: With a 6 mm hook, CH 8. SC in the 2nd CH from the hook and in each CH across. CH 1, turn. 7 STS
Row 2: SC in the first ST, SC BLO in each of the next 5 STS, and SC in the last ST. CH 1, turn. 7 STS
Rows 3-51: Repeat Row 2. Do not fasten off after the last row. 7 STS
Note: The brim should measure about 17 in long, unstretched. If your measurement differs significantly, adjust your hook size. Gauge: 2″ = 6 rows and 6 STS in SC BLO
Step 2 – Join the Brim
Fold the brim in half and align the first and last rows. SL ST through the BLO of the first ST and the matching foundation CH across. Turn inside out so the seam is inside — this is now the right side.
Step 3 – Crochet the Body
Work in continuous spiral rounds. Do not join. Place a SM in the first ST and move it up each round to keep track of the round start.
Rnd 1: With an 8 mm hook, CH 1. Work 1 SC in the end of each brim row. Do not join. 51 SC
Rnd 2: *SC in next ST, skip next 2 STS, 5 DC in next ST, skip next 2 STS, rep from *; ending the repeat with a 5 DC in the beginning SC. Do not join. [9 groups of 5 DC]
Rnds 3-8: *Skip next 2 STS, SC in next ST, skip next 2 STS, 5 DC in next ST, rep from * around. Do not join. [9 groups of 5 DC]
Step 4 – Close the Hat
Work decrease in spiral. Do not join.
Rnd 9: *SC in next ST, skip next 2 STS, 3 DC in next ST, skip next 2 STS; rep from * around, ending with 3 DC. Do not join. [9 groups of 3 DC]
Rnd 10: *SC in next ST, skip next ST, 2 DC in next ST, skip next ST; rep from * around, ending with A SC. Do not join. [9 groups of 2 DC]
Rnd 11: Keep tension a little tight. *SC2TOG over next 2 STS, SC in next ST, rep from * around. Do not join. 17 STS
Rnd 12: SC2TOG over next 2 STS, rep from * to * around. Do not join. 9 STS
Fasten off, leaving a 6-8 in tail to weave through the remaining STS and pull tight to close the top opening. Weave in any remaining ends. Attach a pom-pom and a tag, if desired.
I offer full support to help you with any questions or challenges you might have. Feel free to drop your comments in the section below or join our Facebook group, where I, along with my wonderful testers and community members, will be more than happy to assist you!