This easy crochet pumpkin pattern — I’m calling it the Old Orchard Pumpkin —is free, comes in 3 sizes, and works up in an afternoon — and I’ll be honest, it might be my all-time favorite fall make.
There’s just something about those rich autumn colors and that chunky, squishy texture that makes me so happy. I made one. Then I made another. And before I knew it, I had a whole pumpkin patch sitting on my kitchen counter!
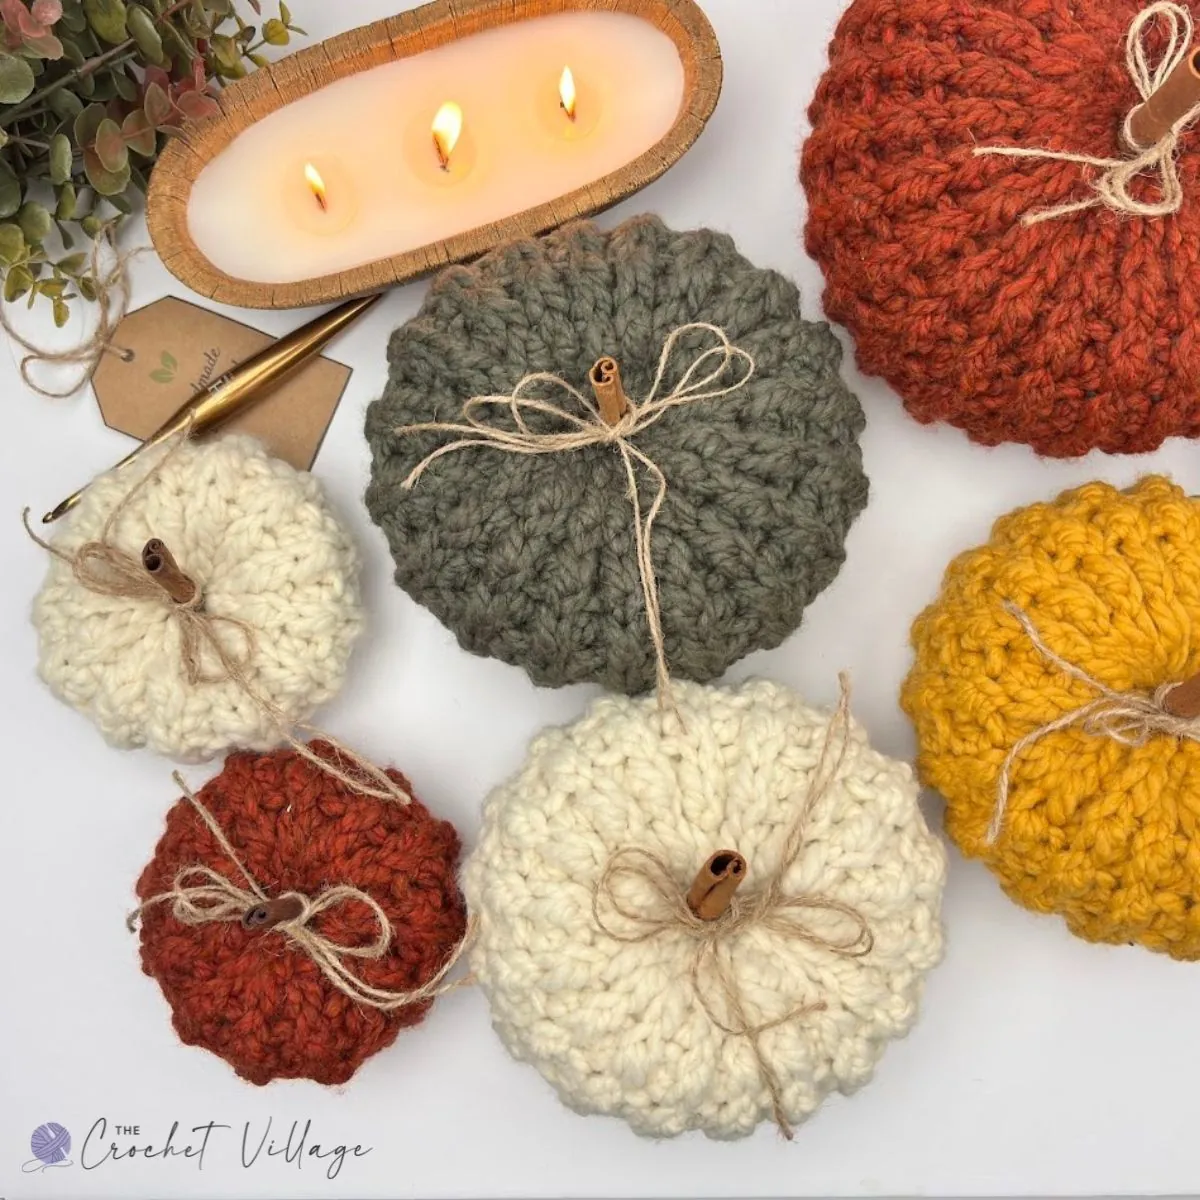
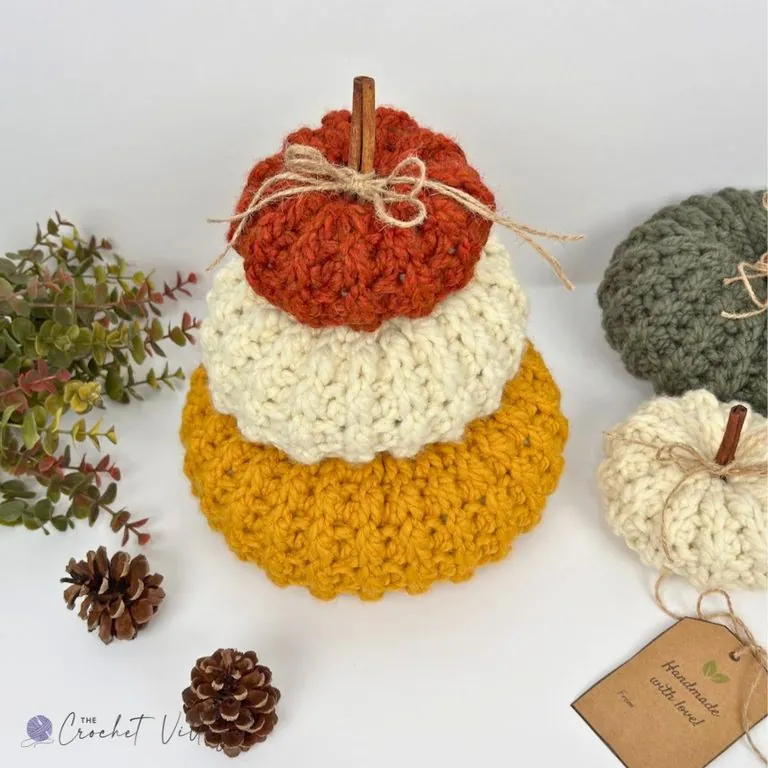
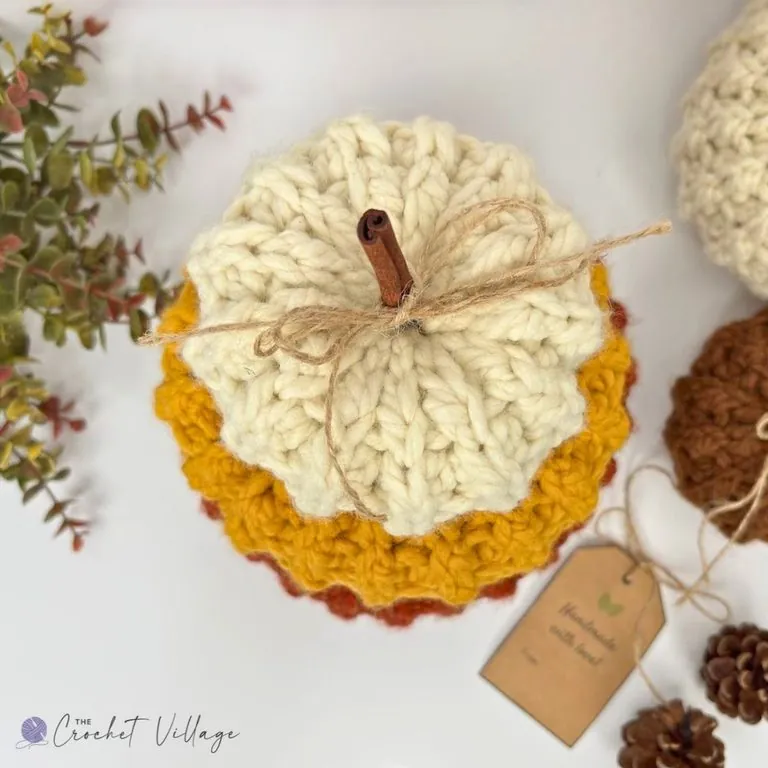
I stacked a few into a crochet pumpkin centerpiece for my dining table, and the rest are scattered around the house — lined up on the mantel, tucked into a bookshelf, and hanging out in a wooden dough bowl by the front door. They just make me smile every single time I walk past them.
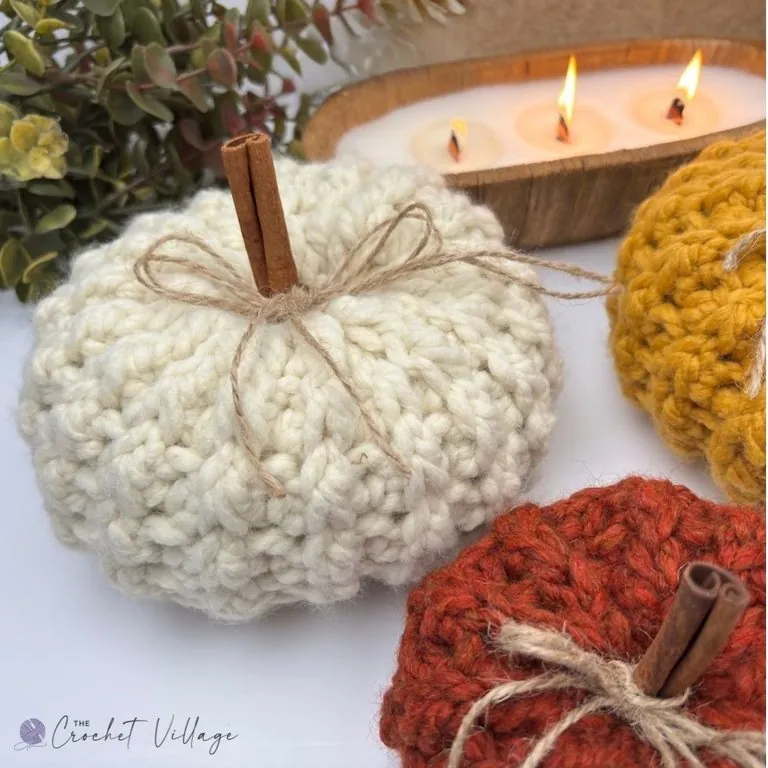
I wrote the pattern in three sizes — small, medium, and large — so you can mix and match! Make a set in one color for a soft, neutral look, or go all out with the full fall palette like I did: sage green, burnt orange, mustard yellow, warm brown, and creamy off-white.
Old Orchard crochet pumpkins are a joy to make, and once they’re done, they become the handmade fall decor you’ll reach for every single September.
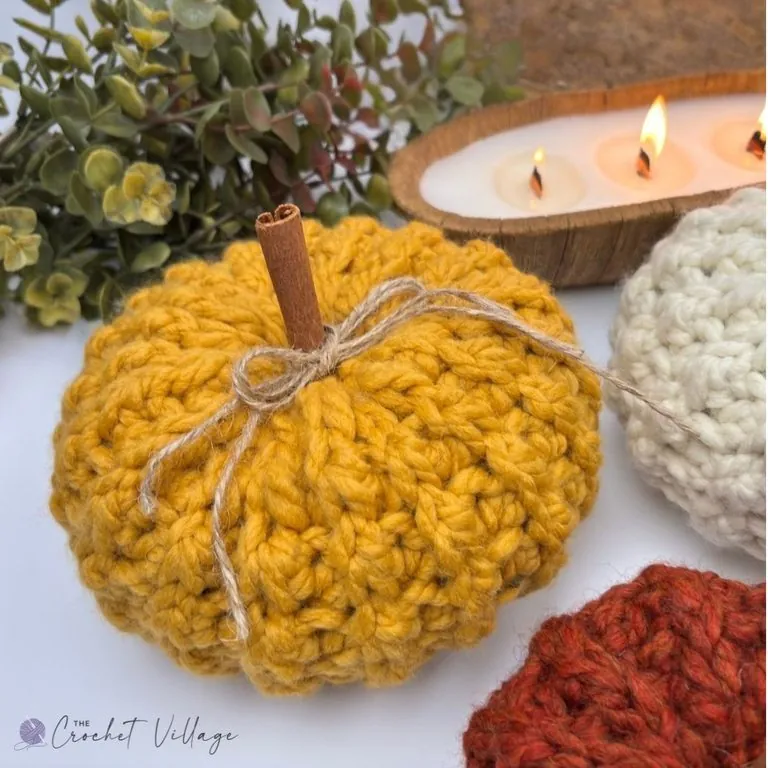
Easy Crochet Pumpkin Decor Ideas
New to crochet? You’re in exactly the right place. This is a genuinely beginner-friendly crochet pumpkin, and here’s why:
- The stitch is a simple one-row repeat — learn it once and you’re set for the whole project
- The pumpkin is crocheted flat as a rectangle, then assembled at the end. No working in the round, no fussy shaping, no counting increases
- It works up fast
I made mine in #6 super bulky yarn, and I’d really encourage you to do the same. First, chunky crochet pumpkins like these let you make an entire collection in a weekend. Second, the stitch texture is so much more defined in super bulky — you get gorgeous depth and dimension, and these pumpkins look far more impressive than the effort they take.
Grab your yarn and let’s make some pumpkins!
Prefer A Printable PDF?
Treat yourself to the ad-free, beautifully formatted version of this design for a small fee!
The Old Orchard Pumpkin — Free Pattern, Start Here
Recommended yarn: Any #6 super bulky-weight yarn works. I used Lion Brand Wool-Ease Thick & Quick Yarn. Colors shown:
- Fisherman
- Seaweed
- Gingerbread
- Spice
- Mustard
Yardage: 2 skeins (212 yards each) make 3 pumpkins — small, medium, and large.
Crochet hook: L-8mm
Gauge: Not important for this project, but 4”x 4” = 10 rows of 11 ST (pattern stitch)
Yarn substituion
Other materials
- Stuffing (poly-fil)
- Jute Twine 2mm string
- Cinnamon Sticks
- Hot Glue
- Scissors
- Tapestry needle
Abbreviations
- CH: Chain
- ST: Stitch
- SLST: Slip stitch
- HDC: Half double crochet
- Rep: Repeat
- RS: Right side
- WS: Wrong side
Pattern notes
- Terminology: Written in US terms
- Difficulty: Easy
- Sizes: The pattern is written for three pumpkin sizes.
- Small: 5 inches in diameter
- Medium: 7 inches in diameter
- Large: 9 inches in diameter
- Construction: The pumpkin is worked flat as a rectangle, then seamed to form a tube. The top and bottom openings are closed to form the pumpkin.
- Finished rectangle measurements (flat):
- Small: 9 x 5 inches (flat)
- Medium: 15 x 7 inches (flat)
- Large: 19 x 8 inches (flat)
Free Chunky Crochet Pumpkin Pattern — 3 Sizes
Crochet the small-size pumpkin
CH 12,
Row 1 (RS): SL ST in 2nd CH from hook, *HDC in next CH, SL ST in next CH, rep from * across, ending with SL ST in the last CH, CH 1, turn. (11 STS)
Row 2 (WS): *SL ST BLO in the next ST, HDC BLO in the next ST, rep from * across, ending with SL ST BLO in the last ST, CH 1, turn. (11 STS)
Row 3–26: Rep Row 2. At the end of the last row, fasten off, cut yarn, leaving a long tail for seaming (approximately twice as long as your pumpkin’s width)
Assembly
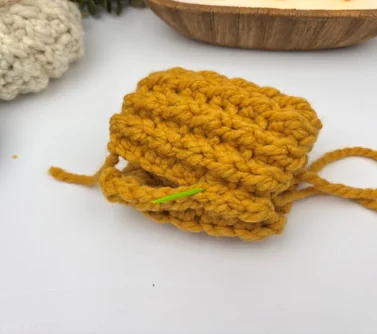
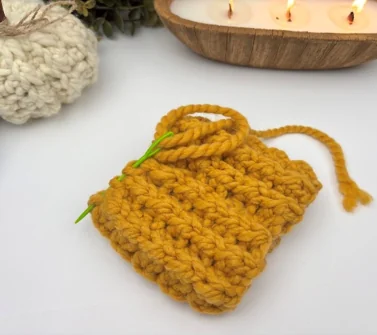
- Seaming the side
- Thread the long tail onto a tapestry needle.
- Bring the last row around to meet the first row, right sides out. Join with small, even running stitches, aligning the last and first rows as you go and keeping the ST pattern continuous, so no seam shows
- When you reach the end, secure with a knot. Do not cut the yarn. This will be the bottom of the pumpkin.
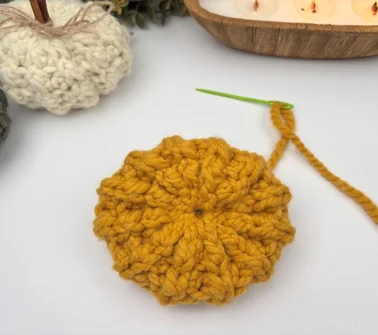
- Closing the Bottom
- Using the same yarn, work a running stitch around the bottom edge and pull tight to close. Secure with a knot and cut the yarn. Weave in ends.
- Finishing
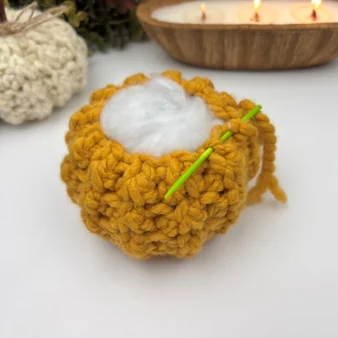
- Fill the pumpkin with poly-fil stuffing.
- Cut a piece of yarn approximately 22 inches long and thread it onto the tapestry needle. (Use 26″–30″ for the medium and large sizes.)
- Thread the yarn all the way around the top opening of the pumpkin.
- Pull the yarn to close the hole almost all the way, leaving enough room for your cinnamon stick. Secure with a knot. Do not cut the yarn.
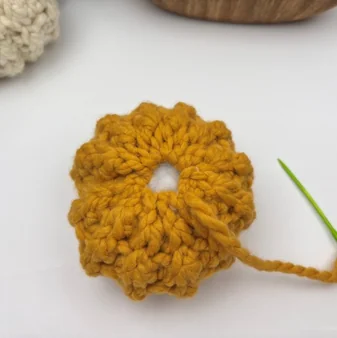
- Insert your cinnamon stick in the hole and secure it with hot glue. Draw the top of the pumpkin snug around the stick with a few stitches.
- Sew from the top of the pumpkin down to the bottom 2–3 times, pulling snug, to make the pumpkin dip in the middle near the cinnamon stick. (Go in through the top center, pass the needle through the pumpkin, and pull out at the bottom center.) Secure with a knot and weave in your ends.
Tie a small jute twine bow around the base of the stem, tuck in a few faux fall leaves if you like, and trim the ends. And you’re all done! 🎃
Crochet the medium-size pumpkin
Row 1: CH 18. SL ST in 2nd CH from hook, SL ST in next CH, *HDC in next CH, SL ST in next CH, rep from * across to last 2 CH, SL ST in last 2 CH, CH 1, turn. (17 STS)
Row 2: SL ST BLO in first 2 STS, *HDC BLO in next ST, SL ST BLO in next ST, rep from * across to last 2 STS, SL ST BLO in last 2 STS, CH 1, turn. (17 STS)
Rows 3–38: Repeat Row 2. At the end of the last row, fasten off, cut yarn, and leave a long tail.
For assembly, follow the same instructions as the small size.
Crochet the large-size pumpkin
Row 1: CH 22. SL ST in 2nd CH from hook, SL ST in next 2 CH, *HDC in next CH, SL ST in next CH, rep from * across to last 4 CH, HDC in next CH, SL ST in last 3 CH, CH 1, turn. (21 STS)
Row 2: SL ST BLO in first 3 STS, *HDC BLO in next ST, SL ST BLO in next ST, rep from * across to last 4 STS, HDC BLO in next ST, SL ST BLO in last 3 STS, CH 1, turn. (21 STS)
Rows 3–52: Repeat Row 2. At the end of the last row, fasten off, cut yarn, and leave a long tail.
For assembly, follow the same instructions as the small size.
I really hope you love this easy crochet pumpkin pattern as much as I do. It’s the kind of quick crochet fall project you’ll come back to year after year — and I promise, you won’t be able to stop at one.
If you make a few, I’d love to see them! Tag me @thecrochetvillage or leave a comment below and tell me what colors you went with. Seeing your color combos is genuinely my favorite part of sharing free patterns.
Happy hooking! 🎃
I offer full support to help you with any questions or challenges you might have. Feel free to drop your comments in the section below or join our Facebook group, where I, along with my wonderful testers and community members, will be more than happy to assist you!