Turn your leftover yarn into a cozy Juliette Ear Warmer! This free crochet pattern is quick, easy, and perfect for showcasing soft, self-striping yarn. Written in 9 sizes from preemie to adult, it’s beginner-friendly and fun to crochet. Pair it with a matching scarf for a coordinated set or gift it to someone special!
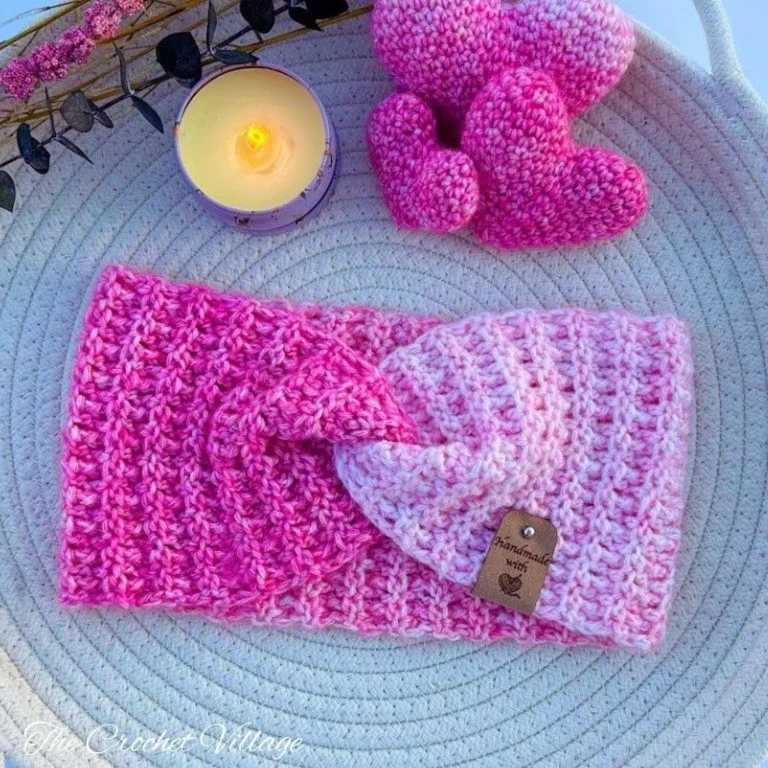
Juliette Ear Warmer Free Pattern
I had a little leftover yarn from my Darling Scarf — a gorgeous self-striping yarn in the prettiest shades of pink — and I just couldn’t let it go to waste. I had just enough for a small project, so I turned it into the Juliette Ear Warmer. And honestly? I love how it turned out.
This free crochet ear warmer pattern is perfect for a quick, easy project that uses up leftover yarn. It’s a simple crochet headband that’s fun to make, cozy to wear, and designed to let your beautiful yarn shine while keeping you warm and stylish.
I used a knit-like stitch pattern — a simple one-row repeat with a gorgeous texture. It’s actually the same stitch I’ve used in other designs, like my Winter Lodge Hat and Winterland Blanket. So if you love those, you’ll love this one too.

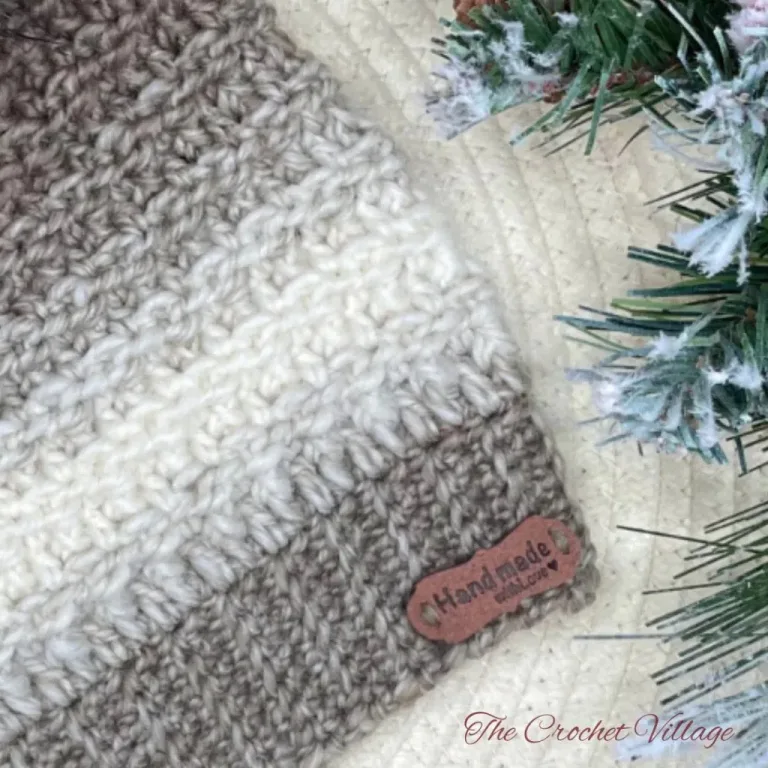
The pattern is beginner-friendly and comes in 9 sizes, from preemie to adult large. Whether you’re making it for a newborn, a Valentine’s gift for someone special, something to sell at a craft fair, or just for yourself, there’s a size for you.
Keep reading to find the free pattern, or if you prefer a printable add-free PDF, you can find it on Etsy, Ravelry, and my online store!
The Perfect Yarn for The Juliett ear warmer
Yarn choice makes a difference when you want to make a beautiful ear warmer with soft texture and a gentle stretch!
I used Loops & Threads self-striping lightweight DK yarn. It’s super soft, warm, easy to work with, and comes in some gorgeous colors. I chose lovely pink shades that flowed beautifully through the stitch pattern, and I absolutely loved how the colors changed across the fabric as I crocheted.
I actually used the same yarn in my Darling Scarf too… I just love these colors!
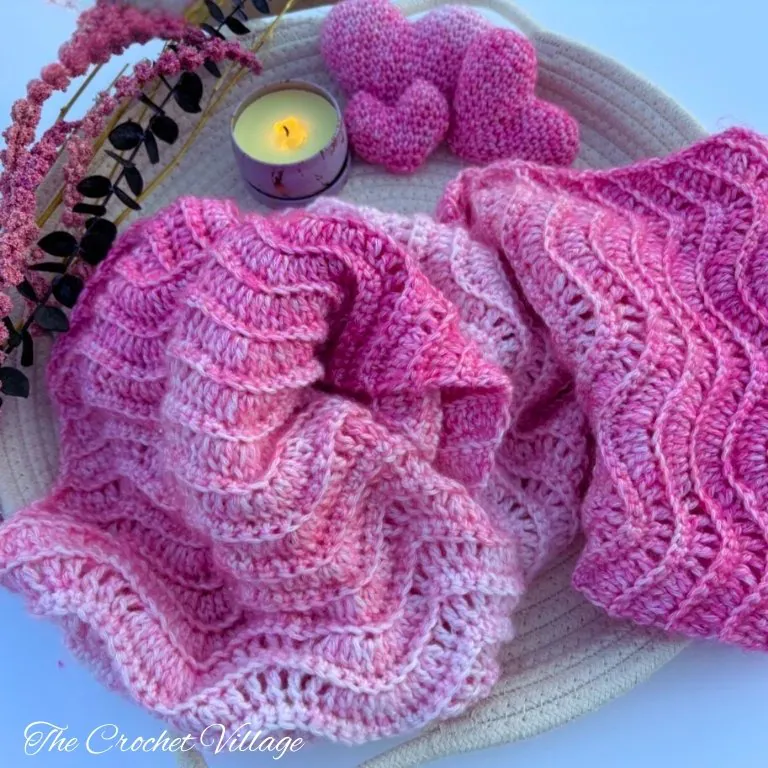
Of course, you can use other DK self-striping yarns as well. I’ve had great results with Premier Yarns Colorfusion DK or Lion Brand Mandala DK. They give you that same soft texture and those gorgeous, flowing color changes that make self-striping yarn so special.
Free crochet Juliette headband pattern – Start Here
Recommended yarn: 🧶Loops and Threads Soft Ombre. # 3 light-weight yarn. Colors shown: Dark pink/ Rose/Cream
Yarn substitution
- Lion Brand Ice Cream Baby Yarn
- Premier Yarns ColorfusionDK
- CARON Simply Soft Speckle Yarn
- Bernat Softee Baby Yarn
- Lion Brand Mandala DK Yarn
Yardage: About 125 yds
Crochet hook: 4 mm
Abbreviation
- CH: Chain
- ST: Stitch
- SC: Single crochet
- HDC: Half double crochet
- DC: Double Crochet
- BPDC: Back post double crochet
- Rep: Repeat
Gauge: 4” square = 18 ST and 12 rows
Measurements: 5” wide and 19” long, unstretched, and before sewing. Fits a medium adult size.
Pattern notes
- This pattern is written in US terms.
- Skill level: Intermediate.
- The ear warmer is crocheted widthwise.
- The pattern is written for an adult medium size, with a head circumference of 21 ½”.
- For other sizes, follow the provided instructions.
Special Stitches
Back post double crochet (BPDC): YO, insert your hook from back to front to back around the post of the stitch, YO, pull up a loop (3 loops on hook), YO, pull through 2 loops, YO, pull through last 2 loops.
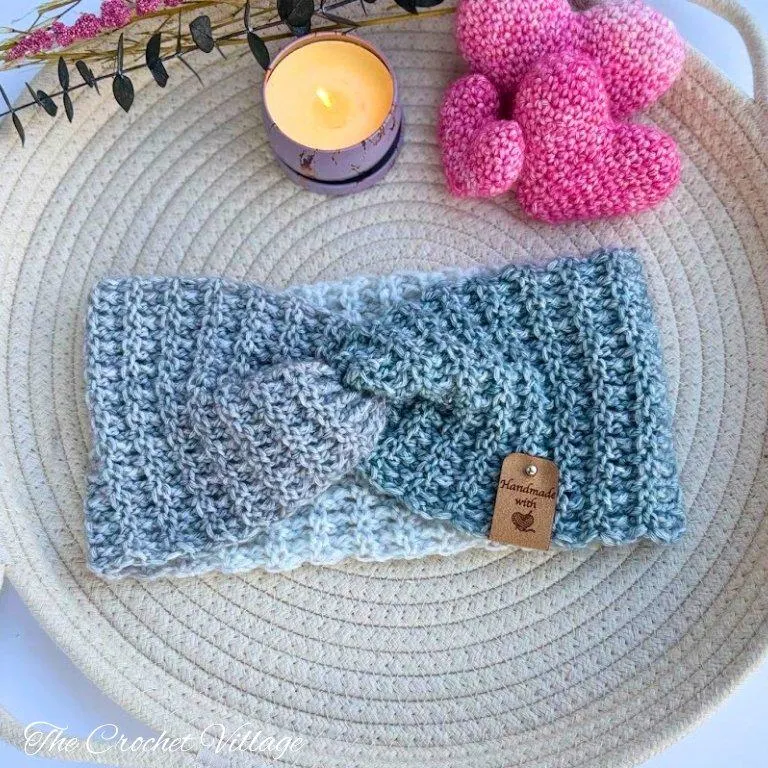
For other sizes
Check your gauge first. Refer to the sizing chart and select your size based on age or head circumference. Chain in a multiple of 2 + 3 until you reach the desired width (5” for larger sizes; 4” or 3” for smaller sizes).
Continue crocheting until you reach the specified number of rows for your size. For a snug fit, use the lower row count; for a relaxed fit, use the higher row count.
| Age | Head circumference | Number of rows |
| Newborn | 13”-14” | 38 – 41 |
| 3-6 months | 14”-15” | 41 – 44 |
| 6-12 months | 15”-16” | 46 – 49 |
| Toddler | 16”-17” | 49 – 52 |
| Child | 17”-18” | 52 – 55 |
| Tween | 18”-19” | 52 – 55 |
| Teen/ Adult small | 19”-20” | 55 – 58 |
| Adult medium | 20”-21” | 61 – 64 |
| Adult large | 22”-23” | 64 – 67 |
Juliette Ear Warmer Crochet Pattern: Lightweight Self-Striping Headband
In this free Juliette Ear Warmer crochet pattern, I’ll share all the materials you need and provide step-by-step instructions to make this cozy, lightweight headband. Whether you’re making it for Valentine’s Day, Mother’s Day, or just for yourself, this quick crochet project is pure joy.
If you prefer a printable, ad-free PDF with all the details laid out beautifully, the premium version is available now for purchase in my Etsy shop, Ravelry shop, or other platforms linked below.
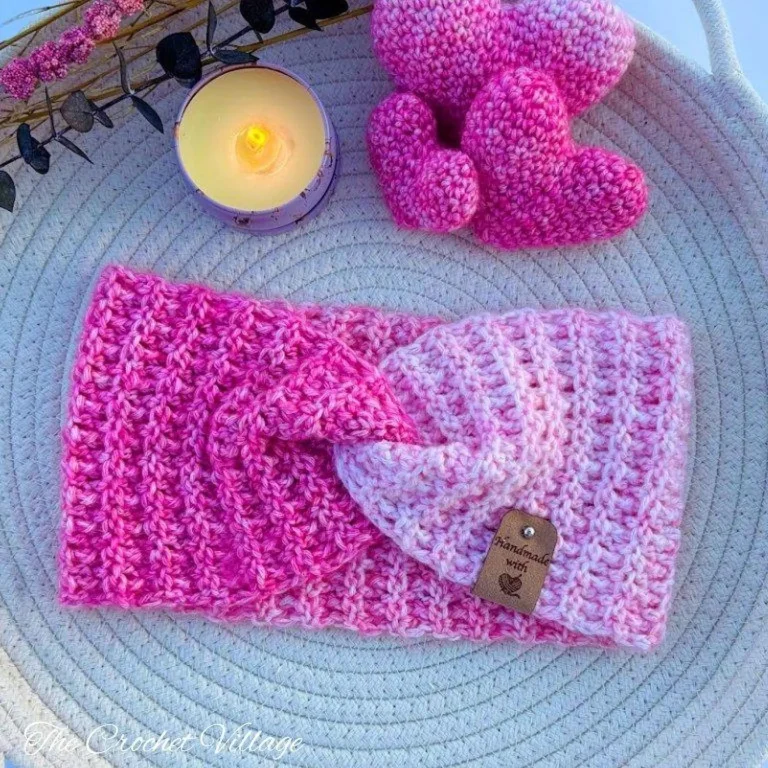
Prefer A Printable PDF?
Treat yourself to the ad-free, beautifully formatted version of this design for a small fee!
Step 1 – Crochet the rectangle
CH 25 to make a foundation chain. To adjust the width, crochet an even number of chains until you reach your desired width +3.
Row 1: DC in 4th CH from the hook, DC in each ST across, turn. (22 DC+ CH3)
Row 2: CH1, HDC in same ST,*BPDC in next ST, HDC in next ST*, rep *to *
across, ending with an HDC at the top of the starting CH 3, turn.
Row 3: CH1, HDC in same ST,* BPDC in next ST, HDC in next ST*, rep *to *
across, turn.
Row 4 – 62 (or to the row number specified in the sizing chart for your size): Rep Row 3. At the end of the last row, fasten off, cut the yarn, and leave a long tail for sewing.
Note: The placement of the stitches can be confusing at first, so remember to start and end each row with an HDC. Alternate BPDC and HDC across the row, placing each HDC into the HDC from the previous row and each BPDC into the BPDC of the prior row.
Step 2 – Seaming
- With the right side facing, bring the two short ends of the rectangle together
- Hold both ends and slide the left end halfway over the right end (refer to image below)
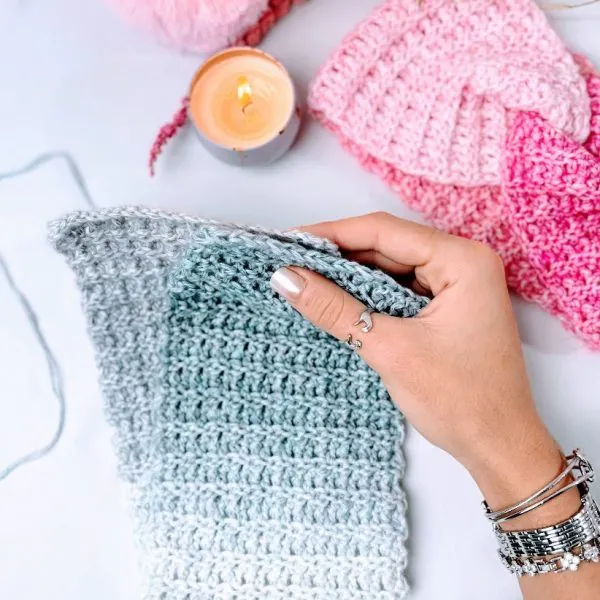
- Fold the right half over the left
- Then fold the left end over the right
- The ends should now be interlocked, creating the twist.
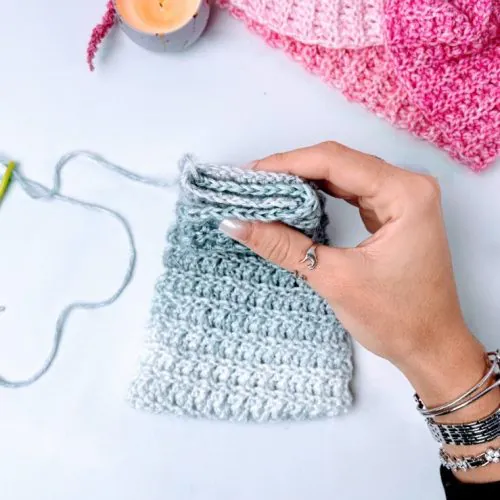
- Thread yarn onto a yarn needle
- Sew through all four layers, stitching back and forth to secure
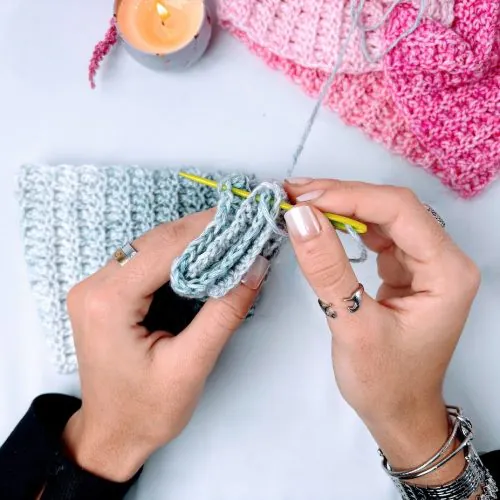
- Fasten off with a double knot and weave in ends
- Turn your ear warmer inside out, and you are all done.
I offer full support to help you with any questions or challenges you might have. Feel free to drop your comments in the section below or join our Facebook group, where I, along with my wonderful testers and community members, will be more than happy to assist you!