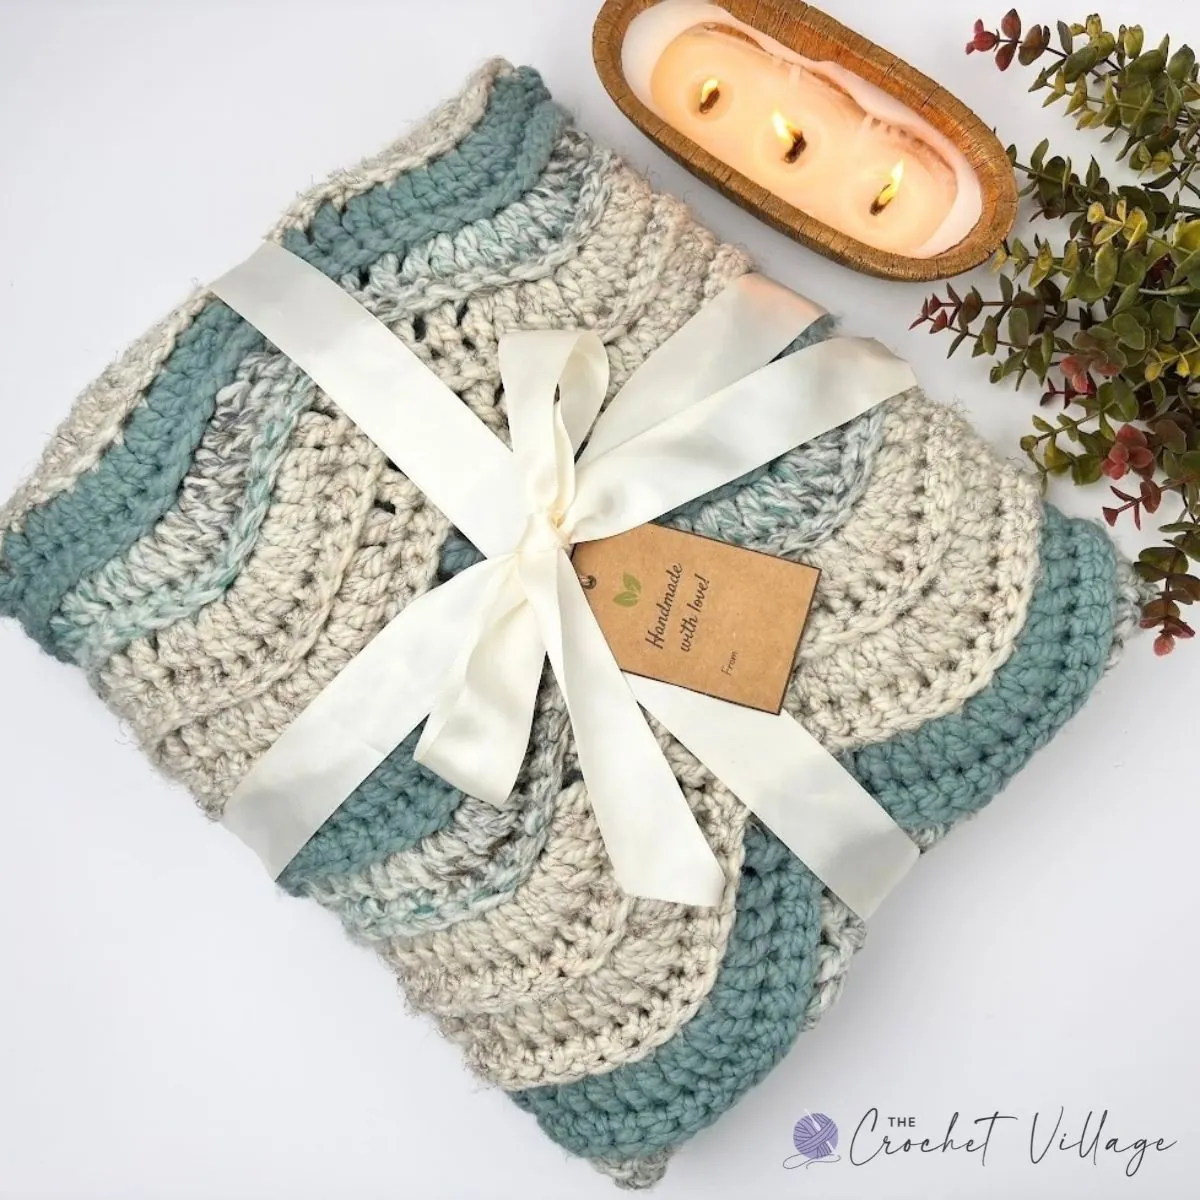
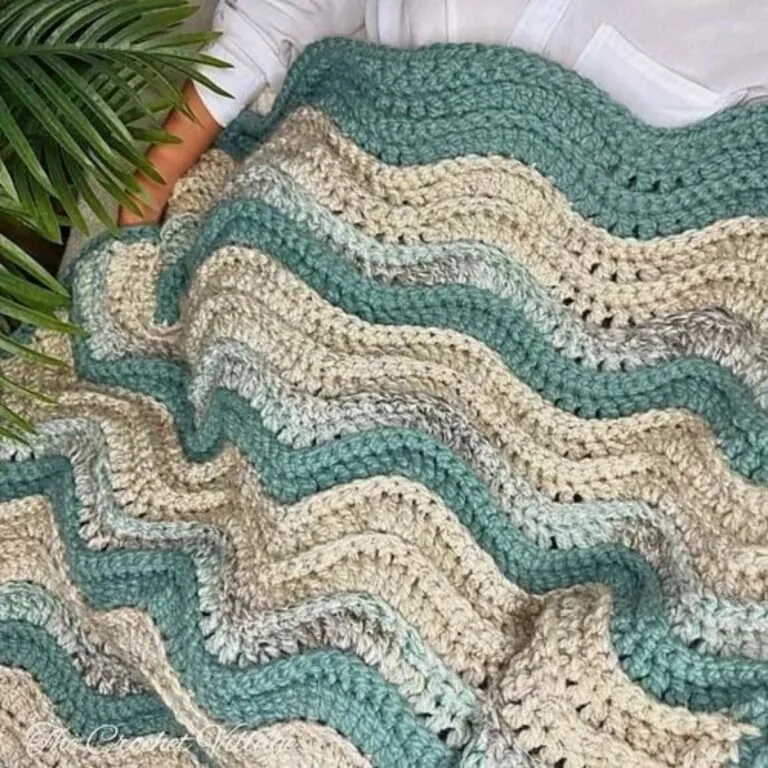
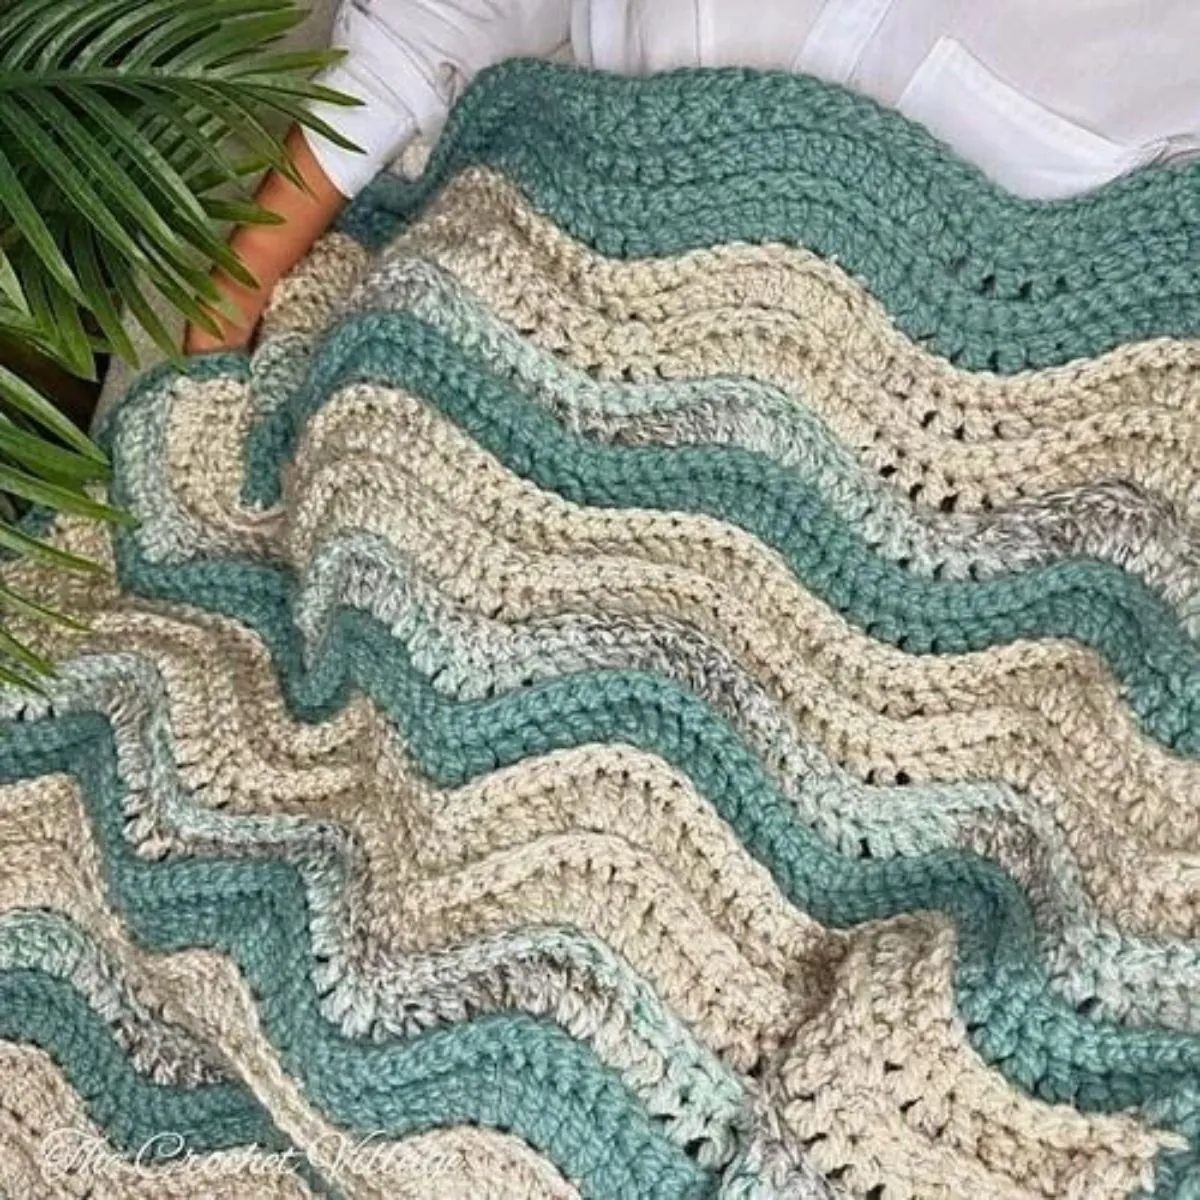
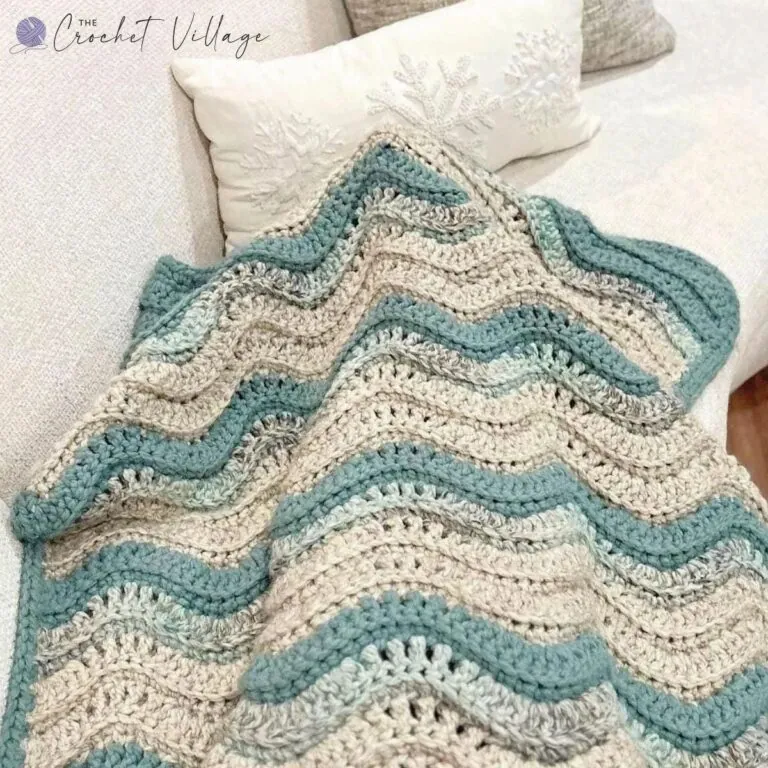
This chunky crochet ripple blanket is a warm, cozy throw worked in bulky yarn with an easy two-row repeat stitch that’s simple to memorize. The Rolling Hills Blanket creates a beautiful wave, ripple, and chevron texture that looks stunning in a solid color or in color blocks — and because of the chunky yarn, it works up fast.
It’s warm, weighty, and so pretty: the kind of throw you reach for on a chilly evening, and that looks lovely draped over the back of the couch the rest of the time.
A Cozy Blanket That Works Up Fast
Looking for a gorgeous, cozy blanket pattern that doesn’t take forever to finish? The Rolling Hills Blanket is about to be your new favorite.
I don’t know about you, but I love a handmade crochet blanket I can work on while relaxing, watching my favorite show, and just unwinding. That’s exactly what this one is — a cozy chunky crochet throw built on a simple two-row repeat that’s easy to memorize. It’s the kind of rhythm you settle into after a few rows and barely have to think about again, which makes it beginner-friendly and perfect for crocheters of all skill levels.
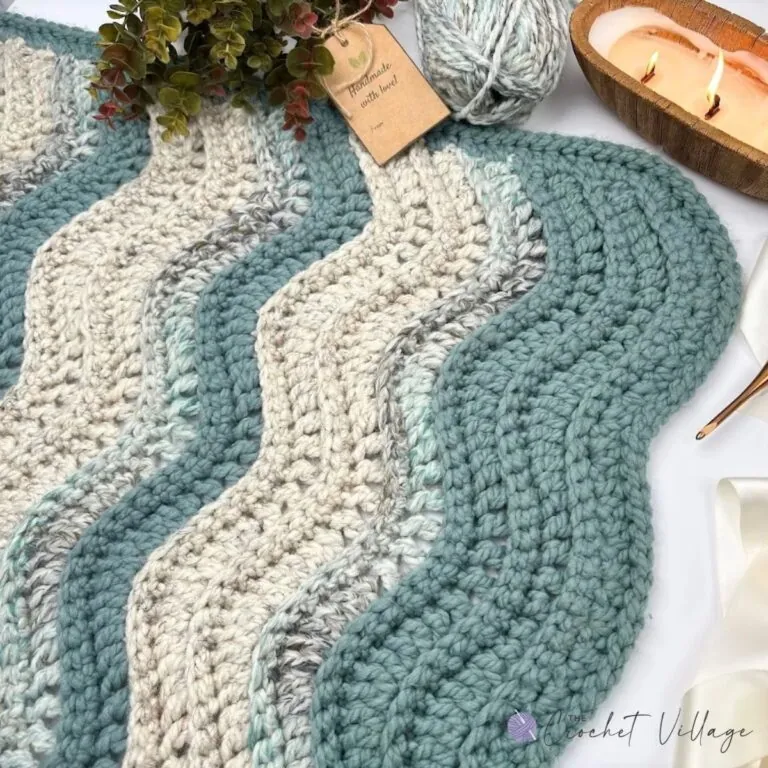
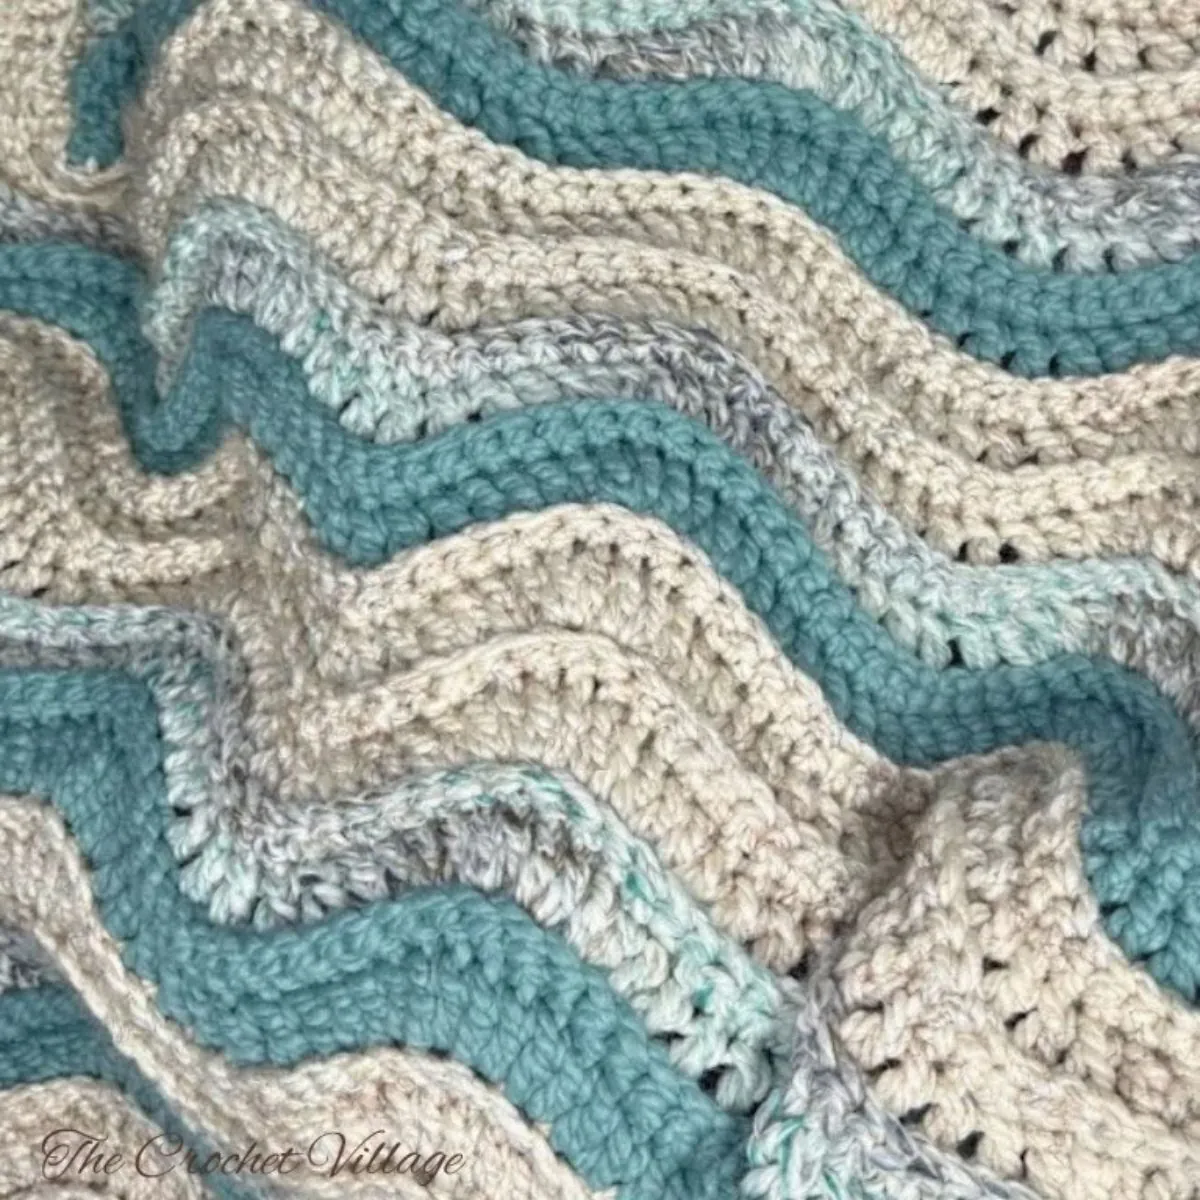
The zig-zag, wave, or ripple texture gives it a beautiful, dimensional look, and it’s stunning in a single solid color or in color blocks. For my blanket, I chose cream, teal, and a variegated yarn in the same tones — together they create that lovely valley-and-peak wave effect that gives the blanket its name. The result is soft, warm, and incredibly cozy, and honestly… I’m a little obsessed with it.
Why You’ll Love This Pattern
- Easy two-row repeat that’s simple to memorize.
- Works up fast thanks to super bulky yarn. A few evenings, and you’re done.
- Beginner-friendly, and perfect for advanced beginners ready to try a new stitch.
- Beautiful wave, ripple, and chevron texture with real dimension.
- Stunning in solids or color blocks — it adapts to whatever palette you love.
- Warm and weighty, and pretty enough to leave out on the couch year-round.
- Written in 9 sizes, baby through king, plus instructions to make it in any size.
- Works in any yarn weight — super bulky, bulky, worsted, or lighter.
- A wonderful handmade gift for baby showers, housewarmings, or the holidays.
In this post, you’ll find everything you need to make the Rolling Hills Blanket in a lap size using #6 super bulky yarn — keep reading for the free pattern!
Prefer an ad-free, beautifully formatted PDF? The premium version includes 9 sizes from baby to king, the stitch count for the repeat, and full instructions for adjusting the size and using any yarn weight — bulky, worsted, or lighter. Available in all my shops for a small fee (linked below).
Prefer A Printable PDF?
Treat yourself to the ad-free, beautifully formatted version of this design for a small fee!
Ripple, Chevron, or Wave — What’s the Difference?
You’ll see this kind of stitching called a ripple, a chevron, or a wave, and the terms get used more or less interchangeably. The general difference comes down to the shape of the peaks and valleys:
- Chevron usually means sharp, pointed peaks and crisp V shapes.
- Ripple and wave usually mean softer, rounder curves that roll gently across the blanket.
The Rolling Hills Blanket sits on the softer end — gentle, rolling waves rather than sharp points, which is exactly where the name came from. If you’ve searched for a ripple blanket, a wave blanket, or a chevron blanket, this is the look you had in mind.
Best Yarn for Your Chunky Crochet Blanket
This pattern is written for #6 super bulky weight yarn with a 9mm hook, which is what gives the blanket its cozy weight and its speed. Super bulky is the reason a full throw can come together in a handful of evenings instead of a handful of months.
Yarn used in the blanket shown: Lion Brand Wool Ease Thick & Quick. Colors shown: cream, teal, and a coordinating variegated
A few things worth knowing before you choose:
- Solid or color blocks both work beautifully. Solids let the wave texture do all the talking; color blocks make the peaks and valleys pop.
- A variegated in the same tones as your solids is a lovely trick — it blends the color changes and adds depth without looking busy.
- You’re not locked into super bulky. If chunky yarn isn’t your favorite, switch to worsted weight and adjust your stitch and row counts. The Rolling Hills Blanket stays just as gorgeous — it just takes a little longer and gives you a lighter, more drapey fabric.
Can I Use Worsted Weight Instead?
Yes — and this is one of my favorite things about this pattern. You’re not tied to a specific yarn weight.
Switching to a lighter yarn (worsted, bulky, or something finer) means you’ll need more stitches across to reach the same width, and more rows to reach the same length. The blanket stays just as pretty — you just end up with a lighter, more drapey fabric.
Please note: the stitch count for the repeat, the row counts, and the full instructions for adjusting the pattern to any yarn weight and any size are included in the premium version only. The free pattern below is written for a lap size in #6 super bulky yarn.
Free Chunky Crochet Ripple Blanket Pattern – Lap Size
Recommended yarn: Any #6 super bulky weight yarn in 3 colors. I used Lion Brand Wool Ease Thick & Quick. Colors shown:
- Succulent: Yarn A
- Seaglass: Yarn B
- Wheat: Yarn C
Yardage: About 814 yds for a lap blanket
- Yarn A: 238 yds (3 skeins)
- Yarn B: 318 yds (3 skeins)
- Yarn C: 258 yds (3 skeins)
Yarn subsitution:
- Yarn Bee Super Bulky Yarn
- I Love This Chunky & Bulky Yarn
- Premier Anti-Pilling Everyday Bulky Yarn
- Premier Yarns Basix Chunky Yarn
- Bernat Softee Chunky Yarn
Finished size: 44” in length and 37″ in width.
Crochet hook: (M)9 mm or the hook needed to meet the gauge
Gauge: 4” square = 5 rows x 11 DC
Pattern notes
- Terminology: Written in US terms.
- Difficulty: Easy to Intermediate
- Size: The free pattern is written for a lap blanket.
- Changing colors: Change colors at the end of the indicated row. Work the last ST until 2 loops remain on the hook, YO with the new color, and pull through both loops to complete the ST. Cut the old yarn and continue with the new color.
- vThe numbers at the end of the rows are the stitch count for that row.
Abbreviations
- CH: Chain
- ST: Stitch
- STS: Stitches
- SL ST: Slip stitch
- SC: Single crochet
- HDC: Half double crochet
- DC: Double crochet
- BLO: Back loop only
- SP: Space
- YO: yarn over
- SK: Skip
- Rep: Repeat
Step 1— Crochet the Blanket
With Yarn A, CH 137.
Row 1 (RS): SC in the 2nd CH from the hook and in each CH across. Turn. (136 SC)
Row 2: With Yarn A, work as follows:
- CH 3 (counts as a DC), DC BLO in the same ST, then 2 DC BLO in each of the next 2 STS.
- *(Skip the next ST, DC BLO in the next ST) 5 times.
- Skip the next ST, then work 2 DC BLO in each of the next 6 STS; repeat from * across until 4 STS remain.
- Skip the next ST, then work 2 DC BLO in each of the last 3 STS. Turn. (136 STS)
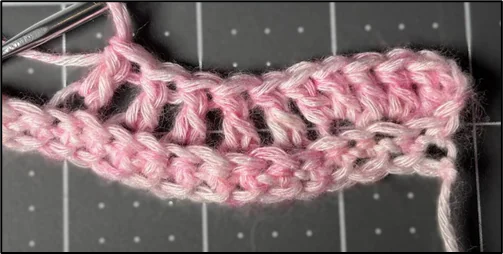
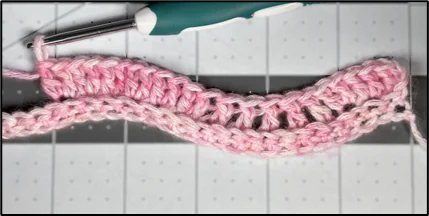
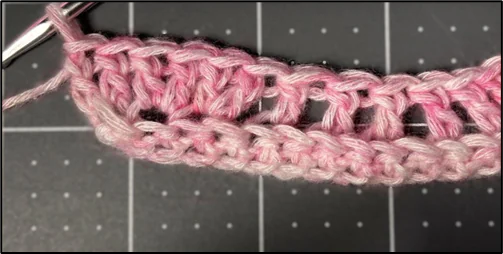
Pro Tip: For a neat edge, work the first of the final 2 DC in the BLO, then work the last DC through both loops of the final ST.
Row 3: With Yarn A, CH 1. SC BLO in each DC across, then SC in the top of the beginning CH 3. Turn. (136 SC)
Note: Remember to work the final SC in the top of the beginning CH 3—it is easy to miss.
Rows 4–5: With Yarn A, repeat Rows 2–3. At the end of Row 5, change to Yarn B and cut Yarn A.
Rows 6–7: With Yarn B, repeat Rows 2–3. At the end of Row 7, change to Yarn C and cut Yarn B.
Rows 8–11: With Yarn C, repeat Rows 2–3 twice. At the end of Row 11, change to Yarn A and cut Yarn C.
Rows 12–13: With Yarn A, repeat Rows 2–3. At the end of Row 13, change to Yarn B and cut Yarn A.
Rows 14–15: With Yarn B, repeat Rows 2–3. At the end of Row 15, change to Yarn C and cut Yarn B.
Rows 16–19: With Yarn C, repeat Rows 2–3 twice. At the end of Row 19, change to Yarn A and cut Yarn C.
Rows 20–51: Repeat the color and row sequence from Rows 4–11 four times.
Rows 52–54: With Yarn A, repeat Rows 2–3, ending with a repeat of Row 2 for Row 54.
Row 55 (RS): With Yarn A, CH 1. SC BLO in each ST across until 1 ST remains. Work 3 HDC in the last ST. Turn. (135 SC, 3 HDC)
Weave in all loose ends, then continue with the border.
Step 1— Crochet the Border
Work the border with the WS facing.
Rnd 1:
- Down the first side: *Skip the next row-end, work 2 HDC in the next row-end; repeat from * to the corner. Work 3 HDC in the corner.
- Across the foundation edge: *Skip the next ST, work 2 HDC in the next ST; repeat from * to the corner. Work 3 HDC in the corner.
- Up the second side: *Skip the next row-end, work 2 HDC in the next row-end; repeat from * to the corner. Work 3 HDC in the corner.
- Across the top edge: *Skip the next ST, work 2 HDC in the next ST; repeat from * to the starting corner.
- Join with a SL ST to the first HDC. Fasten off and weave in all ends.
Your Rolling Hills Blanket is complete!
I offer full support to help you with any questions or challenges you might have. Feel free to drop your comments in the section below or join our Facebook group, where I, along with my wonderful testers and community members, will be more than happy to assist you!