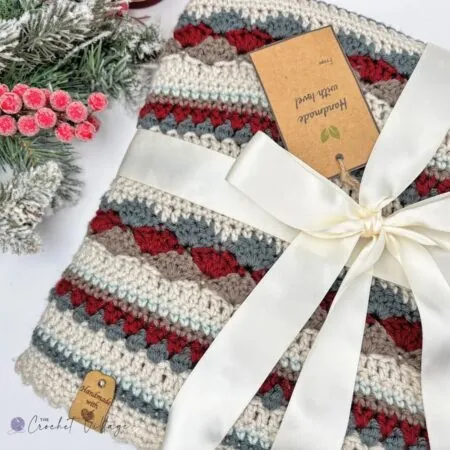
The Winterland Blanket free crochet pattern is the coziest way to crochet your way through the holidays. This easy, beginner-friendly Christmas blanket uses one simple stitch repeat that’s quick to memorize, looks beautiful on both sides, and works up in any worsted-weight yarn. Make it in festive colors for Christmas — or soft neutrals you’ll love all year long.
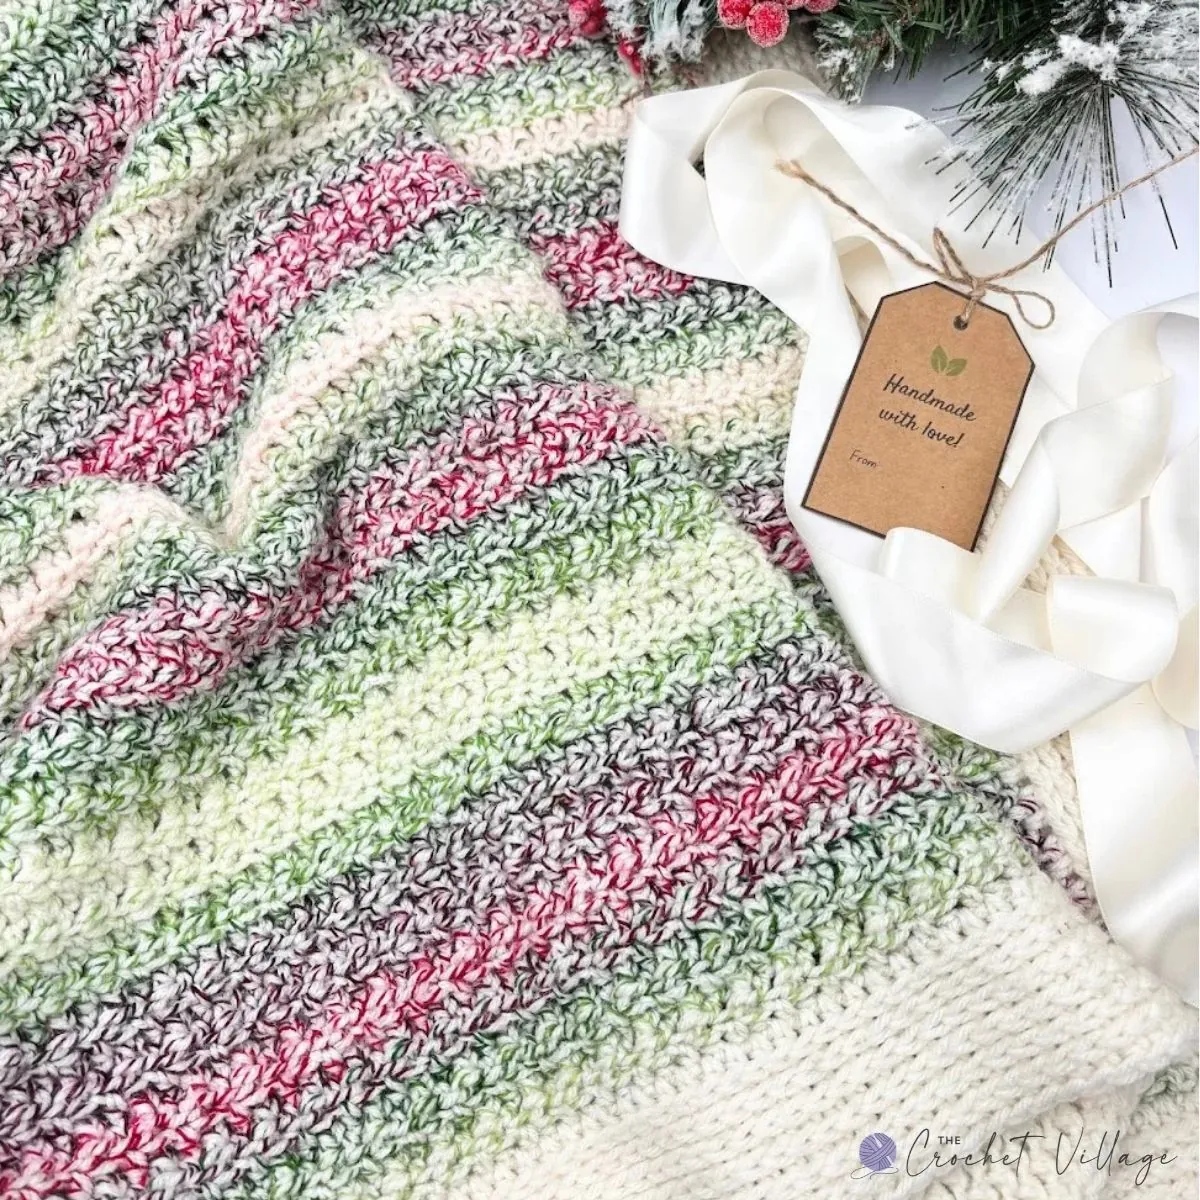
Winterland Blanket — A Free Crochet Pattern for Christmas and Beyond
f you’re dreaming of a cozy crochet project that’s easy, relaxing, and has that magical holiday feel — you’re going to love the Winterland Blanket!
This free crochet blanket pattern is perfect for Christmas and well beyond. It features a beautiful one-row repeat stitch that’s so simple to memorize you’ll have it down by the end of the first row, yet it creates the loveliest texture and drape. And the best part? It’s completely reversible — no wrong side, no awkward flip, just gorgeous from every angle.
The blanket is finished with a simple but elegant border that pulls the whole look together and gives it a clean, polished edge. It’s friendly for any skill level, including confident beginners.
This crochet throw pattern works beautifully with any worsted-weight (#4) yarn. I made mine in a festive variegated red, green, and cream that gives it such a warm, Christmassy feel — but honestly, it’s just as stunning in soft solids, snowy whites, or whatever colorway makes you happy.
Why You’ll Love the Winterland Blanket Pattern
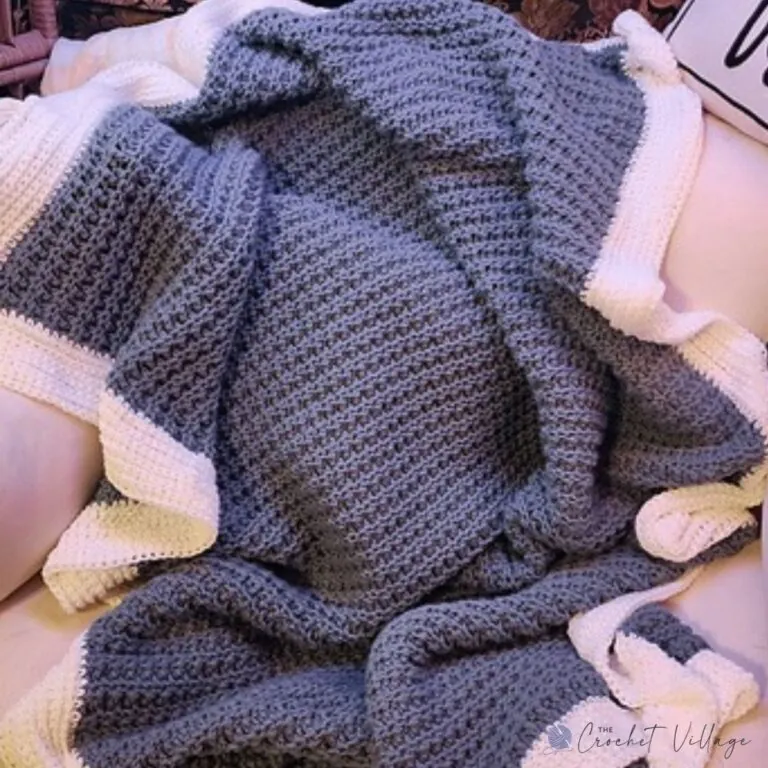
There are a lot of free crochet blanket patterns out there, so let me tell you why this one keeps earning a spot on my hook. It’s easy to make, it has a wonderful texture and a lovely soft drape, and it looks pretty on both sides.
- One-row repeat — easy to memorize
- Reversible — no wrong side, so it looks beautiful draped any way it lands
- Beginner-friendly — if you know the basic stitches, you’re ready
- Any worsted-weight (#4) yarn — solids and variegated both look stunning
- Gorgeous texture and drape — soft and squishy without being stiff
- Festive or year-round — Christmas colors in December, soft neutrals in July
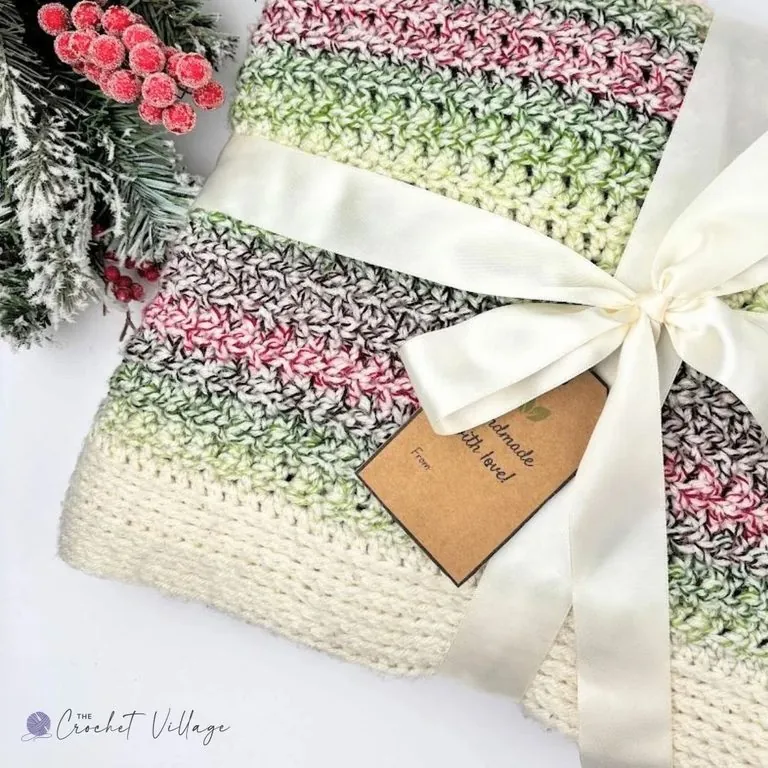
- A thoughtful handmade gift — finished with a simple, elegant border
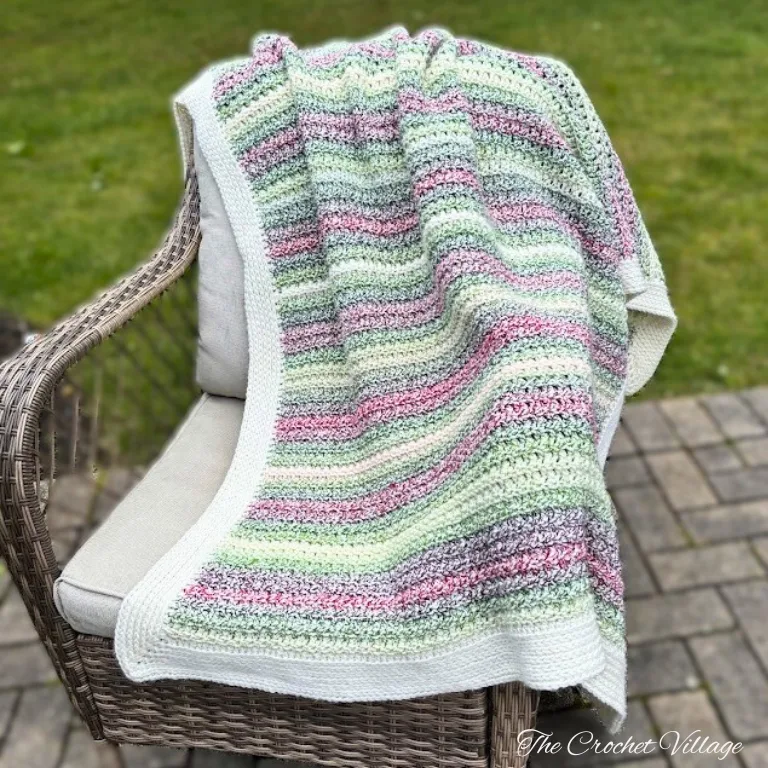
Free Crochet Blanket Pattern — Sizes
In this post, I’ll share everything you need to make your own Winterland Blanket in a cozy small throw size, measuring about 54″ long by 46″ wide — the yarn, the hook, the stitch guide, and full step-by-step instructions. Keep reading for the free pattern!
Want More Sizes? Grab the Printable PDF
The complete small throw pattern is always free right here on the blog — no strings attached!
But if you’d like to make yours bigger or smaller, the ad-free printable PDF is available in all my shops (linked below) for a small fee. It’s written for 10 sizes, from baby all the way up to king, and includes tips for customizing the dimensions even further to your liking.
It’s clean, beautifully formatted, and easy to print and keep beside you while you work — plus it helps support the free patterns here on the blog, which I truly appreciate 💛
Prefer A Printable PDF?
Treat yourself to the ad-free, beautifully formatted version of this design for a small fee!
The Free Winterland Blanket Crochet Pattern Starts Here
Recommended yarn: #4 worsted-weight acrylic yarn in 2 colors. I used:
- Yarn A: Big Twist Winter Yarn, color shown: Trimming the Tree.
- Yarn B: Big Twist Value Yarn (for the border), color shown: Ivory
Yardage:
- Yarn A: About 2,230 yds (5 skeins)
- Yarn B: About 380 yds (1 skein)
Yarn substituion:
- Lion Brand Yarn Ferris Wheel Yarn
- Red Heart Roll with It Melange
- YarnArt Jeans Tropical Yarn
- Red Heart Bitty Stripe yarn
- Lion Brand Mandala Ombré Yarn
- Caron® Layer Cupcakes™ Yarn
Finished dimensions: 54” in length and 46″ in width.
Crochet hook: (K) 6.5 mm
Gauge: 4” square = 11 rows x 13 ST (pattern stitch)
Other materials: Faux leather tag
Pattern notes
- Terminilogy: Written in US terms.
- Difficulty: Easy to intermediate
- Size: The free pattern is written for a Throw blanket.
- The numbers at the end of the rows are the stitch count for that row.
Abbreviations
- CH: Chain
- ST: Stitch
- STS: Stitches
- SL ST: Slip stitch
- SC: Single crochet
- HDC: Half double crochet
- DC:BLO: Back loop only
- Double Crochet
- V-ST: V stitch
- BPDC: Back post double crochet
- SP: Space
- SK: Skip
- Rnd: Round
- Rep: Repeat
Special Stitches
- HDC in the 3rd loop: YO, find the 3rd loop – it’s just below the top two loops of the stitch. Insert your hook into that loop (not the top V), YO, pull up a loop (3 loops on hook), YO, pull through all 3 loops.
- Back post double crochet (BPDC): YO, insert your hook from back to front to back around the post of the stitch, YO, pull up a loop (3 loops on hook), YO, pull through 2 loops, YO, pull through last 2 loops.
- V-ST: *2 HDC, CH 1, 2 HDC* in the same ST.

More Blanket
- Free Reversible Crochet Blanket Pattern – Mystic Blanket!
- Scrap Yarn Crochet Blanket – Free Reversible Heartland Pattern
- Free Crochet Moss Stitch Blanket: Easy Throw Pattern
- Chestnut Throw: Free Waffle V Stitch Blanket Pattern
- Free Fall Crochet Blanket Pattern: Mayflower Throw
- Sterling Blanket: A Free Crochet Sampler Blanket Pattern
Step 1— Crochet the Blanket
Stitch-placement notes:
- Start and end each row with an HDC.
- Alternate BPDC and HDC across the row.
- Work each HDC into an HDC from the previous row.
- Work each BPDC around a BPDC from the previous row.
With yarn A, CH 135.
Row 1: DC in the 4th CH from the hook; this DC counts as a ST. DC in each CH across. Turn. (132 DC, plus the beginning CH 3)
Row 2: CH 1, HDC in the same ST. *BPDC in the next ST, HDC in the next ST; rep from * across, ending with an HDC in the top of the beginning CH 3. Turn. (133 STS)
Row 3: CH 1, HDC in the same ST. *BPDC in the next ST, HDC in the next ST; rep from * across, ending with an HDC. Turn. (133 STS)
Rows 4–129: Rep Row 3. At the end of the last row, change to yarn B in the last ST and cut yarn A. Continue with the border.
Step 2 — Crochet the Border
Work the border in continuous rounds.
Rnd 1:
- With Yarn B, work (HDC, CH 1, 2 HDC) in the last ST worked on the blanket. This ST already holds the last HDC.
- Then work HDC evenly along the side to the next corner. Work a V-ST (2 HDC, CH 1, 2 HDC) in the corner.
- Work HDC in each ST across to the next corner, then work a V-ST in the corner. Repeat these instructions around the blanket.
- When you return to the starting corner, work HDC in the first HDC of the V-ST, skip the next HDC, then work a V-ST in the CH-1 SP.
Rnds 2–6: *Work HDC in the 3rd loop of each ST to the corner. Work HDC in the 3rd loop of the first HDC of the V-ST, skip the next ST, then work a V-ST in the CH-1 SP; rep from * around.
Rnd 7: Work HDC in the 3rd loop of each ST around, including in each CH-1 SP. End with a SL ST in the first ST.
Fasten off and weave in the ends.
I offer full support to help you with any questions or challenges you might have. Feel free to drop your comments in the section below or join our Facebook group, where I, along with my wonderful testers and community members, will be more than happy to assist you!