
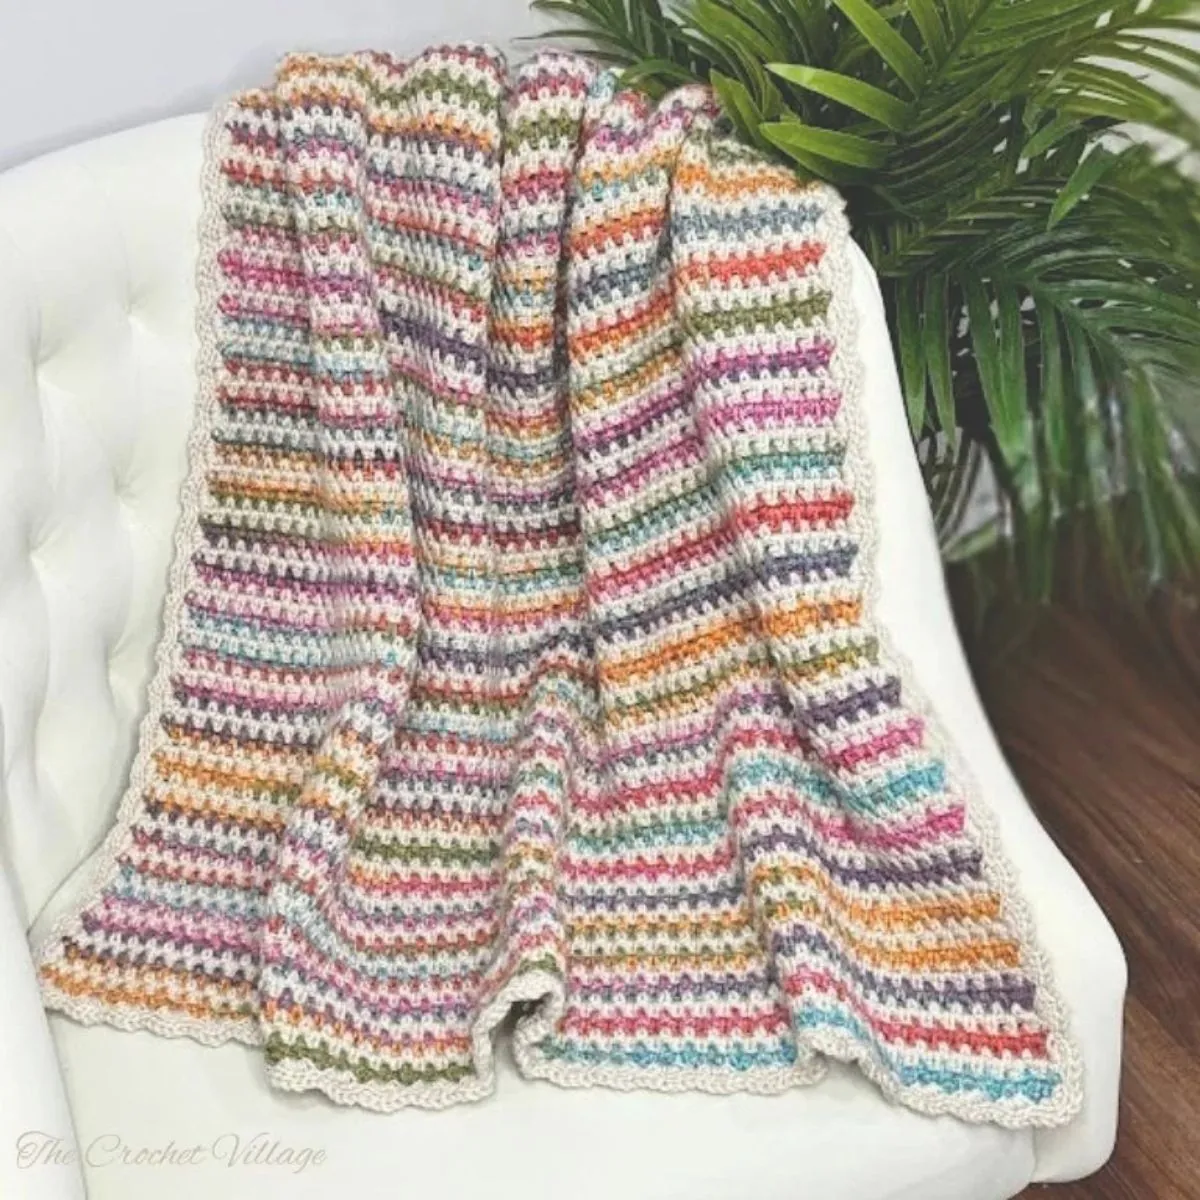
This crochet moss stitch blanket is an easy, beginner-friendly throw worked in two colors — with no ends to weave in. The Fairmount Blanket uses the classic moss stitch (also called linen, granite, or woven stitch) for a soft, almost knit-like texture with beautiful drape, and it’s finished with a gorgeous border that frames the whole blanket.
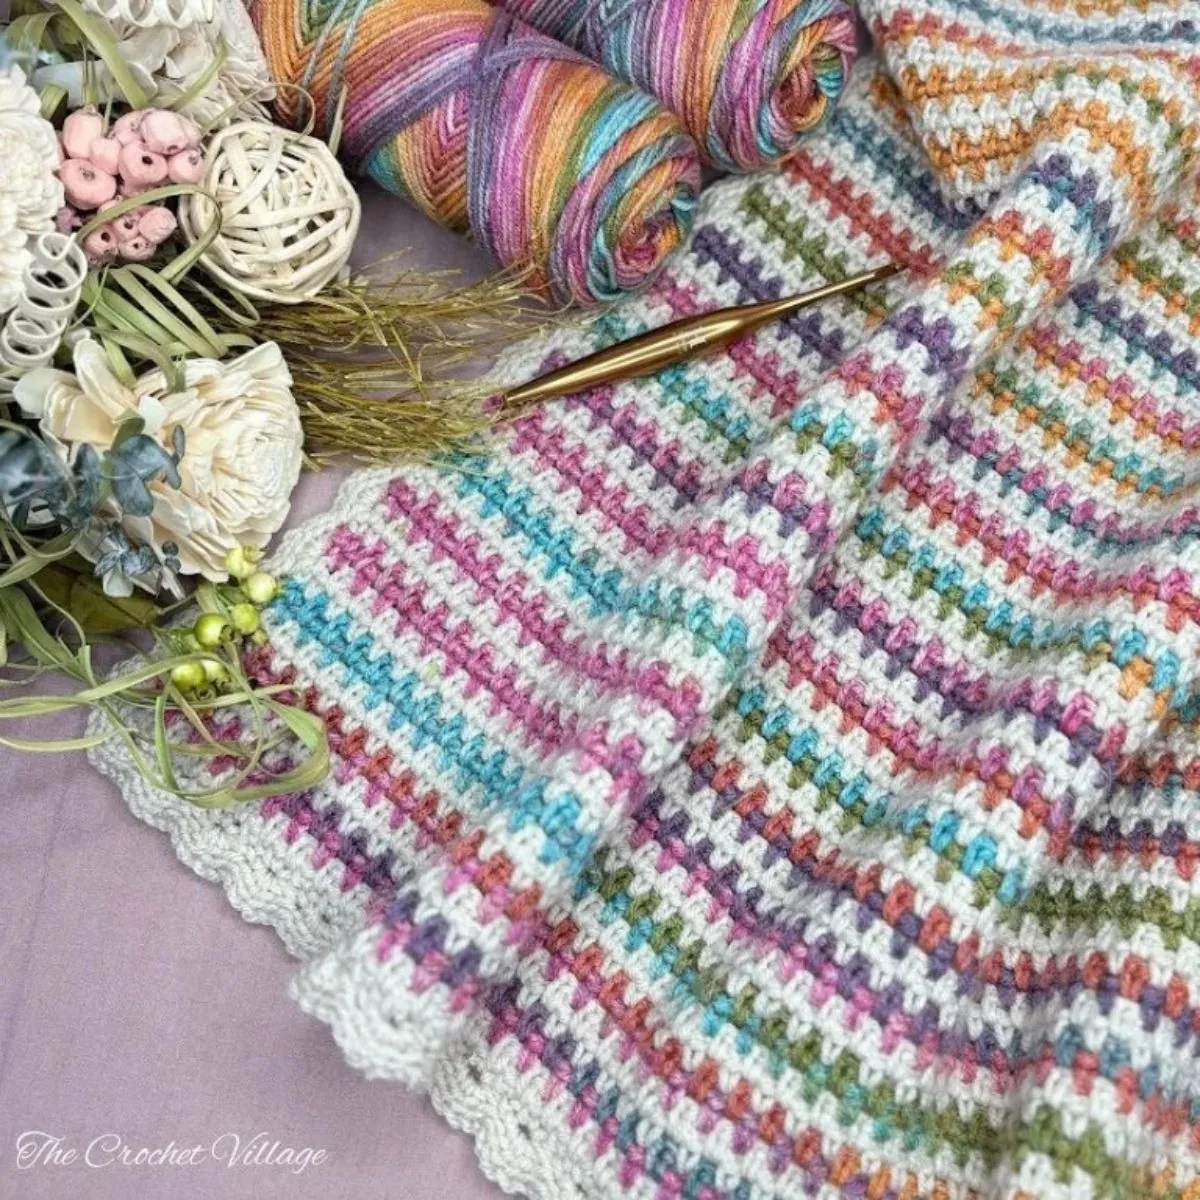
Cozy Up With the Fairmount Crochet Blanket
This fun and easy moss stitch throw is perfect for crocheters of all levels. With its soft drape, playful color changes, and almost knit-like texture, it’s the perfect way to unwind and create something beautiful. Whether you’re making it for yourself or as a thoughtful gift, this pattern offers endless creative possibilities — no weaving in ends, just relaxing crochet from start to finish!
I actually made this blanket for myself — and if you’re a crocheter, you know what a rare event that is! 😄
We recently remodeled our basement to make room for my craft room/studio, and while I absolutely love having a space of my own down there, it gets cold. So I made myself a little lap blanket to cover my legs while I crochet… and I love it. It’s the perfect size — big enough to keep me warm, small enough that it doesn’t get in the way while I’m working. My daughter took one look at it and tried to claim it (she always does). I said Sorry, sweetie — this one’s mine. LOL
That’s really how the Fairmount Blanket came to be: a cozy, cheerful lap blanket for chilly craft room evenings.
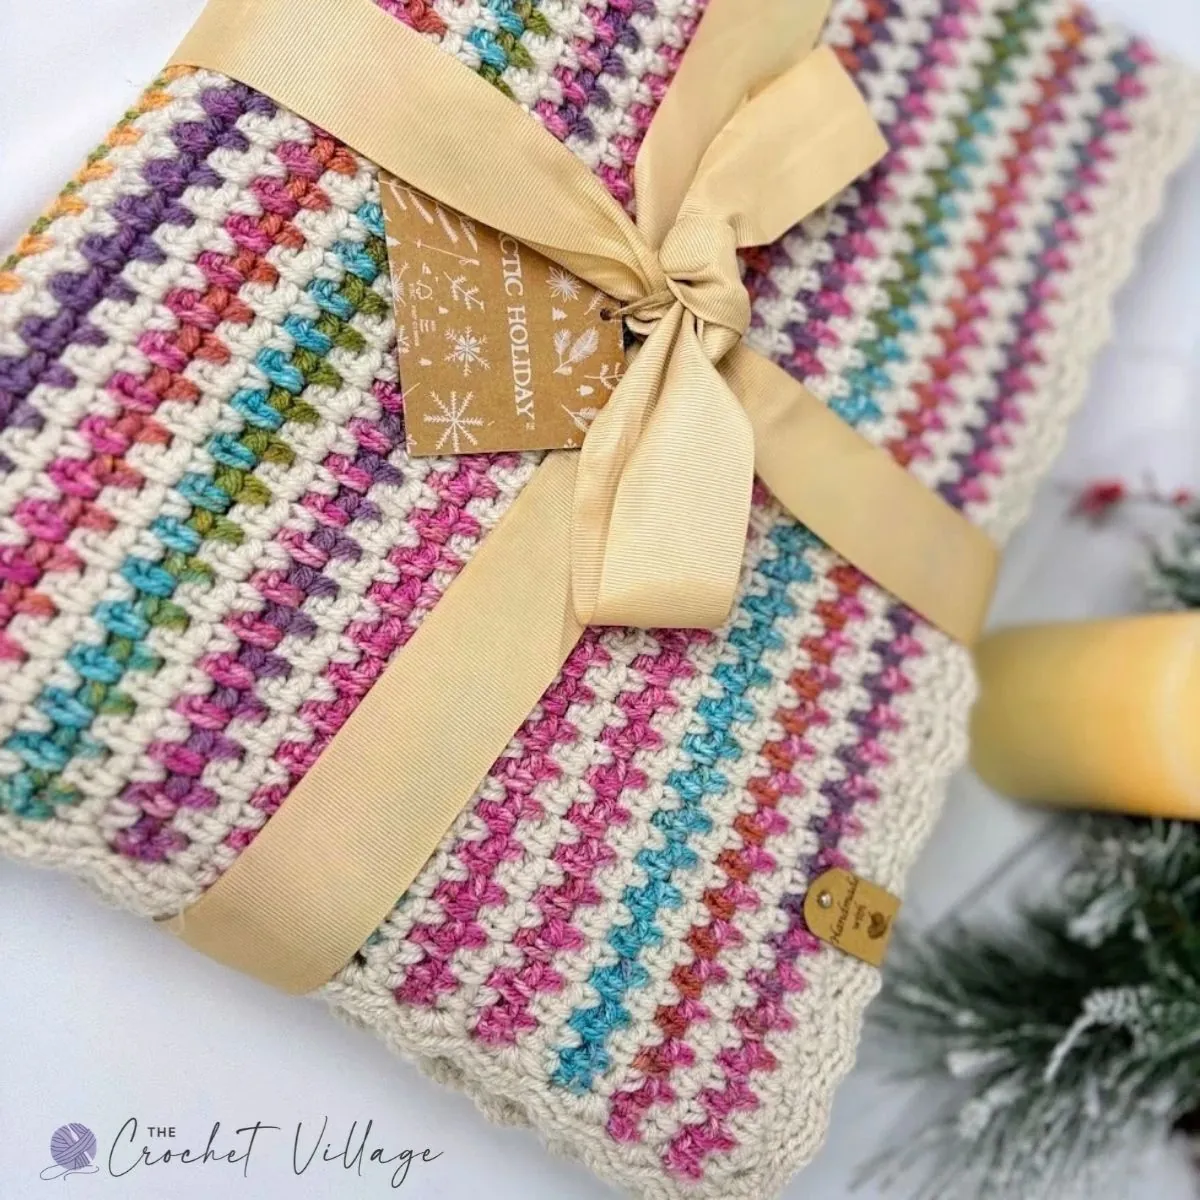
Why You’ll Love This Moss Stitch Blanket
- Beginner-friendly. A simple one-row repeat that’s easy to memorize and easy to pick back up.
- No ends to weave in. Just relaxing crochet from the first stitch to the last.
- Reversible, with no obvious right or wrong side.
- Soft, beautiful drape and an almost knit-like texture.
- Finished with a gorgeous border that pulls the whole blanket together.
- Perfect as a lap blanket for chilly rooms, craft corners, reading chairs, and car rides.
Everything You Need to Make the Fairmount Blanket in a Lap Size
I’m sharing everything you need to make the Fairmount Blanket in a lap size right here in this post — just scroll down for the free pattern! Prefer an ad-free, well-formatted printable PDF with all 8 sizes (baby through king) and tips for further customization? The full pattern is available in all my shops, linked below, for a small fee.

Prefer A Printable PDF?
Treat yourself to the ad-free, beautifully formatted version of this design for a small fee!
Free Blanket
- Free Crochet Scrap Blanket Pattern: Easy & Reversible!
- Chestnut Throw: Free Waffle V Stitch Blanket Pattern
- Free Fall Crochet Blanket Pattern: Mayflower Throw
- Free Reversible Crochet Blanket Pattern – Mystic Blanket!
- Quick Crochet Chunky Blanket: Free Rolling Hills Throw Pattern
- Free Puff Stitch Crochet Blanket Pattern | Easy Reversible Meadow Throw
- Free Crochet Granny Chevron Blanket Pattern – Golden Meadow
Best Yarn Choice for Your Moss Stitch Throw Blanket
For the Fairmount Moss Stitch Throw Blanket, a #4 worsted-weight yarn is a perfect choice. It has just the right balance of softness and texture, so your throw isn’t too heavy — but it’s still warm and very pretty.
You’ll need two colors, but feel free to use more if you want a striped, colorful, stash-busting blanket.
For my blanket, I used a variegated yarn paired with a matching solid color. This combo highlights the crochet moss stitch and adds a lovely dimension to the throw.
Whether you choose neutrals, pastels, or bold brights, the result is a cozy, eye-catching crochet throw that will brighten up any space — perfect for your couch, your bed, your craft room, or as a thoughtful handmade gift.
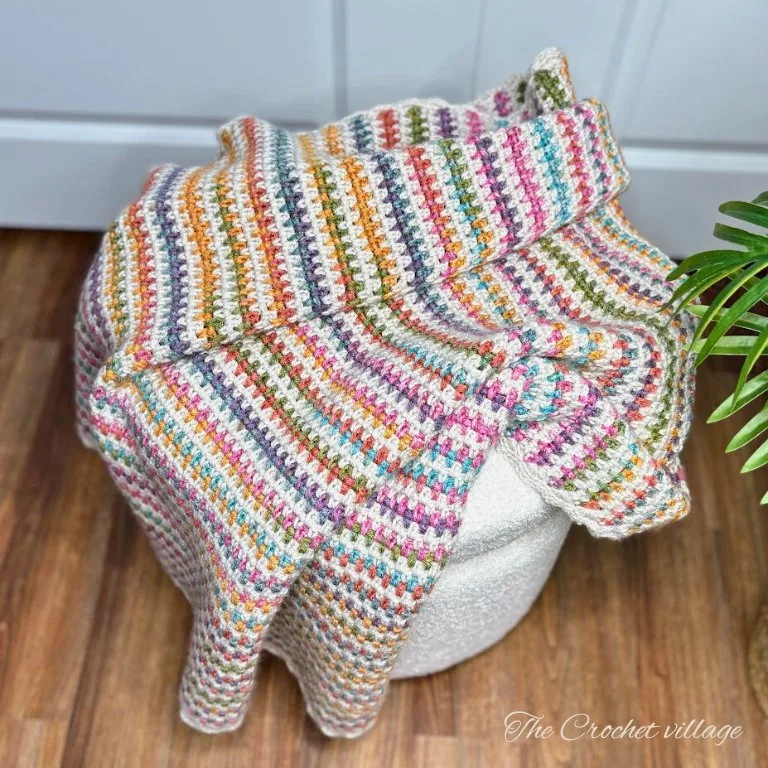
No Ends to Weave In
This is honestly my favorite part of the Fairmount Blanket. Rather than cutting your yarn at every color change, the second color travels with you as you work — so instead of a mountain of ends waiting at the finish line, you’re left with almost nothing to clean up. 🙂
The border then takes care of the edges, tucking everything neatly away and giving the blanket its polished, finished look.
Free crochet Moss Stitch blanket Pattern: Start Here
Recommended yarn: Any #4 worsted-weight acrylic yarn in 2 colors.
I used I Love This Yarn, colors shown:
- Instant Classic: Yarn A
- Linen: Yarn B
Yardage: About 1.556 yds total.
- Yarn A: 731yds
- Yarn B: 825 yds
Yarn substitution
- Caron One Pound Yarn
- Red Heart Super Saver Yarn
- Lion Brand Yarn Landscapes Yarn
- Red Heart Super Saver Yarn
- Bernat Super Value Yarn
Finished size: 50” in length and 34″ in width.
Crochet hook: (H)5 mm or needed hook to match the gauge
Gauge: 4” square = 16 rows x 16 ST (pattern stich)
Other materials: Faux leather tags
PATTERN NOTES
- Terminology: Written in US terms.
- Difficulty: Easy
- SIZE: The free version of the pattern is written for a lap blanket.
- Keep your tension slightly loose and even when working the moss stitch.
- The numbers at the end of the rows are the stitch count for that row.
Abbreviations
- CH: Chain
- ST: Stitch
- STS: Stiches
- SL ST: Slip stitch
- SC: Single crochet
- BLO: Back loop only
- SP: Space
- SK: Skip
- Rnd: Round
- Rep: Repeat
How to Change Colors
Change colors at the end of a row. There is no need to cut the yarn — carry it up the side of your work as follows:
- Change colors at the end of a row. There is no need to cut the yarn; carry it up the side as follows:
- In the last ST, insert the hook and pull up a loop with the working yarn. You will have 2 loops on the hook.
- YO with the contrast yarn and pull through both loops to complete the ST.
- CH 1 with the contrast yarn and turn.
- Insert the hook into the first ST, passing under the non-working yarn. Complete the SC with the contrast yarn, then drop the non-working yarn
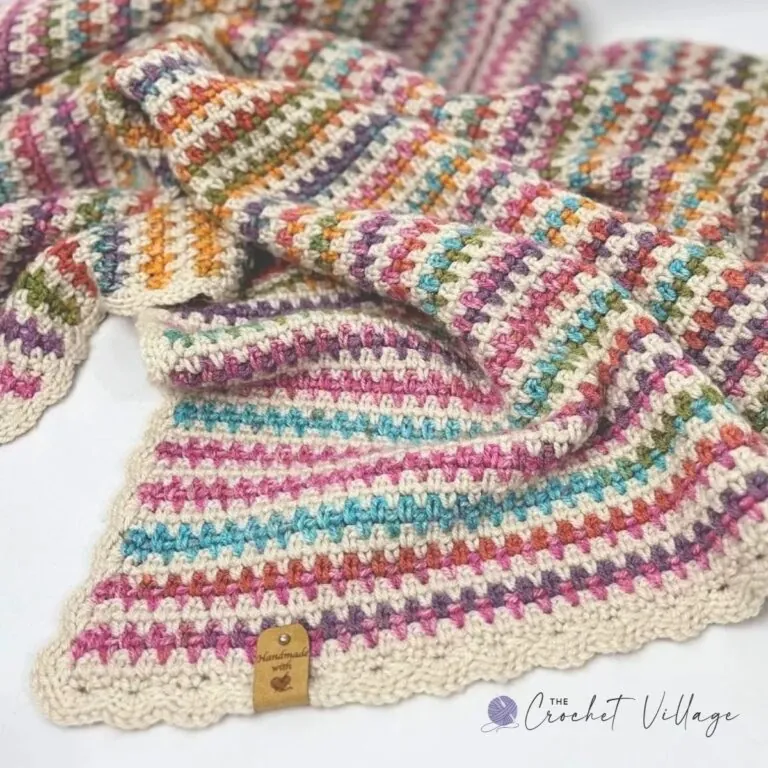
Step 1— Crochet the Blanket
Row 1: With Yarn A, CH 144. SC in the 2nd CH from the hook. *CH 1, skip the next CH, SC in the next CH; repeat from * across. CH 1 and turn. (72 SC, 71 CH-1 SPS)
Row 2: With Yarn A, SC in the first ST and SC in the next CH-1 SP. *CH 1, skip the next ST, SC in the next CH-1 SP; repeat from * across until 1 ST remains. SC in the last ST, changing to Yarn B in this ST. CH 1 and turn. (73 SC)
Row 3: With Yarn B, SC in the first ST, crocheting over Yarn A to carry it up the side. Drop Yarn A. *CH 1, skip the next ST, SC in the next CH-1 SP; repeat from * across until 2 STS remain. CH 1, skip the next ST, and SC in the last ST. CH 1 and turn. (72 SC)
Row 4: With Yarn B, SC in the first ST and SC in the next CH-1 SP. *CH 1, skip the next ST, SC in the next CH-1 SP; repeat from * across until 1 ST remains. SC in the last ST, changing to Yarn A in this ST. CH 1 and turn. (73 SC)
Rows 5–200: Repeat Rows 3–4, alternating Yarn A and Yarn B every 2 rows. At the end of Row 200, CH 1 and turn. Do not cut Yarn B. Continue with the border.
Step 2 — Crochet the Border
Rnd 1:
- With Yarn B still on your hook, work 2 SC in the first ST.
- Across the top edge: *Work 4 SC in the next CH-1 SP, skip the next CH-1 SP; repeat from * to the next corner. Work 4 SC in the corner.
- Down the side edge: *Skip the next 3 row ends, work 4 SC in the next row end; repeat from * to the next corner. Work 4 SC in the corner.
- Across the foundation edge: *Work 4 SC in the next skipped-CH SP, skip the next skipped-CH SP; repeat from * to the next corner. Work 4 SC in the corner.
- Up the side edge: *Skip the next 3 row ends, work 4 SC in the next row end; repeat from * to the starting corner. Work 2 SC in the starting corner, which already contains 2 SC. Join with a SL ST to the first SC. Do not turn.
Rnd 2: SL ST BLO in each ST around. Join with a SL ST to the first ST.
Fasten off and weave in all ends. Your blanket is complete!
I offer full support to help you with any questions or challenges you might have. Feel free to drop your comments in the section below or join our Facebook group, where I, along with my wonderful testers and community members, will be more than happy to assist you!




Pattern is not downloading
Thank you for the beautiful pattern!
My pleasure! Enjoy 🙂
Hi Amy,
It looks like you signed up using the wrong form. No worries at all—I’ll email you the PDF directly.Thank you so much for crocheting for your local hospice. That’s truly wonderful!
Hi Kim! The offer has ended, but you can still view the pattern for free on my blog. If you’d like a printable, ad-free PDF, it’s available for a small fee in all my shops.