
Get ready to bring the beauty of autumn into your home with this free fall crochet blaket pattern! Perfect for intermediate crocheters, this cozy throw features a fall-leaves-inspired stitch, making it ideal for Thanksgiving and warm seasonal decor. Crochet your own piece of autumn magic today!
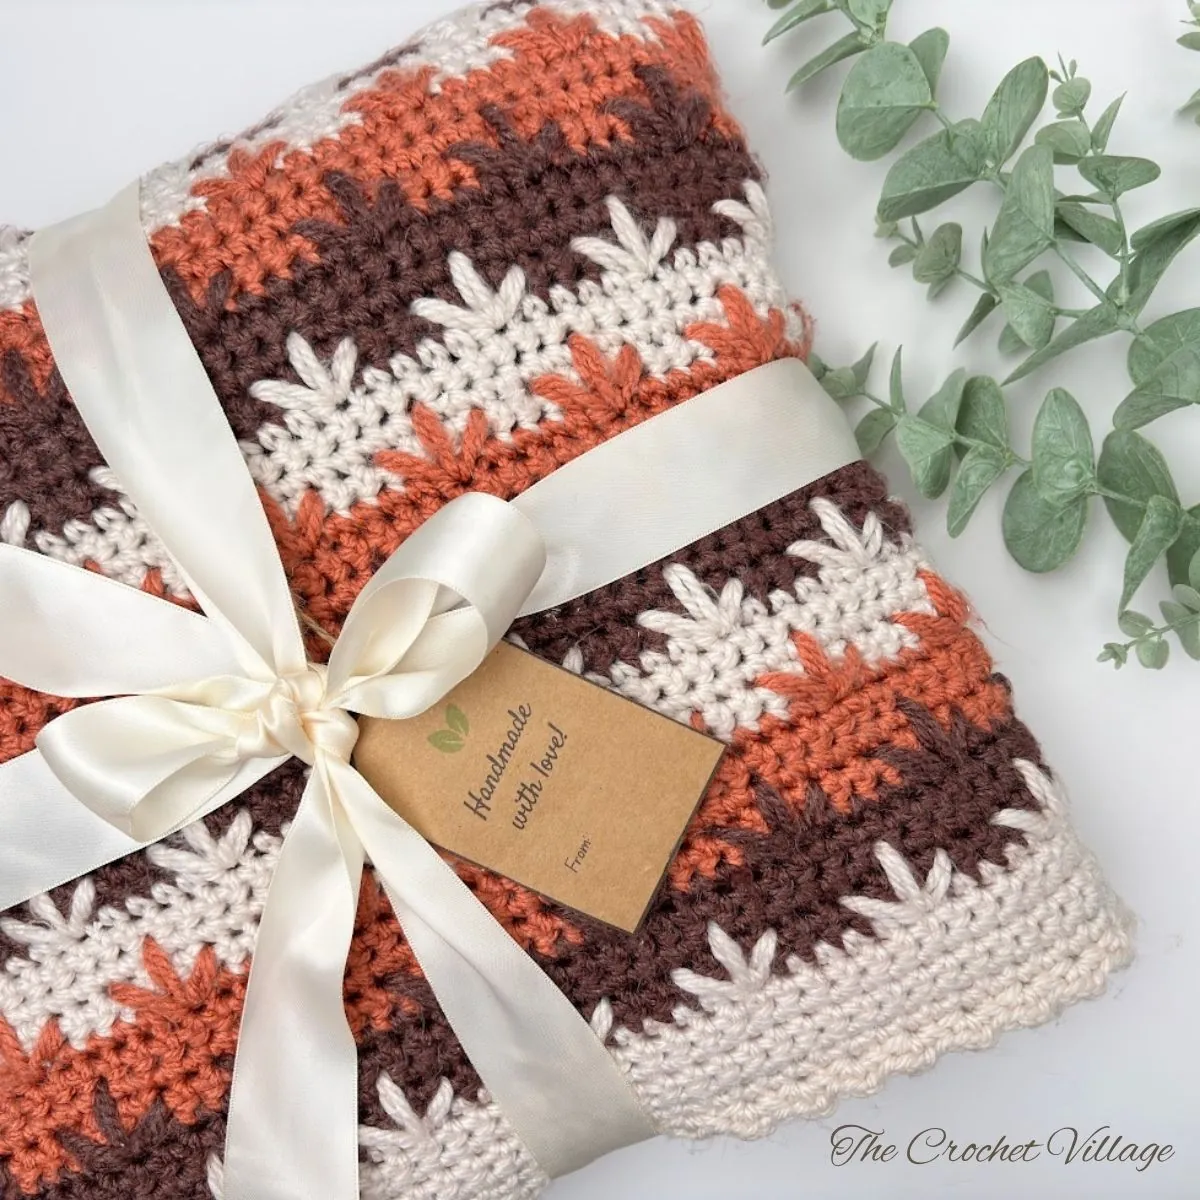
I’m so excited to share the Mayflower Throw crochet pattern with you – a free fall crochet blanket pattern that’s easy to follow and perfect for adding a cozy, seasonal touch to your home.
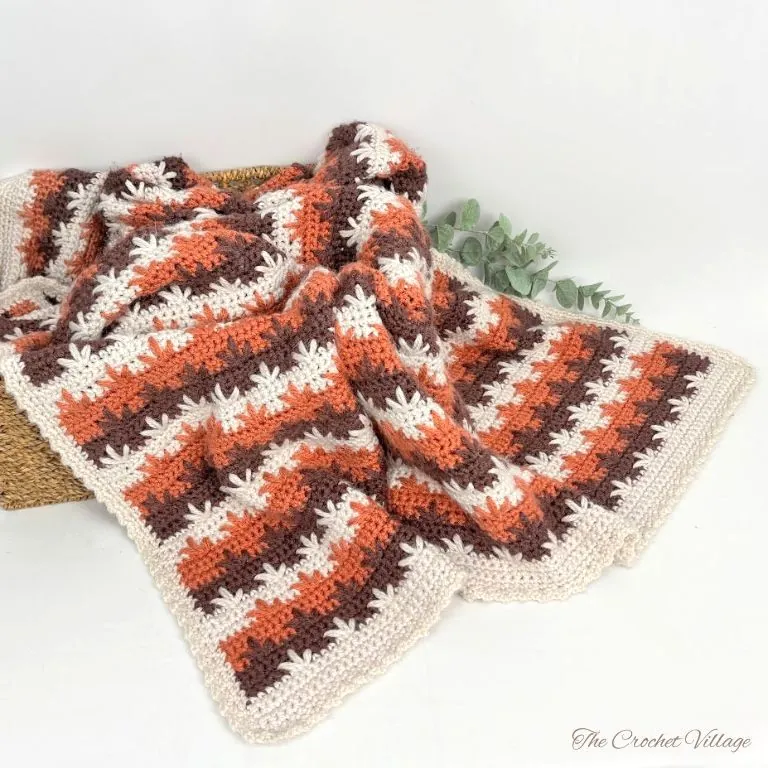
With its gorgeous autumn crochet vibes and a stitch pattern that beautifully mimics fall foliage, this afghan throw is as stunning as it is warm and soft. Whether you’re decorating for Thanksgiving, snuggling up on chilly nights, or just love the rich colors of fall, this pattern is a must-try.
Related: Free Fall Crochet Patterns
Before we start this free crochet autumn pattern
Best Yarn Choice for Your Mayflower Throw blanket
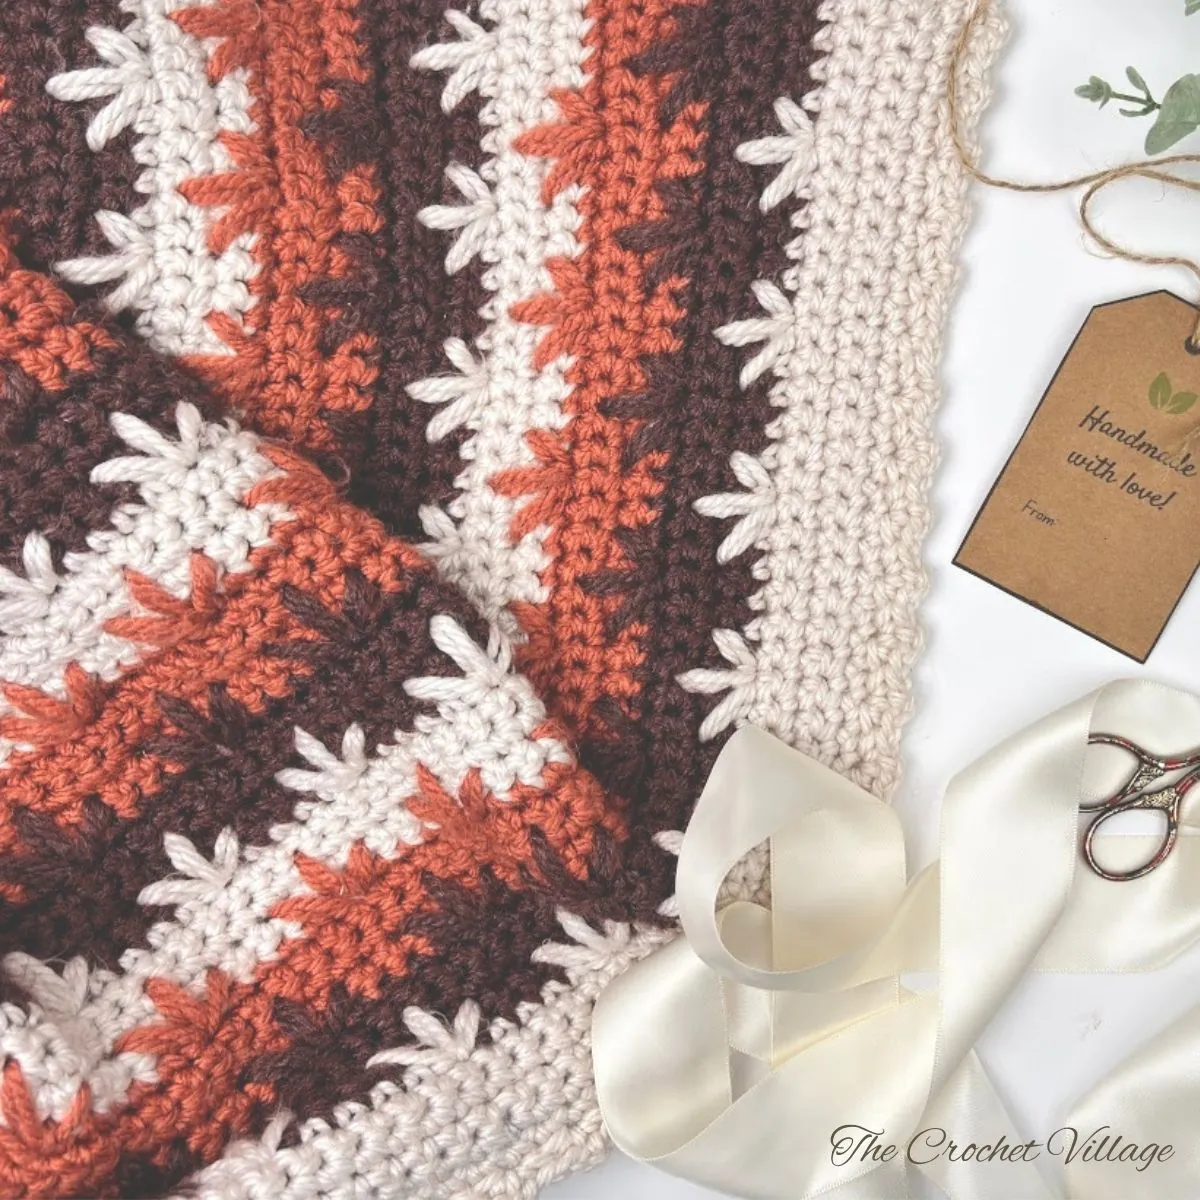
You can use any yarn weight for this autumn crochet project, but I highly recommend using a #5 bulky yarn. Not only will your blanket work up much faster, but it will also be warmer and cozier. Plus, the thicker yarn enhances the texture of the leaves, making them look fuller and more defined.
If you prefer a lighter blanket, you can still use a #4 worsted-weight yarn or even something finer, but a bulkier yarn truly brings out the autumn-inspired design and gives the afghan the right thickness and feel.
For my throw, I used Premier Yarns Anti-Pilling Everyday Bulky Yarn, which is on the thinner side of #5. It’s super soft and an absolute dream to work with. The fall colors are so rich, and I can’t wait to use them to decorate my home for Thanksgiving.
Free Crochet Fall Afghan Pattern: Start Here
Recommended Yarn: 🧶Premier Anti-Pilling Bamboo Chunky #5 bulky weight yarn. Colors shown:
- Terra Cotta
- Boysenberry
- Moshi
Yarn Substitution
Yardage: About 2,096 yards (16 skeins)
Crochet Hook: (K) 6.5 mm hook
Gauge: 4” square = 11 SC x 12 rows.
Other Materials
- Tag: Faux leather tags
- Tapestry needle
- Scissors
Abbreviations
- CH: Chain
- ST: Stitch
- SC: Single crochet
- SSC: Spike stitch cluster
- YO: Yarn over
- Rnd: Round
- Rep: Repeat
Pattern Notes
- Terminology: Written in US terms
- Difficulty: Intermediate
- The yarn: The yarn used in this pattern is a thinner bulky-weight yarn that has a beautiful drape. I highly recommend it for this project.
Finished Measurements
This free version of the pattern includes instructions for the throw size only, finished at 41″ × 50″. If you would like to make this blanket in baby, stroller, lap, queen, or king size, the premium ad-free PDF includes a full size chart with foundation chain counts, row counts, and yardage for every size.
How to Crochet a Spike Stitch Cluster
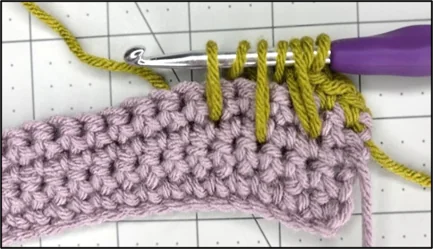
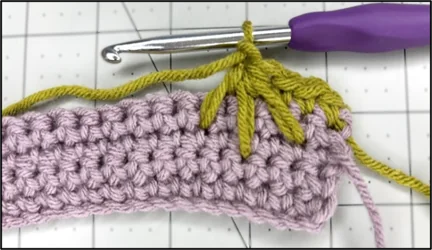
A spike stitch is worked into a stitch one or more rows below the working row, rather than into the row you’re currently on. In this pattern, we’ll use a spike stitch cluster—a group of three spike stitches worked as follows: One spike stitch to the right, one row below. One spike stitch directly below your current stitch, two rows below. One spike stitch to the left, one row below.

- 1st leg: YO, insert your hook one row below and one stitch behind the current ST, and pull up a loop.
- 2nd leg: YO, insert your hook two rows below the next stitch, and pull up a loop.
- 3rd leg: YO, skip the next two stitches, insert your hook one row below the next ST, and pull up a loop.
- Close the SSC: YO and pull through all loops on your hook to complete the stitch.
Pro tips
- Focus on the placement of each spike stitch.
- Keep your spike stitches loose enough to reach the correct row, but not so loose that they look loopy. They should lay flat.
- Count your stitches often, especially in the set-up rows.
- Check as you go to make sure your spike stitch clusters line up correctly.
- No worries if it feels tricky at first—it gets much easier after a few rows!
Mayflower Blanket Free Crochet Pattern
This free crochet fall throw blanket pattern covers the throw size only (41″ × 50″), and includes everything you need to create a gorgeous afghan for the fall season—from materials to detailed step-by-step instructions.
Prefer a printable version? The premium PDF adds a full size chart for baby, stroller, lap, throw, queen, and king—foundation chain, total rows, approximate yardage, and a per-colour skein breakdown for every size. Ad-free, print-friendly, and available for a small fee in all my shops, linked below!

Prefer A Printable PDF?
Treat yourself to the ad-free, beautifully formatted version of this design for a small fee!
Step 1 – Crochet the throw
Using Yarn A, CH129 to create the foundation chain. For other sizes, CH a multiple of 6 plus 3 until you reach the desired width.
Row 1: SC in 2nd CH from hook and in each CH across. CH1, turn. (128 ST)
Rows 2–4: Using Yarn A, SC in each ST across. At the end of Row 4, change to Yarn B, CH1, and turn. FO Yarn A. (128 ST)
Row 5: Using Yarn B, SC in next 3 ST, *SSC in next ST, CH1, SC in next 4 ST; rep from * until 4 ST remain, SSC in next ST, CH1, SC in last 3 ST. CH1, turn. (128 ST)
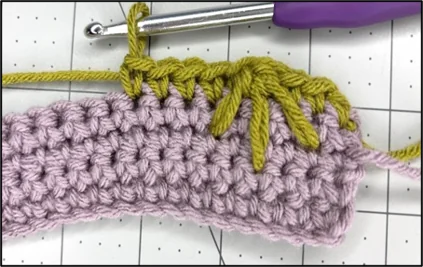
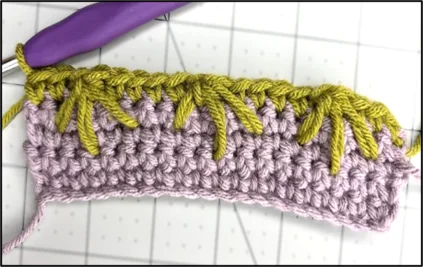
Rows 6–8: Using Yarn B, SC in each ST across (CH1 counts as a ST). At the end of the last Row, change to Yarn C, CH1, and turn. Cut Yarn B. (128 ST)
Row 9: Using Yarn C, SC in next 6 ST, *SSC in next ST, CH1, SC in next 4 ST; rep from * until 6 ST remain, SSC in next ST, CH1, SC in last 6 ST. CH1, turn. (128 ST)
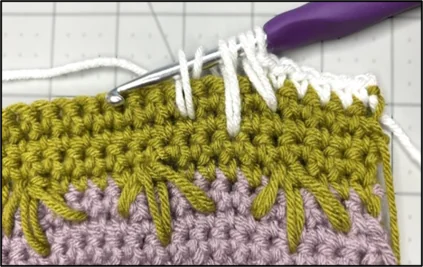
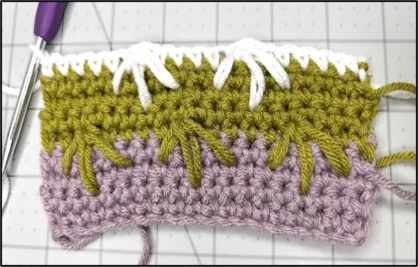
Rows 10–12: Using Yarn C, SC in each ST across (CH1 counts as a ST). At the end of the last Row, change to Yarn A, CH1, and turn. Cut Yarn C. (128 ST)
Row 13: Using Yarn A, SC in next 3 ST, *SSC in next ST, CH1, SC in next 4 ST; rep from * until 4 ST remain, SSC in next ST, CH1, SC in last 3 ST. CH1, turn. (128 ST)
Rows 14–172 (or to desired length): Rep Rows 6–13, alternating Yarn A, Yarn B, and Yarn C. At the end of the last Row, CH1 and turn.
Do not cut the working yarn. Weave in all ends, then crochet the border.
Step 2 – Crochet the border
Rnd 1: Using Yarn A, *SC in each ST across until you reach the corner, 2 SC in the corner, SC in each Row across until you reach the next corner, 2 SC in the corner; rep from * around. Join with a SL ST in the 1st ST, CH1, do not turn.
Rnd 2: *2 SC in the corner, SC in each ST across; rep from * around. Join with a SL ST in the 1st ST, CH1, do not turn.
Rnd 3: *(SC, CH2, SC) in the corner, SK next ST; rep from * around. Join with a SL ST in the 1st ST, FO.
Weave in all ends, and you are all done!
I offer full support to help you with any questions or challenges you might have. Feel free to drop your comments in the section below or join our Facebook group, where I, along with my wonderful testers and community members, will be more than happy to assist you!
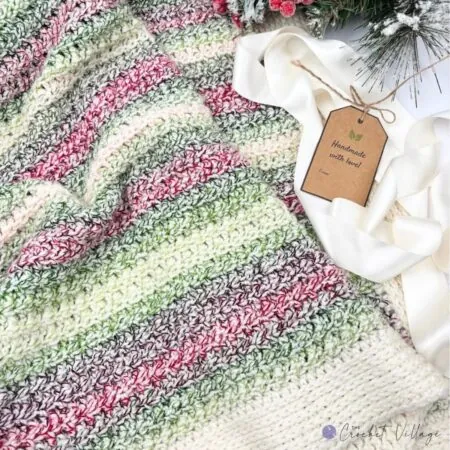
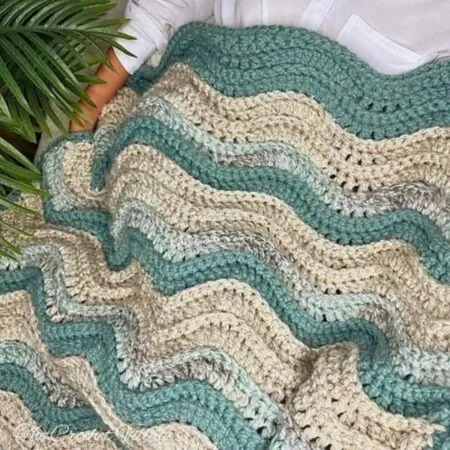
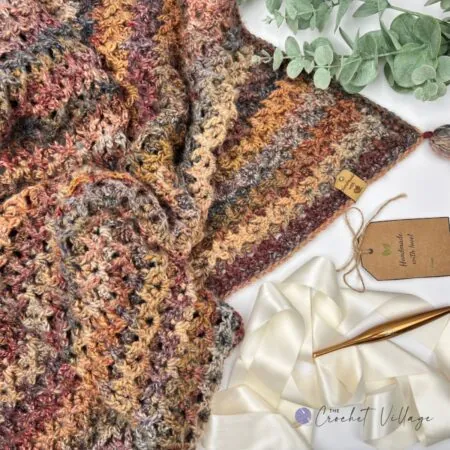




Hello. If i am using the exact same yarm provided in the post, how many skeins of each color do I need?
Hi Becca! Based on 131 yds/skein, you’ll need 10 skeins total — 4 skeins of Yarn A, 3 of Yarn B, and 3 of Yarn C. Happy crocheting!