
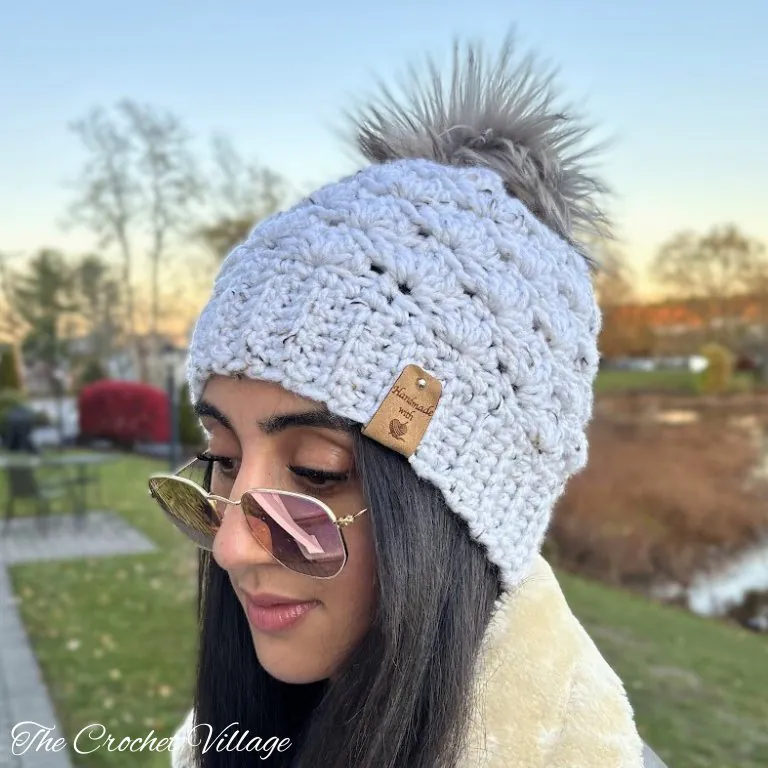
Discover the Meadow Hat—a gorgeous free crochet beanie pattern that’s easier than it looks! This beautiful shell stitch hat is worked seamlessly from the top down, creating a stunning textured design that showcases any yarn beautifully. Whether you choose vibrant variegated colors or classic solids, each hat turns out uniquely gorgeous.
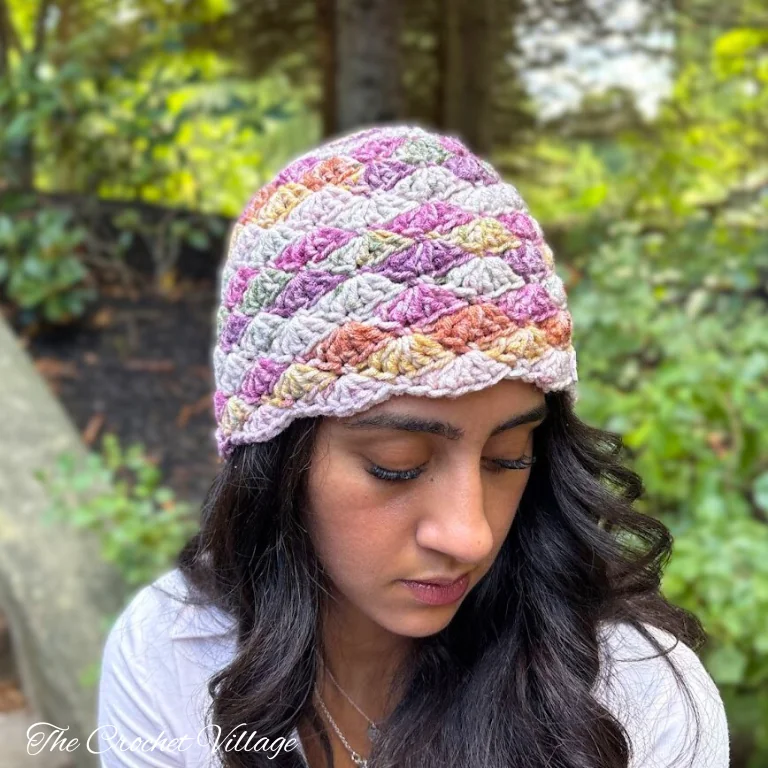
I’m so excited to share my Meadow Hat pattern with you! This free crochet beanie pattern is worked from the top down using a simple shell stitch, and I promise—it’s much easier than it looks. The stitch pattern is just a one-row repeat, so once you get the rhythm, it really flies off your hook.
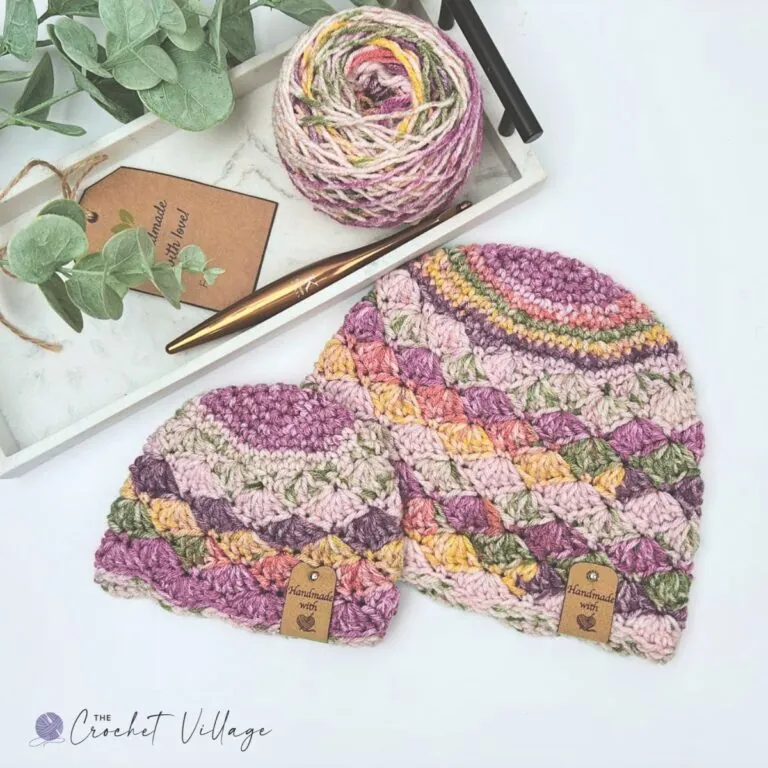
This lovely top-down beanie is seamless and designed to fit wonderfully across six sizes, from preemie to adult large. It’s perfect for making matching hats for the whole family or for donating to your favorite charity.
What I love most about this shell stitch beanie is how different it looks depending on the yarn you choose. I used a variegated yarn, and I love how the shell stitches show off those color changes—it’s so pretty.
I’ve also made this hat in solid colors, and they turn out just as gorgeous. Honestly, every time I make one, it feels like a completely different hat.
Keep reading to find the free pattern, or if you prefer a printable add-free PDF, you can find it on Etsy, Ravelry, and my online store!
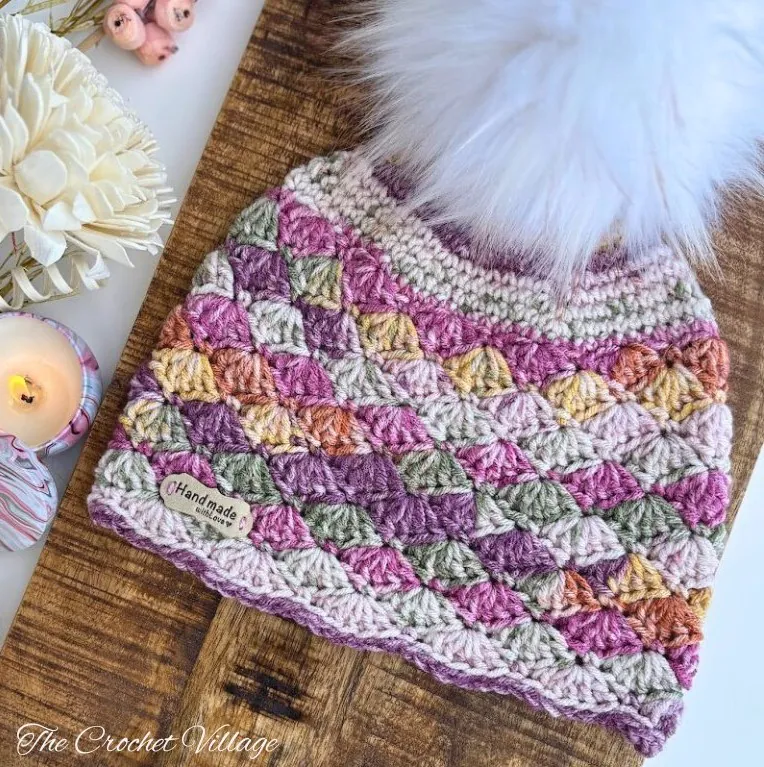
This easy crochet hat pattern uses worsted-weight yarn, so it’s lightweight, warm, and super comfy. You can finish one in an evening, which makes it perfect for last-minute gifts or when you just want to make something cozy for yourself.
The pattern is suitable for an advanced beginner—not complicated, just a fun and satisfying project with beautiful results.

Free Crochet Shell Stitch Beanie Pattern – Start Here
Recommended yarn:🧶Yarn Bee Soft & Sleek Yarn, #4 worsted weight yarn. Color shown: Tropical Tiki.
Yarn Substitution:
- Red Heart Super Saver Bitty Stripes
- Lion Brand Yarn Mandala Ombré
- Lion Brand Yarn Ferris Wheel Yarn
- Bernat Super Value Yarn Ombre
Yardage: Depends on the size. I used: 105 yds (for a Teen size)
Crochet Hooks: (H) 5 mm or a needed hook to meet the gauge.
Gauge: 4” square = 9 ½ rows and 13 DC (measured on the finished hat)
Other Materials
- Tag: Faux leather tags
- Tapestry needle
Abbreviations
- CH: Chain
- ST: Stitch
- SL ST: Slip stitch
- SC: Single crochet
- DC: Double crochet
- BLO: Back loop only
- Rep: Repeat
Pattern notes
- TERMINOLOGY: Written in US terms.
- DIFFICULTY: Easy to intermediate.
- CONSTRUCTION: The hat is worked in continuous rounds from the top down. Use a stitch marker to mark the beginning of each round and move it up as you go.
Size and measurements
- The pattern is written for four sizes: Preemie, Infant, Toddler, Child, Teen, and Adult.
- The stitch counts and instructions for each size are written in parentheses and color-coded. Simply follow the color that matches your size, in this order: (Preemie, Infant, Toddler, Child, Teen, and Adult)
- The numbers at the end of the rows are the stitch count for that row.
- The numbers at the beginning of the rows are the stitch count for that row.
- Tips: After finishing the crown, measure its diameter and compare it to the sizing chart.
- Smaller than the pattern? Don’t add a row — go up a hook size and measure again.
- Larger than the pattern? Go down a hook size and measure again.
- Keep your tension even throughout.
The pattern includes instructions for six sizes: Preemie, Infant, Toddler, Child, Teen, and Adult. Be sure to check the sizing chart for head measurements.
Click here for the sizing chart
| Age | Head Circumference | Crown’s diameter | Hat Height |
| Preemie | 10”- 15” | 3 ½” | 4 ½” |
| Infant | 15”- 17” | 4 ¼” | 5 ½” |
| Toddler | 17”- 19” | 5 ½” | 7” |
| Child | 19”- 21” | 6” | 7 ½” |
| Teen | 21”- 23” | 6 ¾” | 8” |
| Adult | 23”- 24″ | 7 ¼” | 8 ½” |
Top Down Crochet Shell Stitch Hat: Meadow Beanie
In this free Christmas crochet blanket pattern, I’ll share all the materials you need and provide step-by-step instructions to make the Winterland Blanket in any size. If you prefer a printable, ad-free PDF, the premium version is available now for purchase in all my shops linked below.
Prefer A Printable PDF?
Treat yourself to the ad-free, beautifully formatted version of this design for a small fee!
Step 1 – Crochet the crown
Work in continuous rounds — do not join. Place a stitch marker in the first ST of each round and move it up as you go.
Rnd 1 — All Sizes: Make a magic circle. CH 1 (does not count as a ST), then work 6 SC into the circle. (6 SC). Close the magic ring by pulling the tail tight, and secure it with a couple of knots
Rnd 2: 2 SC in each ST around. (12 SC).
Rnd 3: *2 SC in the next ST, SC in the next ST; repeat from * around. (18 SC)
Rnd 4: *2 SC in the next ST, SC in the next 2 STS; repeat from * around. (24 SC)
Rnd 5: *2 SC in the next ST, SC in the next 3 STS; repeat from * around. (30 SC)
Rnd 6: *2 SC in the next ST, SC in the next 4 STS; repeat from * around. (36 SC)
Rnd 7: *2 SC in the next ST, SC in the next 5 STS; repeat from * around. (42 SC)
Stop here for the Preemie size. Your crown should measure about 3.50″ across.
Rnd 8: *2 SC in the next ST, SC in the next 6 STS; repeat from * around. (48 SC)
Rnd 9: *2 SC in the next ST, SC in the next 7 STS; repeat from * around. (54 SC)
Stop here for the Infant size. Your crown should measure about 4.25″ across.
Rnd 10: *2 SC in the next ST, SC in the next 8 STS; repeat from * around. (60 SC)
Stop here for the Toddler size. size. Your crown should measure about 5.50″ across
Rnd 11: *2 SC in the next ST, SC in the next 9 STS; repeat from * around. (66 SC)
Stop here for the Child size. Your crown should measure about 6″ across.
Rnd 12: *2 SC in the next ST, SC in the next 10 STS; repeat from * around. (72 SC)
Stop here for the Teen size. Your crown should measure about 6.75″ across.
Rnd 13: *2 SC in the next ST, SC in the next 11 STS; repeat from * around. (78 SC)
Stop here for the Adult size. Your crown should measure about 7.25″ across.
Note: For the best fit, measure your crown and compare it to the diameter listed for your size. If it matches, continue to the sides of the hat. If your crown is smaller, go up a hook size and measure again. If it is larger, go down a hook size and measure again. Do not add or remove rounds in the crown. Doing so changes the stitch count and will affect the finished size.
Step 2 – Crochet the Sides
Continue working in continuous rounds — do not join. Keep your stitch marker in place and move it up each round.
Numbers are listed as Preemie (Infant, Toddler, Child, Teen, Adult).
Rnd 8 (10, 11, 12, 13, 14): SC in each ST around, adding 3 extra SC evenly spaced throughout the round for a total of 45 (57, 63, 69, 75, 81) ST
Rnd 9 (11, 12, 13, 14, 15): *SC, skip next 2 ST, 5 DC in next ST, skip next 2 ST,* rep *to* around, ending with 5 DC in the 1st SC.
Rnd 10 (12, 13, 14, 15, 16): *Skip next 2 ST, SC in next ST, skip next 2 ST, 5 DC in next ST,* rep *to* around.
Rnd 11(13, 14, 15, 16, 17) to 15 (18, 22, 23, 24, 25): Repeat Rnd 10 (12, 13, 14, 15, 16), ending with skip next 2 ST, SL ST in next ST.
Rnd 16 (19, 23, 24, 25, 26): Working loosely. SL ST BLO in each ST around, SL ST in the last ST. Fasten off
Weave in all ends, and your hat is complete.
I offer full support to help you with any questions or challenges you might have. Feel free to drop your comments in the section below or join our Facebook group, where I, along with my wonderful testers and community members, will be more than happy to assist you!



omgosh, thank you!!! I’ve designed my own shell stitch ear warmers but never wrote down the pattern. This is a beautiful hat!! can’t wait to try it!!!
Hi Brucene! Aww thank you so much! 💕 I’m so glad you love it—can’t wait to see your version. Happy crocheting!
I made my Meadow Hat within a few hours and omg I love it!! Thank you so much for sharing this fun project!
Hi Anna! I’m thrilled you enjoyed the Meadow Hat and that it worked up so quickly for you. Thank you so much for taking the time to share this. Happy crocheting!
Why will this site not let me copy & print this MEADOW BEANIE.
I cannot work unless I have a PPRINTED PATTERN.
I do not use the Wave browser.
Hi Brock! The free patterns on my blog are a gift for readers to view and use directly on the blog. Copying is strictly prohibited. If you’d like a printable, well-formatted PDF, it’s available in all my shops for a small fee. here’s the link to Etsy: Medow Beanie.