
Are you a new crochet designer wondering how to create top-down hats in all sizes? Or maybe you’re a crochet maker who just wants a perfectly fitted hat for a specific head size? You’re in the right place!
In this post, I’ll walk you through everything step by step and share a simple crochet hat sizing formula you can use to make a hat for any head circumference, with any yarn and any stitch pattern—so your top-down hats fit beautifully every single time.
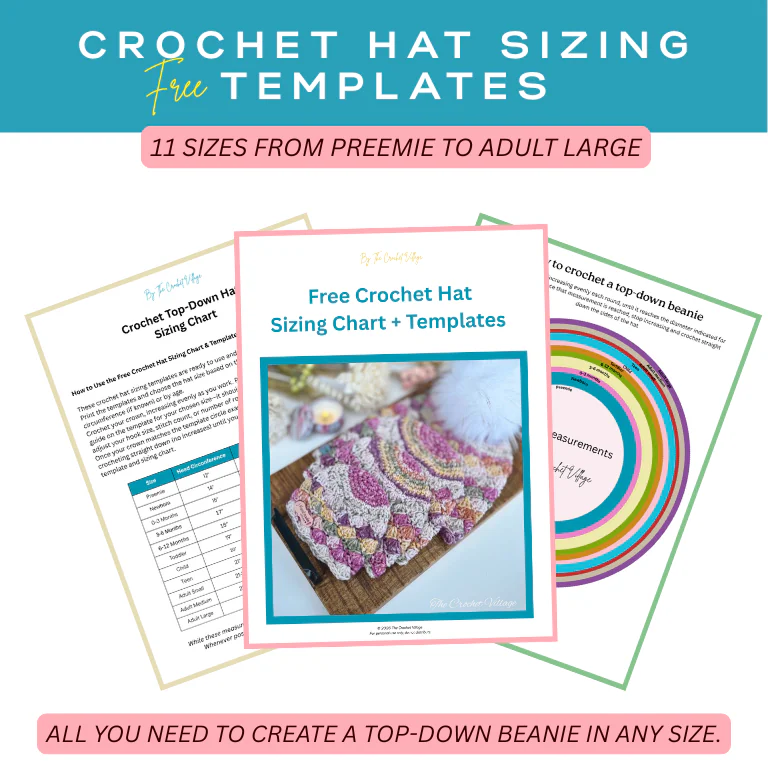
And there’s more! If you’d rather skip the measuring tape and math altogether, I’ve created free crochet hat templates in 11 standard sizes that are ready to use right away. They’re simple, easy, and accurate, so you can confidently make hats in any size without doing any calculations.

Why You’ll Love Crocheting Top-Down Hats
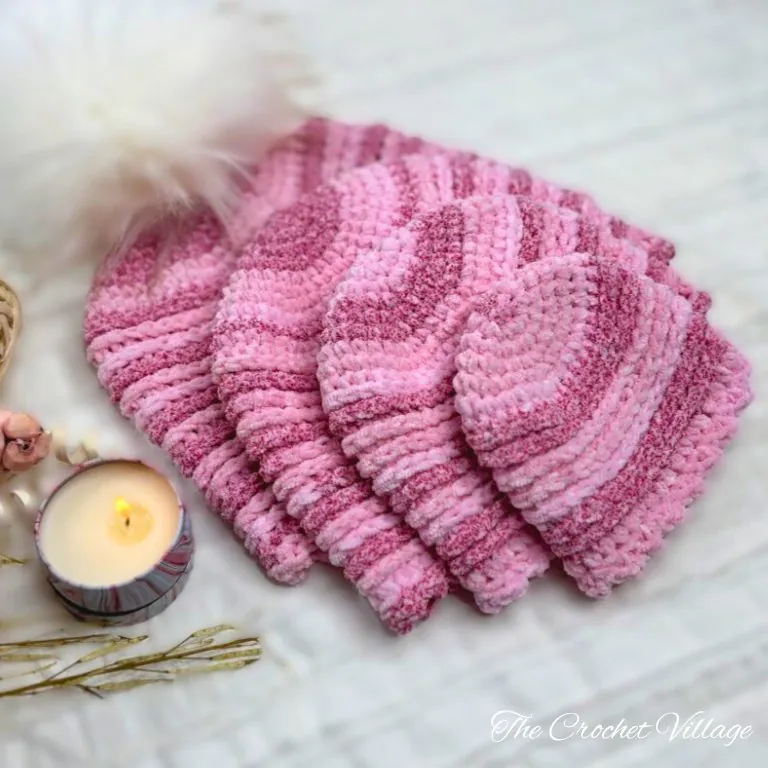
Top-down hats are a favorite among crocheters for good reason. First, the construction is simple—you start by crocheting a circle (the crown), making even increases until you reach the right diameter, then stop increasing and crochet straight down the sides.
It’s easy to understand, beginner-friendly, and a great way to learn how hat shaping works. Plus, these hats work up quickly, which always makes them extra satisfying to make.
When you use the proper sizing formula, the fit turns out consistently great, and the crown stays nice and flat—not bulky at the top like some bottom-up, brimmed hats. The result is a hat that feels snug and comfortable and looks great even without a pom-pom (though adding one is always a fun finishing touch).
Another reason designers love top-down hats is how flexible they are. The same basic formula works with any yarn weight and any stitch —you just need to get the crown diameter right.
How to Crochet the Crown (What Stitches to Use)
Crocheting the crown of a top-down hat is easiest when you use basic stitches like single crochet (sc), half double crochet (hdc), or double crochet (dc). You just need to follow a simple increase pattern that naturally forms a flat circle.
Double Crochet Crown Example
Here’s a basic pattern using double crochet:
- Round 1: Make a magic ring, ch 2 (doesn’t count as a stitch), work 12 dc into the ring. Join.
- Round 2: Ch 2, 2 dc in each stitch around. Join. (24 dc)
- Round 3: Ch 2, (1 dc, 2 dc in next stitch) repeat around. Join. (36 dc)
- Round 4: Ch 2, (2 dc, 2 dc in next stitch) repeat around. Join. (48 dc)
Keep following this standard increase pattern, adding one more stitch between increases each round, until your crown reaches the diameter you need. Once it’s the right size, stop increasing and move on to crocheting the sides of the hat.
Crochet Top-Down Sizing Hat Formula
I promised you a hat sizing template so you wouldn’t have to do the math (you’ll find it below), but I also want you to understand the simple math behind a well-fitted top-down hat. Once you do, you’ll be able to confidently make a perfectly fitted hat for any specific head size.
Here’s the easy formula you can use:
Grab a measuring tape and measure the head circumference, then divide that number by π (3.14). The result is the crown diameter you need to crochet to.
Example:
If you’re making a hat for a teen with a 20-inch head circumference, divide 20 by 3.14. That gives you approximately 6.3 inches. This means you crochet your crown—using any yarn weight, any stitch, and any increase pattern—until it measures about 6.3 inches in diameter. Once you reach that measurement, stop increasing and crochet straight down the sides. The finished hat will measure about 20 inches in circumference.
Pro Tip: Adjusting Your Crown’s Diameter
You followed the formula and calculated the crown diameter for your hat size—or used a template—but once you crochet the crown, the diameter ends up a little larger or smaller than expected. Don’t worry, this happens! Here are a few ways to fix it:
- Change your hook size – if the difference is small, using a slightly larger or smaller hook can help you hit the right diameter.
- Add or remove a round – sometimes just one extra or one fewer round can get your crown to the perfect size.
- Adjust your starting stitches – if the difference is bigger, you may need to start with more or fewer stitches in the magic ring to get the crown diameter closer to what you need.

Using Different Crochet Stitch Patterns for Your Hat
You’ve crocheted the crown using basic stitches like sc, hdc, or dc, following standard increases to create a nice flat circle. Now it’s time to move on to the sides of the hat, and this is where you can get creative with more elaborate stitch patterns.
If the stitch pattern you’re using for the sides requires a specific multiple, then the last round of your crown also needs to match that multiple.
For example, if your stitch pattern is a multiple of 4, the final round of your crown should have a multiple of 4 stitches—32, 36, 40, and so on.
Adjusting Your Stitch Count
- If you’re just a few stitches short, you can add them evenly around the last round of the crown.
- If you have a few extra stitches, simply skip a couple of increases in your final crown round.
However, if you need a lot more stitches to meet the stitch count for your repeat, it’s better to go back and adjust the starting stitches or the crown’s increase pattern. Adding too many stitches in the final round will make the crown wavy and uneven.

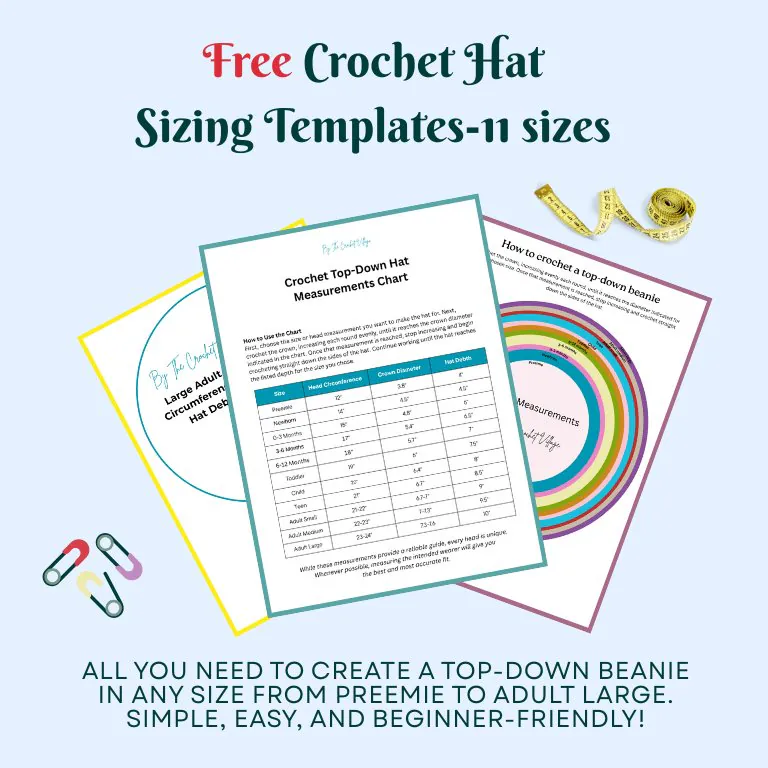
Crochet Hat Measurements Chart: Standard Head Sizes
Standard sizing charts are super helpful when you don’t have the chance to measure the wearer. They include common head circumferences, crown diameters, and recommended hat depths for sizes ranging from preemies all the way to adult large.
These numbers are a helpful guide, but every head is unique—measuring the intended wearer whenever possible ensures the best fit.
| Size | Head Circumference | Crown Diameter | Hat Depth |
|---|---|---|---|
| Preemie | 12″ | 3.8″ | 4.5″ |
| Newborn | 14″ | 4.5″ | 5.5″ |
| 0-3 Months | 15″ | 4.8″ | 6″ |
| 3-6 Months | 17″ | 5.4″ | 6.5″ |
| 6-12 Months | 18″ | 5.7″ | 7″ |
| Toddler | 19″ | 6″ | 7.5″ |
| Child | 20″ | 6.4″ | 8″ |
| Teen | 21″ | 6.7″ | 8.5″ |
| Adult Small | 21-22″ | 6.7-7″ | 9″ |
| Adult Medium | 22-23″ | 7-7.3″ | 9.5″ |
| Adult Large | 23-24″ | 7.3-7.6″ | 10″ |
Here’s how to use the chart:
- Choose a hat size (or a head circumference if you have it).
- Crochet the crown, making even increases until you reach the crown diameter for your chosen size.
- Stop increasing and crochet down the sides until you reach the hat depth listed for that size.
Free Crochet Hat Sizing Templates
These crochet hat sizing templates are ready to use and fit great for standard sizes. Print your templates and choose the hat size based on the head circumference of the recipient, if you know it, or based on their age. Then crochet your crown, increasing evenly as you work. Place it over the circle guide on the template for your size—it needs to align perfectly.
If it doesn’t, make adjustments (see the pro tip above-Adjusting Your Crown Diameter). When your crown matches the template circle exactly, stop increasing and crochet the sides down without any more increases until you reach the hat depth for your size stated on the template and the sizing chart.
How to Get Your Free Templates
- Click the button below to open the form.
- Fill in your details to join my mailing list.
- The PDF will open in your browser.
- Click the download icon to save it to your device.
I hope you found this post helpful and that you can now crochet your hats in any size with confidence! 🧶 Don’t forget to tag @thecrochetvillage so we can see your amazing creations.


