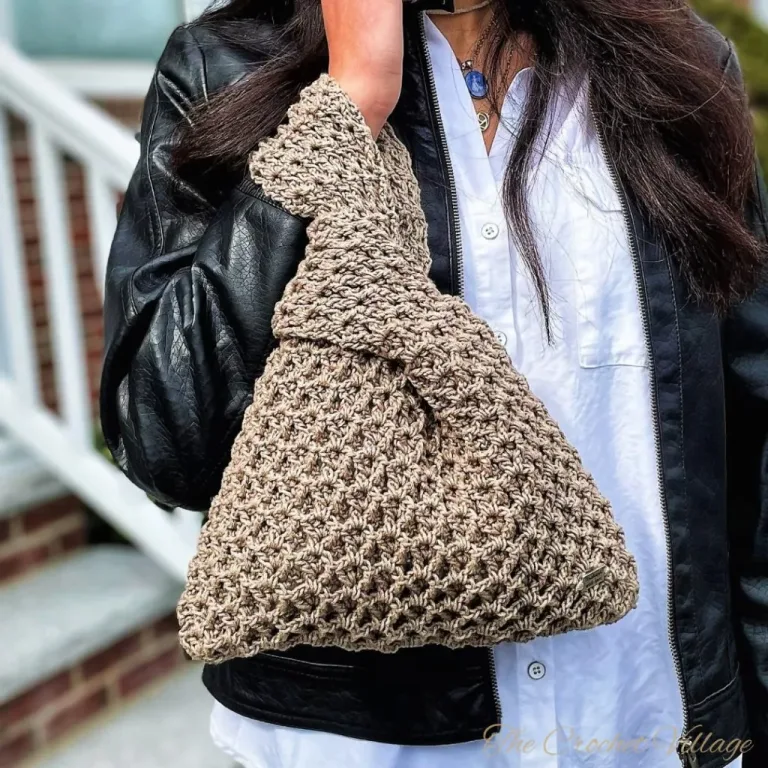
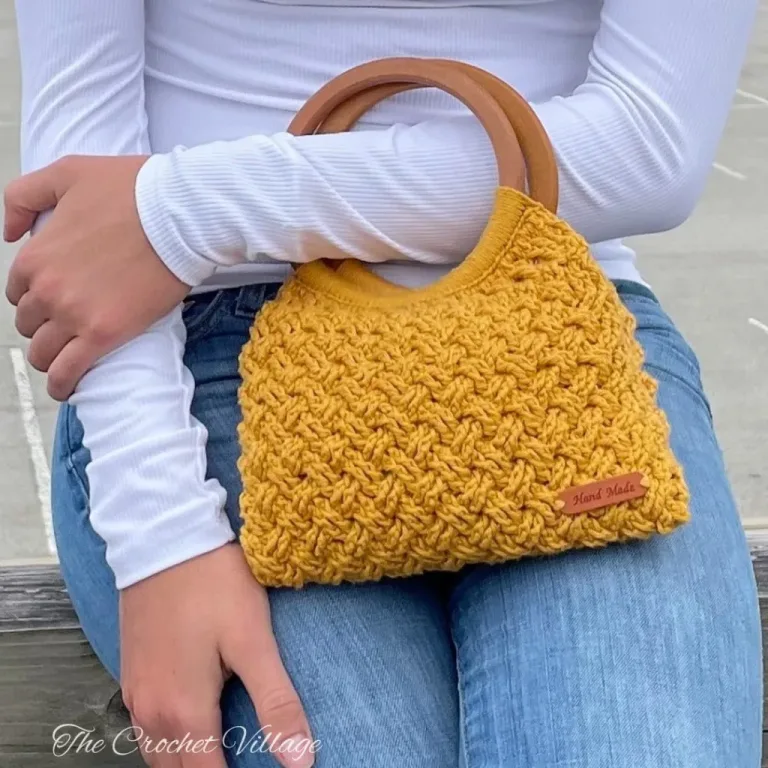
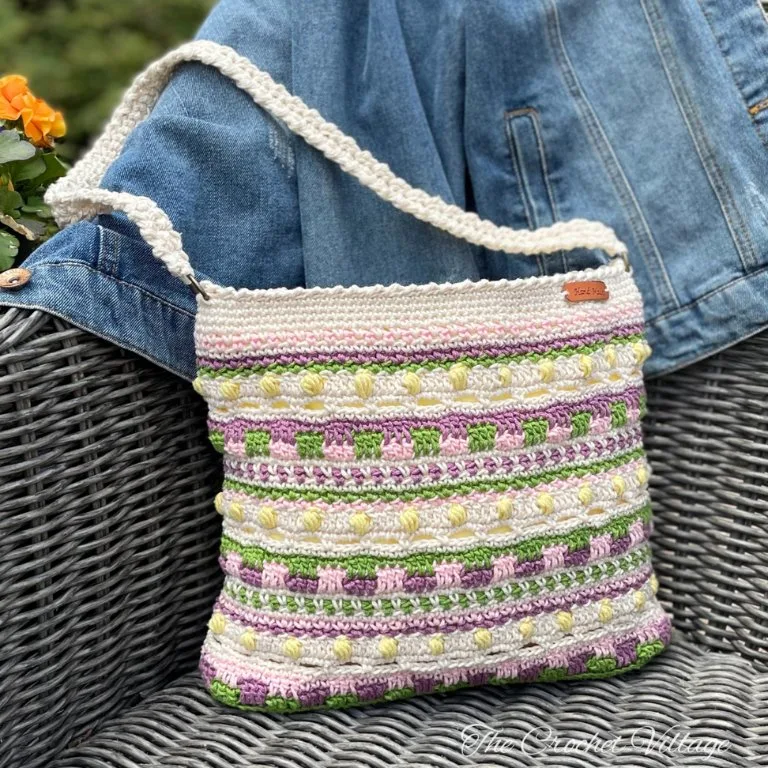
I have a serious obsession with small crochet bags—and honestly, I have no plans to stop! They’re quick to make, incredibly practical, and the perfect way to use up leftover yarn. I reach for mine every single day.
At home, they keep my crochet hooks, scissors, stitch markers, and measuring tape all in one place. When I’m on the go, I toss in my phone, charger, reading glasses, and a few essentials, and I’m ready to head out.
They also make the cutest mini makeup bags, travel pouches, and accessories organizers — and once you make one, you’ll be making them for everyone you know!
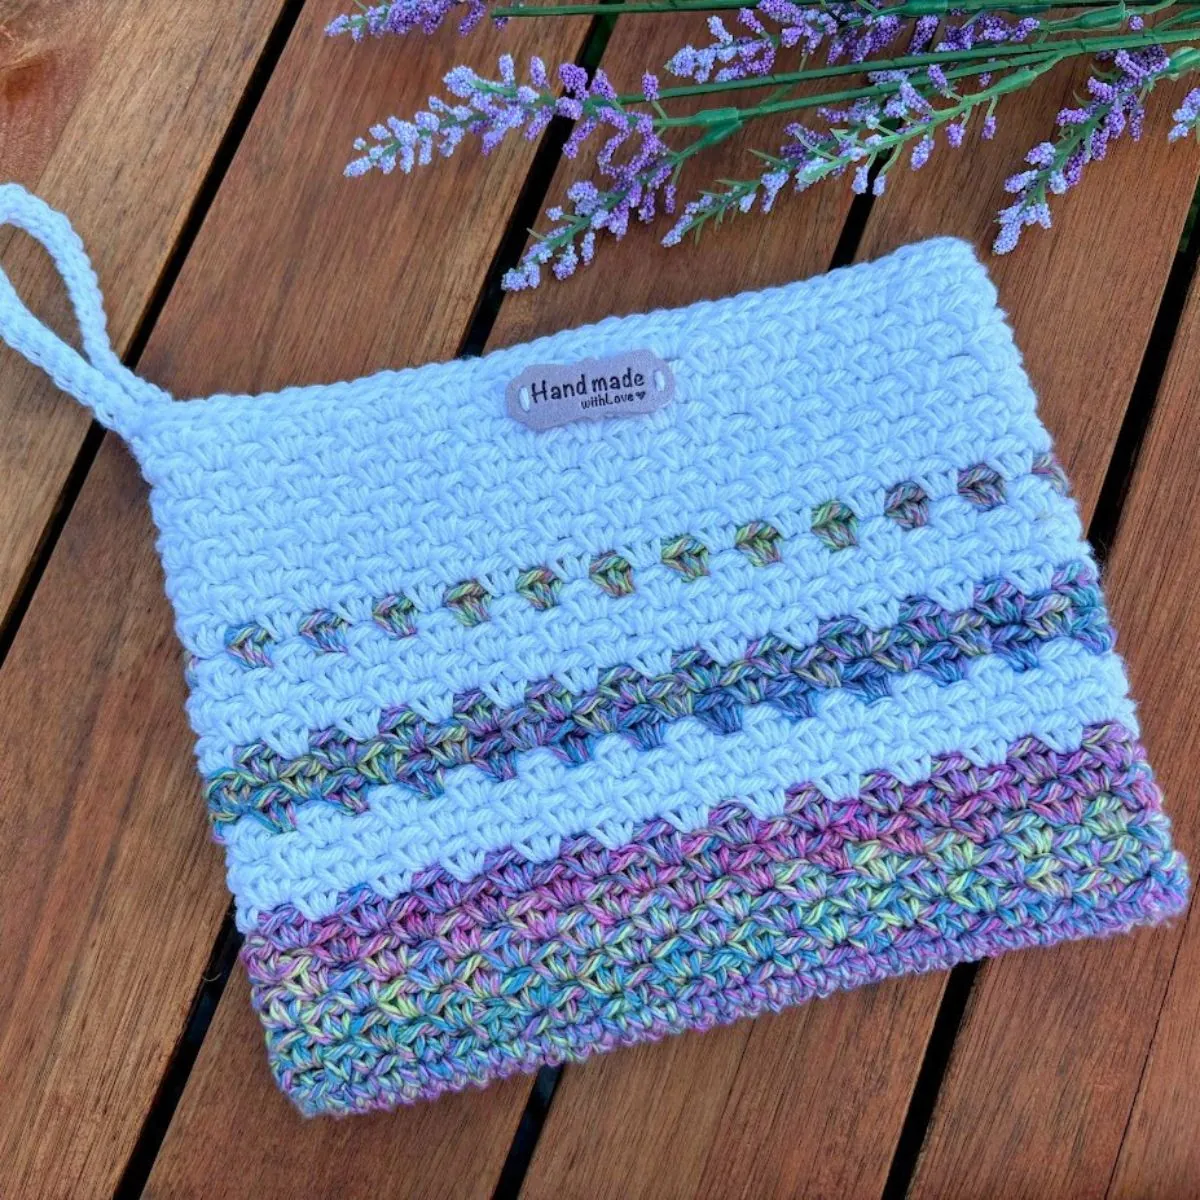
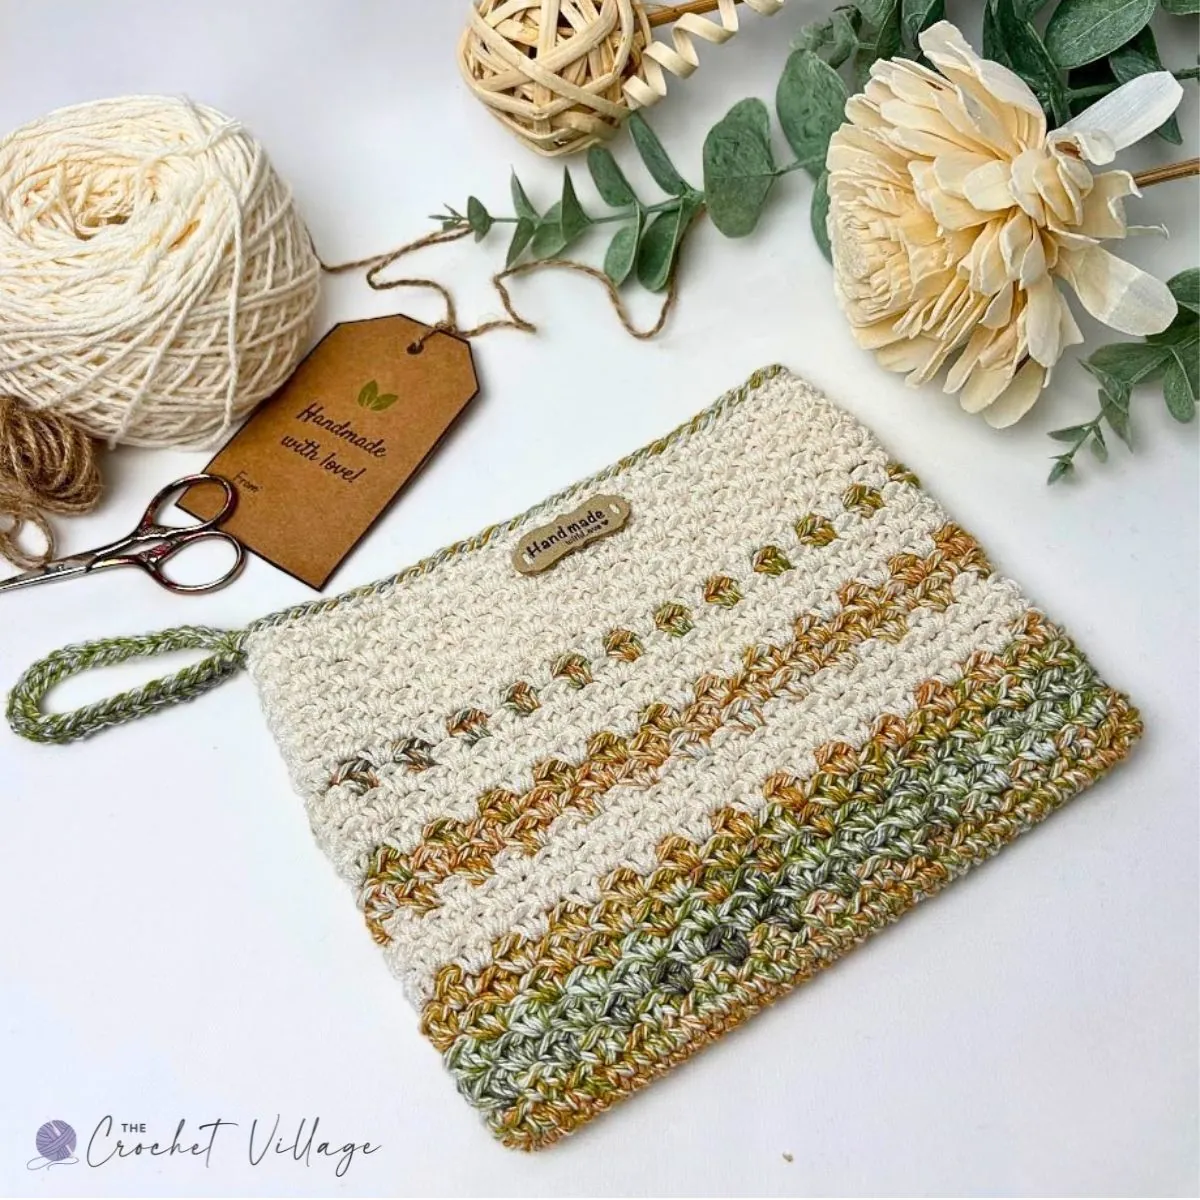
Whether you’re looking for a free crochet clutch pattern, a small coin purse, or just a handy everyday pouch, this free crochet small bag pattern is exactly what you need. Meet the Milano Bag — an easy crochet purse that works up fast, looks chic, and is totally beginner-friendly.
Why You’ll Love This Free Crochet Clutch Pattern
This Milano Bag is a small, structured crochet clutch purse that’s pretty, practical, quick, and easy to make.
The pattern is beginner-friendly, worked in single crochet only, and makes a great weekend project.
It’s also the perfect excuse to dig into your yarn stash — any worsted-weight cotton works beautifully. I paired a variegated print with a matching solid color and absolutely love how it turned out. That combo never fails! 🙂
The size is fully adjustable, too. I’ve included the stitch multiple so you can easily make it larger or smaller as needed. And when it comes to finishing, I kept mine simple with a small hanging loop — but you can just as easily add a wrist strap or a longer crossbody strap.
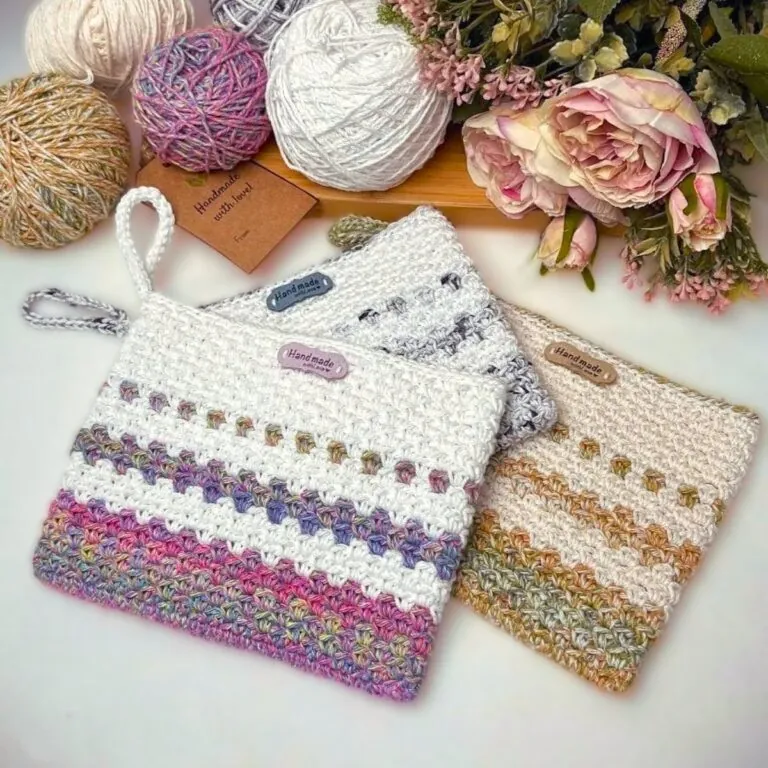
One thing I highly recommend is lining your bag. It gives your finished crochet handbag a clean, polished look and makes it more functional.
Not a fan of sewing? No worries! Premade canvas zipper liners are affordable, easy to find, and simple to install. They are a great lining option for beginners and experienced crocheters alike.
Free Crochet Small Bag Pattern: Start Here
Recomended yarn: Any #4 worsted-weight cotton yarn. I used Crafter’s Secret Cotton Yarn in a print and a matching solid color—colors shown: Haute Pink & white and Citrine Sheen & Ivory.
- Yarn A: Print
- Yarn B: Solid color
Yardage: 123 yards total.
Hook: (F) 4mm
Finished size: Approximately 6″ high × 8″ wide.
Gauge: 20 rows and 24 SC
Yarn substitution:
- Lily Sugar ‘N Cream ombre
- Hobby Lobby Print I Love This Cotton
- Paintbox Cotton Aran Yarn
- Premier Yarns Home Cotton
Other materials
- Faux leather tag
- 6”x 9” Canvas pouch with zipper (see pattern notes)
- Stitch markers.
- Tapestry needle to weave in ends.
- Thread and darning needle: to sew the fabric.
Abbreviations
- CH: Chain
- ST: Stitch
- SL ST: Slip stitch
- SC: Single crochet
- BLO: Back loop only
- YO: Yarn over
- SP: Space
- Rnd: Round
- Rep: Repeat
Pattern Notes
- Terminology: Written in US terms
- Difficulty: Easy
- Cotton yarn is recommended for better stitch definition and to reduce stretching.
- I used a smaller hook than recommended to create tighter stitches and a firmer fabric.
- Lining the bag is highly recommended for added structure and durability.
- I used a premade canvas pouch with a zipper, but you can also line your bag with fabric and add a zipper, magnetic snap, or other closure of your choice.
Construction
This bag is worked in continuous rounds without joining with a slip stitch (SL ST). If desired, place a stitch marker in the last stitch of each round and move it up as you work to help keep track of your progress.
Changing colors
Switch to the new color in the last stitch of the previous round. Drop the old color and leave it attached; you will pick it up again when it is needed.
Adjust the size
Chain a multiple of 3 for the foundation chain, then follow the pattern and crochet until you reach the desired length.
Milano Crochet Bag Pattern
STEP 1- Crochet the bag
With yarn A, CH 36 to make a foundation chain,
Rnd 1: 2 SC in the 2nd CH from the hook, SC in the next 33 CH, 3 SC in the last CH. Work into one loop only of each chain. We’ll use the other loop in the next step. (38 SC). Continue crocheting along the other side of the chains, working into the unused loops. SC in the next 33 CH (crochet over the tail to hide it), SC in the last CH that already has 2 SC, CH 1, Do not join. You should have a total of 72 SC.
From now on, you’ll work in continuous rounds. If needed, place a stitch marker in the last ST and move it up as you go to keep track of the end of each round.
Rnd 2: (Yarn A) * SC in the next 2 ST, CH1, skip next ST,* rep *to* around.
Rnd 3: (Yarn A) * 2 SC in next CH-1 SP, CH1* rep *to* around.
Rnd 4 – 8: (Yarn A) Rep Rnd 3. At the end of Rnd 8, change to yarn B.
Rnd 9 -12: (Yarn B) Rep Rnd 3. At the end of Rnd 12, change to yarn A.
Rnd 13 -15: (Yarn A) Rep Rnd 3. At the end of Rnd 15, change to yarn B.
Rnd 16 -19: (Yarn B) Rep Rnd 3. At the end of Rnd 19, change to yarn A.
Rnd 20: (Yarn A) Rep Rnd 3. At the end of Rnd 20, change to yarn B, cut yarn A.
Rnd 21- 30: (Yarn B) Rep Rnd 3. Optional: At the end of Round 30, change to Yarn A to crochet the final round and the hanging loop.
Rnd 31: SL ST BLO in each ST around, SL ST in last ST (in both loops). Do not cut yarn.
Crochet The Hanging loop: CH 30, SL ST into the 1st ST to make a loop (make sure it’s not twisted), SL ST in every CH of the loop around. SL ST into the 1st ST. Fasten off and weave in all ends.
STEP 2- Finish your bag
Weave in all ends and attach your tag. Insert the canvas pouch into the bag and secure it with pins around the zipper. Using a sewing needle and matching thread, stitch the pouch to the bag all the way around the zipper. Be careful not to sew too close to the zipper teeth, as this can prevent the zipper from opening and closing smoothly.
If you prefer to line your bag with fabric instead of using a premade canvas pouch, there are many helpful tutorials available on YouTube. I have included a link to a beginner-friendly tutorial that uses only hand sewing.
I offer full support to help you with any questions or challenges you might have. Feel free to drop your comments in the section below or join our Facebook group, where I, along with my wonderful testers and community members, will be more than happy to assist you!