Discover the best crochet washcloth pattern perfect for creating pretty and functional kitchen accessories, thoughtful gifts, or adding to your inventory!
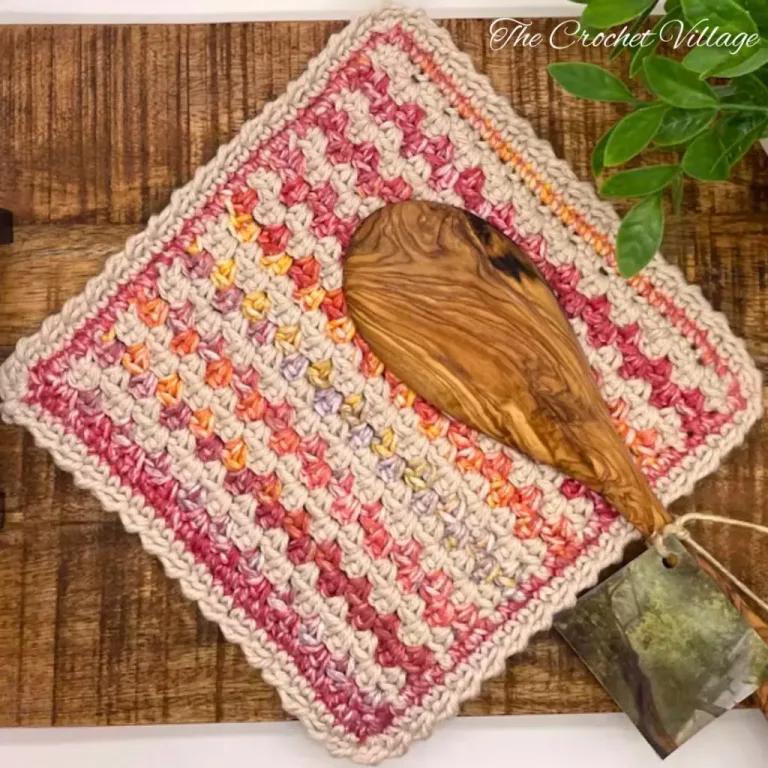
If you’re looking for the best crochet washcloth pattern, I’m excited to share the Rosemary Washcloth free crochet pattern with you! This one is special to me—it’s not just practical, but also a beautiful project you’ll enjoy making. Whether you’re treating yourself or crafting a thoughtful gift, this washcloth has that perfect combination of charm and usefulness.
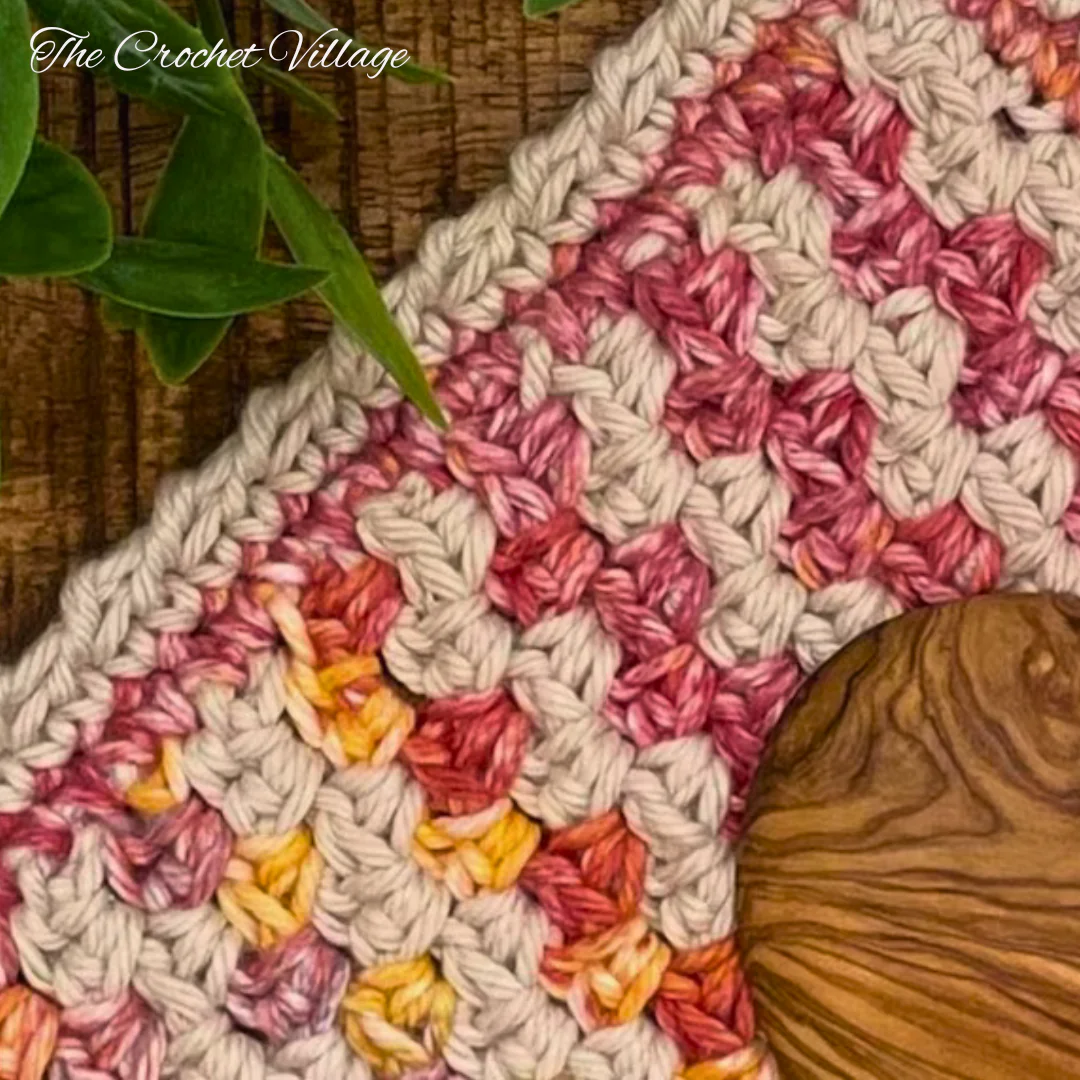
What makes it the best, in my opinion? It’s super easy to work up, using a textured one-row repeat stitch that creates a lovely, unique design without being too complicated. I made mine with a mix of variegated yarn and a matching solid color in cozy fall shades, perfect for my Thanksgiving setup. But really, you can get as creative as you want with colors!
Before You Make The Best Crochet Washcloth
Yarn Choices for the Best Crochet Washcloth
When it comes to making the best crochet washcloth, picking the right yarn is essential. For the Rosemary Washcloth, I highly recommend using cotton yarn—it’s the perfect choice because it’s durable, heat-resistant, and great at absorbing water. Plus, it’s just so practical for a kitchen project! I suggest going with a worsted or medium-weight cotton yarn, as it gives you the ideal balance of texture and absorbency.
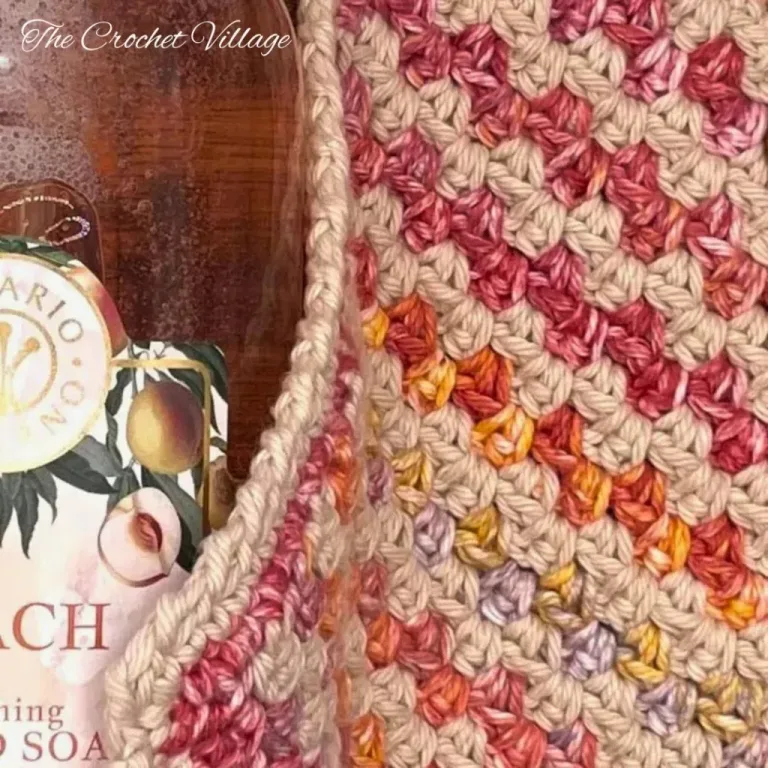
That said, a solid color works just as well if you’re looking for something simple and classic. Either way, the yarn choice really makes the washcloth both beautiful and functional!
Keep reading to find the free pattern, or if you prefer a printable add-free PDF, you can find it on Etsy, Ravelry, and my online store!
How to Care for Your Washcloth
The best crochet washcloth needs special care to keep looking its best! While some people prefer handwashing, I’m all about practicality, so I just toss mine in the machine on a gentle cycle with like colors. I always use a laundry bag to keep it safe from getting damaged or lost.
For drying, I let it air dry on a flat surface. Once it’s completely dry, I throw it in the dryer on low heat for a quick tumble and reshape. And that’s it—your washcloth will be fresh, functional, and ready to use again!
The Best Crochet washcloth pattern: start here
Recommended Yarn: 🧶Hobby Lobby’s I Love This Cotton Yarn, #4 worsted-weight cotton yarn. Colors Shown:
Yardage: About 70 yds total.
Yarn Substitutions
- Paint Box Aran Cotton Yarn
- Bernat Softee Cotton Yarn
- Premier Yarns Hipster Cotton Yarn
- Lily Sugar’n Cream
- Knit Picks Dishie
Crochet hook: G/4mm
Gauge: 4” square = 18 rows and 16 SC
Abbreviations
- CH: Chain
- ST: Stitch
- SL ST: Slip stitch
- SC: Single crochet
- RSC: Reverse single crochet
- YO: Yarn over
- SP: Space
- Rep: Repeat
Pattern Notes
- This pattern is written in US terms.
- The finished potholder measures about 8 1/2″x 8 1/2″.
- Change colors in the last ST of the row.
- For neat results, cut the contrast yarn (yarn B) when you finish using it, but feel free to carry it if you prefer.
- Keep your tension a little loose and even.
Special Stitches
Reverse Single Crochet (RSC): Insert the hook to the right into the next ST, YO, draw the loop back to the front,
YO again and draw that loop through the two loops already on the hook. How to crochet a reverse single crochet border.
Free Crochet Washcloth Pattern: Rosemary Washcloth
With this free crochet pattern, you’ll be able to create the best crochet washcloth! I’ll share with you what I used for my Rosemary Washcloth and guide you step-by-step through the pattern. But if you’d rather skip the ads and have a more convenient version, you can purchase the ad-free, printer-friendly PDF of this pattern from my shops linked below! It’s instantly downloadable and includes everything from the free version—perfect for saving, printing, and having quick access whenever you’re ready to crochet.
Prefer A Printable PDF?
Treat yourself to the ad-free, beautifully formatted version of this design for a small fee!
Step 1- Crochet the Washcloth
With yarn A, CH 35 to make a foundation chain.
Row 1: SC in 2nd CH from the hook, * SC in next 2 ST, CH1, skip next ST,* rep *to* across, SC in last 3 ST, CH1, turn.
Row 2: SC in 1st ST, *CH1, 2 SC in next CH1 SP,* rep *to* across, CH1, skip next 2 ST, SC in last ST, change to yarn B, CH1, turn, drop yarn A.
Row 3: SC in 1st ST, * 2 SC in next CH1 SP, CH1,* rep *to* across, 2 SC in last CH1 SP, SC in last ST, CH1, turn.
Row 4: Rep Row 2, change to color A, CH1, turn, cut yarn B.
Row 5-32: Rep Row 2-3. Alternate yarn A and yarn B every 2 rows. At the end of Row 32, do not cut yarn B, and proceed to crochet the border. Note: You can weave in ends now or leave them to the end.
Step 2- Crochet the border
Rnd 1: With yarn B still on your hook, *SC in every ST across, 2 SC in the corner, continue crocheting around, SC in every row, 2 SC in the corner,* rep *to* x 1 more time. Join with a SL ST into the 1st SC, Change to yarn A, CH1.
Rnd 2: 3 SC in the join, SC in every ST around, make 3 SC in the corners. Join with a SL ST into the 1st SC, CH1.
Rnd 3: * RSC in next ST, skip next ST,* rep *to* around, keep your tension even and not too tight. Finish with a SLST, fasten off, and you are all done!
I offer full support to help you with any questions or challenges you might have. Feel free to drop your comments in the section below or join our Facebook group, where I, along with my wonderful testers and community members, will be more than happy to assist you!