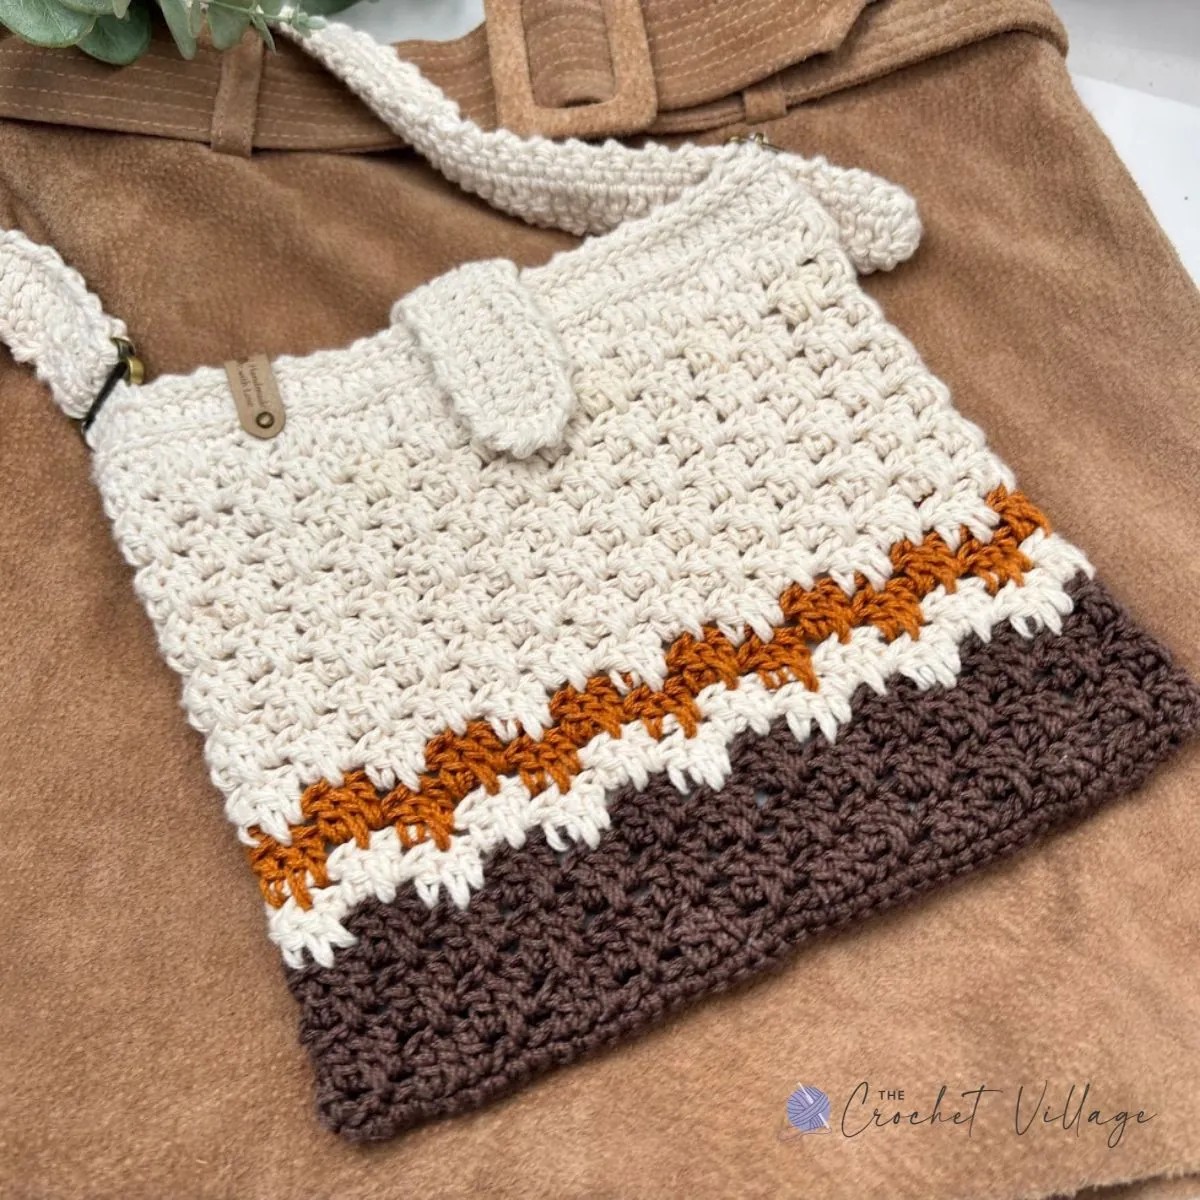
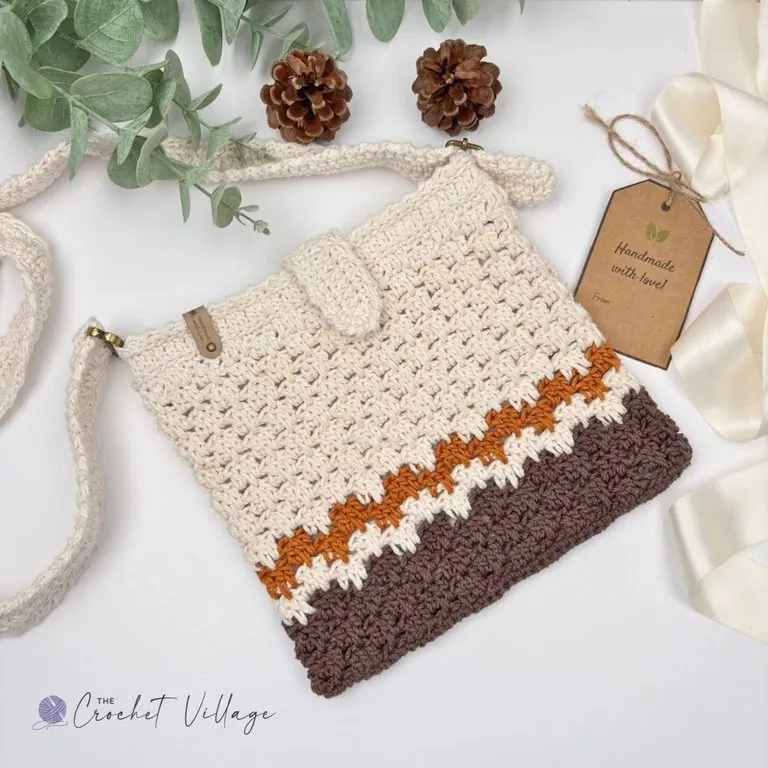
Make the Macchiato Messenger Bag – a free crochet crossbody bag pattern that’s cute, sturdy, and perfect for everyday use! This beginner-friendly crochet bag holds all your essentials in style, featuring an adjustable strap, magnetic snap closure, and a simple hand-sewn lining tutorial. Crafted with medium-weight mercerized cotton yarn, it keeps its shape while looking polished. Ideal for intermediate crocheters or adventurous beginners ready to level up their skills!
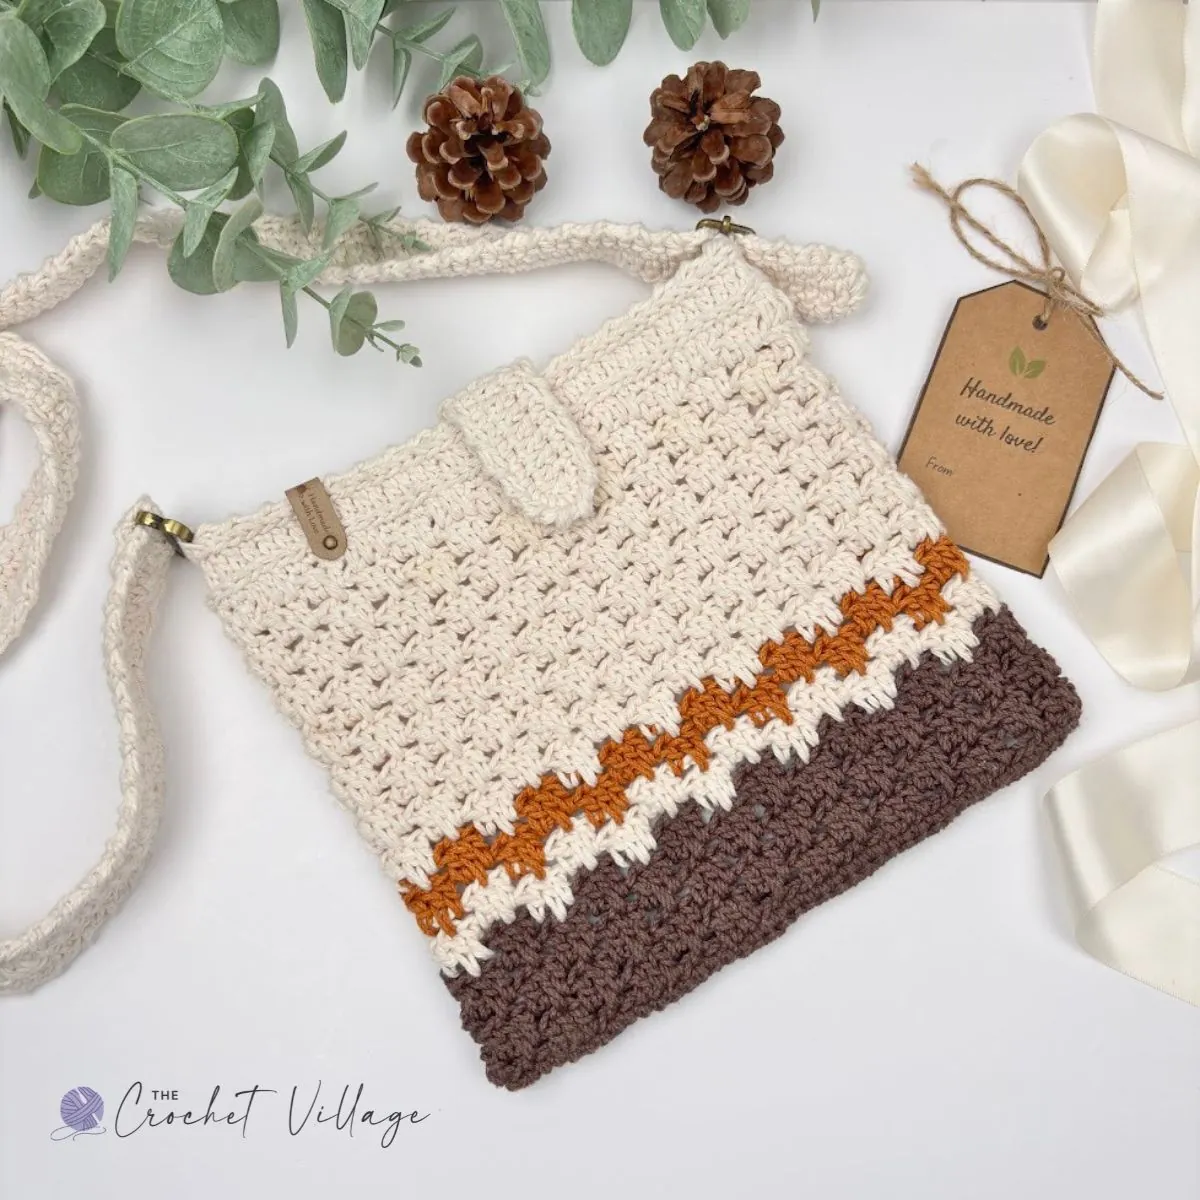
If you’re looking for a free crochet crossbody bag pattern that’s cute, functional, and perfect for everyday use, you’ll love the Macchiato Messenger Bag—a stylish, handmade bag made for summer adventures.
This easy crochet bag is designed to hold all your essentials—wallet, phone, keys, sunglasses… even a little snack or two.
Whether you’re an adventurous beginner or a confident intermediate crocheter, this crochet messenger bag pattern is beginner-friendly, fun to make, and perfect for leveling up your skills.
Made with medium-weight mercerized cotton yarn, your crochet crossbody bag will work up quickly, look polished, and be sturdy enough to hold its shape beautifully.
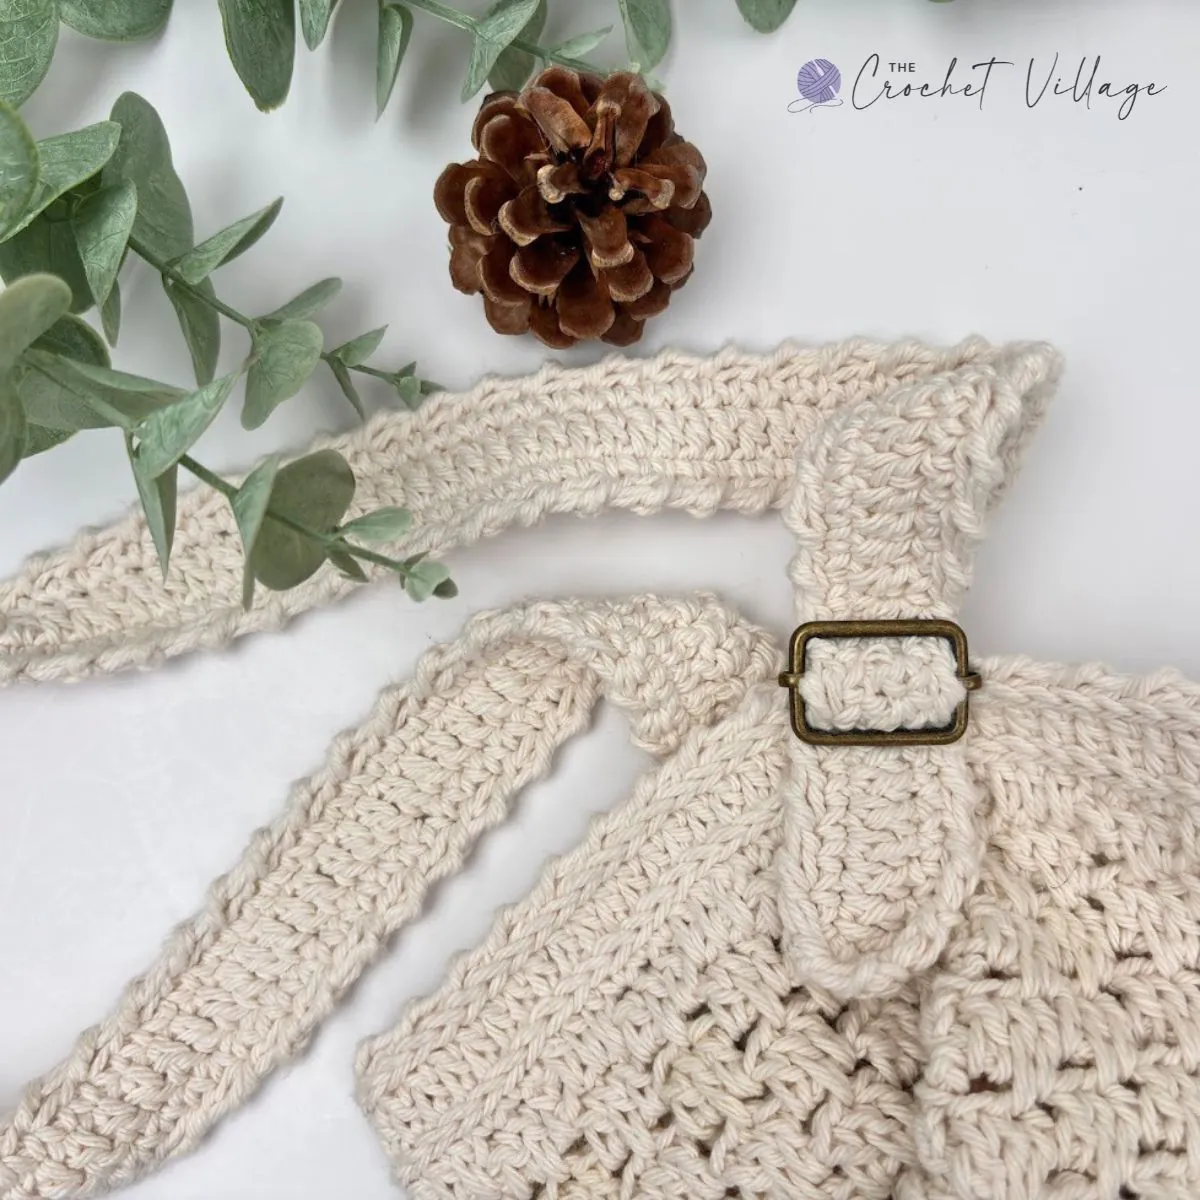
It also features a comfy adjustable strap to boost functionality. I lined the bag and added a magnetic closure, and the pattern includes a simple bag lining tutorial—no major sewing skills required!
Choose the Right Yarn for a Sturdy Crochet Bag
For this free crochet crossbody bag pattern, I highly recommend using mercerized cotton yarn. It helps your Macchiato Messenger Bag stay nice and sturdy, shows off your stitches beautifully, and won’t stretch out when you load it up with all your everyday essentials.
Other regular cotton yarn—especially a thicker option like Lily Sugar’n Cream Cotton Yarn—will work just fine. You’ll just need to adjust your hook size to meet the gauge or tweak your starting stitch count (you’ll find more details in the pattern!) since the bag may turn out a bit wider.
Choosing the right yarn really makes all the difference in how your crochet messenger bag pattern turns out. Thicker regular cotton yarn will work, but mercerized cotton works best—your finished bag will look polished, hold its shape, and be perfect as your go-to everyday crossbody bag.
Keep reading to find the free pattern, or if you prefer a printable add-free PDF, you can find it on Etsy, Ravelry, and my online store!
Free Crochet Crossbody Bag Pattern – Start Here
Recommended yarn: Lion Brand 24/7 #4 worsted-weight mercerized cotton yarn. Colors shown:
- Café au lait: Yarn A.
- Ecru: Yarn B.
- Amber: Yarn C.
Yardage: About 200 yards
Yarn substitution
Crochet hook: (F) 4 mm
Other materials
- Faux leather tags
- 1.25” Slide buckle
- 1.2” Flat slide buckle
- Magnetic snaps
- Fabric: 14”x 20” for lining.
- Tapestry needle: to weave in ends.
- Thread and darning needle: to sew the fabric.
Gauge: 4” square = 11rows and 18 ST
Finished dimensions: Height=7“ (to the base of the strap)/ Width=8 ½.”
Abbreviations
- CH: Chain
- ST: Stitch
- SL ST: Slip stitch
- SC: Single crochet
- HDC: Half double crochet
- DC: Double crochet
- RSC: Reverse single crochet
- YO: Yarn over
- SP: Space
- SK: Skip
- Rnd: Round
- Rep: Repeat
Special stitches
Reverse Single Crochet (RSC): Insert the hook to the right into the next ST, YO, draw the loop back to the front, YO again, and draw that loop through the two loops already on the hook. Watch here.
Pattern notes
- Terminology: Written in US terms
- Difficulty: Easy to intermediate
- Cotton yarn is recommended. I used mercerized worsted-weight cotton yarn, which is thinner than standard worsted-weight cotton. Be sure to make a gauge swatch before beginning.
- The bag is crocheted in the round.
- The numbers at the end of the rounds are the stitch count for that round.
- To change colors: Join the round with a SL ST using the new color, cut the old color, and continue with the new color.
Macchiato Crossbody bag Crochet Pattern
In this free crochet messenger bag pattern, I’ll share all the materials you need and provide step-by-step instructions to make this beautiful Macchiato Bag. Prefer a printable, ad-free PDF? The premium version is available in my Etsy shop, Ravelry shop, and other platforms.
Prefer a Printable PDF?
Love this pattern? Treat yourself to the ad-free, beautifully formatted version of this design for a small fee.
Step 1 – Crochet the bag
With Yarn A, loosely CH 42 to make the foundation chain.
Rnd 1:
- Work 2 SC in the 2nd CH from the hook, SC in each of the next 39 CH, and 3 SC in the last CH. Work into one loop of each foundation CH, leaving the other loop unworked for the opposite side. (44 SC)
- Continue along the opposite side of the foundation chain, working into the unused loops. SC in each of the next 39 CH, crocheting over the starting tail to hide it. SC in the last CH, which already contains 2 SC. Join with a SL ST to the first SC. CH 2. (84 SC)
Note: Your crochet looks wider here but will narrow as you continue crocheting.
Rnd 2: DC in the same ST holding the CH2. DC in each of the next 2 STS, CH 3, and SK the next 3 STS. *DC in each of the next 3 STS, CH 3, and SK the next 3 STS; repeat from * around. Join with a SL ST to the top of the beginning CH 2. CH 2.
Rnd 3: CH 3; together with the beginning CH 2, you should have 5 chains. SK the next 3 STS. [DC in the next CH-3 SP, DC in the center ST of the 3 skipped STS from the previous round, and DC in the same CH-3 SP.] *CH 3, SK the next 3 STS, and repeat the instructions in brackets in the next CH-3 SP; repeat from * around. Join with a SL ST to the 2nd CH of the beginning CH 5. CH 2.
Rnd 4: *Repeat the instructions in brackets from Rnd 3 in the next CH-3 SP, CH 3, and SK the next 3 STS; repeat from * around. Join with a SL ST to the top of the beginning CH 2. CH 2.
Rnds 5–6: Repeat Rnds 3–4. At the end of Rnd 6, change to Yarn B and CH 2.
Note: To change colors: Join the round with a SL ST using the new color, cut the old color, and continue with the new color.
Rnds 7–8: With Yarn B, repeat Rnds 3–4. At the end of Rnd 8, change to Yarn C and CH 2.
Rnds 9–10: With Yarn C, repeat Rnds 3–4. At the end of Rnd 10, change to Yarn B and CH 2.
Rnds 11–23: With Yarn B, repeat Rnds 3–4, ending with a Rnd 3 repeat. At the end of Rnd 23, CH 2.
Rnd 24: * DC in each of the next 3 skipped STS from the previous round, then SC in each of the next 3 STS; repeat from * around. Join with a SL ST to the top of the beginning CH 2. CH 2. (84 STS)
Rnd 25: Keep your tension slightly tight. DC in each ST around. Join with a SL ST to the top of the beginning CH 2. CH 1. (84 DC)
Rnd 26: *Skip the next ST to the right, RSC in the next ST to the right; repeat from * around. Join with a SL ST to the first RSC. CH 1. (42 RSC)
Rnd 27: Working below the RSC edging, SL ST in each DC of Rnd 25 around. Join with a SL ST to the first SL ST. Fasten off and cut the yarn. (84 SL STS)
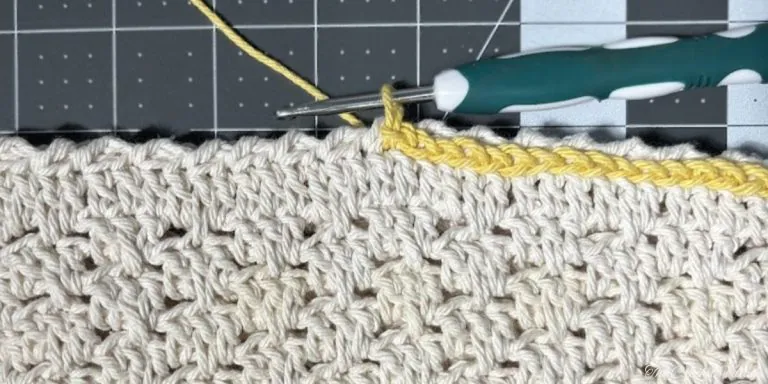
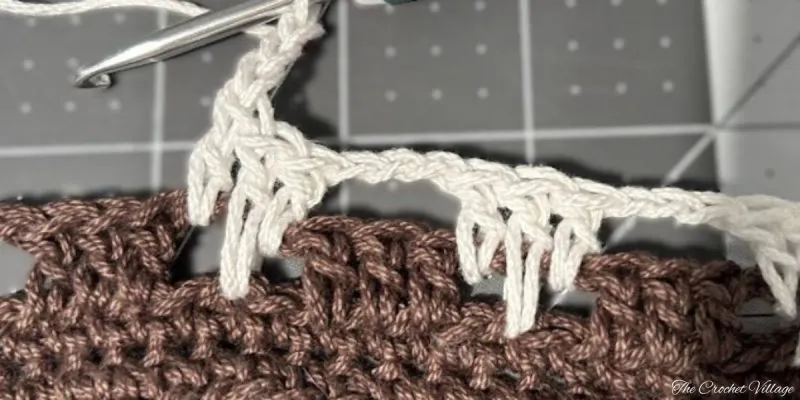
Rnd 28: Make a slip knot and join the yarn with a SL ST in the first DC of Rnd 24. SL ST in each ST around, referring to the picture below for placement. Join with a SL ST to the first SL ST. Fasten off. (84 SL STS)
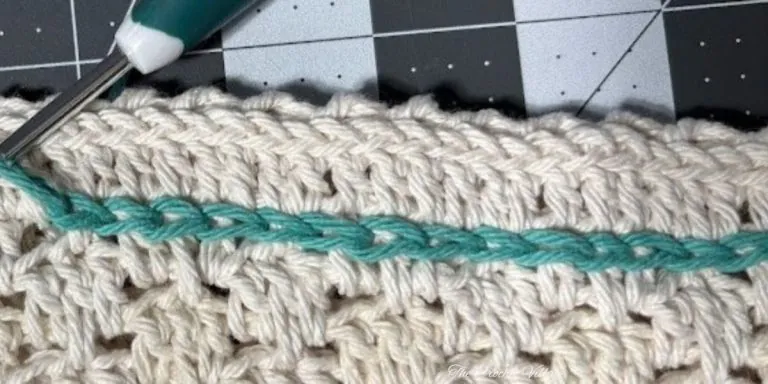
Step 2 — Crochet the straps
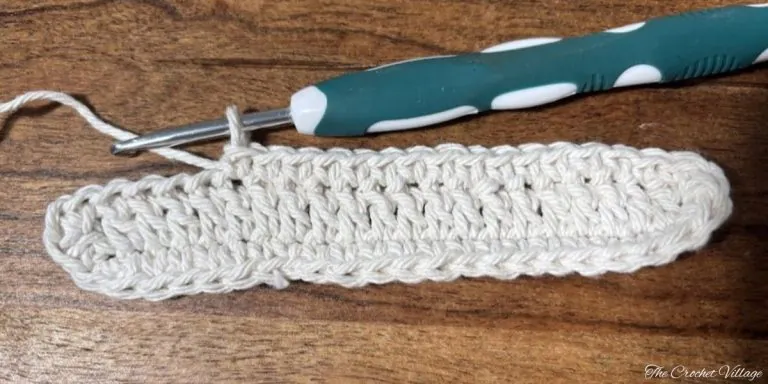
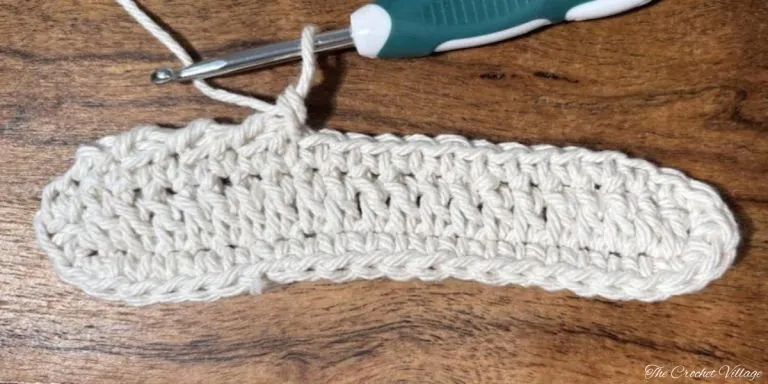
Note: Each strap begins with one row of DC. A round of SC is worked evenly around the entire DC row, followed by a round of RSC.
Shoulder Strap
With Yarn B, loosely CH 194 for a strap approximately 44″ long, or make a foundation chain to your desired length.
Row 1: DC in the 3rd CH from the hook and in each CH across. Do not turn. (192 DC)
Rnd 2: Work SC evenly around the entire strap as follows:
- Work 2 SC into the end of the last DC, inserting the hook directly into the DC to avoid creating a hole.
- Working along the foundation-chain edge, SC in each CH across.
- Work 2 SC into the beginning CH 2.
- Working along the top edge, SC in each DC across.
- Join with a SL ST to the first SC. CH 1
Rnd 3:
- RSC in the next ST to the right; skip the next ST to the right; repeat from * around. Pro Tip: Do not skip a ST between the RSC at either end of the strap. This will help the strap lie flat.
- At the end of the round, remove the hook from the working loop. Insert the hook from back to front through the first RSC, pull the working loop to the back, and CH 1. Fasten off and leave a long tail for sewing.
Closure Strap
With Yarn B, CH 18. Follow the same instructions used for the shoulder strap.
Step 3 — Attach the Straps
Attach the Shoulder Strap
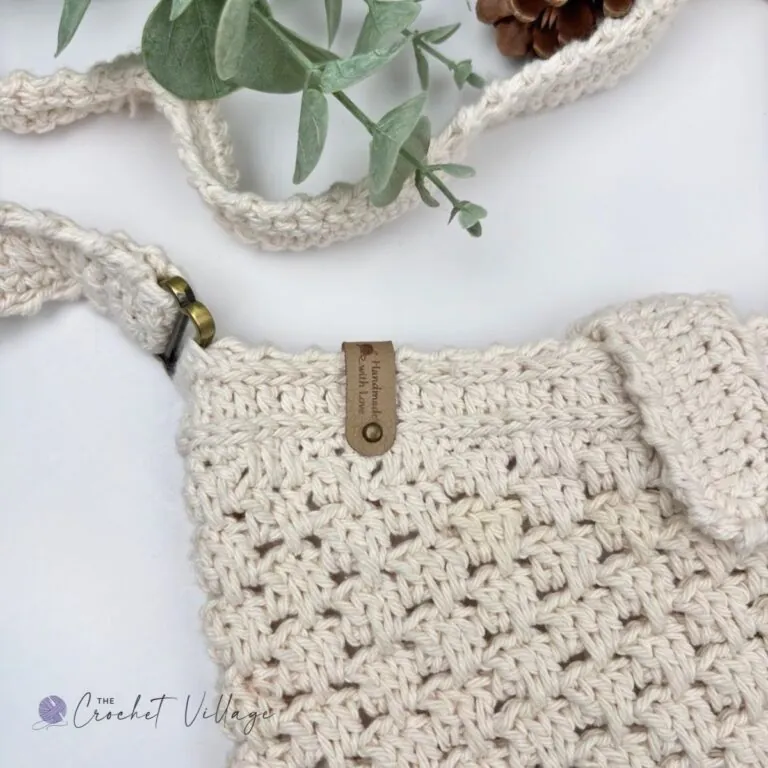
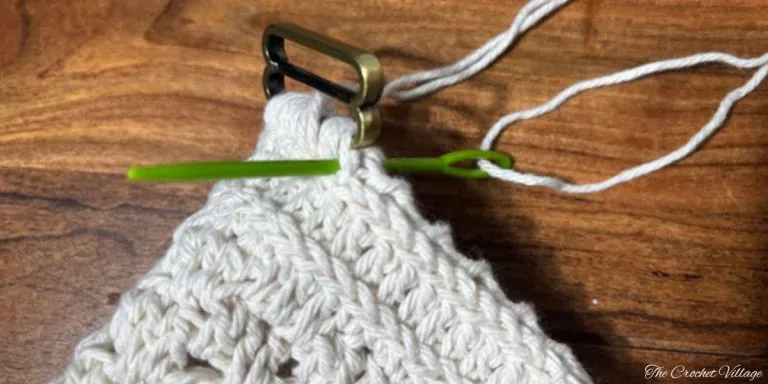
- Using Yarn B and a tapestry needle, sew the metal rectangle to one top corner of the bag.
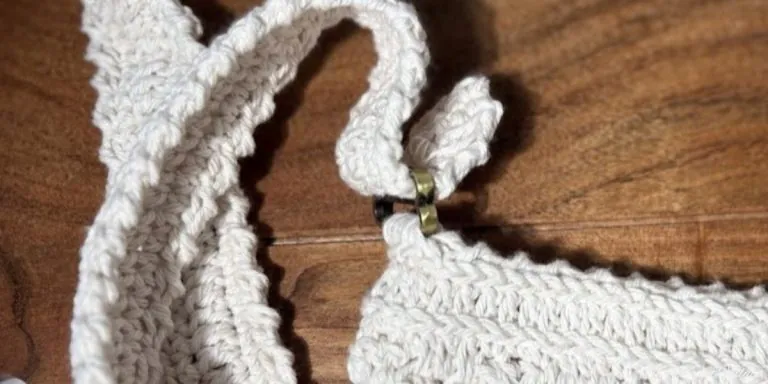
- Thread one end of the shoulder strap through the attached metal rectangle, making sure the right side of the strap faces outward.
- Fold the end back so that it overlaps the main section of the strap by approximately 1–1.5″.
- Using Yarn B and a tapestry needle, sew the folded end securely in place.
- Sew the second metal rectangle to the opposite top corner of the bag.
- Thread the other end of the strap through the second metal rectangle, making sure the strap is not twisted.
Attach the Closure Strap
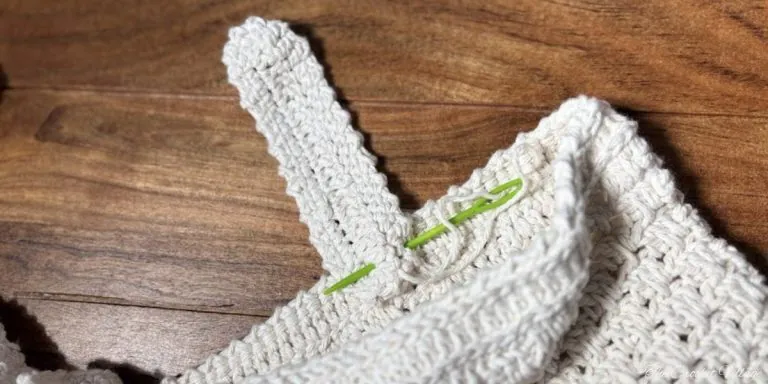
- Position the closure strap at the center of the back panel, inside the bag. Using the long tail from the strap, sew it securely in place with small stitches.
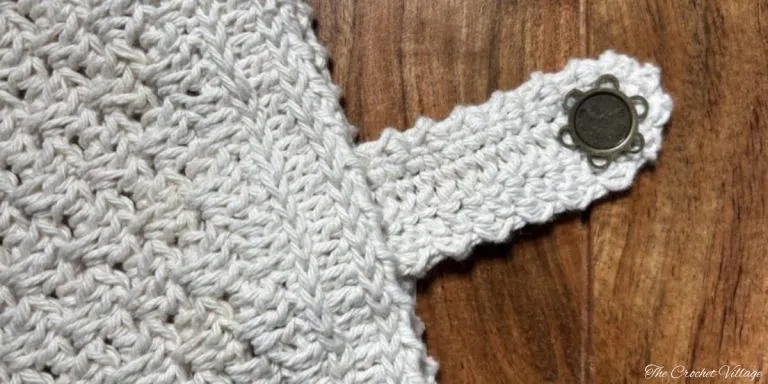
- Sew one half of the magnetic snap securely to the wrong side of the closure strap.
- Fold the strap over the top of the bag and position the corresponding half of the snap on the front panel.
- Make sure both snap pieces are centered and aligned, then sew the front snap securely in place.
Step 4 — Line the bag
Lining your bag is easy—no advanced sewing skills are required, and hand sewing works perfectly. You’ll make a fabric pouch the same size as your crocheted bag, insert it, and sew it around the top edge.
This pattern uses a magnetic snap closure, but you may add a zipper instead. See the tutorial link below.
- Iron the fabric to remove any wrinkles.
- Lay the fabric on a flat surface and fold it in half.
- Place the bag on the folded fabric, aligning the bottom of the bag with the folded edge.
- Trace around the bag, adding a ½” seam allowance along the sides and top. Cut out the fabric.
- Sew the side seams, leaving the top edge open to create a pouch.
- Insert the pouch into the bag with the right side of the fabric facing inward, toward the inside of the bag.
- Adjust the lining so it fits neatly. Fold the top edge of the fabric down by approximately ½”, then clip or pin it to the crocheted bag.
- Using a needle and thread, sew the lining securely around the top edge of the bag.
I offer full support to help you with any questions or challenges you might have. Feel free to drop your comments in the section below or join our Facebook group, where I, along with my wonderful testers and community members, will be more than happy to assist you!