
A nominee for the 2023 Etsy Design Award, this modern crochet Japanese knot bag is an absolute joy to make and carry! The Coco Knot Bag pattern combines a beautiful one-row repeat textured stitch with a clever handle closure—no zippers or buttons needed. Perfect for intermediate crocheters, this free crochet bag pattern features simple construction and stunning results. You’ll love every stitch and be proud to carry your handmade bag everywhere!
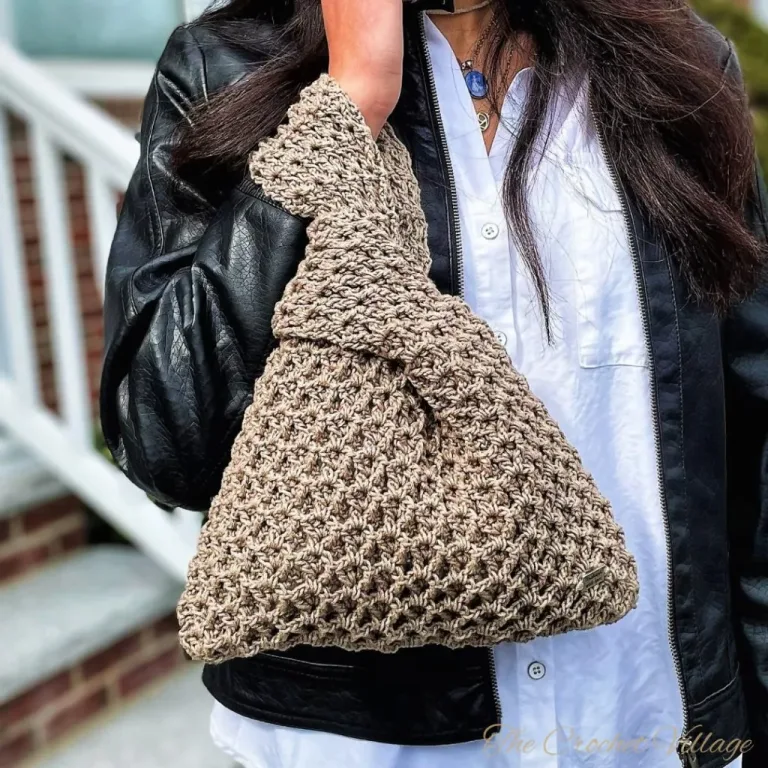
Ready to make a stylish and functional Crochet Japanese Knot Bag? Let me introduce you to the Coco Knot Bag—a bestseller, fan favorite, and 2023 Etsy Designer Award nominee!
This crochet version of the Japanese knot bag is one of my absolute favorites. It’s easy to make, practical for everyday use, and features a unique design with a clever closure. The gorgeous one-row repeat textured stitch adds extra charm, making it a must-have for crochet lovers.
This free crochet Japanese knot bag pattern is great for intermediate crocheters or confident beginners who want to learn a new stitch and create something special. The Coco Knot Bag is a fun, rewarding project that will level up your crochet skills!
Simple, elegant, and perfect for any occasion—I know you’ll enjoy every stitch of it!
Related: How to crochet the waffle v stitch
Keep reading to find the free pattern, or if you prefer a printable add-free PDF, you can find it on Etsy, Ravelry, and my online store!
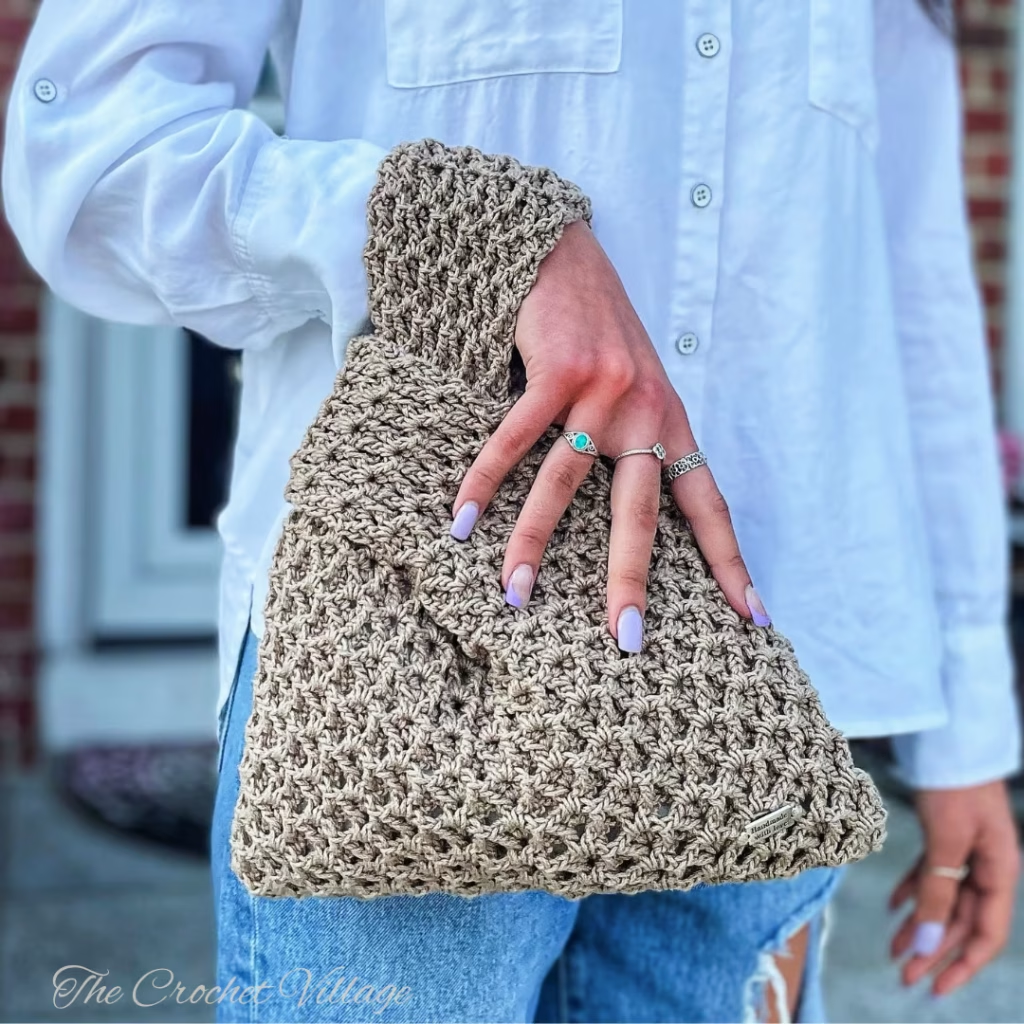
Best Yarn for Your Crochet Japanese Knot Bag
Let’s talk yarn! For this crochet Japanese knot bag, you can use any #4 worsted-weight cotton yarn or cotton blend you have on hand. But if you want to know my secret for making this bag look amazing? Mercerized cotton all the way.
Why I Love Mercerized Cotton for Crochet Bags: I always reach for mercerized cotton when I’m making crochet bags, and here’s why it’s worth it:
- Amazing stitch definition – textured stitches truly pop, giving your bag a clean, professional look
- Beautiful natural sheen – adds a touch of luxury and gives your bag a polished, elevated finish
- Great structure and durability – holds its shape wonderfully, so your bag stays firm and sturdy without getting saggy over time
Basically, if you want your easy crochet bag to look like something you’d buy in a boutique, mercerized cotton is your best friend.
Don’t Have Mercerized Cotton? No worries! Any worsted-weight cotton yarn or cotton blend will work for this free crochet pattern. Just know that 100% cotton gives you the most authentic Japanese knot bag vibe and better structure than acrylic blends.

My Favorite Yarn Picks for the Coco Knot Bag: I used Lion Brand 24/7 Cotton for my Coco Knot Bag, and I absolutely love it. The color options are fantastic, and the slight sheen in the yarn gives the bag a polished finish.
Other mercerized cotton yarns like Yarn Bee Fundamental Cotton and Caron All Day Cotton are fantastic choices, too!
Do I need to line my crochet Japanese knot bag?
Short answer: Yes, I highly recommend it! If you’re using the recommended mercerized cotton yarn, your crochet Japanese knot bag will already be nice and sturdy. But adding a fabric lining? Game changer.
A lining adds extra durability, keeps the inside clean, and prevents your bag from stretching over time. It also stops small items like keys or lipstick from slipping through the stitches. Plus, it gives your crochet bag that professional, boutique-quality finish.
Is It Hard to Line a Crochet Bag? Not at all! The crochet bag lining tutorial included in this free pattern is super easy to follow and only requires basic hand sewing skills. If you can sew a straight line, you can absolutely line this bag!
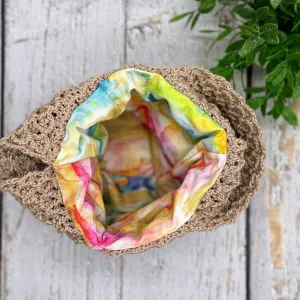
I’ve included a step-by-step, easy-to-follow lining tutorial, so don’t skip this part—it’s 100% worth the extra effort.
Related: How to prevent your crochet bag from stretching
Free Crochet Knot Bag Pattern – The Coco Bag Tutorial Starts Here
Recommended Yarn: 🧶Lion Brand 24/7, #4 worsted-weight mercerized cotton yarn. Color shown: Taupe
Yardage: About 450 yards.
Yarn Substitution: These yarns are a close match, but you should always swatch.
Crochet Hook: D/ 3 mm hook (to keep the tension tight)
Finished Dimensions: Height=9“ to the base of the handles, Width=12.”
Materials
- Tag: Metal tags
- Fabric: 14”x 20” for lining.
- Stitch markers.
- Tapestry needle to weave in ends.
- A thread and a darning needle to sew the fabric.
Gauge: 4” square = 18 rows and 19 SC
Abbreviations:
- CH: Chain
- ST: Stitch
- SL ST: Slip stitch
- SC: Single crochet
- DC: Double crochet
- FPDC: Front post double crochet
- RSC: Reverse single crochet
- YO: Yarn over
- Rnd: Round
- WS: Wrong side
- RS: Right side
- Rep: Repeat
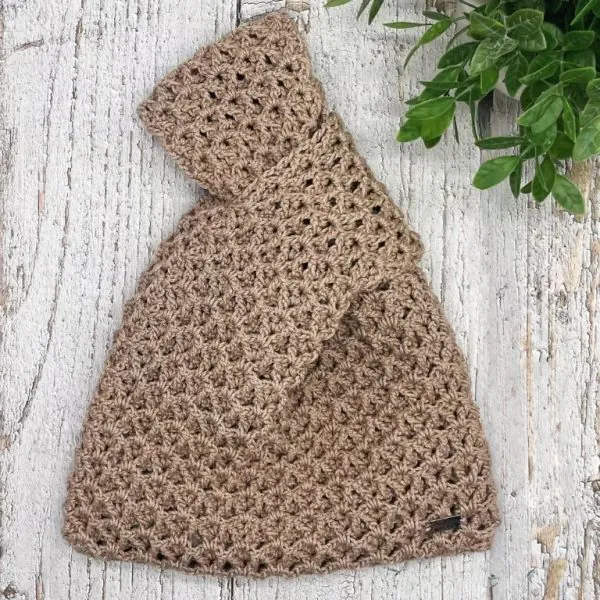
Special Stitches
Front post double crochet: YO, insert your hook from front to back to front around the post of the next ST, YO, pull up a loop, YO, pull through 2 loops on your hook, YO, pull through the remaining two loops on your hook.
Pattern Notes
- This pattern is written in US crochet terms.
- For the best stitch definition and structure, mercerized cotton is highly recommended.
- A smaller hook size than suggested on the yarn label is used to create tighter stitches and a sturdier bag.
- The Coco Knot Bag is worked in turned rounds: you crochet back and forth from the starting stitch, turning your work at the end of each round. Rounds alternate between the right side (RS) and the wrong side (WS). Use a stitch marker to mark the beginning of each round.
- The handles are worked in rows using the same stitch pattern.
- Lining is highly recommended to improve durability and prevent stretching. It’s beginner-friendly and only requires basic hand-sewing skills.
Prefer A Printable PDF?
Treat yourself to the ad-free, beautifully formatted version of this design for a small fee!
Step 1 – Crochet the body
Chain 53 to make a foundation chain (keep your tension a little loose here)
Rnd 1: 2 SC in the 2nd CH from the hook, SC in next 50 ST, 3 SC in the last CH. Continue crocheting along the back, unused loops of the foundation chain, SC in the next 50 ST (crochet over the tail to hide it), SC in the last CH already holding the 2 SC, join with a SL ST into the 1st SC, CH3. (Do not turn)
Rnd 2: (RS) *(2DC, CH2, 2DC) in next SC, skip next 3 ST,* rep * to* around, finish with (2DC, CH2, 2DC) in next ST, join with a SL ST into the top of CH3, CH3. (27) clusters, turn.
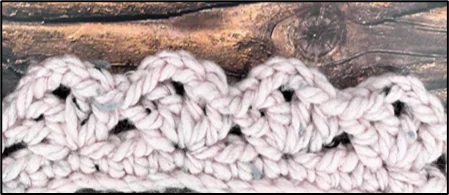
Rnd 3: (WS) * Skip next DC, FPDC in next DC, (DC, CH2, DC) in next CH2 space, FPDC in next DC, skip last DC,* rep * to* around, finish with a SL ST into the top of the CH3, CH3, turn.
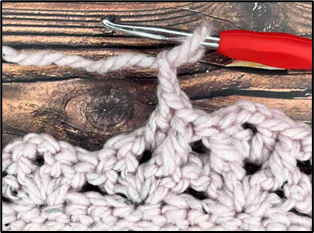
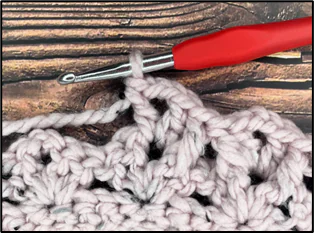
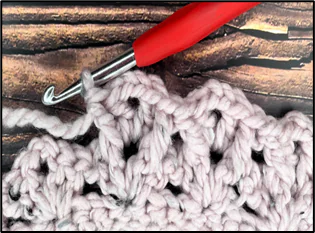
Rnd 4- 26 (about 9”): Rep Rnd 3, making sure you turn your work at the end of each round. Finish Rnd 26 with a SL ST into the top of the CH3, CH3, turn, proceed to crocheting the handles.
Step 2 – Crochet the handles
The handles are crocheted in rows, using the same stitch. Feel free to customize the length and width of the handles to your liking.
1st handle: about 6 ½” in length.
Row 1: (WS) * Skip next DC, FPDC in next DC, (DC, CH2, DC) in next CH2 space, FPDC in next DC, skip last DC,* rep *to* across x 5 times, finish with a DC into last DC of the same cluster (use a stitch marker to identify this DC), CH3, turn.
Row 2: (RS) * Skip next DC, FPDC in next DC, (DC, CH2, DC) in next CH2 space, FPDC in next DC, skip last DC,* rep *to* across x 5 times, finish with a DC into the top of CH3, CH3, turn.
Row 3 – 16: Rep Row 2, turning your work at the end of each row. Finish the last row with a DC into the top of the CH3, fasten off, and leave a long tail for sewing.
2nd handle: about 9” in length.
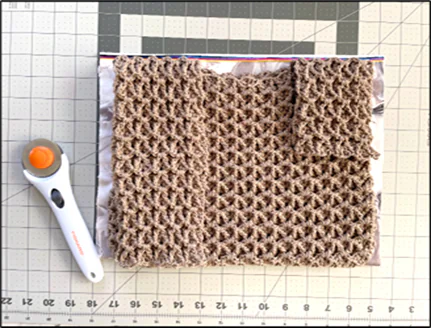
Place an ST marker 4 clusters away from the 1st ST marker, in the last DC of the 4th (2DC, CH2, 2DC) cluster, as shown in the 1st picture.
Row 1: (WS) Slip knot then SL ST into the 2nd marked ST, CH3, * Skip next DC, FPDC in next DC, (DC, CH2, DC) in the next CH2 space, FPDC in next DC, skip last DC, * rep * to* across x 5 times, finish with a DC into last DC of the same cluster, CH3, turn.
Row 2: (RS) * Skip next DC, FPDC in next DC, (DC, CH2, DC) in the next CH2 space, FPDC in next DC, skip last DC, * rep *to* across x 5 times, finish with a DC into the top of CH3, CH3, turn
Row 3-25: Rep Row 2, turning your work at the end of each row. Finish the last row with a DC into the top of CH3, fasten, and leave a long tail for sewing.
Step 3 – Line your bag
Lining the bag is easy – no need for major sewing skills (hand sewing works!). You will make a fabric pouch the same size as your crocheted bag, slide it in, and stitch up the top. It’s easier to line the bag before sewing the handles.
- Iron the fabric you are planning to use.
- Lay your fabric out on a smooth surface, and fold it in half.
- Place your bag on top of it. The bottom of the bag should be on top of the folded side of the fabric.
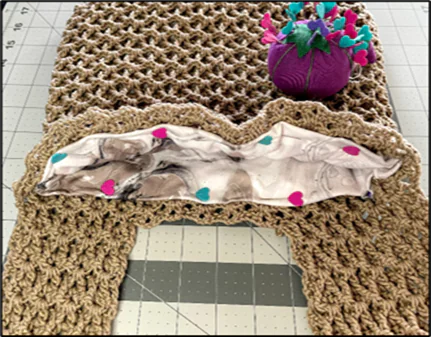
- Fold the handles, referring to the picture below.
- Trace around the bag, leaving roughly ½-inch extra fabric along the sides and top of the bag, then cut out your fabric.
- Sew the sides of the fabric, leaving the top side only unsewed. You just made a pouch!
- Place the pouch inside the bag, the right side of the fabric facing out.
- Adjust the lining carefully, fold down the fabric roughly 1/2 inch at the top, and clip or pin it to the crochet bag.
- Use a needle and thread to stitch around the top of the bag, sewing the lining and the crochet together.
- Optional: stitch up the bottom of the bag to the liner.
- Watch: How to line a crocheted bag.
Step 4 – Finish the bag
Sew the handles
- With the right side of the bag facing outward, fold the handle in half, then align it with the last round of the back panel.
- With a tapestry needle and the long tail, sew the handle to the last round of the body, grabbing the back loops only, one stitch at a time. Fasten off.
- Sew the 2nd handle the same way you did with the 1st handle.
- Pull the long handle through the short handle to close the bag.
I offer full support to help you with any questions or challenges you might have. Feel free to drop your comments in the section below or join our Facebook group, where I, along with my wonderful testers and community members, will be more than happy to assist you!




Am I missing something? I cant seem to find where in this pattern it says where and how to make this into a bag. the foundation chain doesnt say to slst to other end of the chain, nor does it say to make it a square or rectangle then stitch the sides together to form a bag. what am I missing?
Hi Jessica! Great question — you’re not missing anything! You don’t join the chain into a circle, and there’s nothing to sew together. Just crochet Row 1 to the end of the foundation chain, then continue around by working into the unused loops of the chains to the start, and join with a slip stitch — that oval is the base of the bag.