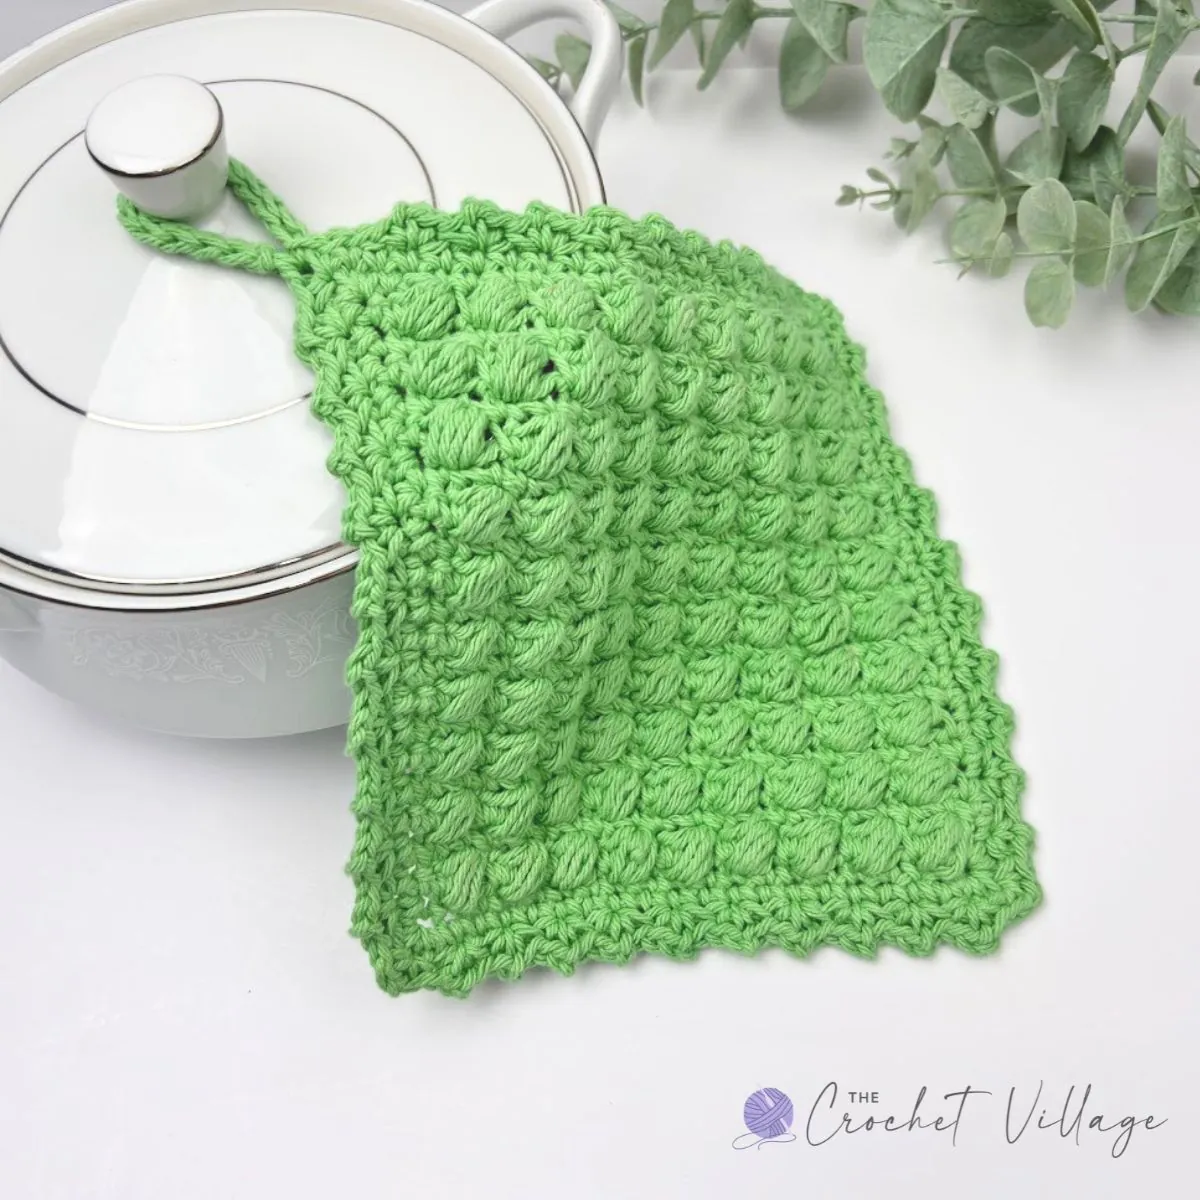
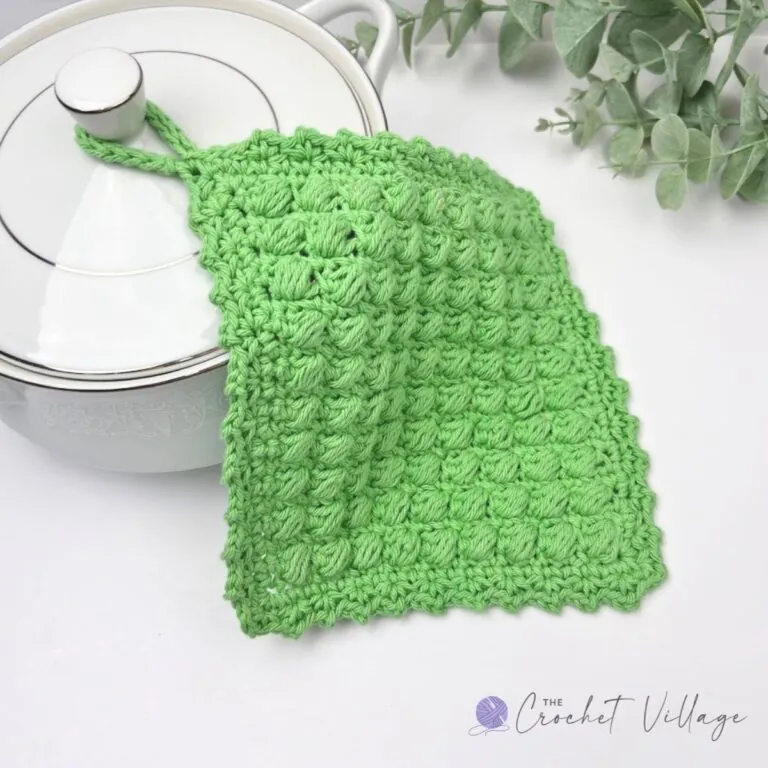
If you’re looking for a free crochet potholder pattern that’s both pretty and practical, you’ll love Lucia’s Potholder. This textured crochet potholder is thick, durable, and worked in one piece—so there’s no doubling and no sewing required. The stitch pattern naturally creates a dense, heat-resistant fabric that helps protect your hands while adding beautiful texture that looks polished and professional.
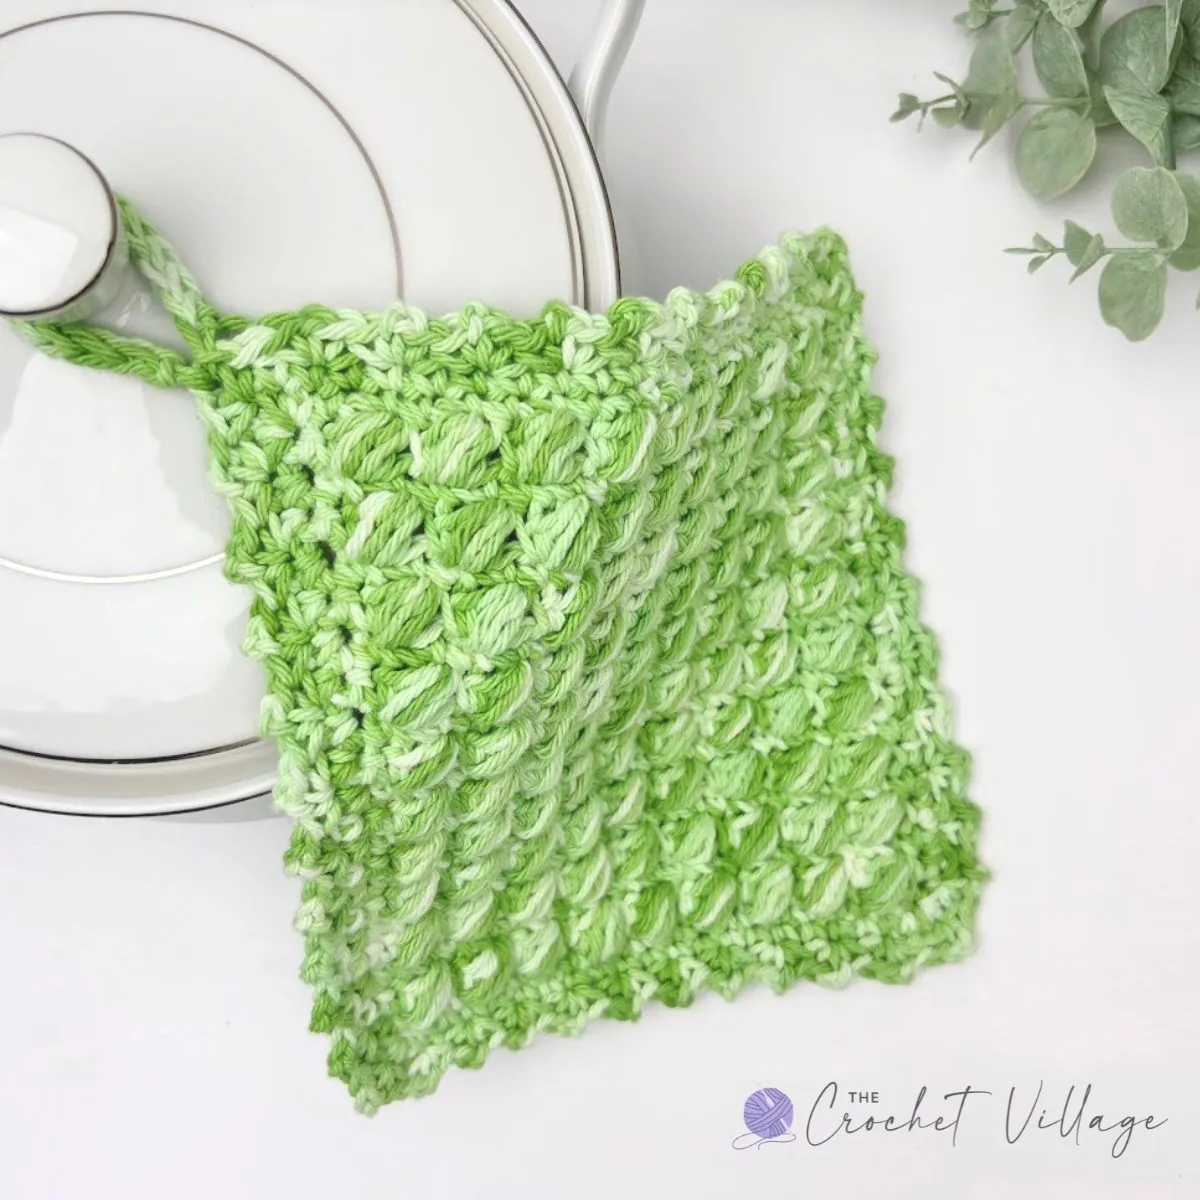
These potholders are also one of my favorite quick crochet projects to make between larger designs. I often crochet them in different colors for each season—fresh pastels for spring, bright shades for summer, warm tones for fall, and festive colors for the holidays. They’re perfect for using up leftover yarn, and they always make thoughtful handmade gifts for friends, family, teachers, or neighbors.
Keep reading to find the free pattern, or if you prefer a printable add-free PDF, you can find it on Etsy, Ravelry, and my online store!
Best Yarn and Care Tips for Crochet Potholders
For the best results, use 100% cotton yarn, which is heat-resistant, durable, and easy to wash—making it perfect for kitchen projects. For this free crochet potholder pattern, I recommend using a soft worsted-weight cotton yarn, as it makes working the puff stitches much easier and more enjoyable.
These potholders crochet up quickly, so once you make one, you’ll likely want to make several more! Try using variegated yarn for a fun color effect, or experiment with different shades to match your kitchen décor or the season.
Cleaning your potholder is simple since it’s made with 100% cotton. You can machine wash it with similar colors on a delicate cycle. I recommend placing small crochet items in a laundry bag to help prevent stretching or snagging during the wash.
For drying, air drying is best. Lay the potholder flat on a clean surface and allow it to dry naturally. If needed, you can give it a short tumble on low heat to help restore its shape.
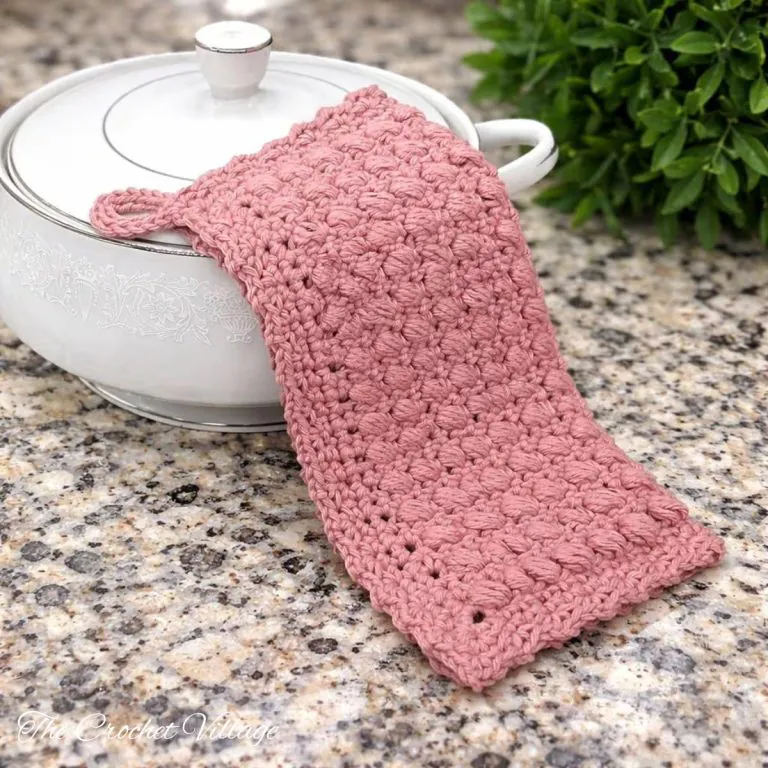
Everything you need to make your own Lucia’s Potholder is right here — yarn, hook, stitches, and full step-by-step instructions. Just keep scrolling for the free pattern. Prefer a printable version? A clean, ad-free PDF is available for a small fee in all my shops, linked below.
Prefer A Printable PDF?
Treat yourself to the ad-free, beautifully formatted version of this design for a small fee!
Free Crochet Potholder Pattern: Start Here
Recommended Yarn:🧶Crafter’s Secret Cotton, #4 worsted-weight cotton yarn. Color Shows:
- Vintage Green Stonewashed
- Vintage Green
- White
In some pictures, I used Hobby Lobby’s I Love This Cotton yarn, #4 worsted-weight cotton yarn. Color Shown: Rosy
Yarn Substitution
- Premier Home Cotton Yarn
- Love This Cotton Yarn
- Lily Sugar N Cream Cotton Yarn
- Paint Box Aran Cotton Yarn
- Bernat Softee Cotton Yarn
Yardage: About 80 yards
Crochet Hook: 5 mm
Gauge: 4” square =13 rows and 6 Puff ST
Measurements: 8”x 8 ” square
Abbreviations
- CH: Chain
- ST: Stitch
- SLST: Slip stitch
- SC: Single crochet
- SP: Space
- SK: Skip
- YO: Yarn over
- Rep: Repeat
- Rnd: Round
Pattern notes
- Terminology: Written in US terms
- Difficulty: Easy to intermediate
- Yarn and safety: Use 100% cotton yarn for this project. Acrylic and other synthetic yarns can melt when they come into contact with heat. Always use caution when handling hot cookware.
- The numbers at the end of the rows are the stitch count for that row.
Special stitch
Puff ST: *YO, insert the hook into the indicated ST, and pull up a loop; repeat from * 3 more times in the same ST. YO and pull through all 9 loops on the hook. CH 1 to close the Puff ST.
Step 1 — Crochet the Potholder
Loosely CH 20 to make the foundation chain.
Row 1: SC in the 2nd CH from the hook and in each CH across. CH 1 and turn. (19 SC)
Row 2: SC in the first ST. *(SC, Puff ST) in the next ST, skip the next ST; repeat from * across until 1 ST left, SC in the last ST. CH 1 and turn. (9 Puff STS)
Row 3: *SC in each of the next 2 STS, skip the next ST; repeat from * until 3 STS remain, skip the next ST, SC in each of the last 2 STS. CH 1 and turn. (20 SC)
Note: The CH 1 that closes each Puff ST counts as a ST.
Row 4: SC in the first ST. *(SC, Puff ST) in the next ST, skip the next ST; repeat from * until 2 ST remain. Skip the next ST, SC in the last ST. CH 1 and turn. (9 Puff STS)
Rows 5–21: Repeat Rows 3–4. On Row 21, replace the final SC with (2 SC, CH 1, 2 SC) in the last ST. Do not turn. Continue with the border.
Step 2 — Crochet the Border
Rnd 1: Work SC evenly placed around the potholder until you return to the first corner CH-1 SP, placing (2 SC, CH 1, 2 SC) in each of the remaining corners. Do not join.
Rnd 2: Work (SC, CH 2, SC) in the first corner CH-1 SP. *Skip the next ST, (SC, CH 2, SC) in the next ST; repeat from * around, placing (SC, CH 2, SC) in each corner. Join with a SL ST to the first SC.
SL ST in each of the next 2 STS to position the hook in the corner CH-2 SP. Continue with the hanger loop.
Step 3 — Crochet the Hanger Loop
CH 16, then SL ST in the same CH-2 SP to form a loop. CH 1, then SL ST in each of the 16 CHS around the loop. SL ST in the starting CH-2 SP. Fasten off and weave in all ends.
Your potholder is complete!
I offer full support to help you with any questions or challenges you might have. Feel free to drop your comments in the section below or join our Facebook group, where I, along with my wonderful testers and community members, will be more than happy to assist you!