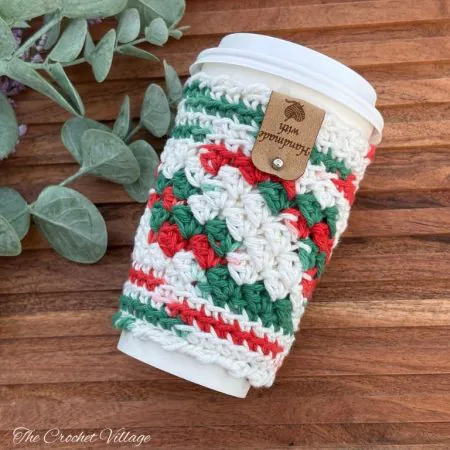
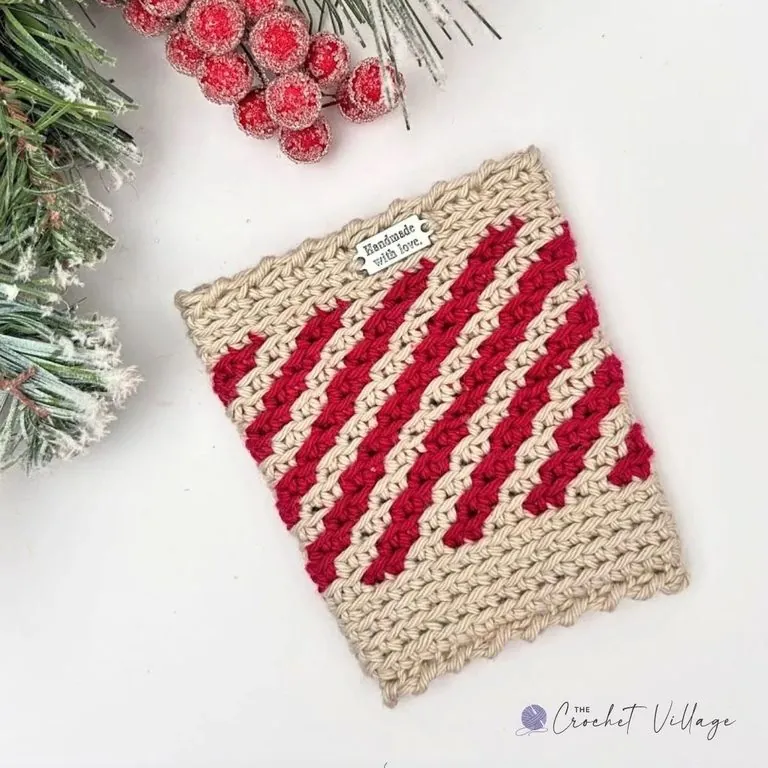
Looking for a fun, last-minute Christmas gift idea? This free crochet peppermint cup cozy pattern is quick, easy, and a fantastic way to use up that leftover yarn! Available in both small and large sizes and made with soft worsted weight yarn, these cozy creations are sure to impress everyone on your list!
Looking for an adorable last-minute Christmas gift idea that’s both cute and super useful without breaking the bank? You’ve just found your holiday lifesaver!
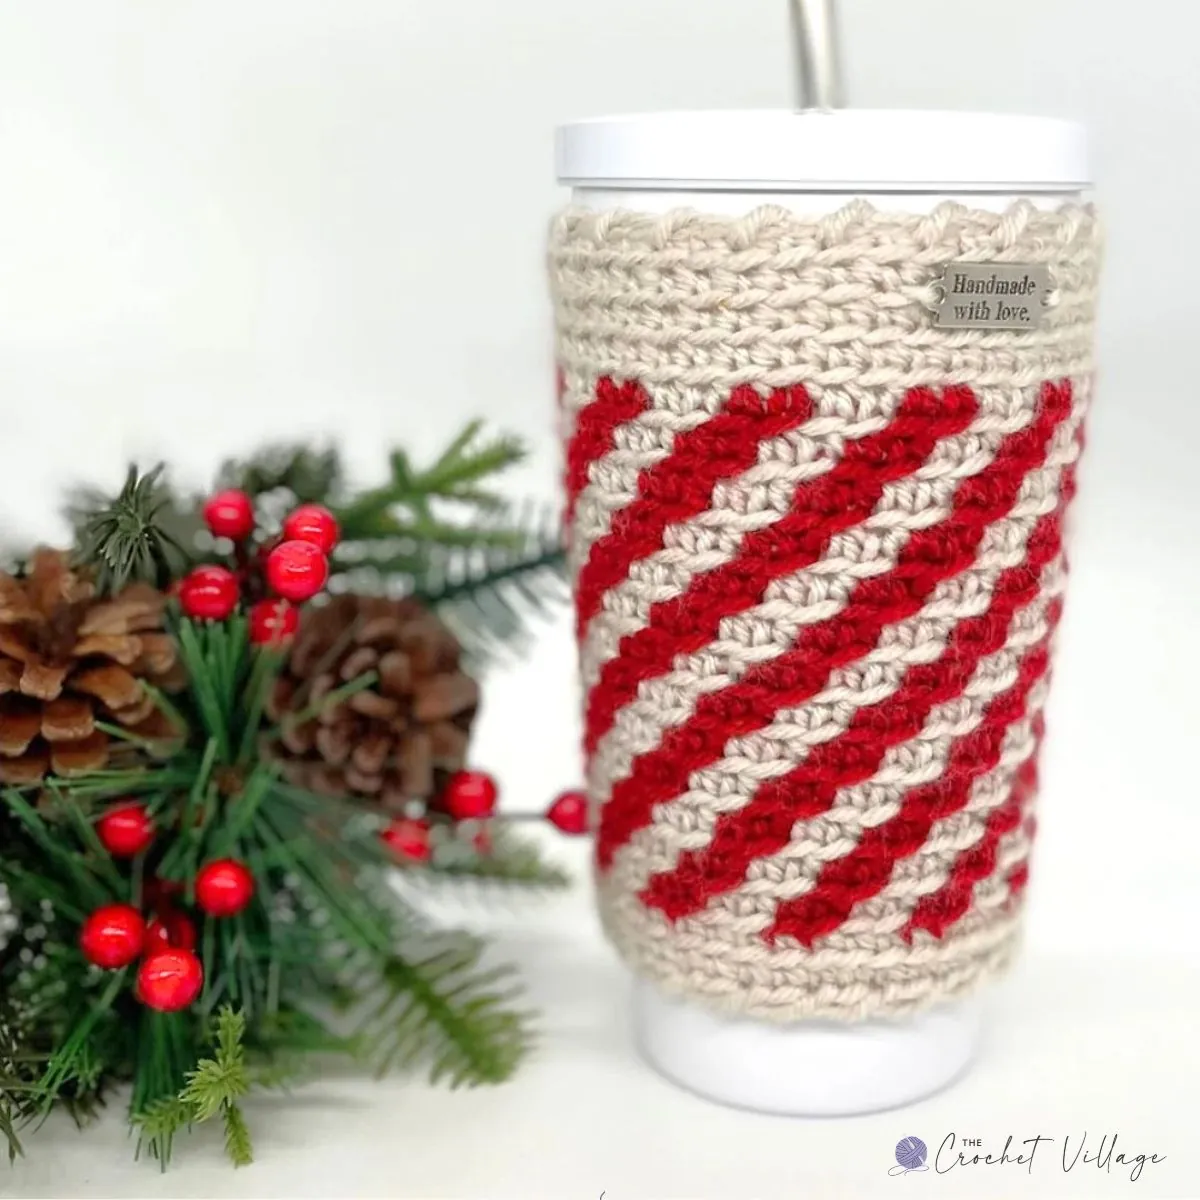
A few years ago, I designed these cozy cup sleeves for my daughter’s teachers and coaches. I filled large cups from Walmart with peppermint candies, crocheted these fun peppermint-striped sleeves, and included a Starbucks gift card and a handwritten thank-you note. They were a hit! This pattern is crocheted in continuous rounds, so no seams! I used #4 worsted-weight yarn, and those cheerful peppermint stripes come with simple color changes that I’ll guide you through. The pattern fits both a 12oz cup (small) and a 19oz cup (large), and the PDF includes the stitch count for easy customization.
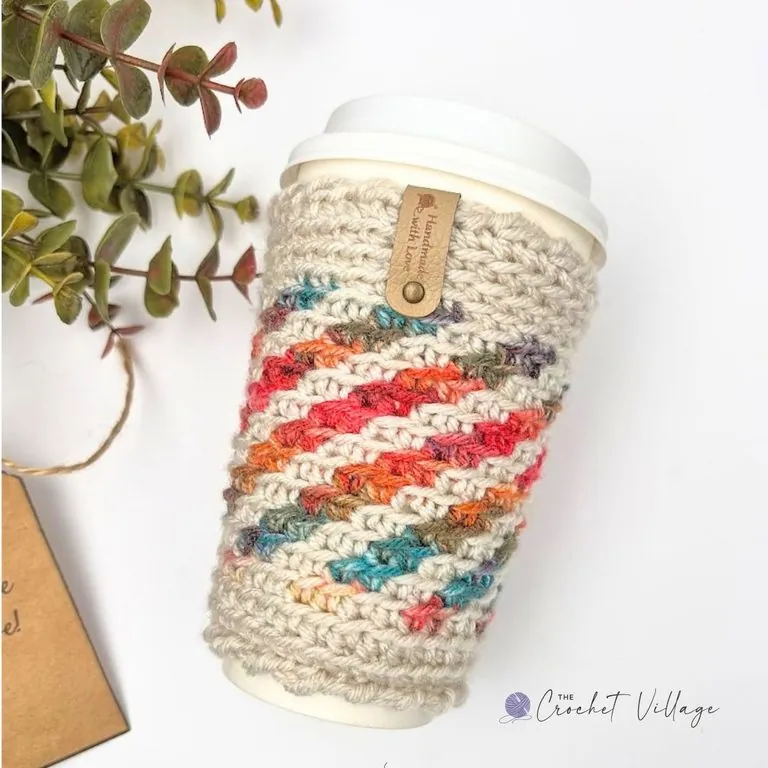
Create Your Perfect Peppermint Cup Cozy
In this post, I will share everything you need to create your own adorable peppermint cup cozy in two sizes—perfect for both small and large cups! Keep reading for the free pattern below. If you prefer an ad-free, printable format, a well-formatted PDF is available in all my shops for a small fee, linked below.
Prefer A Printable PDF?
Treat yourself to the ad-free, beautifully formatted version of this design for a small fee!
Perfecting the Color Change Technique
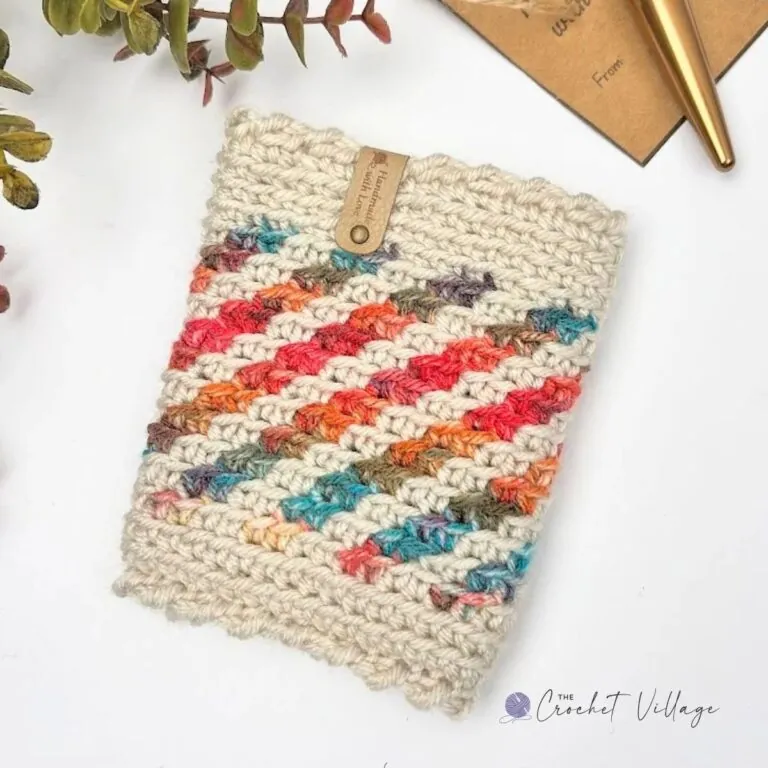
To achieve the twisting stitch pattern that makes the stripes in this cup cozy stand out, you’ll need to play around with color changes. The technique I used is called tapestry crochet, which is essentially crocheting with the working yarn while carrying the contrasting yarn until you need it. I love this method because it creates a smooth finish with no ends to weave in, making the fabric a bit thicker and more durable. If you’re not familiar with this technique, don’t worry! I’ll explain it in detail within the pattern. And if you’re a newbie, just practice a bit—it’s pretty simple once you get the hang of it!
Cotton or Acrylic: Does It Matter?
In my opinion, yes! I used acrylic yarn for these cozies because the cups I bought are stainless steel travel mugs, which provide excellent insulation. The cozies enhance grip and add a fun aesthetic. However, if you’re using regular ceramic or glass cups, I recommend cotton all the way! Cotton yarn offers a nice grip, maintains its shape better, and provides improved protection from both heat and cold. Each yarn type has its benefits, so choose what works best for your particular project and cup style!


Free Crochet Peppermint Cup Cozy Pattern: Start Here
Recommended yarn: Any #4 worsted-weight yarn works. I used Love This Yarn. Colors shown:
- Linen: Yarn A
- Cranberry: Yarn B
In some photos, I used I Love This Yarn Print in Royal Gorge paired with the solid color Linen.
Yardage
- Small: About 20 yd (18 m) total
- Large: About 50 yd (46 m) total
Crochet hook: 4.5 mm
Gauge: 2” square = 7 rows and 8 SC BLO
Finished sizes
- Small: 4″ wide × 5″ tall when laid flat
- Large: 5″ wide × 6″ tall when laid flat
Abbreviations
- CH: Chain
- ST: Stitch
- STS: Stitches
- SL ST: Slip stitch
- SC: Single crochet
- BLO: Back loop only
- RSC: Reverse single crochet
- YO: Yarn over
- Rnd: Round
- Rep: Repeat
Patern notes
- Terminology: Written in US terms
- Difficulty: Intermediate
- Size: This pattern includes two sizes: Small and Large, designed to fit 12 oz and 19 oz cups. Instructions for adjusting the cozy to fit other cup sizes are included on the next page.
- Construction: The pattern is worked in continuous rounds from the bottom up.
- Changing Colors: This pattern uses tapestry crochet. Carry the non-working yarn behind the stitches until needed. To join or switch colors, work the last ST until 2 loops remain on the hook, then YO with the new color and pull through both loops. Continue with the new color, carrying the non-working yarn behind the stitches. Practice the technique first, if needed.
Special stitches
Reverse Single Crochet (RSC): Insert the hook to the right into the next ST, YO, draw the loop back to the front, YO again, and draw that loop through the two loops already on the hook. Watch here.
Yarn substitution
Other materials
- Tag: Faux leather tags
- Tapestry needle
Step 1 — Start the Cozy
Note: When crocheting in a spiral, the fabric may shrink a little, so keep your tension even. You might need to use a larger hook size after a few rows, especially if your cup is narrower at the bottom and wider at the top.
Leave a 60″ long tail to crochet the bottom edging later. Using Yarn A, CH 32 (40 for large). Join with a SL ST in the first CH to form a circle. Work SC in the same CH and place a stitch marker here; move it up with each round.
Rnd 1: Work SC in each ST around, including a SC in the joining SL ST. Do not join; the following rounds are crocheted continuously. [33 STS for small, 41 STS for large]
Rnd 2: Work SC BLO in each ST around. [33 STS for small, 41 STS for large]
Rnd 3: Join Yarn B. *Work SC BLO with Yarn B in the next 2 STS, then SC BLO with Yarn A in the next 2 STS; repeat from * around. Carry the non-working yarn and crochet over it, keeping your tension even.
Rnds 4–14 (4 to 16 for large): With Yarn B, *work SC BLO in the next 2 STS; with Yarn A, SC BLO in the next 2 STS; repeat from * around. At the end of the last round, fasten off Yarn B.
Note: In each round, the stitches in Yarn A and Yarn B will shift over by one stitch, creating a twist.
Rnds 15–18 (17–20 for large): Work SC BLO with Yarn A in each ST around, ending the last round with a SL ST. CH 1.
Rnd 19 (21 for large): Skip the next ST to the right and work RSC in the next ST to the right; repeat from * around. Join with a SL ST, fasten off, and cut your yarn.
Step 2 — Crochet the Bottom Edging
Using the long tail, SL ST into the same CH, then *work RSC in the next CH to the right, skip the next CH to the right; repeat from * until finished, ending with a SL ST. Fasten off and cut your yarn.
Weave in all ends and attach a tag. Your cozy is complete!
I offer full support to help you with any questions or challenges you might have. Feel free to drop your comments in the section below or join our Facebook group, where I, along with my wonderful testers and community members, will be more than happy to assist you!