
The Alpine Hat free crochet pattern is the one I keep going back to every time I need a hat fast. I’ve lost count of how many I’ve made at this point.
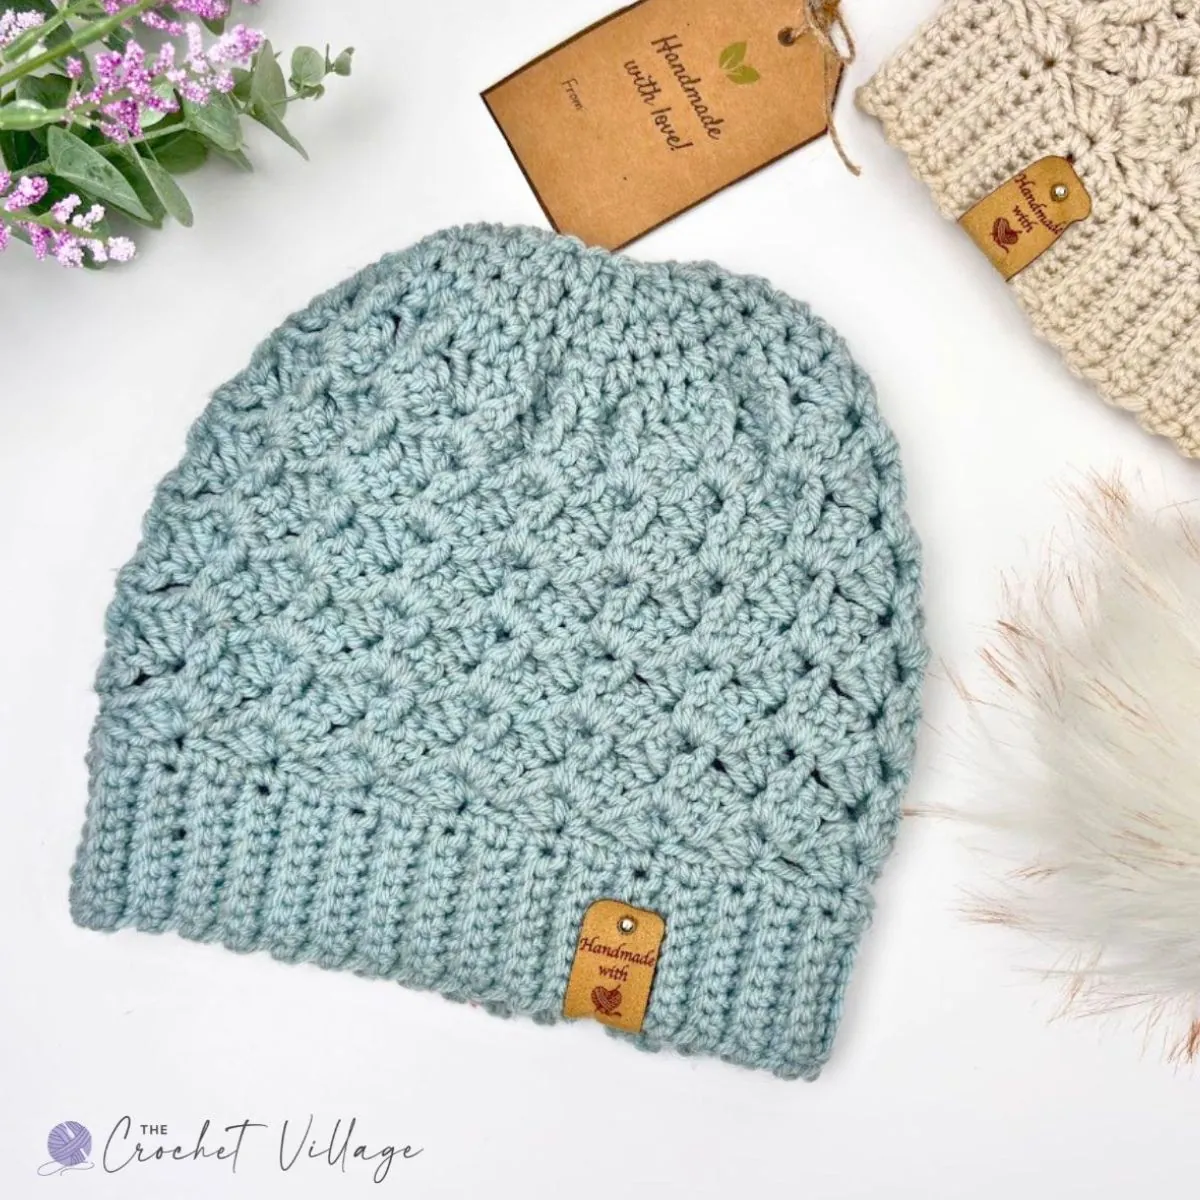
This easy crochet hat pattern works up in any worsted-weight yarn and makes a cozy, textured beanie you’ll want in every color. It’s worked from the bottom up, starting with a stretchy ribbed brim, then the body is worked in a gorgeous textured stitch.
The stitch pattern is a one-row repeat. You’ll get the rhythm in a row or two and then it just flows. That’s the part I love — it’s a beautiful stitch, and it’s squishy, which means it hugs your head and stretches to fit a range of sizes.
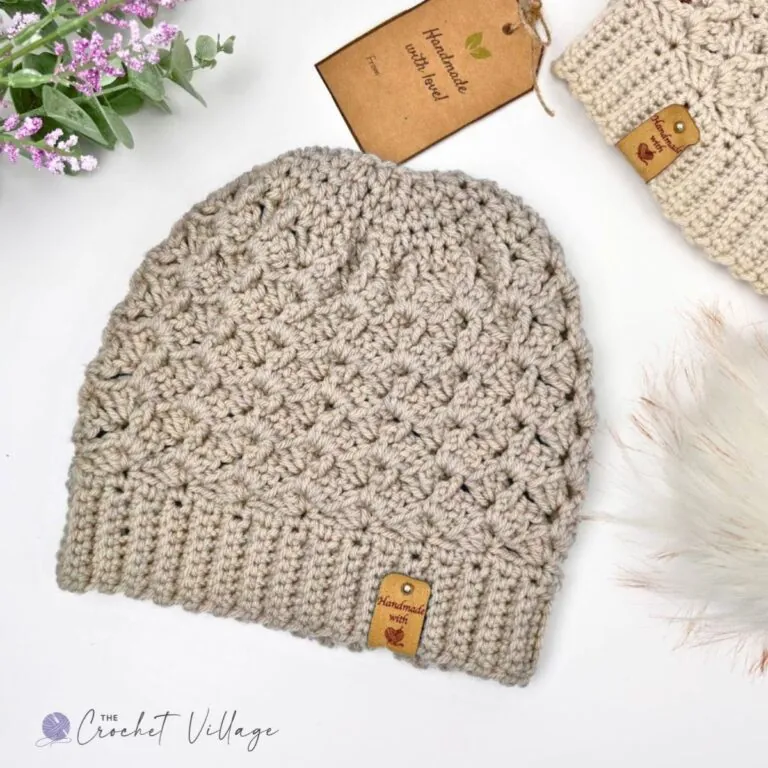
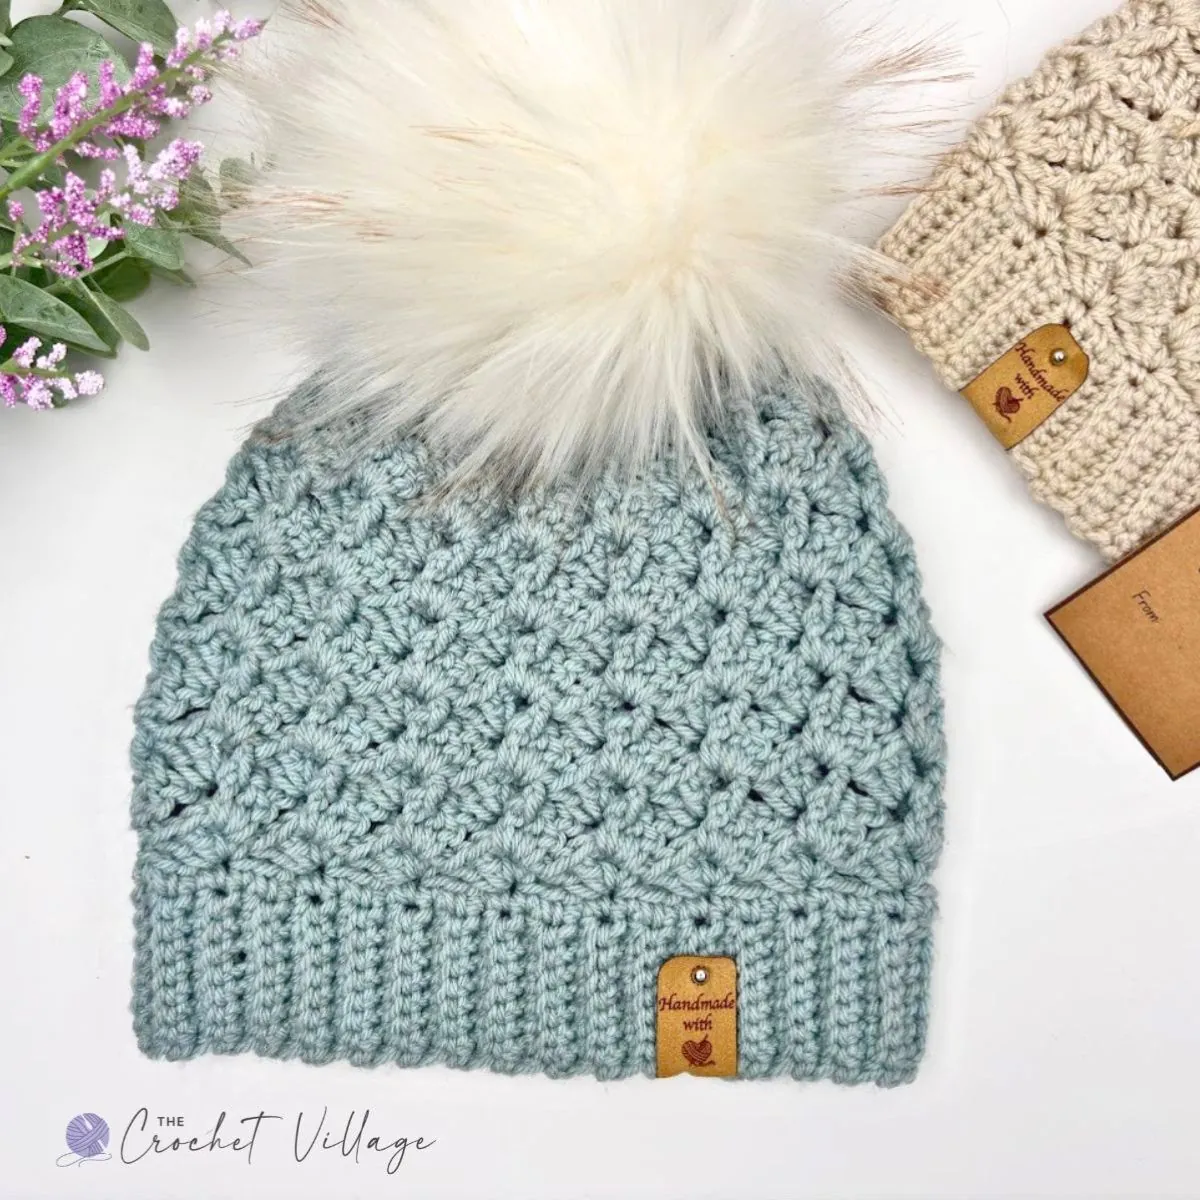
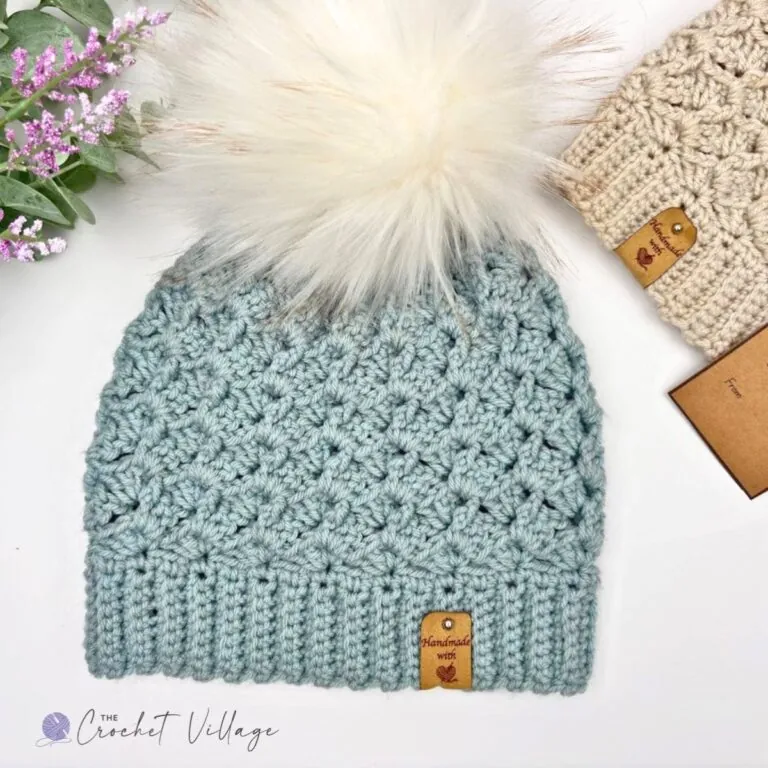
I made my daughter three of these in light blue, soft pink, and ivory. She rotates between them all winter and gets compliments every single time. The light blue one with the faux fur pom is her favorite, and honestly, mine too.

Speaking of — add a faux fur pom-pom for that finished, polished look, or leave it plain for a classic beanie. Both work.
The pattern is written in three sizes — child, teen/adult small, and adult medium/large — so it’s a great everyday hat, a quick handmade gift, and an ideal pattern for charity donations. Matching family hats, stocking stuffers, craft fair inventory, stash busting — this one covers a lot of ground.
Whether you’re making one for yourself, crocheting for gifting, or creating hats for donating, this crochet hat for women is sure to be a total hit.
Keep reading for the free pattern below. If you’d rather work from a clean, ad-free printable PDF with color-coded sizes and a photo tutorial, it’s available for a small fee in all my shops, linked below. Those extras aren’t included in the free version.
Prefer A Printable PDF?
Treat yourself to the ad-free, beautifully formatted version of this design for a small fee!
Free Bottom-Up Crochet Hat Pattern – The Alpine Hat
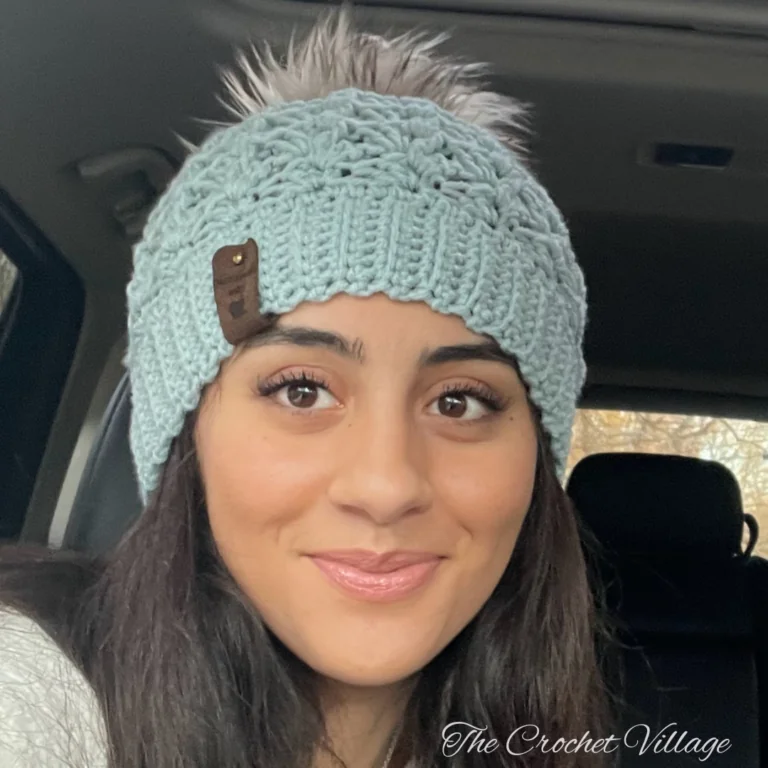
Recommended yarn: Any #4 worsted-weight yarn. I used Bee Yarn ID Yarn. Color shown: Blue Stone
Yardage
- Child: About 150 yd
- Teen/ Adult Small: About 162 yd
- Adult Medium / Large: About 180 yd
Yarn substitution
- Premier Anti-Pilling Everyday Worsted Yarn
- I Love This Yarn
- Red Heart Super Saver Yarn
- Premier Yarns Everyday Anti-Pilling
- Caron One Pound Solids Yarn
- Universal Yarn Uptown Worsted
Crochet hooks
- (H)5mm for the brim
- (J)6mm for the body
- Or a hook needed to meet the gauge.
Gauge:
- Brim: 2” square / 5 mm hook = 9 SC BLO, and 8 rows
- Body: 4” square / 6 mm hook = 8 rows and 13 ST (Pattern stitches) or 3 clusters
Other materials
- Pom-pom: 6”pom-pom
- Tag: Faux leather tags
- Tapestry needle: to weave in ends.
Pattern notes
- TERMINOLOGY: Written in US terms.
- DIFFICULTY: Easy to intermediate.
Construction
- This hat is crocheted from the bottom up.
- The brim is crocheted in rows.
- The body of the hat is crocheted in rounds and turning: Work each round in a circle, join with a SL ST, then turn and continue in the opposite direction. Watch here.
- Pay close attention to the pattern for when turning is required.
- The slip stitch and CH1 do not count as stitches.
Special stitches
- HDC2 tog: YO, insert the hook into the stitch, pull up a loop; insert the hook into the next stitch, pull up a loop; YO, pull through all loops.
- Front post double crochet (FPDC): YO, insert your hook from the front to back to the front around the post of the stitch. YO, pull up a loop, YO, pull through 2 loops on your hook, YO, pull through the remaining two loops on your hook
Abbreviations
- CH: Chain
- ST: Stitch
- SL ST: Slip stitch
- SC: Single crochet
- HDC: Half double crochet
- DC: Double crochet
- HDC2tog: Half double crochet two together
- YO: Yarn over
- SP: Space
- SK: Skip
- RS: Right side
- WS: Wrong side
- Rnd: Round
- Rep: Repeat
Sizes and measurements
- The pattern is written for 3 sizes: Child, Teen/ Adult small, and Adult Medium & Large. Measurements are taken with the hat laid flat and unstretched.
- Child: fits head circumference 19″ – 20″ (about ages 3–10)
- Teen / Adult Small: fits head circumference 20″ – 22″ (about ages 11 and up)
- Adult Medium / Large: fits head circumference 22″ – 24“
- The stitch counts and instructions for each size are written in parentheses and color-coded (not availble in the free version). Simply follow the color that matches your size, in this order: (Child, Teen/Adult Small, and Adult Medium/ large)
- The numbers at the end of the rows are the stitch count for that row.
- The numbers at the beginning of the rows are the stitch count for that row.
- For a custom fit, make the brim long enough to fit comfortably around the head. It should be slightly snug but not too tight. Make sure the total number of brim rows is a multiple of 4. Follow the pattern until the hat is 1½” shorter than your desired length, then work the decrease rounds as written.
Click here to view the sizing chart
| Age | Head circumference | Hat width | Hat height |
| Child | 18”- 20” | 9” | 8” |
| Teen/ Adult Small | 20”- 22” | 10” | 8 ½” |
| Adult Medium / Large | 22”- 24” | 11” | 9” |
Step 1- Crochet the brim
Gauge: 9 SC BLO and 8 rows = 2″ square using a 5 mm hook.
Row 1: With a 5 mm hook, CH 9 (10, 11). SC in the 2nd CH from the hook and in each CH across. CH 1, turn. [8 (9, 10) STS]
Row 2: SC in the first ST, SC BLO in each of the next 6 (7, 8) STS, and SC in the last ST. Turn. [8 (9, 10) STS]
Rows 3–64 (68, 72): Repeat Row 2. Do not fasten off after the last row. [8 (9, 10) STS]
For the Best Fit: Check your gauge and wrap the brim around your head to ensure it fits snugly but comfortably. For a custom fit, add or remove rows in multiples of 4 until you reach the desired fit.
Step 1 – Join the Brim
Fold the brim in half and align the first and last rows.
Working through both layers, SL ST through the BLO of the first ST on the last row and the corresponding foundation CH on the opposite edge. Continue working a SL ST through the BLO of each ST and the corresponding foundation CH across.
After joining, remove the hook and turn the brim inside out so the seam is on the inside. This is now the right side of your work.
Step 2 — Crochet the Body
Rnd 1 — RS: With a 6 mm hook, CH 1 (does not count as a ST). Work 1 SC in the end of each brim row, placing 1 additional SC at the seam. Join with a SL ST to the first SC. Do not turn. [65 (69, 73) SC]
Rnd 2 — RS: CH 2 (does not count as a ST) and work 3 DC in the same ST. *Skip the next 3 STS, then work (SC, CH 1, 3 DC) in the next ST; repeat from * around until 4 STS remain. Skip the next 3 STS and SC in the last ST. Join with a SL ST to the first DC. CH 2 and turn. [16 (17, 18) groups of 3 DC]
Rnd 3 — WS: The beginning CH 2 does not count as a ST. *Skip the next 3 DC, FPDC around the next DC—the last DC of the next 3-DC group (Pic 1). CH 1, then work 3 DC in the next CH-1 SP, behind the FPDC (Pic 2); repeat from * around. Join with a SL ST to the first FPDC. CH 2 and turn. [16 (17, 18) groups of 3 DC
Rnd 4 — RS: The joining SL ST does not count as a ST. Skip the next 2 STS. *FPDC around the next DC, CH 1, work 3 DC in the next CH-1 SP behind the FPDC, then skip the next 3 STS; repeat from * around, ending with 3 DC in the last CH-1 SP behind the FPDC. Join with a SL ST to the top of the beginning CH 2. CH 2 and turn. [16 (17, 18) groups of 3 DC]
Rnds 5–10 (12, 12): Repeat Rnd 4, turning at the end of each round. At the end of the last round, CH 1 and do not turn. [16 (17, 18) groups of 3 DC]
Step 3 — Close the Hat
Note: The CH-1 SPS do not count as stitches. Keep your tension tight.
Rnd 11 (13, 13): *HDC in each of the next 2 STS, HDC2TOG; repeat from * around. Work HDC in any remaining STS. Join with a SL ST to the first HDC. CH 1. Do not turn. [48 (51, 54) STS]
Rnd 12 (14, 14): *HDC in each of the next 2 STS, HDC2TOG; repeat from * around. Work HDC in any remaining STS. Join with a SL ST to the first HDC. CH 1. Do not turn. [36 (39, 41) STS]
Rnd 13 (15, 15): *HDC in each of the next 2 STS, HDC2TOG; repeat from * around. Work HDC in any remaining STS. Join with a SL ST to the first HDC. CH 1. Do not turn. [27 (30, 31) STS]
Rnd 14 (16, 16): *HDC in each of the next 2 STS, HDC2TOG; repeat from * around. Work HDC in any remaining STS. Join with a SL ST to the first HDC. CH 1. Do not turn. [21 (23, 24) STS]
Fasten off, leaving a 6–8″ tail. Thread the tail through the remaining stitches and pull tightly to close the opening at the top of the hat. Secure the tail and weave in all remaining ends.
Attach a pom-pom and tag, if desired and you are all done!
I offer full support to help you with any questions or challenges you might have. Feel free to drop your comments in the section below or join our Facebook group, where I, along with my wonderful testers and community members, will be more than happy to assist you!



Lovely patterns.
Thank you so much! Enjoy 🥰