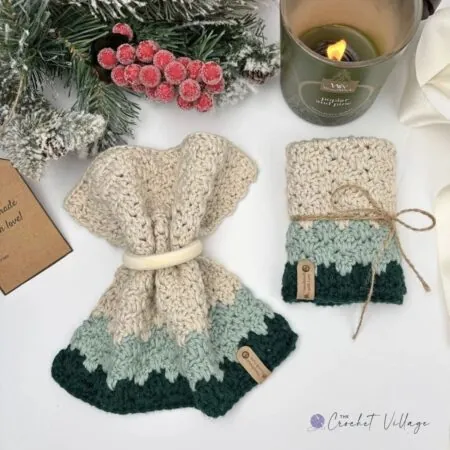
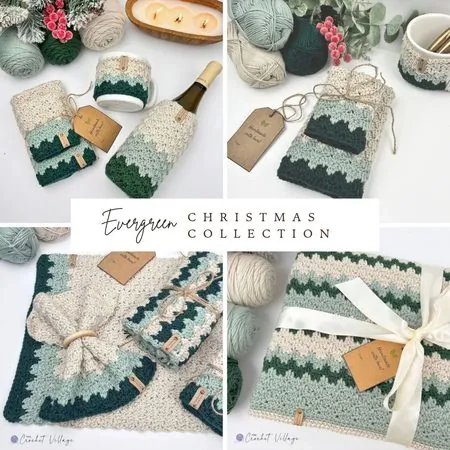
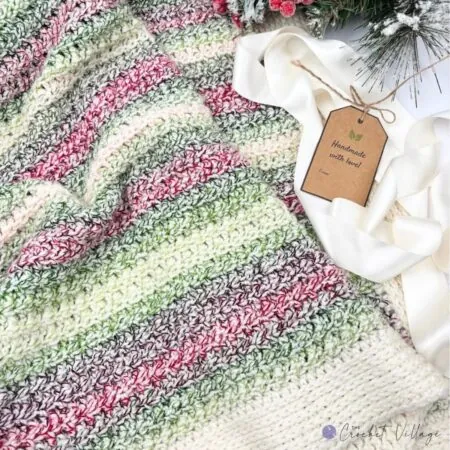
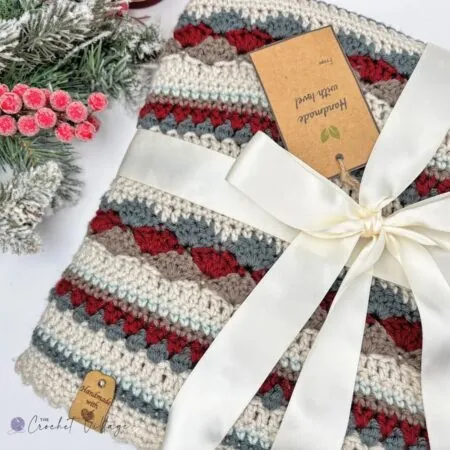
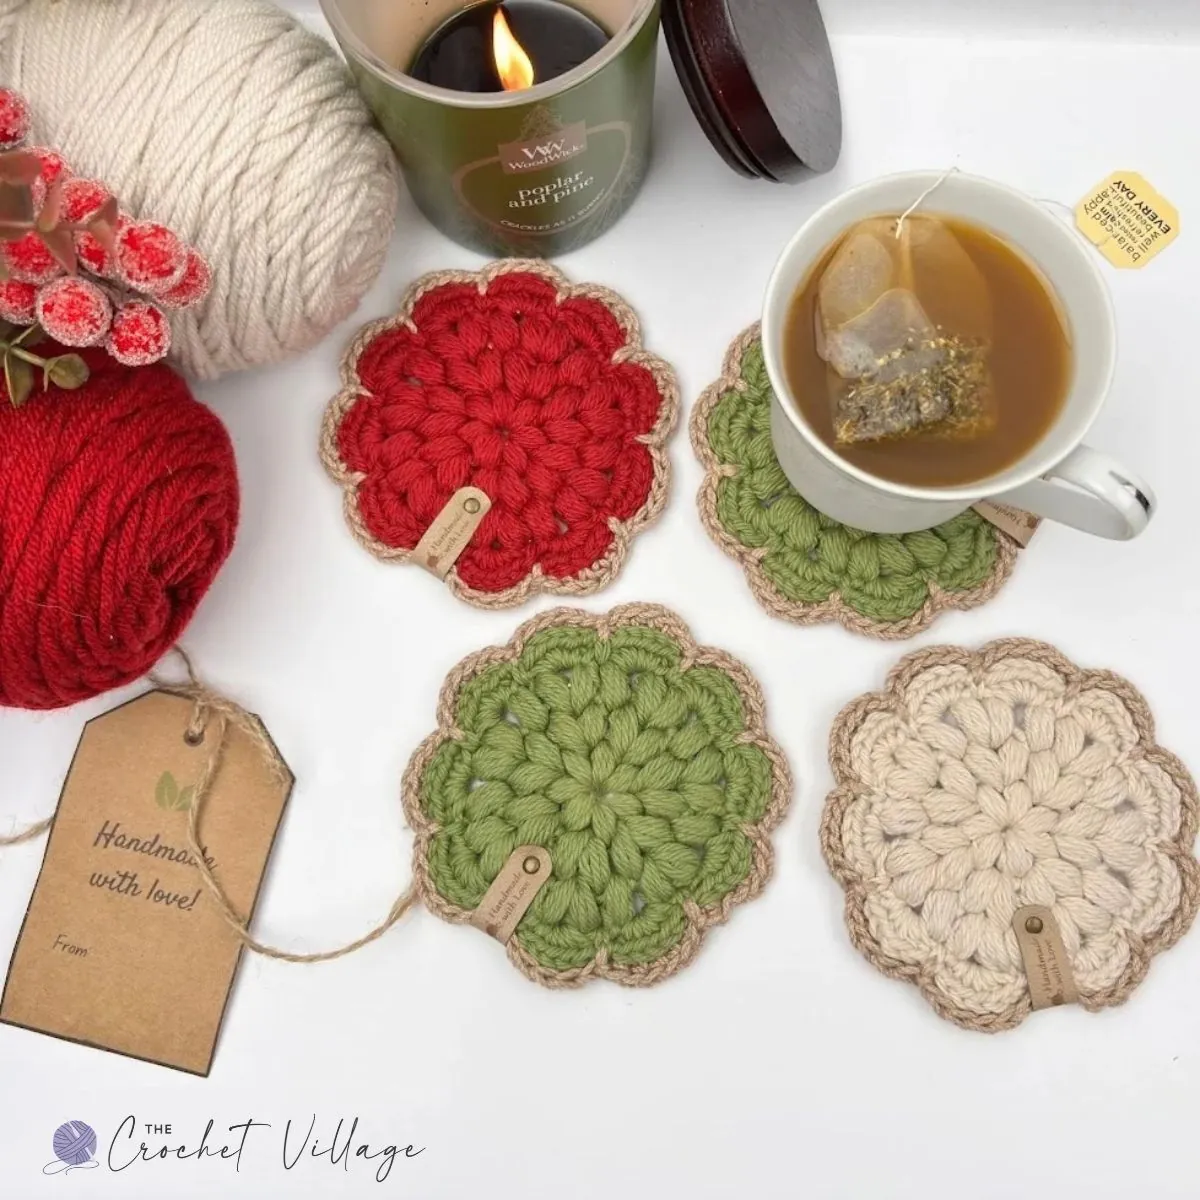
This free crochet coaster pattern makes firm, beautifully finished, and adorable coasters for Christmas and beyond! The Noel Coaster, crafted using puff stitch, creates a lovely texture, while the contrasting border adds a polished finish. Made in festive colors, these coasters are perfect for gifting. Pair them with a coffee mug and a bag of coffee beans for a special handmade touch!
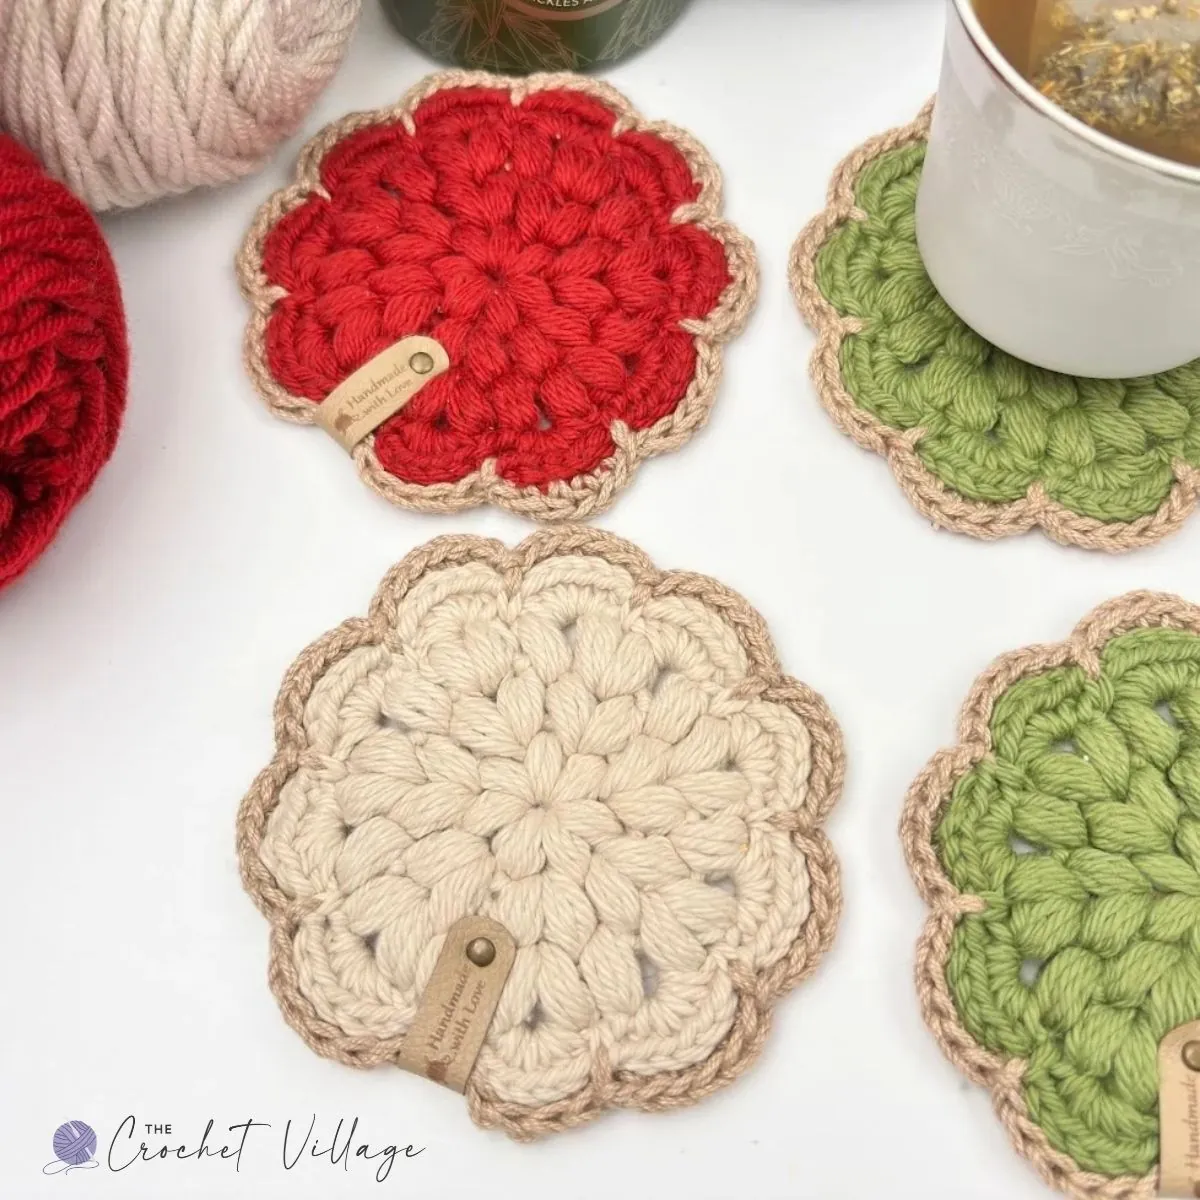
Looking for a quick and fun crochet project? You’re going to love these Noel Coasters! They work up fast and instantly add a cozy holiday vibe to your decor, making them perfect for decorating your Christmas table, crafting handmade gifts, or stocking up for craft shows.
This pattern is great for all skill levels, serving as an excellent stash-buster for beginners while engaging seasoned crocheters. The puff stitch not only gives these coasters beautiful dimension but also makes them visually appealing. You can experiment with endless color combinations to match your holiday décor or create everyday versions for year-round use.
If you’re in need of a last-minute gift idea, you can easily whip up a complete set of Noel Coasters in just a few hours. Pair them with a mug and some coffee or hot cocoa for a thoughtful, budget-friendly gift. These coasters also double as reusable face scrubbies—just add handmade soap for a cute and eco-friendly spa set.
To make the Noel Coasters, you’ll need #4 worsted-weight cotton yarn. I recommend I Love This Cotton from Hobby Lobby for its softness and ease of use. Avoid stiff cottons like Lily Sugar’n Cream, as they can feel rough on the hands, especially with puff stitches. For the golden edging, I used Yarn Bee Fundamental Cotton, but Lion Brand 24/7 Cotton in Taupe (or any brown-gold cotton) works wonderfully too.
Quick, easy, and festive, these Christmas crochet coasters are such a fun make. Enjoy every stitch!
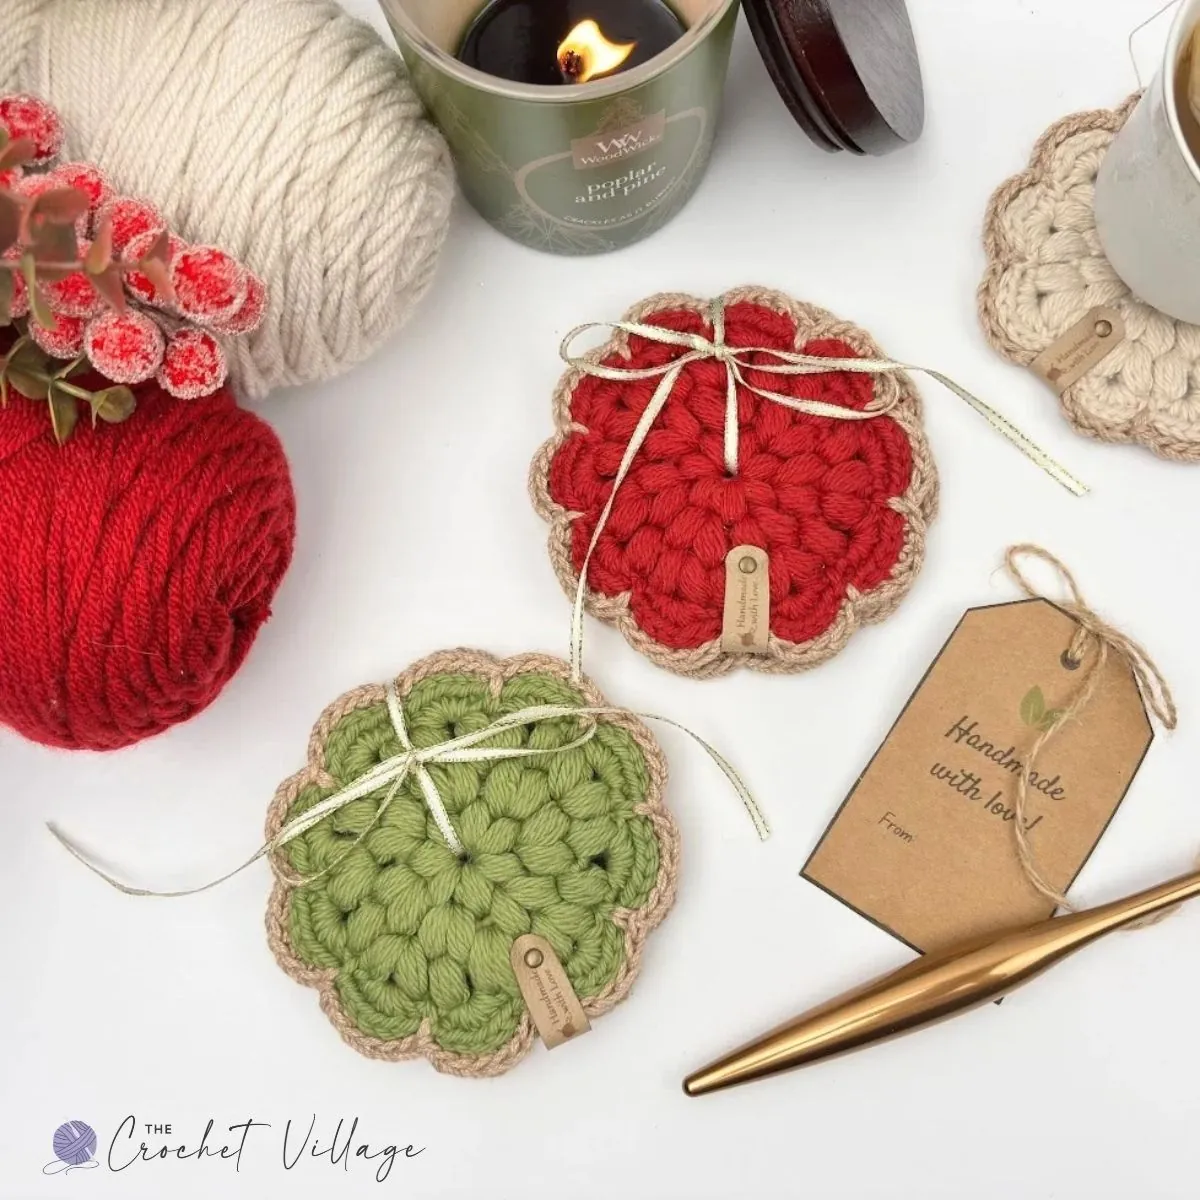
Premium Pattern Available
In this post, I’ll share everything you need to make your Noel Coasters, including yarn recommendations, hook sizes, and detailed instructions. However, if you prefer a well-formatted, ad-free PDF version of the pattern, you can download it for a small fee. The premium pattern is available in all my shops linked below, making it easy to access and print for your convenience.
Prefer A Printable PDF?
Treat yourself to the ad-free, beautifully formatted version of this design for a small fee!
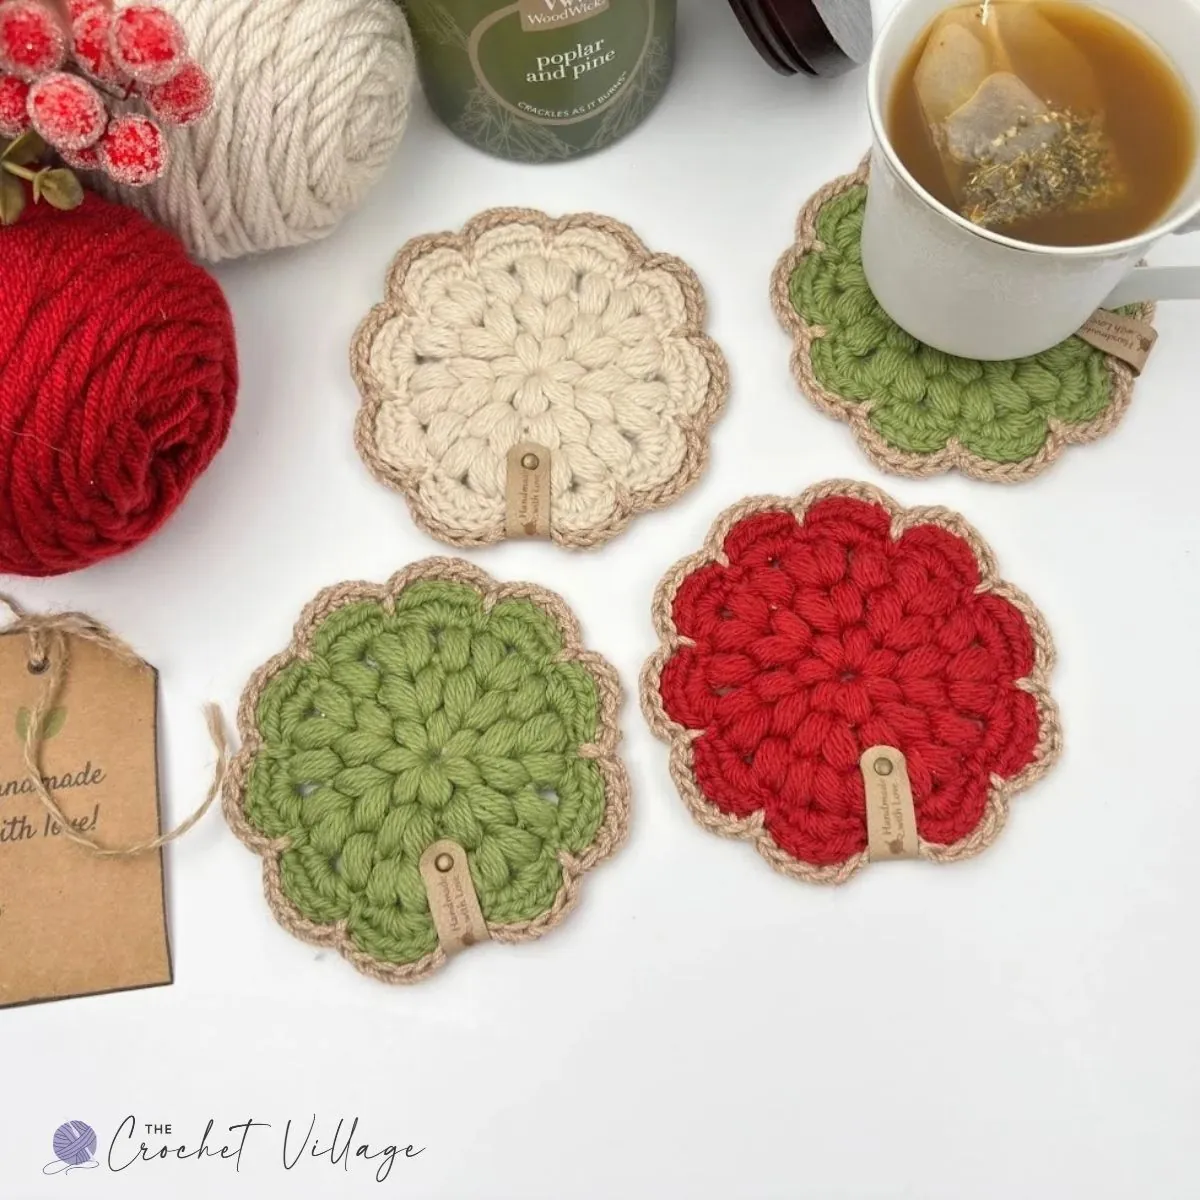
Free Noel Coaster Crochet Pattern – Festive Coasters for Christmas
Recommended yarn: Any #4 worsted cotton-weight yarn. I used:
- Yarn A: Hobby Lobby I Love This Cotton Yarn. Colors shown:
- Yarn B — Edging: Yarn Bee Fundamental Cotton Yarn #4 worsted-weight mercerized cotton yarn. Color shown: Camel
Yarn substituion
- Paint Box Aran Cotton Yarn
- Lion Brand Made With Love Cotton
- Premier Yarns Cotton Sprout
- Premier Yarns Home Cotton Yarn
- Lion Brand 24/7 Cotton (for the edging)
Yardage: Approximately 105 yd (96 m) for a set of 4 coasters.
Finished size: About 5” in diameter
Crochet hook: (H) 5 mm
Gauge: Not important for this pattern
Pattern notes
- Terminnology: Written in US terms.
- Difficulty: Easy to intermediate
Special stitches
- HDC 3rd Loop: With the front of the work facing you, the 3rd loop is located behind the front and back loops. Tilt the work slightly toward you to locate it. Watch this tutorial on YouTube.
- Puff Stitch (PF): *YO, insert the hook into the indicated SP, and pull up a loop; REP from * 3 more times in the same SP. You should have 9 loops on the hook. YO and pull through all 9 loops. CH 1 to close the PF. Watch this tutorial on YouTube.
Other materials: Tapestry needle to weave in ends
Abbreviations:
- CH: Chain
- ST: Stitch
- STS: Stitches
- SL ST: Slip stitch
- SC: Single crochet
- PF: Puff stitch
- HDC: Half double crochet
- YO: Yarn over
- SP: Space
- RND: Round
- REP: Repeat
More Christmas
- Free Crochet Christmas Hat Pattern – Winter Sled Beanie
- Joy Cup Cozy — Free Crochet Pattern for Gifting, Craft Markets & Everyday Use
- North Pole Crochet Christmas Stocking Pattern (Large Classic)
- Crochet Wine Bottle Cozy Pattern – Nordic Christmas Wine Cover Gift
- Free Crochet Peppermint Cup Cozy Pattern: Easy Christmas Gift
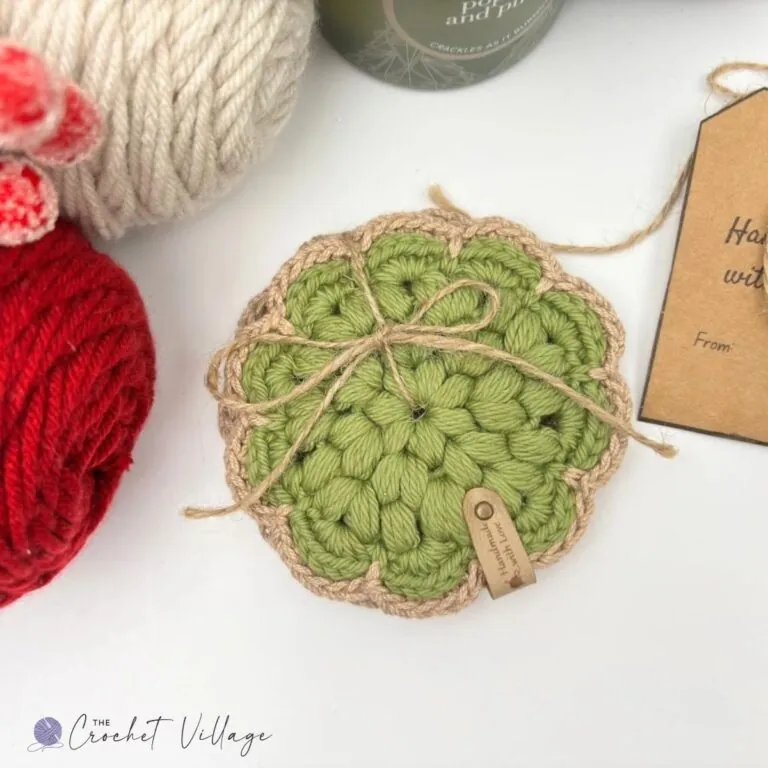
Step 1 — Crochet the Coaster
With Yarn A, make a magic circle and CH 1. Use a stitch marker to mark the beginning of each round, if desired.
Rnd 1: Work 7 PF into the circle. Join with a SL ST to the first PF. CH 1. (7 PF)
Pull the starting tail tightly to close the magic circle and secure it with a few knots.
Rnd 2: Work 2 PF in the first ST(same ST as the SL ST). *Skip the next PF, work 2 PF in the next SP between the PF STS; repeat from * around. Join with a SL ST to the first PF. CH 1. (14 PF)
Rnd 3: Work 1 PF in the first ST (same ST as the SL ST). . *Skip the next PF, work 2 PF in the next SP, skip the next PF, work 1 PF in the next SP; repeat from * around. Join with a SL ST to the first PF. CH 1. (21 PF)
Rnd 4: *Skip the next PF, work 6 HDC in the next SP between the PF STS, skip the next PF, and SL ST in the next SP; repeat from * around. Work the final SL ST with Yarn B. CH 1 and cut Yarn A. (7 shells)
Continue with the edging.
Step 2 — Crochet the Edging
Rnd 5: With Yarn B, *HDC in the 3rd loop of each of the next 6 STS, SL ST into the center of the next SL ST from Rnd 4; repeat from * around. Join with a SL ST to the first HDC. Fasten off.
Weave in all ends. Your coaster is complete!
I offer full support to help you with any questions or challenges you might have. Feel free to drop your comments in the section below or join our Facebook group, where I, along with my wonderful testers and community members, will be more than happy to assist you!