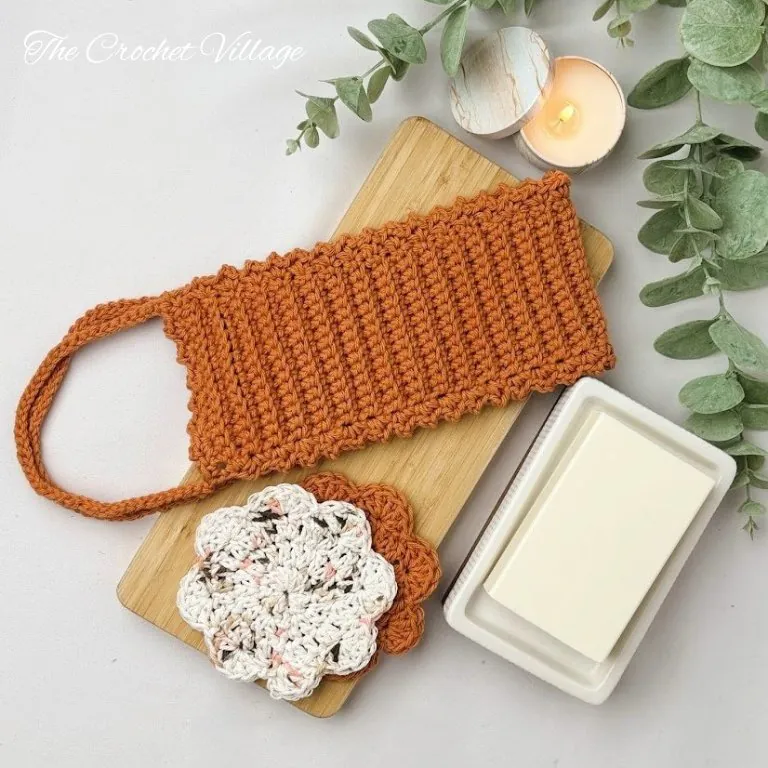
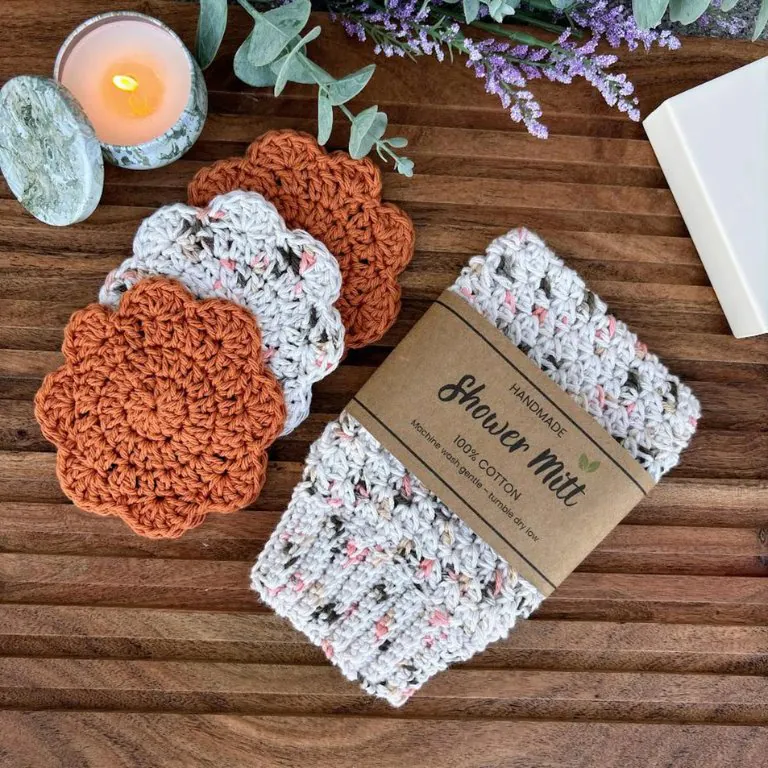
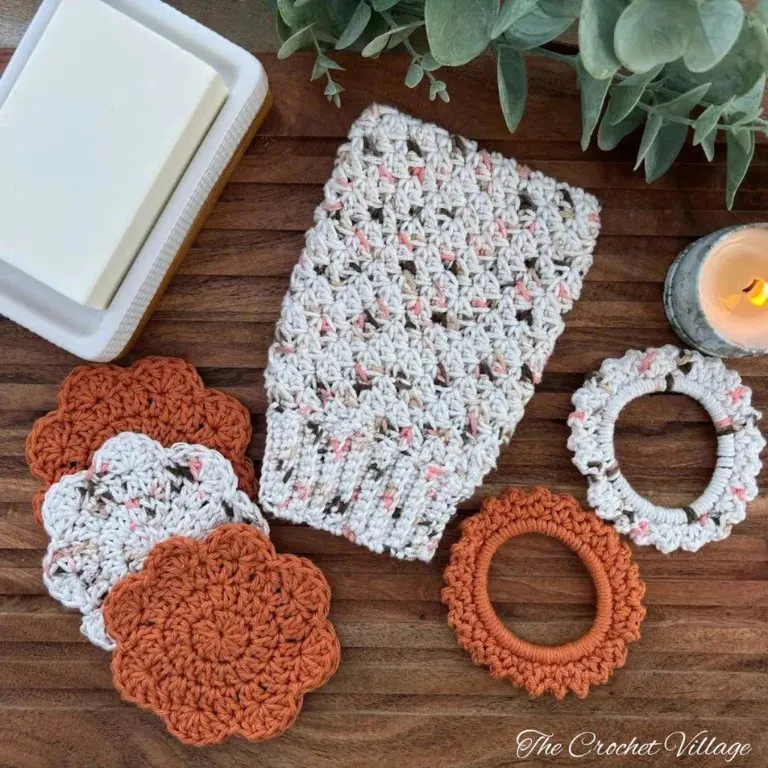
Meet the Papaya Spa Set — a free crochet bath set pattern featuring four pieces designed to work together and elevate your self-care routine, one stitch at a time.
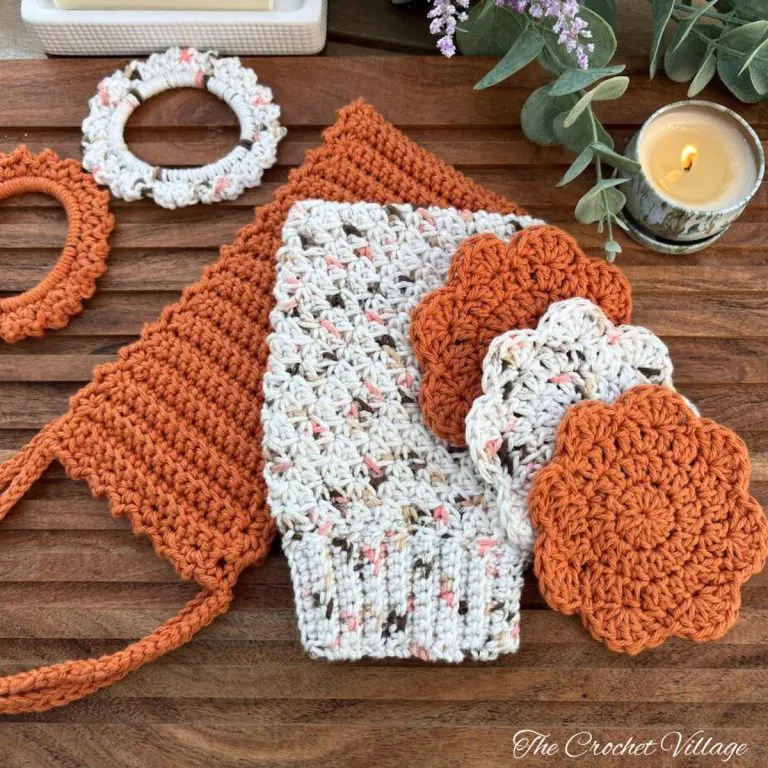
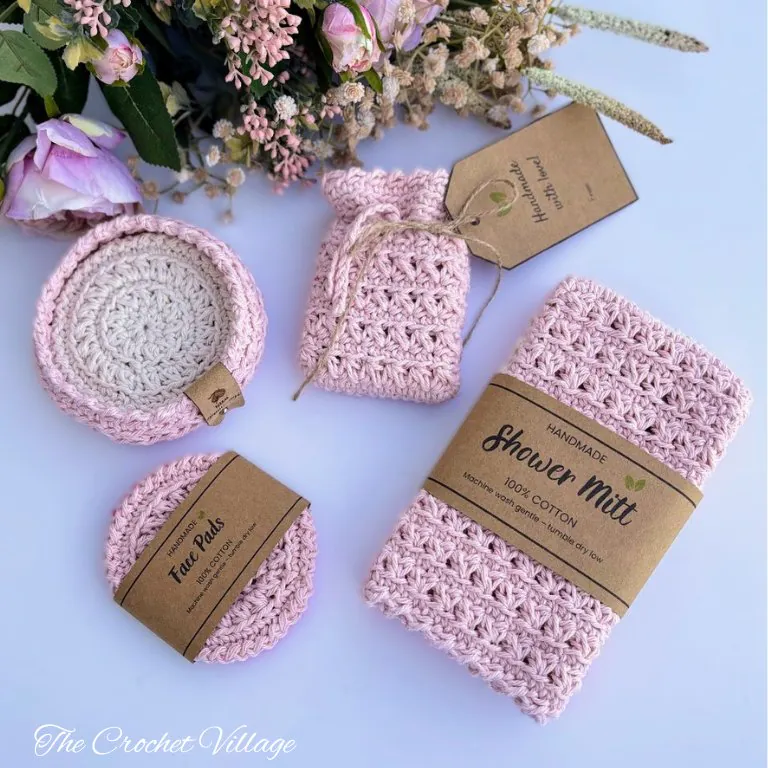
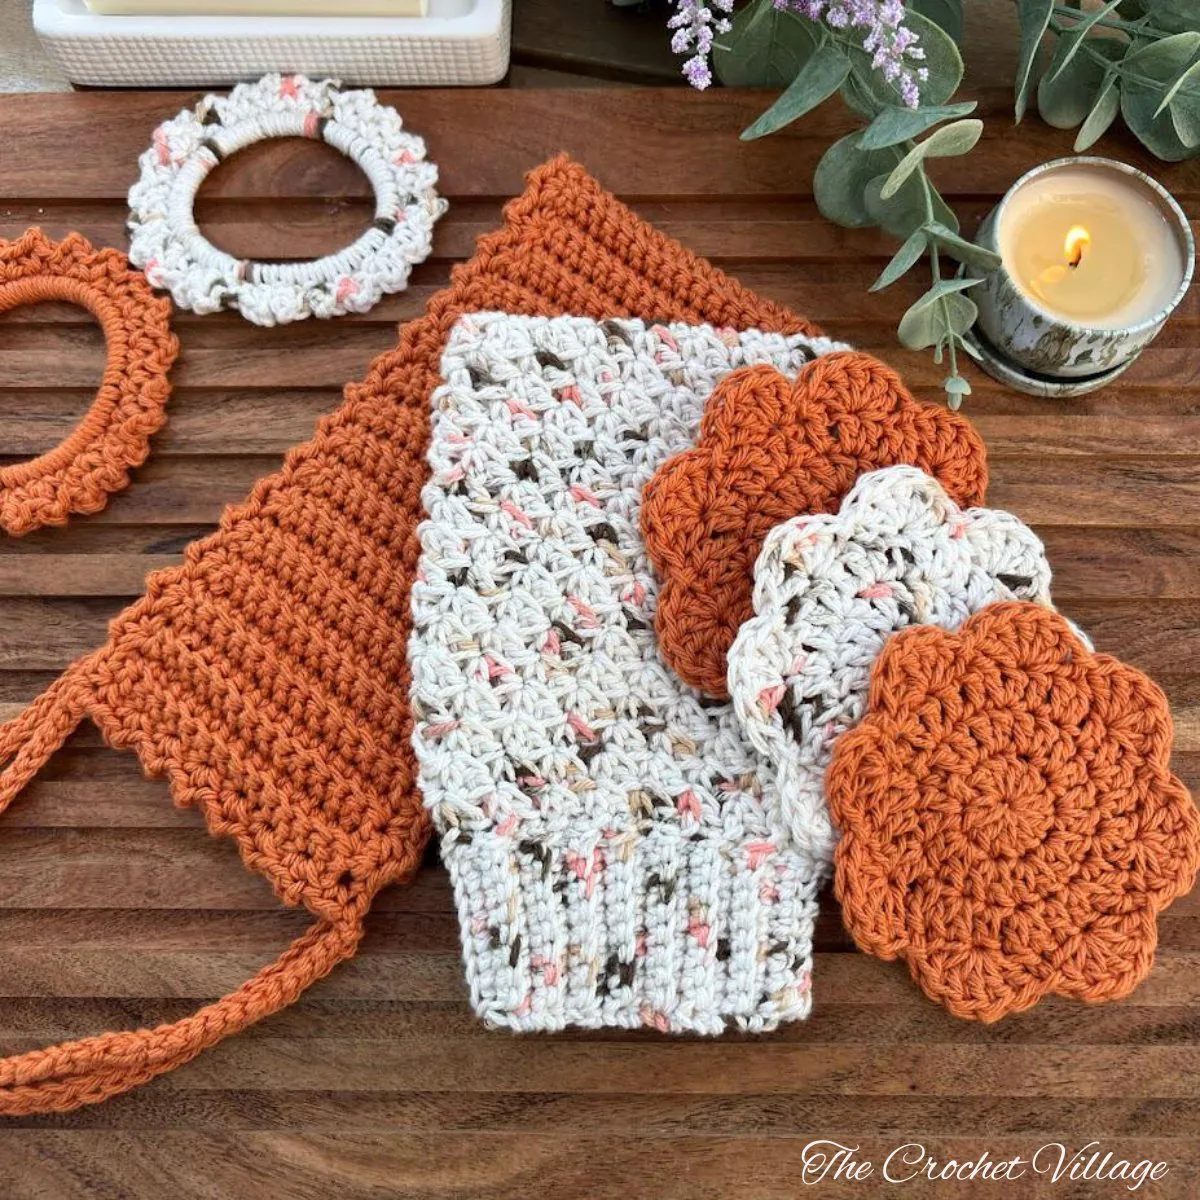
The set includes a soft and textured shower mitt that makes every wash feel like a spa treatment, a gentle back scrubber long enough to reach every spot, a set of soft reusable face pads to replace disposable cotton rounds for good, and a bundle of sweet hair scrunchies to finish off the look.
The full set is beginner-friendly, works up quickly, and makes a gorgeous handmade gift — or a well-deserved treat for yourself.
I made this set using worsted-weight cotton yarn in a beautiful variegated colorway paired with a matching solid — and yes, one of the colors is literally called Papaya. That’s how this set got its name! Cotton is ideal for bath accessories: it’s absorbent, durable, and gets softer with every wash.
Keep reading to find the free pattern, or if you prefer a printable add-free PDF, you can find it on Etsy, Ravelry, and my online store!
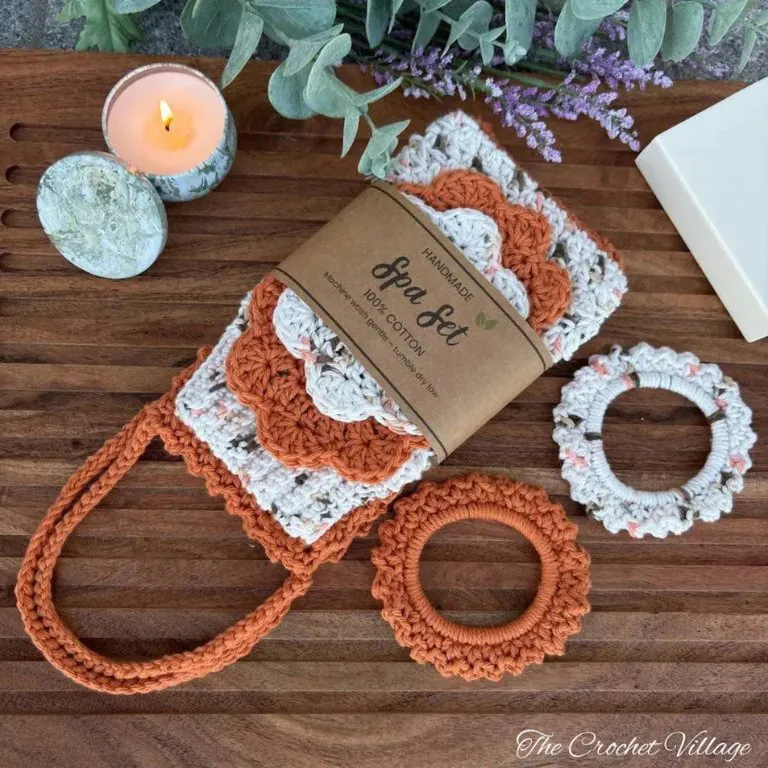
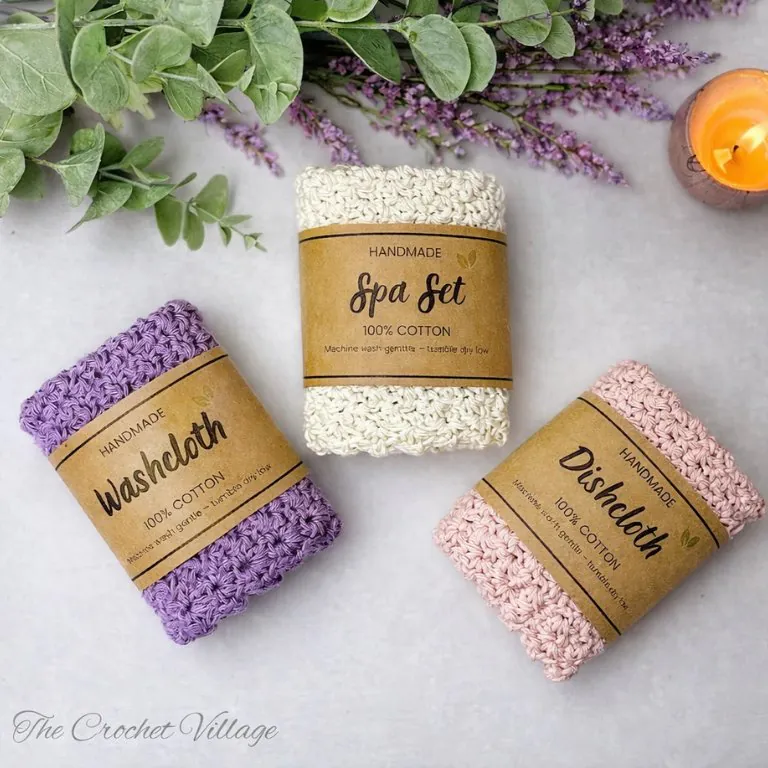
I gifted the finished set wrapped in a custom free printable gift wrap — because handmade gifts deserve a handmade presentation. You can download and print it here.
Free crochet bath set pattern – start here.
- Recommended yarn: Crafter’s Secret Cotton Yarn, #4 worsted-weight cotton yarn. Colors shown:
- Neutrals
- Papaya
- Yarn substitution
- Yardage: 2 skeins make 1 shower mitt, 1 back scrubber, 3 face rounds, and 2 hair scrunchies.
- 80 yds for the shower mitt
- 97 yds for the back scrubber
- 13 yds for the face round
- 7 yds for the scrunchie
- Crochet hooks
- (H) 5 mm
- 3 mm for the ribbing
- Gauge
- Mitt: 4”x 4”/ 5 mm hook = 12 rows and 14 ST
- Back scrubber: 2”x 2”/ 5 mm hook = 8 rows and 9 ST
- Other materials
- Tapestry needle to weave in ends.
- Hair elastics
- Finished measurements
- Back scrubber: 4” x 18”
- Shower mitt: 7 ½” x 5”
- Face scrubby: 4 1/2″ in diameter
- Hair scrunchies: 3 1/2″ in diameter
- Abbreviations
- CH: Chain
- ST: Stitch
- SL ST: Slip stitch
- SC: Single crochet
- DC: Double crochet
- BLO: Back loop only
- Rnd: Round
- Rep: Repeat
- Pattern notes
- This pattern is written in US terms.
- The skill level is easy to intermediate.
- Numbers in parentheses at the end of each row indicate the total stitch count for that row.
Prefer A Printable PDF?
Treat yourself to the ad-free, beautifully formatted version of this design for a small fee!
Papaya Shower Mitt – Free Crochet Spa Set Pattern
Step 1- Crochet the shower mitt
CH 17 to make a foundation chain.
Rnd 1:
- 2 SC in the 2nd CH from the hook, SC in the next 14 CH, 3 SC in the last CH. Work into one loop only of each chain. We’ll use the other loop in the next step. (19 SC)
- Continue crocheting along the other side of the chains, working into the unused loops. SC in the next 14 CH (crochet over the tail to hide it), SC in the last CH that already has 2 SC. Do not join. (15 SC)
- From now on, you’ll work in continuous rounds. Place a stitch marker in the last ST and move it up as you go to keep track of the end of each round.
Rnd 2: *(SC, DC) in the next ST, skip the next ST,* rep *to* around, (34 ST)
Rnd 3 – 17: Rep Rnd 2. End Rnd 17 with a SL ST, do not cut the yarn.
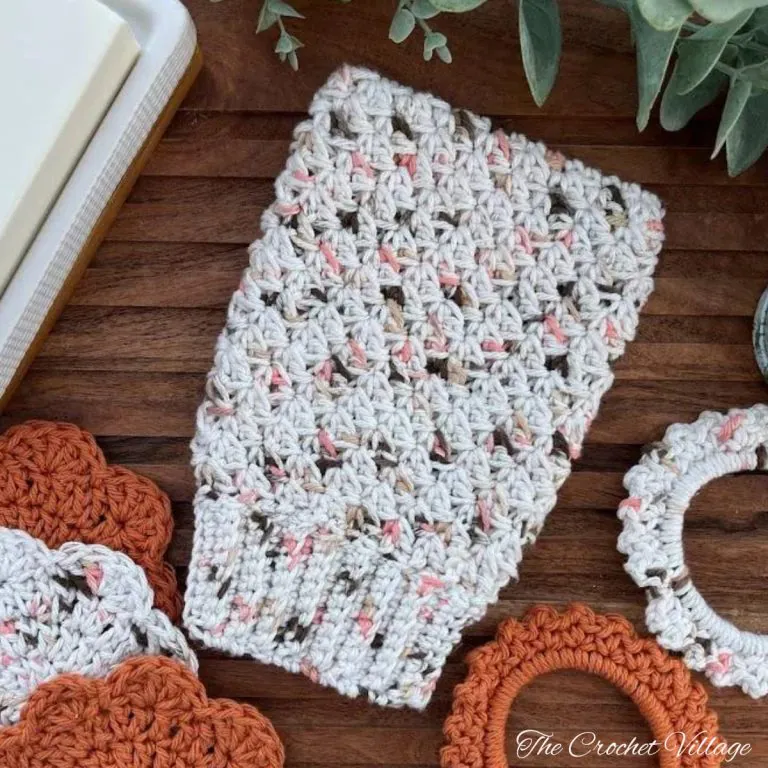
Step 2- Crochet the ribbing
Change to a 3 mm hook, CH 10.
Row 1: SC in 2nd CH from hook, SC in each of the next 8 CH, SL ST in each of the next 2 unworked ST, turn. (9 SC)
Row 2: Skip the 1st 2 SL ST, SC BLO in the next 9 ST, turn. (9 SC)
Row 3: SC in the 1st ST, SC BLO in the next 8 ST, SL ST in each of the next 2 unworked ST, turn. (9 SC)
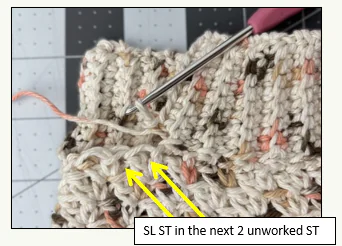
Row 4 – 35: Rep Row 2-3. At the end of the last row, hold the two sides of the ribbing together and align the edges. Slip stitch the two sides together to close (9 sts). Fasten off.
Papaya Back Scrubber- Crochet Bath Set Pattern Free
Step 1- Crochet the back scrubber
CH 16 to make a foundation chain.
Row 1: SC in 2nd CH from the hook and in each CH across, CH 1, turn. (15 ST)
Row 2: SC in 1st ST, SC BLO in each ST across until 1 ST remaining, SC in the last ST, CH 1, turn. (15 ST)
Row 3 – 63: Rep Row 2. At the end of the last row, CH 1, do not turn; crochet the border next.
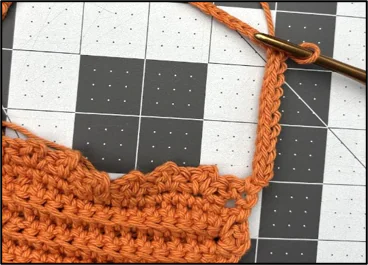
The Border: SC in the same stitch, then evenly place (SC, CH 2, SC) along the sides, skipping a stitch or row between sets. Place (SC, CH 2, SC) in each corner. End with SC, CH 2, in the first corner, and SL ST to join. Do not cut the yarn.
Step 2- Crochet the handles
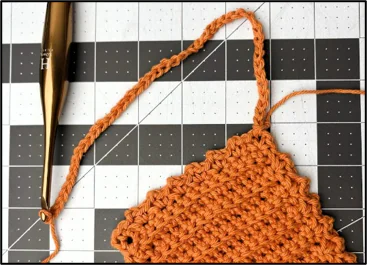
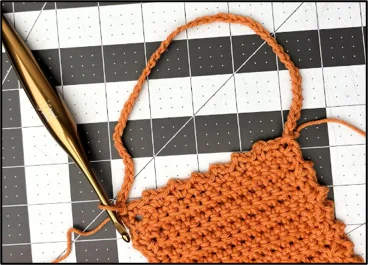
CH 45, SL ST into the opposite corner (in the CH 2 space of the (SC, CH 2, SC) group) to form a loop, CH 1. SL ST in each of the 45 CH of the loop. SL ST in the starting CH2 space and fasten off.
Repeat for the second handle on the opposite end: make a slip knot, SL ST in the corner CH 1 space, and work the handle the same way as the first.
Crochet the Face Rounds – Free Crochet Bath Set Pattern
Rnd 1: Make a magic circle, CH 2 (doesn’t count as a ST), 10 DC in the circle, join with a SL ST into the 1st DC. (10 DC). Close the magic circle by pulling the tail tight, then secure it with a couple of knots.
Rnd 2: CH 2 (doesn’t count as a ST), 2 DC in same ST as the CH 2, 2 DC in each ST around, join with a SL ST into the 1st DC. (20 DC).
Rnd 3: CH 2 (doesn’t count as a ST), 2 DC in the same ST as the CH 2, *DC in the next ST, 2 DC in the next ST,* rep *to* around ending with DC in the last ST, join with a SL ST into the 1st DC. (30 DC).
Rnd 4: CH 2 (count as a DC), 4 DC in the same ST,*skip next ST, SL ST in the next ST, skip next ST, 5 DC in the next ST,* rep *to* around, join with a SL ST into the ST holding the CH 2. Fasten off. Weave in all ends.
Crochet the hair scrunchies
Crochet SC stitches in multiples of 2 (I used 50 SC), working as many SC as needed to cover the hair elastic fully.
Rnd 1: Make a slip knot, hold the elastic, insert your hook inside the ring, YO, pull up a loop, YO, and pull through both loops to complete a SC crochet.
Continue working single crochets around the elastic, pushing the stitches close together so it’s fully covered with no gaps. SL ST to the 1st SC to join, CH1. (watch this YouTube video on how to SC crochet around a ring).
Rnd 2: *Skip the next ST, (SC, CH 2, SC) in the next ST,* rep around. Join with a slip stitch to the 1st SC. Fasten off.
Weave in all ends, and you are all done!
I offer full support to help you with any questions or challenges you might have. Feel free to drop your comments in the section below or join our Facebook group, where I, along with my wonderful testers and community members, will be more than happy to assist you!