I was never a big fan of using a handmade crochet piece to clean my dishes — until I designed this free crochet scrubbies pattern and completely changed my mind. I couldn’t stand the thought of using a beautifully made piece of art to scrub tomato sauce off a plate.
I was so wrong. Crochet scrubbies are honestly the best crochet item you can use in your kitchen, and today I’m sharing the pattern along with the reasons why I’m officially obsessed.
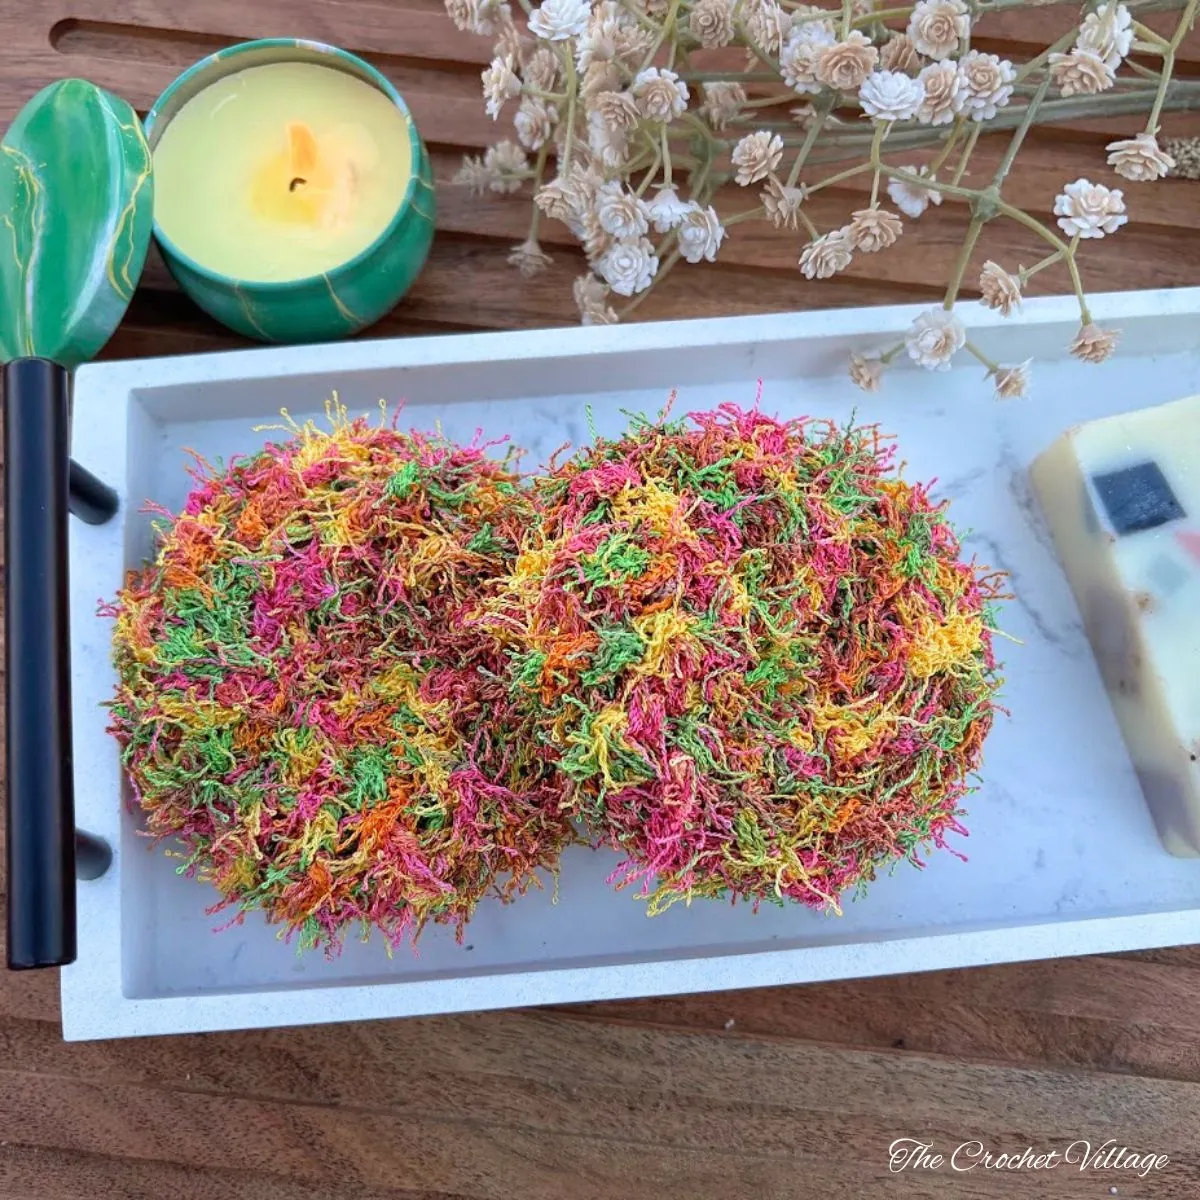
Why Crochet Dish Scrubbies Are Better Than a Sponge
One of the biggest reasons crochet dish scrubbies are so popular is the yarn they’re made with. Most scrubby yarns are made from durable nylon, which doesn’t absorb water or trap food particles the way traditional sponges do. That means they dry quickly, stay fresher longer, and are easy to keep clean.
After use, simply toss your scrubby in the dishwasher (or washing machine), and it’s ready to use again. No more soggy, smelly sponges sitting by the sink.
A few more reasons I switched for good:
- They stay fresher. Unlike sponges, crochet scrubbies dry quickly, so they’re less likely to stay damp and trap food particles where bacteria can multiply.
- They last much longer. A kitchen sponge often needs replacing after a few weeks, while a well-made crochet scrubby can last for months.
- They save money and reduce waste. Since they last longer and are reusable, you’ll buy fewer replacements and throw away less.
- They scrub tough messes with ease. Their textured surface helps remove stuck-on food and baked-on messes without falling apart.
- They’re easy to clean. Most nylon scrubby yarn can be cleaned in the dishwasher or washing machine, so your scrubby is ready to use again.
- They’re simply prettier! With endless colors and fun designs, crochet scrubbies add a handmade touch to your kitchen—far more charming than a plain yellow sponge.
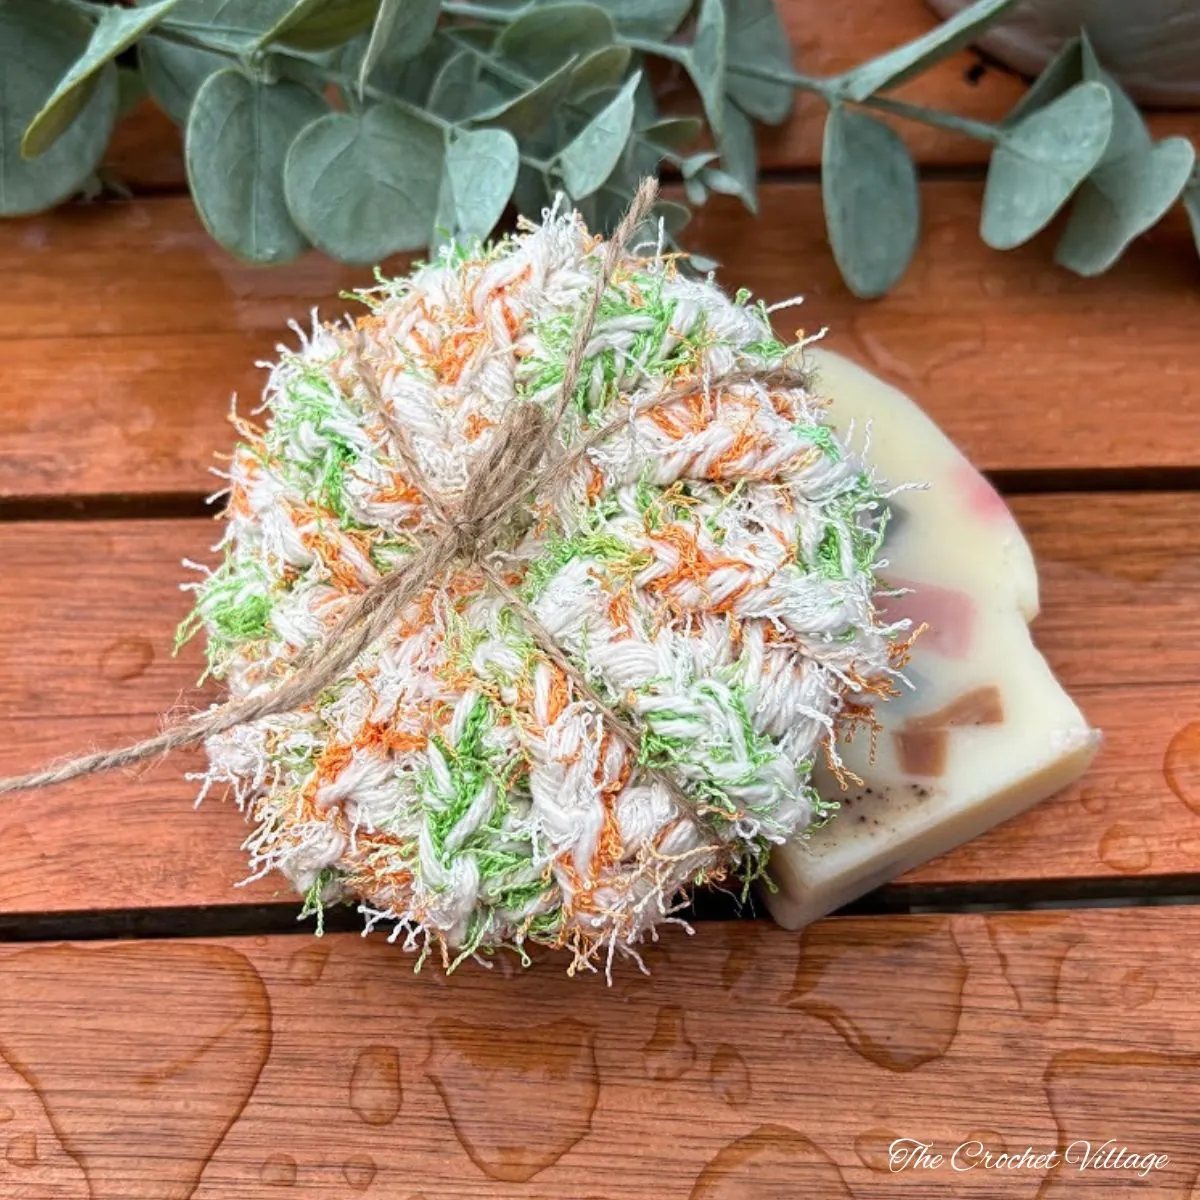
Free Kitchen Patterns You’ll
Meet the Scrub Puck: Free Crochet Dish Scrubber Pattern
I designed the Scrub Puck because I was gifted a huge stash of scrubby yarn and, well… I had to use it up. LOL. I ended up falling in love with the result.
The pattern is beginner-friendly, too. You simply crochet a long strip in a spiral (kind of like a tube), then close the top and bottom with a drawstring, flatten it, and sew through the middle to create a compact puck shape. That shape is what makes it so easy to hold while scrubbing, unlike a flat dishcloth that tends to slip around in your hand.
I also chose a stitch pattern that’s easy to see through the scrubby yarn, which makes working with this yarn much easier.
Bonus: You Can Make a Bath Scrubbie Too
Here’s the part I’m most excited about—this free crochet dish scrubber pattern doesn’t stop at the kitchen! Using the same technique, you can also make a bath scrubber that works like a bath pouf.
The trick is holding a strand of cotton yarn together with the scrubby yarn as you work. The bath version comes out a little bigger than the dish scrubbie and more compact, so it fits nicely in your hand while you shower. One pattern, two totally different uses. Kitchen and bath, covered.
Ready to Make Your Own? Keep reading for the free Scrub Puck crochet pattern!
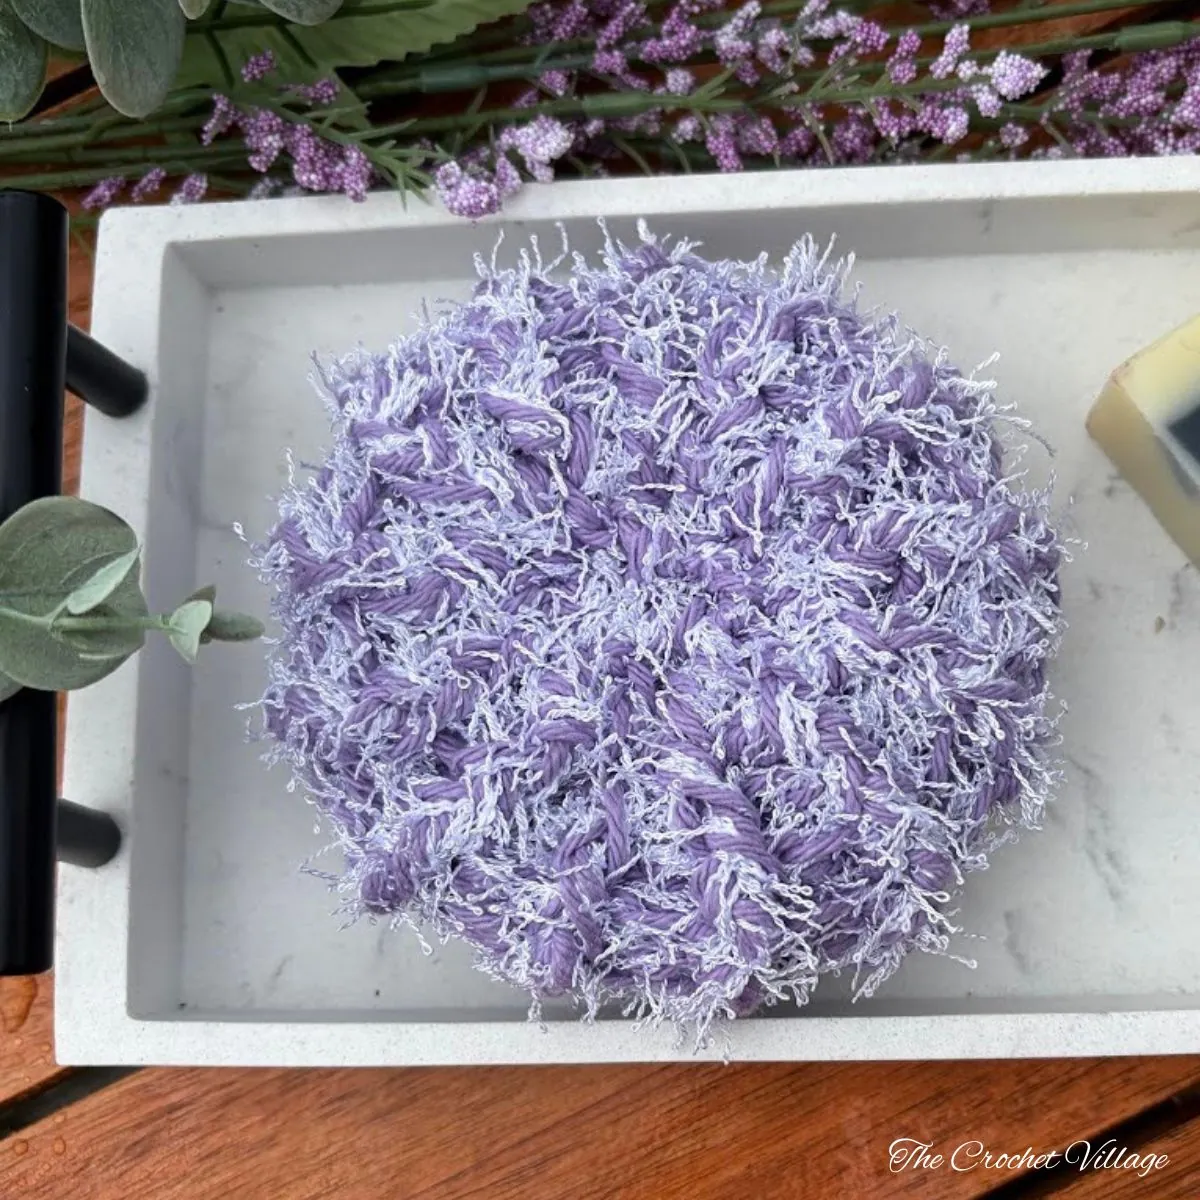
Free Crochet Dish Scrubbies Pattern- Start Here
RECOMMENDED YARN: Loops & Threads Squeaky Clean Yarn. #4 worsted weight yarn.
Colors shown:
- Fresh
- Bright
- Sand
YARDAGE: 92 yd (1 skein) makes 2 scrubbies
HOOK: 5 mm
FINISHED SIZE: 3 ¾” in diameter
GAUGE: Gauge is not important for this pattern.
YARN SUBSTITUTION:
OTHER MATERIALS: Tapestry needle to weave in ends.
ABBREVIATIONS
CH: Chain
ST: Stitch
SL ST: Slip stitch
DC: Double crochet
FPDC: Front post double crochet
BPDC: Back post double crochet
Rnd: Round
Rep: Repeat
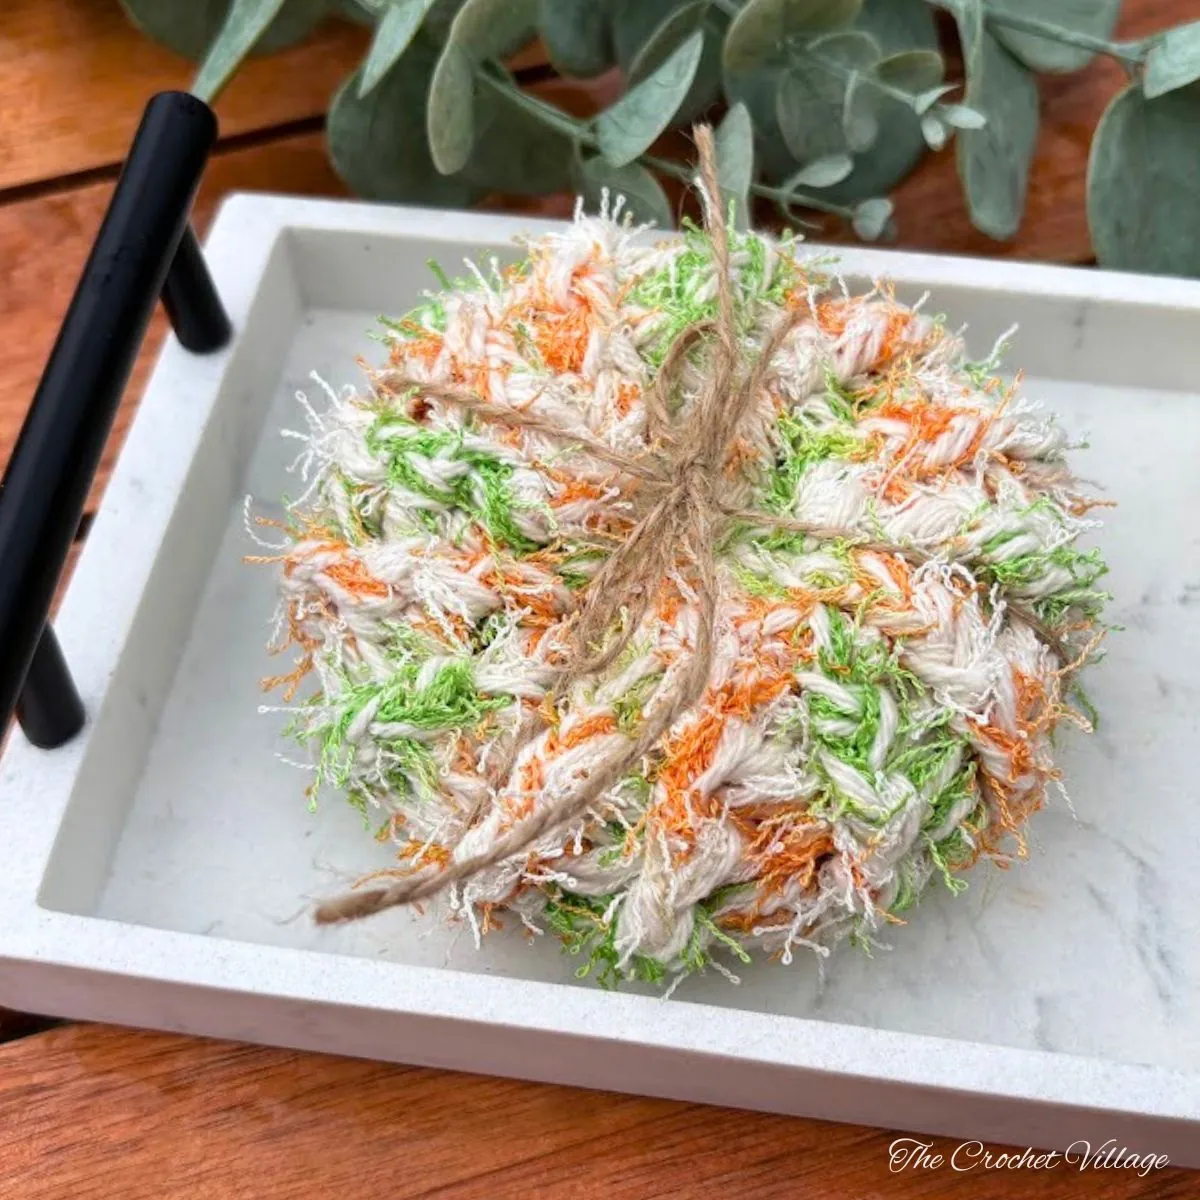
Pattern notes
- Terminology: Written in US terms
- Difficulty: Intermediate
- The Puck Scrub is crocheted in continuous rounds, creating a tube shape; DO NOT join the rounds.
- Scrubby yarn can be tricky to work with. Feel free to use a larger hook if needed.
- The number at the end of the row is the stitch count for that row.
- Bonus: Instructions for an exfoliating bath body scrubber are included.
Special stitches
- Front Post Double Crochet (FPDC): YO, insert hook from front to back and then from back to front around the post of the stitch from the previous row (instead of into the top loops), YO, pull up a loop, YO, pull through 2 loops, YO, pull through remaining 2 loops.
- Back Post Double Crochet (BPDC): YO, insert hook from back to front and then from front to back around the post of the stitch from the previous row (instead of into the top loops), YO, pull up a loop, YO, pull through 2 loops, YO, pull through remaining 2 loops.
Scrub Puck Crochet Dish Scrubby Pattern
Keep reading for the free pattern. If you prefer an ad-free, well-formatted printable PDF with printable gift wrap for easy gifting or selling at markets, the premium PDF is available in all my shops linked below for a small fee.
Prefer A Printable PDF?
Treat yourself to the ad-free, beautifully formatted version of this design for a small fee!
STEP 1- Crochet the dish scrubber
Leave about an 8” long tail, CH 26 loosely to make a foundation chain, SL ST into the 1st CH to make a circle, make sure the foundation chain is not twisted, CH 3 (counts as a ST)
Rnd 1: DC in each CH around; do not join. (25 DC+ CH3)
Rnd 2: FPDC in 1st ST (in CH 3), *BPDC in next ST, FPDC in next ST,* rep *to* around, do not join.
(26 ST)
Rnd 3 – 12 or until your crochet piece measures about 4” tall: Repeat *BPDC in next ST, FPDC in next ST,* around, do not join. (26 ST) At the end of the last round, fasten off and leave about a 10” long tail for sewing.
STEP 2- FINISH
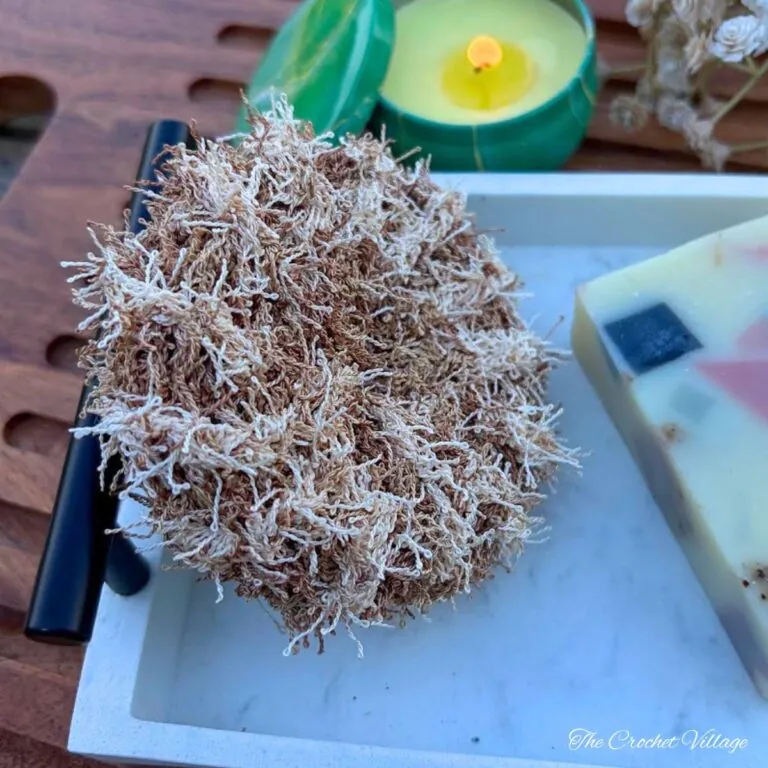
- Thread the shorter tail in and out of each stitch along the bottom edge.
- Pull tight to close the opening, secure with a knot, and weave in the end.
- Thread the longer tail in and out of each stitch along the top edge.
- Pull tight to close, secure with a knot, leaving the tail attached.
- Flatten the scrubby so the top closure is centered.
- Thread the remaining tail through the center of the scrubby several times.
- Secure with a few knots, weave in the end, and you’re done!
Turn It into a Bath Body Scrubber
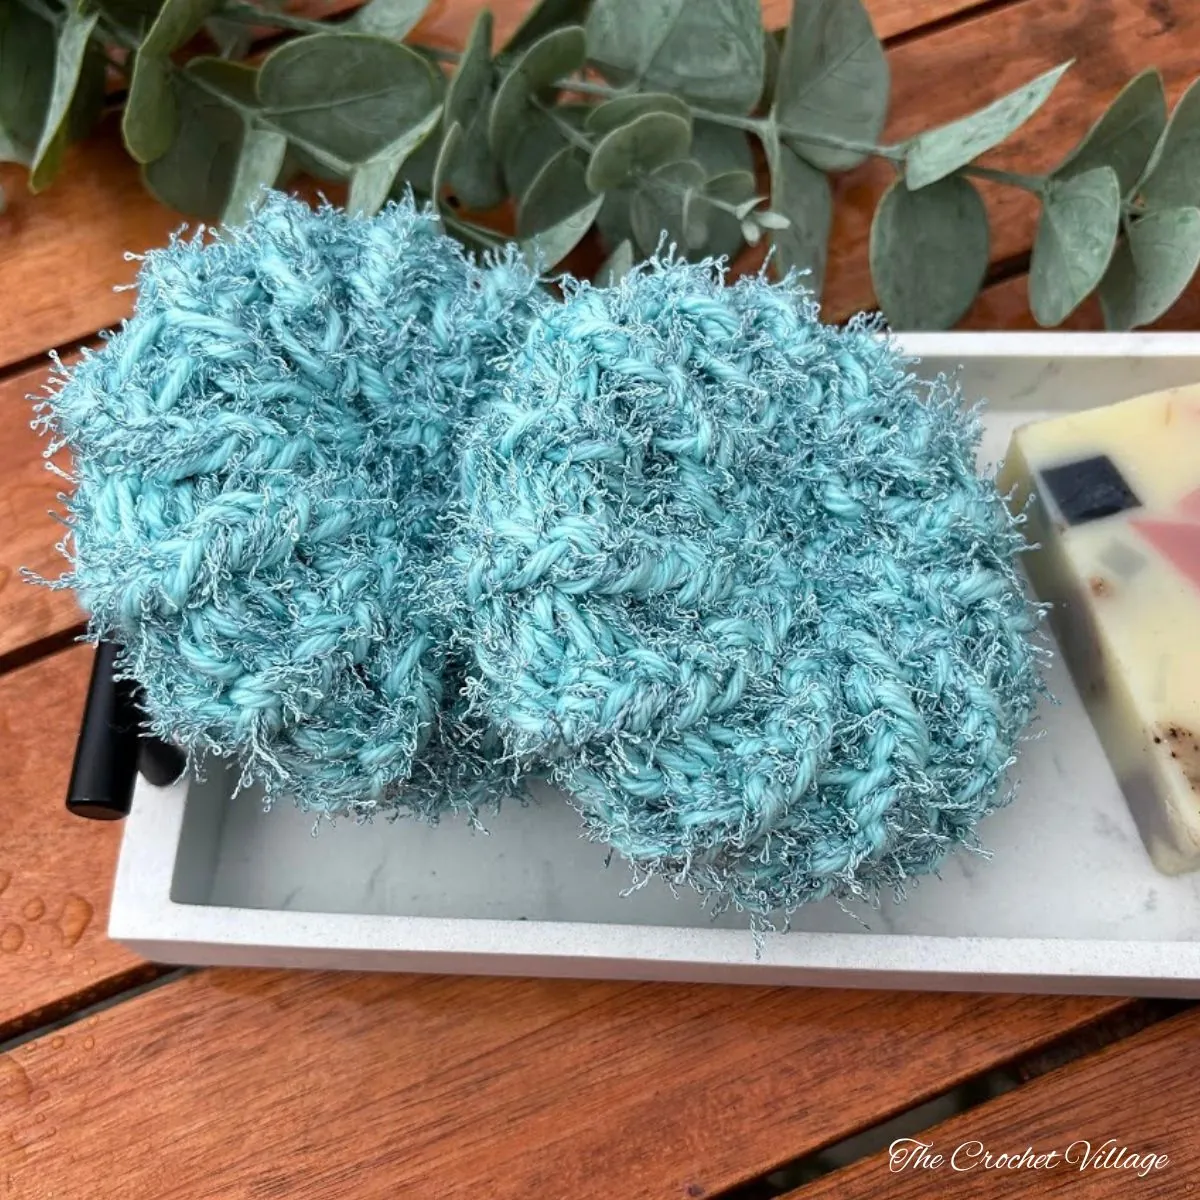
This pattern also makes a fantastic bath body scrubber! It works like a bath pouf, gently exfoliating and cleansing your skin. Here’s how to make your own body scrubbie:
- Hold 1 strand of scrubby yarn together with 1 strand of worsted-weight cotton yarn.
- Use a 6.5 mm (K/10½) crochet hook.
- Foundation Chain: CH 18.
- Crochet 11 rows following the pattern, or until the piece measures approximately 5 “ tall.
- Finish the scrubber using the same assembly instructions as the dish scrubber.
Make a Few Extra!
These Scrub Pucks work up fast, so they’re perfect for making in batches. Pair a couple with dish soap and hand lotion for an easy handmade gift.
They’re also great for craft fairs and handmade shops. Add a simple care tag explaining the nylon yarn and how to clean it—it helps customers see why they’re a great reusable alternative to kitchen sponges.
I offer full support to help you with any questions or challenges you might have. Feel free to drop your comments in the section below or join our Facebook group, where I, along with my wonderful testers and community members, will be more than happy to assist you!