Turn leftover yarn into a beautiful handmade gift! This free crochet wine bottle cover pattern uses simple shell stitch and is perfect for beginners.
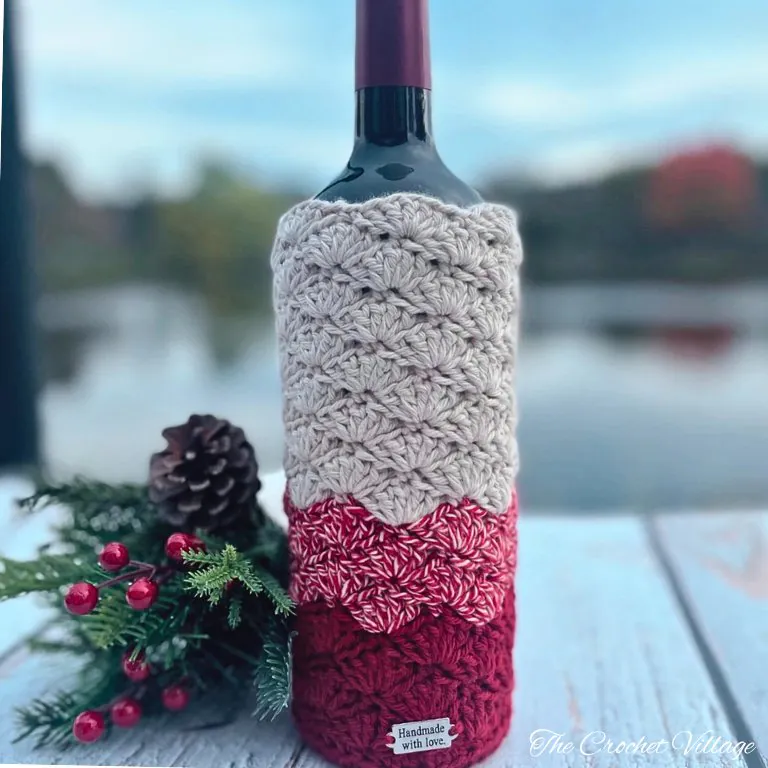
Got some leftover yarn sitting in your stash? Let’s turn it into something adorable and practical! This free crochet wine bottle cover pattern is perfect for using up yarn scraps while creating an elegant, handmade gift.
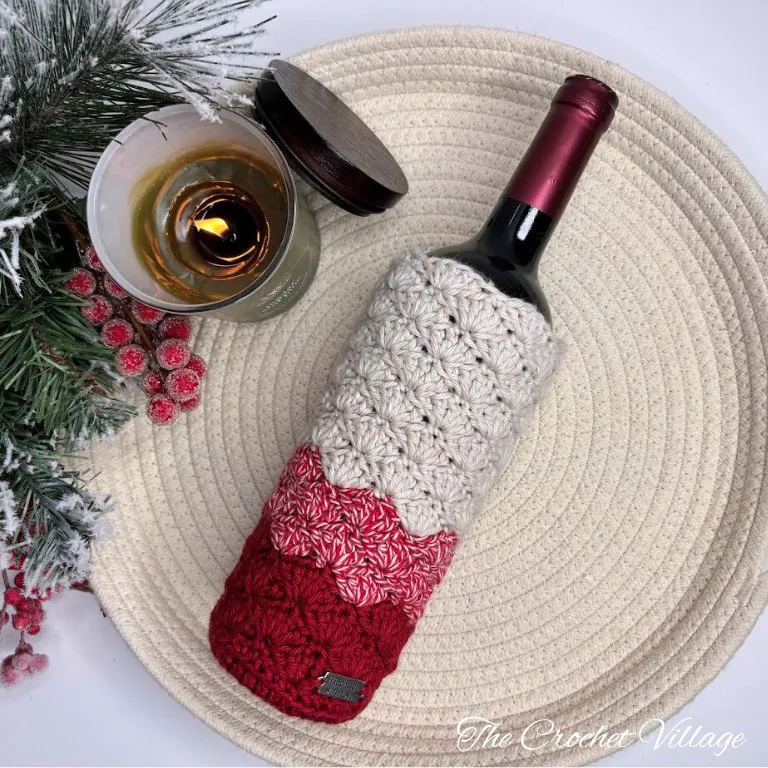
I’m sharing my Burgundy Wine Cozy — a quick and easy crochet wine bottle cover using the classic shell stitch. The texture is gorgeous, and it looks way more complicated than it actually is! This is ideal for last-minute gifts. Just slide a bottle into your finished cozy, and you’ve got a thoughtful present ready to go. Plus, it’s reusable, so your handmade touch lasts long after the wine is gone.
Keep reading to find the free pattern, or if you prefer a printable add-free PDF, you can find it on Etsy, Ravelry, and my online store!
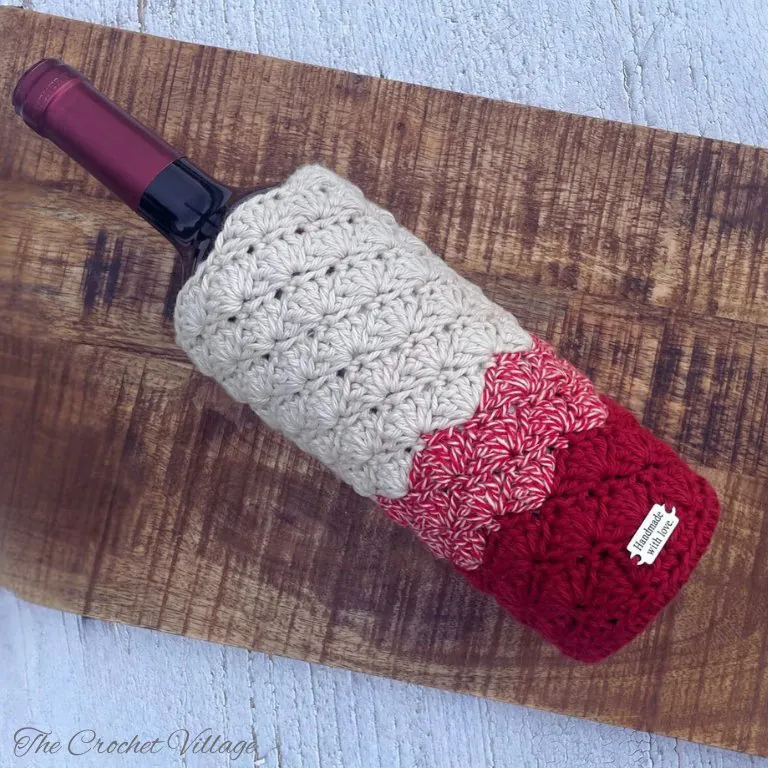
You can make this wine bottle cozy with any worsted-weight yarn you have on hand. I used cotton yarn for a clean, natural finish, but cotton blends and acrylics work beautifully too. I went with burgundy and beige for a warm, rustic vibe, but solid colors look stunning as well.
This beginner-friendly pattern is perfect if you want to learn the shell stitch or just need a quick, relaxing project. Let’s get started!
Free Crochet Wine Bottle Bag Pattern: Start Here
Pattern notes
- This pattern is written in US terms.
- Skill level: Easy
- You can use your favorite #4 medium-weight yarn, preferably cotton yarn.
Recommended yarn:🧶I Love This Cotton Yarn, #4 Worsted-weight cotton yarn. Feel free to use acrylic yarn or cotton blend. Colors shown:
- Burnt Sienna: Color A
- Monkey Red: Color B
- Parchment: Color C
Yarn Substitution: These yarns are a close match, but you should always swatch.
- Caron All Day Cotton
- Paint Box Cotton Aran Yarn
- Lion Brand Local Grown Cotton Yarn
- Caron Cotton Cakes Yarn
Yardage: About 125 yd
Crochet hook: (G) 4 mm
Other materials:
- Metal Tag
- Tapestry needle: to weave in ends.
Gauge: 4” square = 11 rows and 3 shell stitches (5 double crochet groups, measured on the bottle cozy laid flat).
Measurements: H= 9.5”/W= 5” (When laid flat)
Abbreviations
- CH: Chain
- ST: Stitch
- SLST: Slip stitch
- SC: Single crochet
- DC: Double crochet
- BLO: Back Loop only
- YO: Yarn over
- Rep: Repeat
Burgundy Wine Cozy Crochet Pattern
Prefer A Printable PDF?
Treat yourself to the ad-free, beautifully formatted version of this design for a small fee!
Step 1- Crochet the base
With yarn A, make a magic circle, CH1, then,
Rnd 1: 8 HDC in the circle, join with a SL ST into the 1st ST, CH1. (8) Close the magic ring by pulling the tail tight, then secure it with a couple of knots.
Rnd 2: 2 HDC in each ST around, join with a SL ST into the 1st HDC, CH1. (16)
Rnd 3: *2 HDC in next ST, HDC in next ST,* rep *to* around, join with a SL ST into the 1st HDC, CH1. (24)
Rnd 4: *2 HDC in next ST, HDC in next 2 ST,* rep *to* around, join with a SL ST into the 1st HDC, CH1. (32)
Rnd 5: HDC in the next 4 ST, *2 HDC in next ST, HDC in next 3 ST,* rep *to* around, join with a SC BLO into the 1st HDC. DO NOT join. (39)
Rnd 6: SC BLO in every ST around. DO NOT join. (39)
From now on, crochet all rounds continuously.
Step 2 – Crochet the body
Crochet in continuous rounds. Feel free to use a stitch marker to mark the beginning of each round.
Rnd 7: *SC in next ST, * skip next 2 ST, 5 DC in next ST, skip next 2 ST, * rep *to* around ending with 5 DC in the 1st SC. You should have 7 (5DC groups)
Rnd 8: * Skip next 2 ST, SC in the next ST (the 2nd DC of the next 5 DC group), skip next 2 ST, 5 DC in the next ST *, rep *to* around.
Rnd 9-10: Rep Rnd 8. Change to yarn B in the last SC of Rnd 10. Cut Yarn A.
Rnd 11-14: Rep Rnd 8. Change to yarn C in the last SC of Rnd 14. Cut Yarn B.
Rnd 15-26: rep Rnd 8. Finish with a SL ST in the 2nd DC of the last 5 DC group. Fasten off.
Weave in all ends, attach a tag, and you are all done!
I offer full support to help you with any questions or challenges you might have. Feel free to drop your comments in the section below or join our Facebook group, where I, along with my wonderful testers and community members, will be more than happy to assist you!