Looking for a cute summer project that’s easy to make and fun to wear? The Sun-Kissed Top is just the thing! This free crochet tank top pattern is perfect for beginners—it’s simple, stylish, and works up fast. Whether you’re brand new to crochet or just want a quick and satisfying make, this easy summer crochet top is one you’ll reach for all season long.
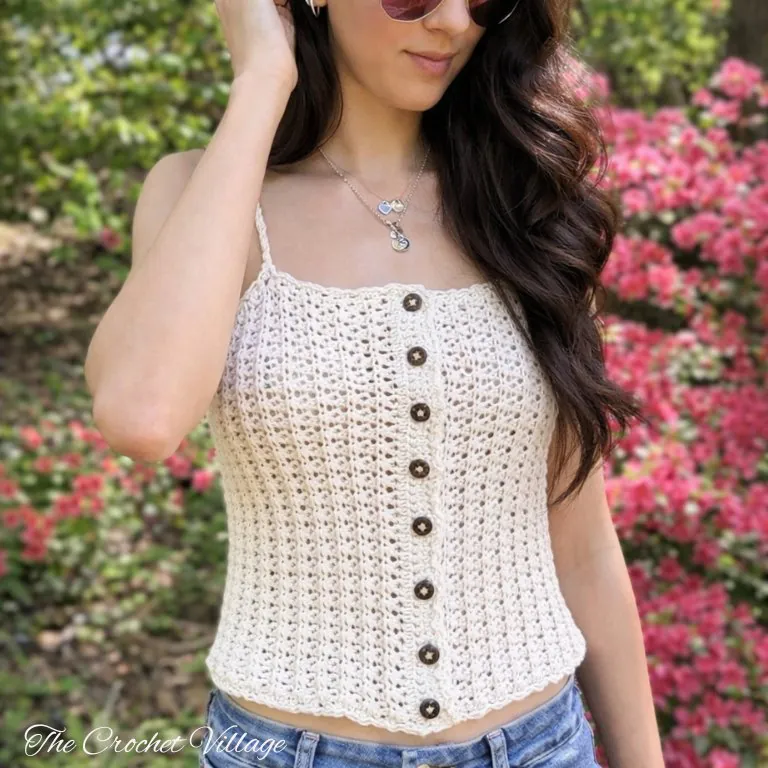
Looking for a free crochet tank top pattern that’s perfect for beginners? The Sun-Kissed Top is just what you need! It’s a cute summer crochet top that’s easy to make, fun to wear, and quick to finish—ideal for anyone new to garment making.
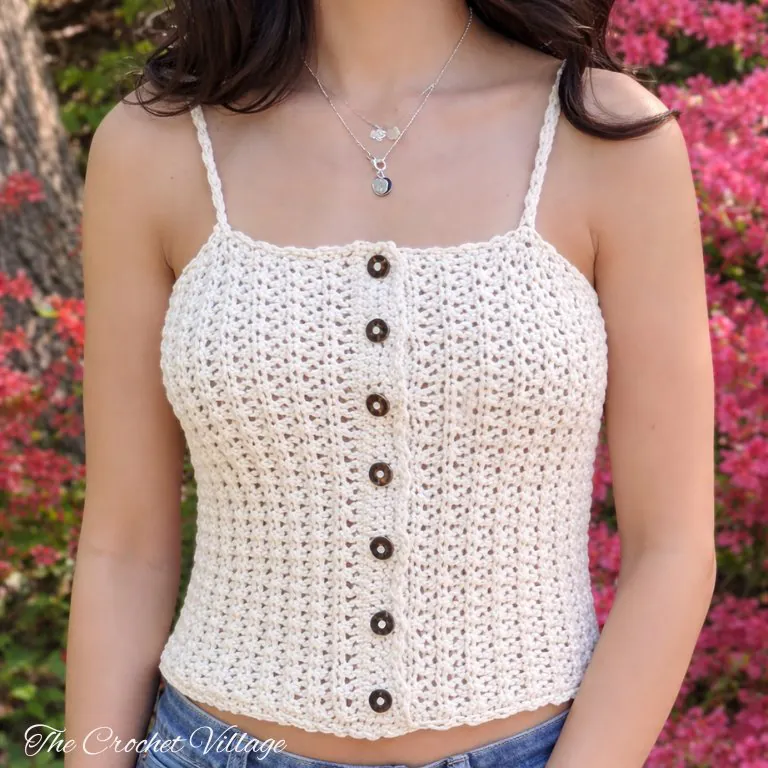
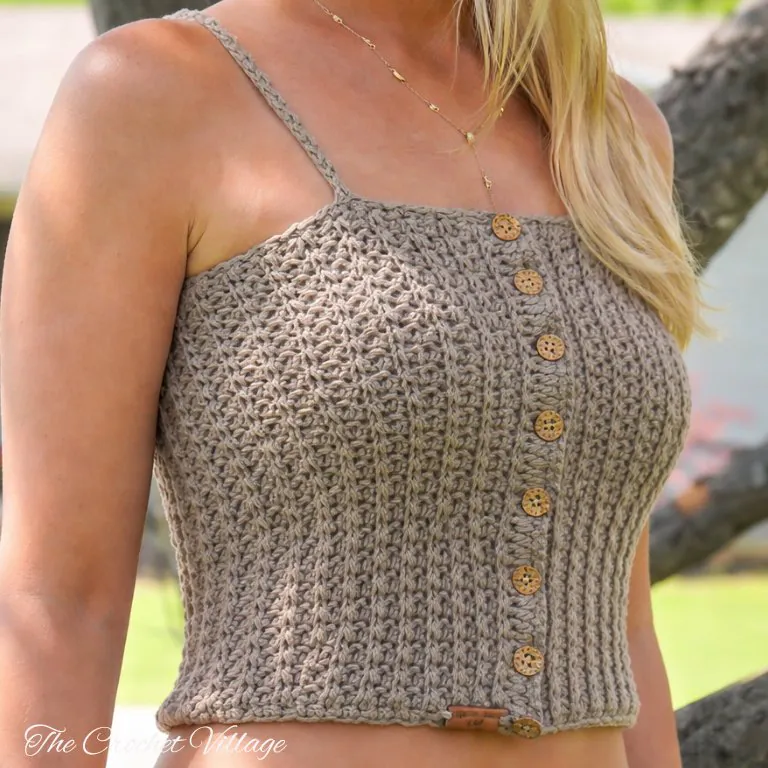
The design is super simple: crochet a rectangle using a lovely one-row repeat stitch, seam it up the front, add a few cute buttons, and finish it off with comfy straps—that’s it!
Made with soft, breathable cotton yarn, this easy crochet top pattern is one you’ll reach for all season long. Pair it with shorts, jeans, or your favorite summer skirt—it goes with everything.
Related: Crochet garments, How to photograph your crochet items.
Free Crochet Tank Top Pattern: Start Here
Recommended yarn:🧶Crafter’s Secret Cotton, #4 worsted-weight cotton yarn. Color shown: Ivory
Yarn Substitution: These yarns are a close match, but you should always swatch.
- Lily Sugar’n Cream Cotton Yarn
- Paint Box Cotton Aran Yarn
- Lion Brand Local Grown Cotton Yarn
- Caron Cotton Cakes Yarn
- I Love This Cotton
Yardage: Depends on the size you are making; see the sizing chart.
Crochet Hook: 6.5 mm, or any hook needed to meet gauge. The yarn I used is on the stiffer side and worked beautifully with a 6.5 mm hook. However, if you’re using a softer medium-weight cotton yarn—like Paintbox Cotton Aran or I Love This Cotton—you may need to go down a hook size, then follow the sizing instructions provided later in the pattern to make adjustments as needed.
Gauge: 4” X 4”= 14 rows and 16 ST (in the pattern stitch (HDC and SL ST).
Other Materials:
- Tag: Faux leather tags
- ½” small wooden buttons
- Stitch markers.
- Measuring tape.
- Scissors.
- Tapestry needle to weave in ends.
Abbreviations
- CH: Chain
- ST: Stitch
- SL ST: Slip stitch
- SC: Single crochet
- HDC: Half double crochet
- BLO: Back loop only
- SM: Stitch marker
- MS: Marked stitch
- WS: Wrong side
- RS: Right side
- SP: Space
- Rep: Repeat
Pattern Notes
- This pattern is written in US terms.
- Skill level is Easy.
- This crop top is crocheted side to side, starting from the middle front in a rectangular shape.
- To close the top, the front sides are sewn together. The buttons are decorative only.
- The foundation chain sets the length of your top (from chest to waist).
- The rows determine the width (the circumference of the top).
Step 1 – Check your gauge
- Match the gauge to ensure the best fit. If you’re new to gauge swatching, click here for details.
- When checking your gauge, if your stitch count matches but the row count is off, go with the hook size that gives you the correct stitch count — rows can be adjusted later.
- Tip: If you are using a different yarn weight or having difficulties matching the gauge, make a foundation chain with an odd number of stitches that measures from the chest to the waist. Then, crochet to the desired length until you cover the circumference of your body. Follow the pattern for more details.
Step 2 – Find your size
- The measurements were taken with the top closed and laid flat, before being worn.
- The model is 5’8″ with a 34″ bust and is wearing a size small.
- For the best fit, use your bust measurement and select the closest size from the table below. If you prefer a looser fit, consider sizing up.
- The stitch count and number of rows for each size can be found in parentheses in the corresponding color: XS (S, M, L, XL).
- The numbers at the beginning of the rows are your row count for all sizes.
- The numbers at the end of the rows are your stitch counts for all sizes.
- The yardage may vary if you use a different yarn or adjust the length or width of your top.
Click here for the sizing chart
| Size | Bust Size | Width | Length | Yardage |
| XS | 28”- 30” | 11 ½” | 11 ½” | 2 skeins/ 277 yards |
| S | 32”- 34” | 13” | 12” | 3 skeins/ 336 yards |
| M | 36”- 38” | 14 ½” | 12 ½” | 4 skeins/ 376 yards |
| L | 40”- 42” | 16” | 13” | 4 skeins/ 448 yards |
| XL | 44”- 46” | 17 ½” | 13 ½” | 5 skeins/ 490 yards |
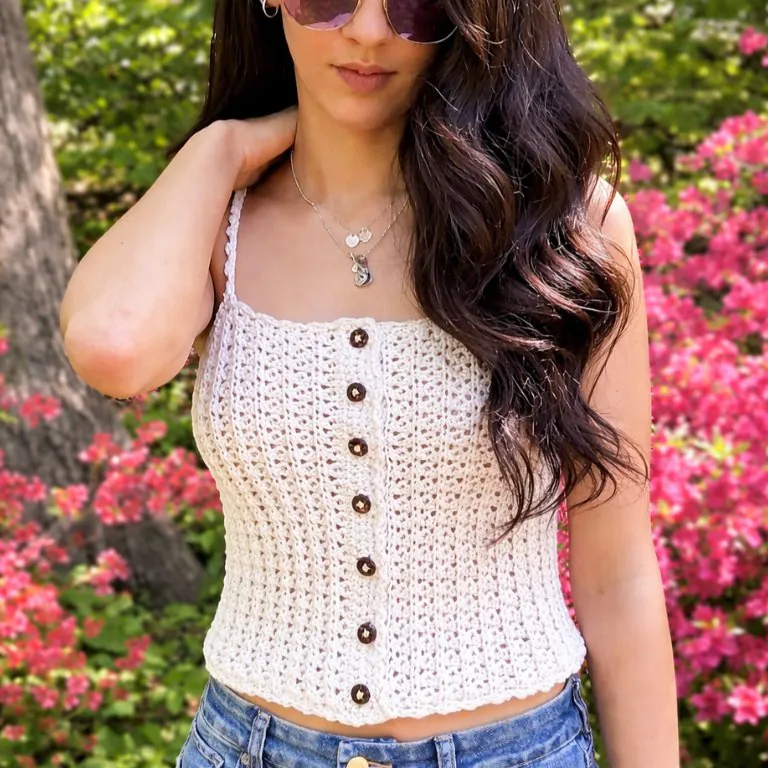
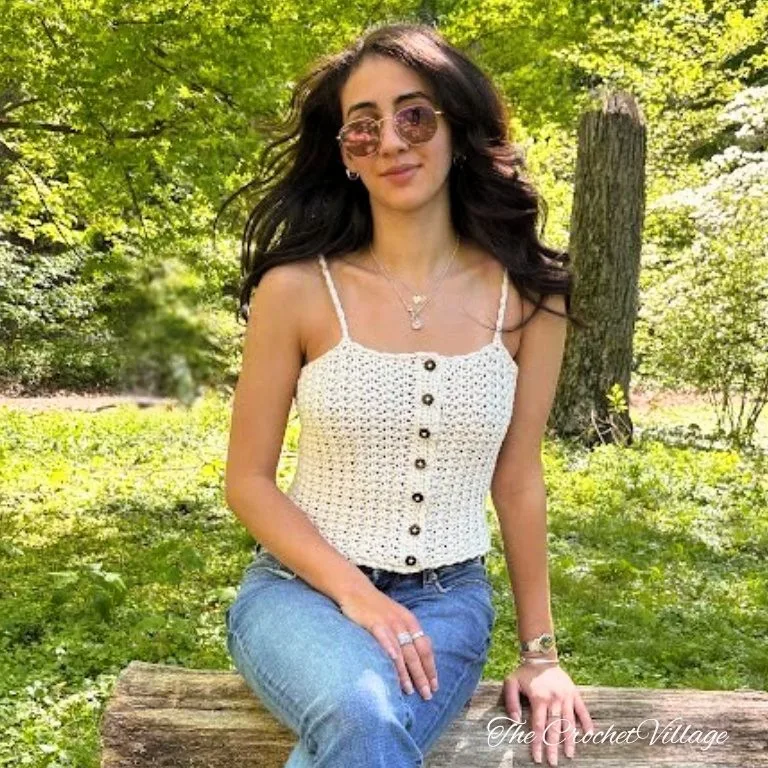
Free Crochet Summer Tank Top Pattern
In this free crochet summer tank top pattern, I’ll walk you through everything you need to create your own Sun-Kissed Top—from the yarn suggestions to the simple step-by-step instructions. But if you’d like a convenient, printable version of the pattern, the Premium Sun-Kissed Tank Top Pattern is available for a small fee in all my shops, linked below.
Prefer A Printable PDF?
Treat yourself to the ad-free, beautifully formatted version of this design for a small fee!
Step 3 – Crochet the top
CH 46 (48, 52, 54, 56) or a multiple of 2, to make a foundation chain.
Tip: The foundation chain sets the length of your top (chest to waist). You can make it longer or shorter if you like. Remember, the strap will add about 5” to 7” to the total length.
Row 1: (RS) SC in 2nd CH from hook, SC in each CH across, CH 1, turn. 45 (47, 51, 53, 55) ST
Row 2: (WS) SC in each ST across, CH 1 Turn. 45 (47, 51, 53, 55) ST
Row 3: (RS) HDC in each ST across, CH 1, turn. 45 (47, 51, 53, 55) ST.
Row 4: (WS) SC in 1ST ST,*HDC BLO in next ST, SL ST BLO in next ST*, rep *to* across until you have 2 ST remaining, HDC BLO in next ST, SC in last ST, CH 1, turn. 45 (47, 51, 53, 55) ST.
Row 5 – 74 (84, 94, 104,110): Rep Row 4. 45 (47, 51, 53, 55) ST.
Row 75 (85, 95, 105, 111):(RS) HDC in 1st ST, HDC BLO in each ST across until 1 ST remaining, HDC in last ST, do not turn. Crochet the border next.
Note: Try it on as you go, if possible. Adjust the width of your top by adding or removing rows as needed. Ending with an odd number of rows. Crochet the border next.
Step 4 – Crochet the border
In this step, you will crochet a border by evenly alternating HDC and SL ST stitches around the top edge, button band, and the bottom edge.
- With the yarn still on your hook, HDC in the corner (already holding a HDC), *SL ST in next row, HDC in next row*, rep *to* across until you reach the next corner, (HDC, SL ST) in the corner.
- *HDC in next ST, SL ST in next ST*, rep *to* across, until you reach the next corner, (HDC, SL ST) in the corner. Rep 1 ending with SL ST in the 1st HDC. Fasten off.
Step 5 – Crochet the straps (make 2)
- Lay the crochet rectangle flat. Fold the short sides in so they meet in the middle—this will be the front center of your top.
- Line up the last row with the foundation chain (these are the front sides of the top). Count 8 (10, 12, 14, 16) rows from each front side and place a stitch marker in those rows. DO NOT include rows 1 and 2 (SC rows) in the row count.
- From the first stitch marker, count 22 (24, 26, 24, 26) rows and place a second stitch marker in each of those rows.
- With the right side of the top facing you, slip knot, then SL ST in the 1st MS, CH 40 (42, 44, 46, 48) ST (adjust the chains if needed), make sure the chains are not twisted, SL ST in the 2nd MS, SL ST in next ST, CH 1, turn.
- *HDC in next CH, SL ST in next CH,* rep *to* across ending with a SL ST in the 1st marked ST. Fasten off.
- Crochet another strap on the opposite side.
Step 6 – Finish the top
- Place the top on a smooth surface.
- Fold the sides so they meet in the middle.
- Place two buttons on the right side (this will be the left side when you wear your top)—one in the top corner and one in the bottom corner.
- Add 4 or 5 more buttons spaced evenly in between.
- Mark each button placement with pins.
- Using yarn and a needle, sew the buttons one by one.
- Slightly overlap the button side over the other side (about one row).
- Pin in place if needed.
- Sew the overlapped edge to the other side, one stitch at a time.
- Tip: Don’t sew through the border—this makes it look nicer.
- Cut and weave in all ends—you’re all done!
I offer full support to help you with any questions or challenges you might have. Feel free to drop your comments in the section below or join our Facebook group, where I, along with my wonderful testers and community members, will be more than happy to assist you!