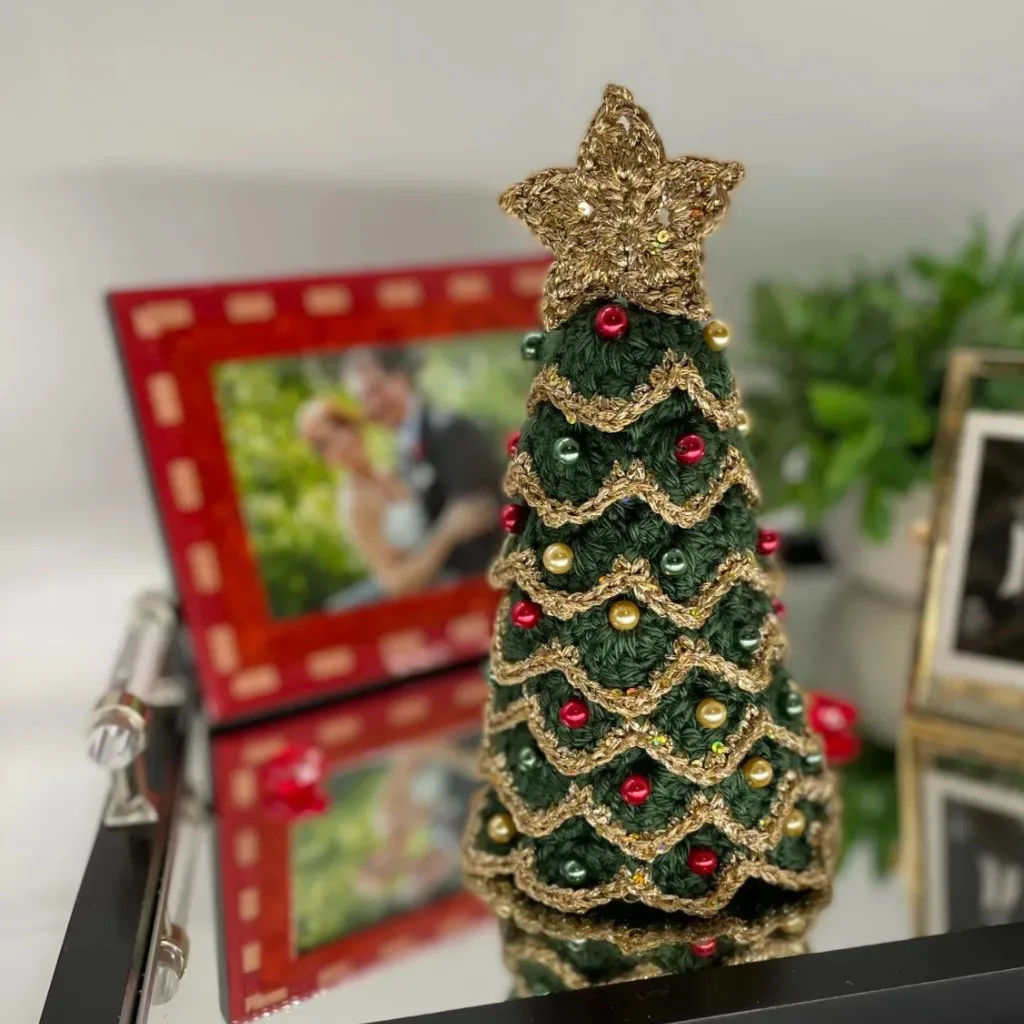
When selling crochet patterns or finished items online, great photos are everything! Before someone reads your description, checks reviews, or even thinks about adding your item to their cart, your photos are what grab their attention first. Knowing how to photograph crochet items in a way that showcases their beauty can be the key to turning a casual browser into a customer.
I remember when I first started selling my crochet patterns online—my photos were… okay. Not terrible, but definitely not eye-catching. I quickly realized that if I wanted to attract more buyers, I needed to improve how I photograph crochet items—making them sharper, clearer, and more polished!
Once I started putting more effort into my crochet photography, the traffic to my Etsy shop jumped by 35%! And the best part? I didn’t invest in a fancy camera or professional lighting. I just learned a few simple tricks to photograph crochet items beautifully—using nothing but my phone!
If you’ve been struggling to get the perfect shots of your crochet pieces in this blog post, don’t worry—I’ve got you covered! In this blog post, I’ll share some easy, pro-like photography tips to photograph crochet items in the best way possible—no expensive equipment needed.
Related: Crochet Tutorials
Before We Get Started
I just want to say thank you so much for stopping by The Crochet Village! This is my little corner where we can share the joy of crochet and create something truly special together. I’d really appreciate it if you could share this post—it helps me keep creating more free patterns for you!
And guess what? There are even more free patterns coming your way soon! Be sure to sign up for my emails so you don’t miss a thing.
Natural Light is Your Best Friend

You don’t need expensive studio lights to photograph crochet items beautifully—just good natural light! 🌞 I’m sure you already know how important lighting is, but do you know how to make the most of it? And when is the best time to capture that perfect, natural light for your crochet photography?
I love taking crochet garment photos outdoors whenever I can! A beautiful outdoor setting makes a design come to life. Of course, here in New England, it’s way too cold for my daughter to model a summer top right now! 😆 But when the weather cooperates, a modeled photo in a scenic setting is so much more eye-catching than a flat lay garment with props.
Pro tip: If you’re photographing crochet items outdoors, my best advice is to shoot in the shade on a sunny day and always keep the sun behind you. Cloudy days, early mornings, and late afternoons are perfect for soft, even lighting that makes your crochet work shine!
For smaller crochet items, I like to set up near a bright window—usually in the morning or late afternoon when the light is softer. If it’s too bright, I use a curtain to diffuse the light. It really makes all the difference! And here’s a little tip—keep the window behind you when taking your photos for a natural crochet photography.
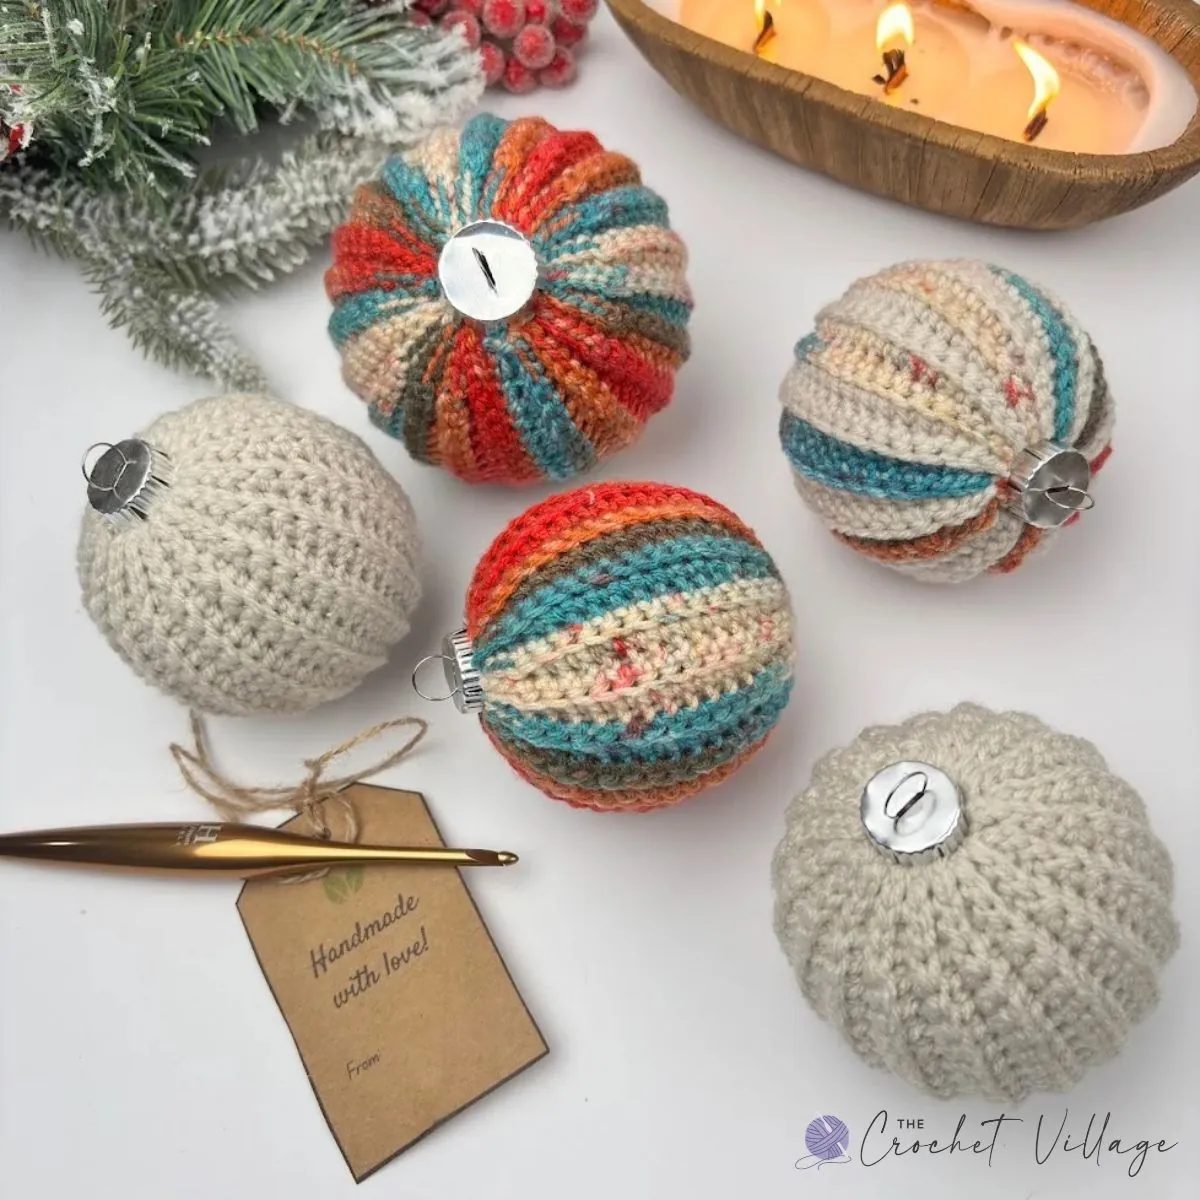
How to Use a Ring Light to photograph your crochet items
Ring lights are a fantastic option too! They’re affordable and super convenient, especially when outdoor crochet photography isn’t an option (whether the weather’s not cooperating or you’re just feeling lazy to go outside, LOL).
I often use a ring light to capture crochet items in progress, and now that I’ve learned how to use it properly, I absolutely love it! I’ve set up a small corner in my basement with a large table, my light, and some props—it’s so convenient to take photos whenever I need them!
Pro tip: The best advice I can give you when using a ring light is avoid using a background with a glossy finish. The reflection can cause your crochet photos to look gray or yellowish. Instead, I’ve found that wooden trays or light-colored pine needle trays work wonders.
Another trick? Diffusing the light! Try draping a sheer white fabric over the ring light or adjusting its temperature to create a natural glow that enhances your crochet designs.
So, if you’re using artificial lighting to photograph your crochet creations, make sure your background isn’t too shiny or reflective. Play around with the settings until you get the perfect lighting for your crochet photography.
Here’s the link to the ring light I use from Amazon, and I highly recommend it! It’s been a game-changer for my photos.


How to Take a Good Crochet Photograph Using Your Phone
You don’t need a fancy camera when your phone already has everything you need! Today’s smartphones are packed with amazing features that make it super easy to take beautiful photos of your crochet items.
Here are a few tips to help you improve your shots… Honestly, once I figured out a few simple tricks, the photos of my crochet pieces improved so much!
Get your phone ready
- Clean Your Camera Lens: It might seem basic, but it’s so important! A dirty lens can blur your photos. Make sure your phone camera is clean and free from fingerprints for the sharpest pictures. 😊
- Turn Off the Flash: Flash creates harsh, unflattering lighting that won’t do your crochet pieces justice. Stick to natural light for the best results.
- Avoid Digital Zoom: Digital zoom can make your photos blurry. Instead, move closer to your item or crop the photo afterward for a much sharper and clearer shot!
- No Filters: Keep things natural! Capture your crochet items in well-lit conditions without filters, letting the true colors shine. Afterward, you can tweak the brightness or sharpness to enhance the details.
Choose a simple background
- The Simpler, the Better: A cluttered background can take attention away from your beautiful crochet work. If you like using props, keep them minimal and relevant to the vibe of your piece—less is more!
- If you are using artificial light, make sure your background isn’t shiny and reflective.
- Style Your Photos: Arrange your item neatly and esthetically to make sure your photos look polished and professional.
- Focus on the Crochet: Make sure the focus is on your crochet piece, not the background or surroundings. The crochet item should be the focus of the photo!
Snap the Perfect Shots
- Take Multiple Shots: Snap a few photos from different angles! Try shooting from the top, from the side, or at an angle. Play around with different props, and later you can choose the best ones.
- Capture Close-Ups: Focus on showing the details and texture of your crochet item.
- Add Something for Scale: Including something in the frame for size reference—like draping a large blanket over a chair or holding a tiny amigurumi in your hand—helps give your viewer a sense of size and dimension.
- For Wearables and Bags: Photos with a model are the best way to showcase how the piece fits and moves, especially for wearable items!
- Remember, taking the perfect crochet photo might not happen on the first try—and that’s totally okay! You can always tweak your photos afterward. The more you practice, the better and easier it gets! 😊

How to Edit Your Crochet Photos
You can tweak, crop, and enhance your images to make them shine! Editing can really take your photos to the next level, but I like to keep it light. I usually brighten things up a bit if needed, blur a busy background, and zoom in to highlight the details. Then, I add my logo to protect my work and resize the image for different platforms—whether it’s Etsy, Instagram, or Pinterest—so it looks its best everywhere.
Pro Tip: The goal is to enhance the photo without changing the true colors of your crochet pieces. Keep it real—make sure it doesn’t look fake! My advice is simple: Edit, but don’t overdo it!
I use Canva for editing and resizing. It has an Auto Edit feature that’s super easy to use, but you can also manually adjust brightness, sharpness, and color temperature if needed. Plus, I can schedule posts directly to Facebook, Instagram, and Pinterest from one place, which has made my life so much easier!
Canva has a paid version, but honestly, the free version is more than enough if you’re just starting out. It’s got all the essential tools to enhance your crochet photos without any extra cost.