
Looking for a free small 3D Christmas tree pattern? Grandma’s Christmas Tree is an easy, beginner-friendly crochet project that’s perfect for holiday decorating. This charming mini crochet Christmas tree works up quickly and looks adorable on shelves, desktops, or anywhere you need festive cheer.

Looking for a free, small 3D Christmas tree pattern that’s both charming and beginner-friendly? You’re in the right place! I’m so excited to share Grandma’s Christmas Tree — a nostalgic crochet project that brings back all those cozy holiday memories from my childhood.
This little crochet Christmas tree is the same one my grandma used to make every year. I’ve kept her original design but added a few modern touches to make it easier for beginners to follow. The result? A quick, adorable 3D crochet Christmas tree that’s packed with handmade charm — perfect for adding a festive touch to your home this season.
This easy crochet Christmas tree pattern is perfect for decorating your desktop, shelves, tabletop, or any cozy corner that needs a touch of holiday crochet magic.
Whether you’re new to crochet Christmas decorations or a seasoned crocheter looking for a quick Christmas crochet project, this mini crochet Christmas tree works up fast and looks absolutely delightful.
Keep reading to find the free pattern, or if you prefer a printable add-free PDF, you can find it on Etsy, Ravelry, and my online store!

How to Make This Easy Small 3D Crochet Christmas Tree
This mini crochet Christmas tree might look complicated, but it’s actually one of the easiest crochet Christmas patterns you’ll ever try!
All you need to do is crochet a long piece using simple, basic stitches, wrap it around a 6-inch foam cone, and secure it with a bit of glue — that’s it! Then comes the fun part: decorating. You can add beads, mini ornaments, ribbon, or even tiny LED lights — the possibilities are endless!
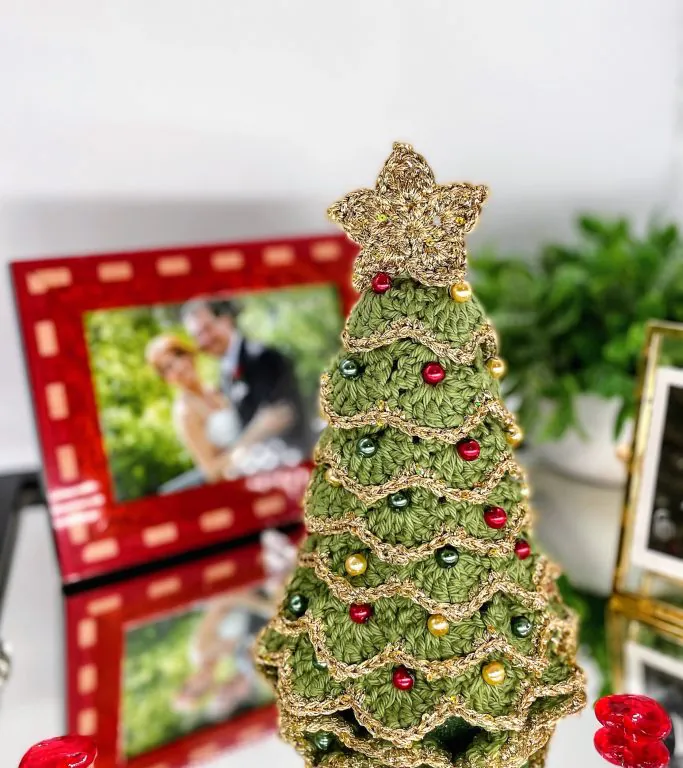
For mine, I added a touch of gold edging and some glass beads, but honestly, this beginner-friendly crochet project looks gorgeous no matter how you choose to style it.
All you need is some #4 worsted-weight yarn — I used Loops & Threads Soft and Shiny in green — plus a bit of metallic yarn (optional) for the edging and the star to add a festive sparkle. But feel free to use any contrasting yarn that fits your style!
You’ll also need a 6-inch foam cone (available at most craft stores or on Amazon) and your favorite decorations.
This handmade Christmas decoration is quick, customizable, and absolutely perfect for beginners!
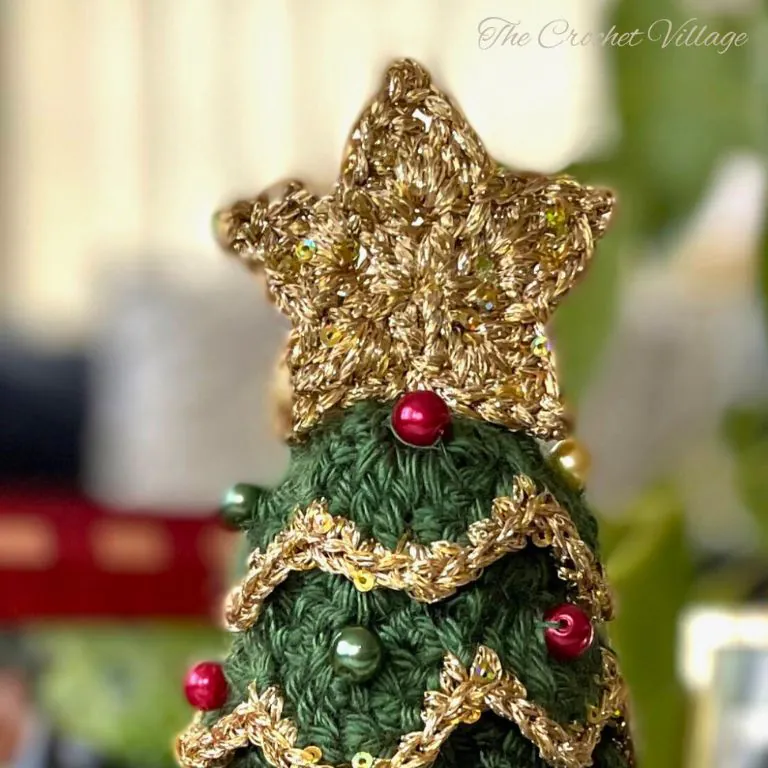
Free Crochet 3D Christmas Tree Pattern- Start here
Recommended Yarn:
- Yarn A: Loops & Threads Soft and Shiny Yarn, #4 worsted weight yarn. Color shown: Parsley
- Yarn B: Charles Stella Yarn in the color Sunbeam was used for the edging and the star. Unfortunately, this yarn has been discontinued. You can substitute it with any metallic yarn — just double the strand if it’s too thin. Yarn Bee Bejeweled Sequin Yarn and Hobii Cocktail “deluxe are good options.
Yardage: About 115 yds
Finished Dimension: 8“ in height
Yarn Substitution
These yarns are a close match, but you should always swatch:
- Caron Simply Soft Yarn
- Yarn Bee Soft Secret
- Silky Soft Yarn by Loops & Threads
- Lion Brand Yarn Pound of Love
Crochet Hook: (G) 4mm
Other Materials
- Christmas glass beads: 8mm. Similar beads on Amazon.
- Foam cone: 2.75 x 6 inches
- If you are gluing the bead, you will need a glue gun or super glue; if you are sewing the bead on, you will need a needle and thread in the same color as Yarn A.
- Tapestry needle: to weave in ends.
- Pins and a toothpick (for the star)
Gauge
- 4″ = 5 clusters, measured in Row 1
- 2″ = 3 rows
Abbreviations
- CH: Chain
- ST: Stitch
- SLST: Slip stitch
- SC: Single crochet
- DC: Double crochet
- TR: Treble
- YO: Yarn over
- SP: Space
- Rnd: Round
- Rep: Repeat
Pattern Notes
- This pattern is written in US terms.
- Skill level: Intermediate.
- For the edging and star, use any gold yarn—double it if it’s too thin.
- Beads were glued in, but you can sew them on if preferred.
- The yarn used is #4 weight, but it’s on the thinner side.
Special Stitches
Picot: CH3 from the point where you want to add the picot stitch, SL ST in the 3rd CH from the hook. You have your Picot stitch.
Grandma’s Christmas Tree: Free Small 3D Crochet Pattern
This free, small 3D crochet Christmas tree pattern has everything you need to make Grandma’s charming little tree. In this post, you’ll find the complete materials list and detailed step-by-step crochet instructions to guide you through every stitch of this easy Christmas crochet project.
If you’d prefer a convenient, printable ad-free PDF pattern, you can grab a copy for a small fee in any of my shops—links are below.
Prefer A Printable PDF?
Treat yourself to the ad-free, beautifully formatted version of this design for a small fee!
Step 1- Crochet the body
With yarn A, chain 144.
Row 1(RS): DC in 6th CH from the hook, *CH1, skip next 2 CH, (DC, CH2, DC) in the next CH,* rep *to* across ending with (DC, CH2, DC) in the last CH, turn.
Row 2: CH3 (counts as a DC), (DC, CH2, 2DC) in the next CH-2 sp ,*CH2, (2DC, CH2, 2DC) in the next CH-2 sp,*rep *to* across ending with CH2, (2DC, CH2, 2DC) in the starting CH-6 sp, turn.
Row 3: CH1, (2DC, 2TR, 2DC) in the 1st CH-2 sp,*SC in the next CH-2 sp, (2DC, 2TR, 2DC) in the next CH-2 sp,*rep *to* across ending with a SC into top CH3. Fasten off. Cut your yarn.
Step 2 – Crochet the edging
With the right side facing, slip knot with yarn B, SC in 1st DC, SC in next 2 ST, *(SC, HDC, SC) in the space between next 2 TR, SC in next 6 ST,* rep *to* across, ending with SC in the last 2 ST, fasten off.
Step 3 – Crochet the Star
With yarn B, make a magic circle.
Rnd 1: CH4 (counts as DC+CH1), (2DC, CH1) in the circle x 4 times, DC in the circle, join with a SL ST into the 3rd CH of starting CH4. Close the magic circle by pulling the yarn, secure it with a couple of knots.
Rnd 2: CH1,*(HDC, DC, TR, picot (see special stitches), TR, DC, HDC) in the next CH-1 sp, SL ST in between the next 2DC, * rep * to* around, join with a SL ST into the CH1, fasten off.
Step 4 – Assemble the tree
Attach the fabric to the cone
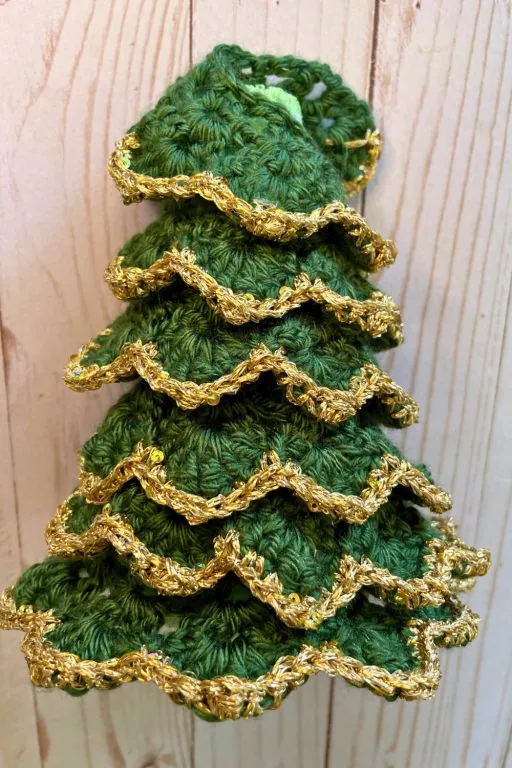
- Starting about 1½” from the bottom of the foam cone, use a pin to attach the end of your crochet fabric, then wrap the fabric around the base of the cone in a full circle and secure it with another pin.
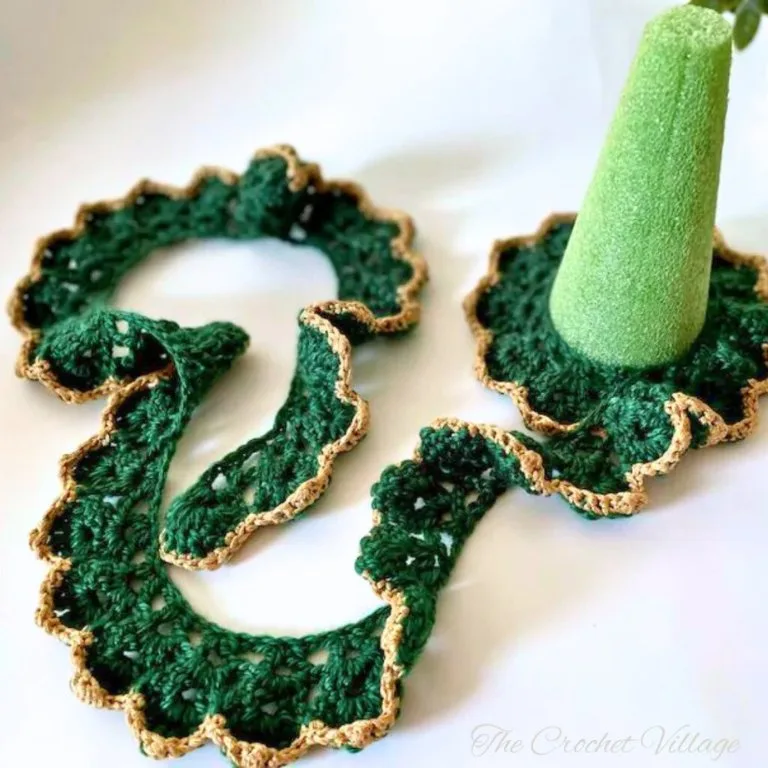
- Continue wrapping the fabric upward in a spiral to cover the cone. If you have extra fabric, adjust and reposition the layers until they fit evenly.
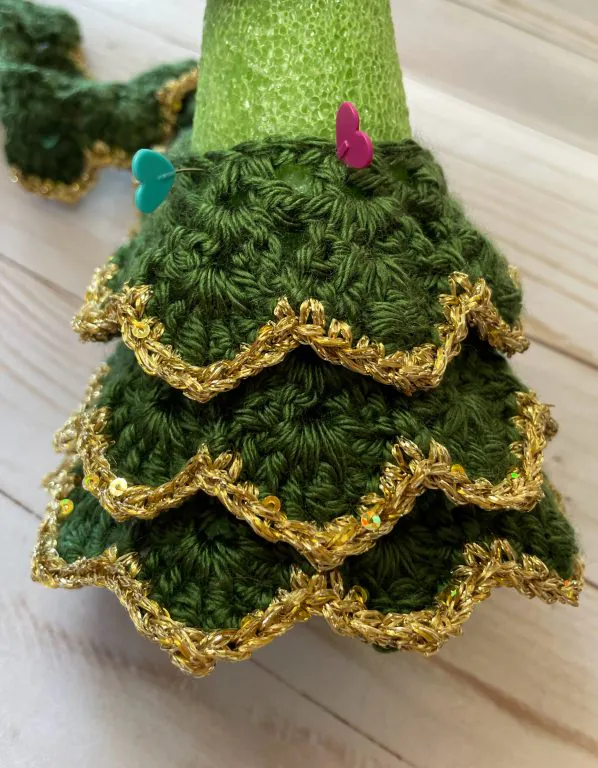
- Make sure the layers are symmetrical and that the top of the cone is fully covered. Use pins as needed to hold everything in place.
- Once you’re happy with the placement, glue the foundation chain to the cone—starting from the bottom—using small drops of glue. Remove the pins as you go, and allow it to dry completely before decorating.
Attach the beads
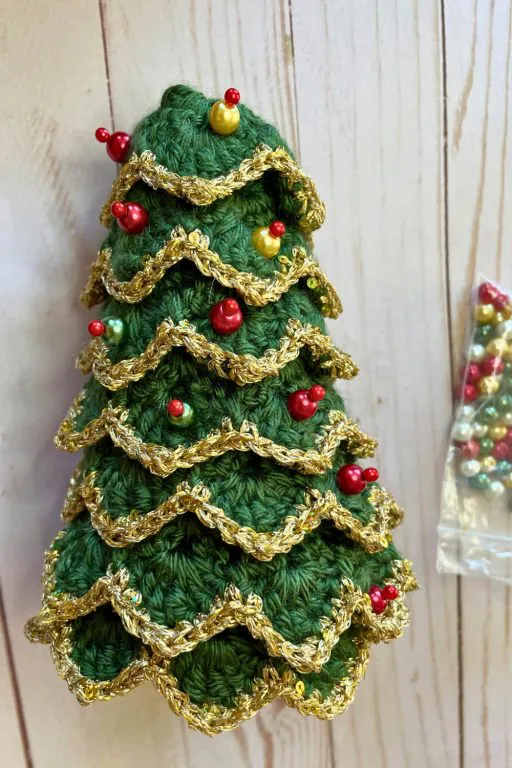
- Pin the beads to the tree, adjust their positions, and alternate the colors to your satisfaction.
- Remove one pin at a time to glue or sew in the beads.
- If you are sewing the beads, use the same color thread as the yarn.
- You can also stitch up the visible wholes at the top of the tree.
Attach the star
- Cut the top end of a toothpick, then tightly wrap the gold yarn around it. Secure with a few drops of glue. Let it dry.
- Glue the toothpick to the back of the star, referring to the picture below. Let it dry.
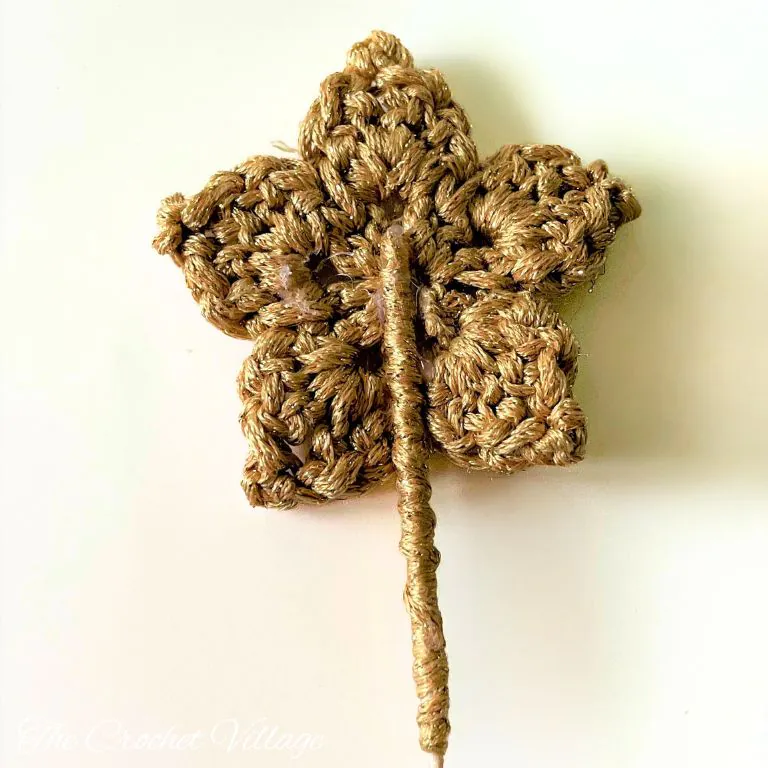
- Stick the toothpick to the top of the tree. You may add a drop of glue to secure it, and you are all done!
I offer full support to help you with any questions or challenges you might have. Feel free to drop your comments in the section below or join our Facebook group, where I, along with my wonderful testers and community members, will be more than happy to assist you!




For the edging where it says to do (SC,HDC,SC) in next stitch ( in between the 2 TR). so does this mean to skip the two TR actual stitches and do the () sts actually between the two TRs ?
Hi Sue,
Yes — you’ll work the (SC, HDC, SC) group in the space between the next 2 TR stitches.