
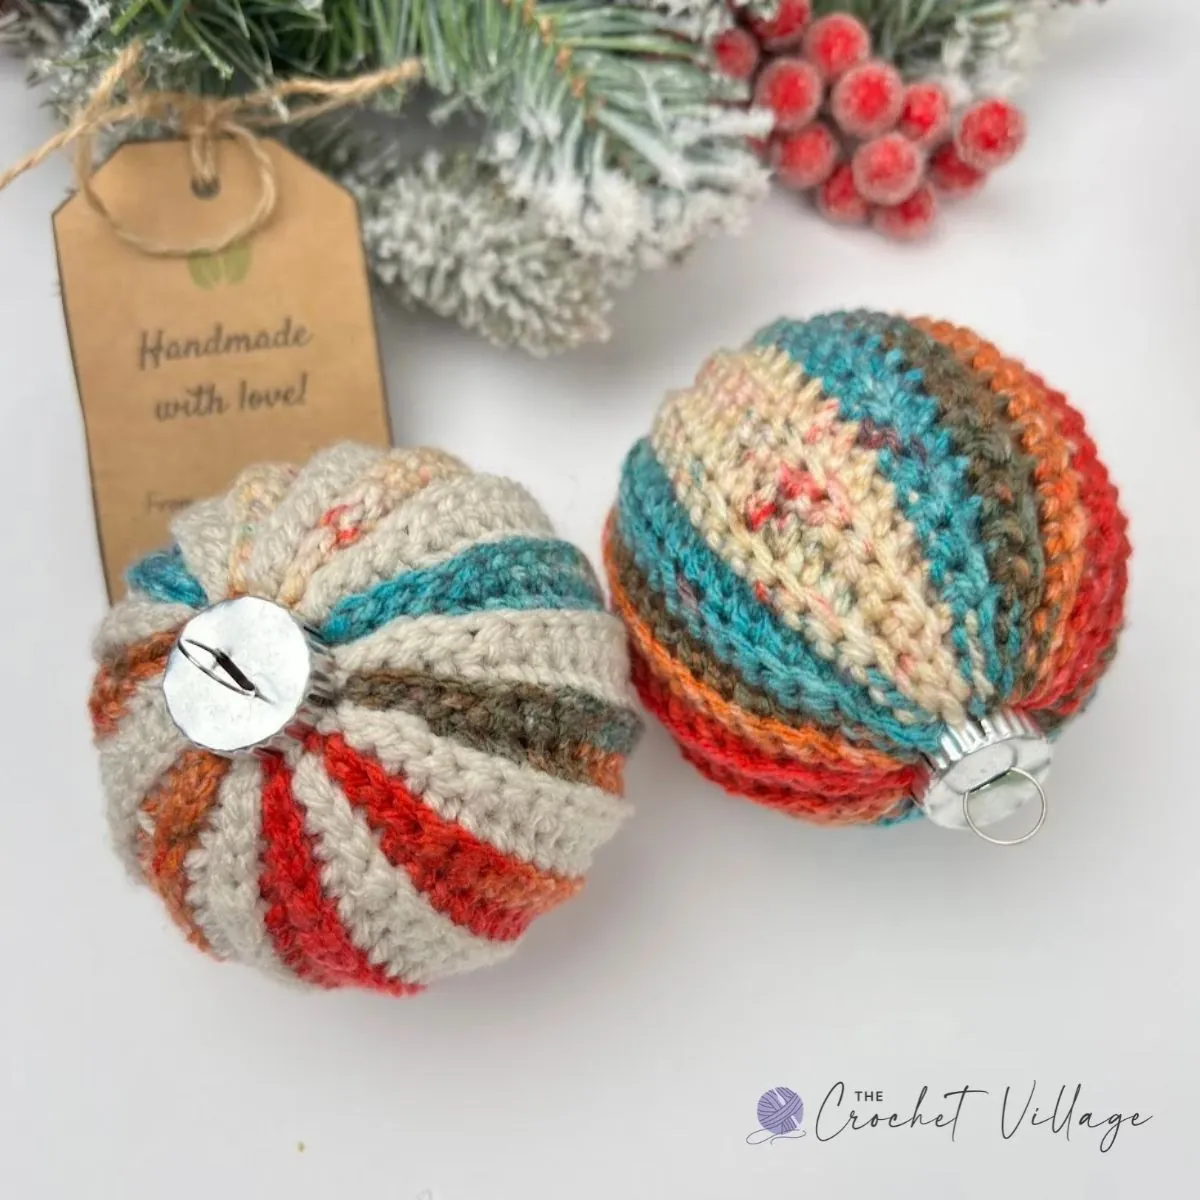
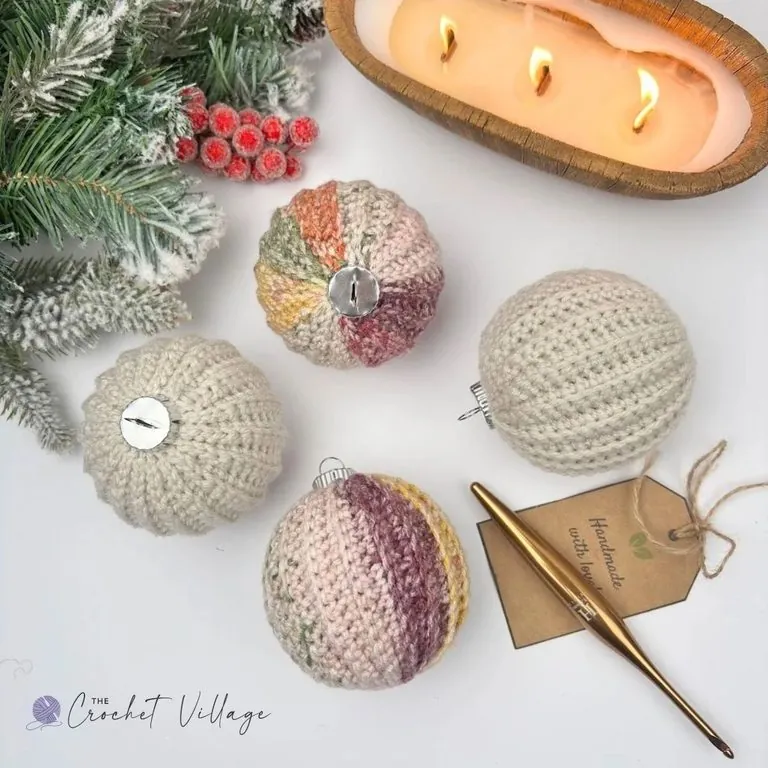
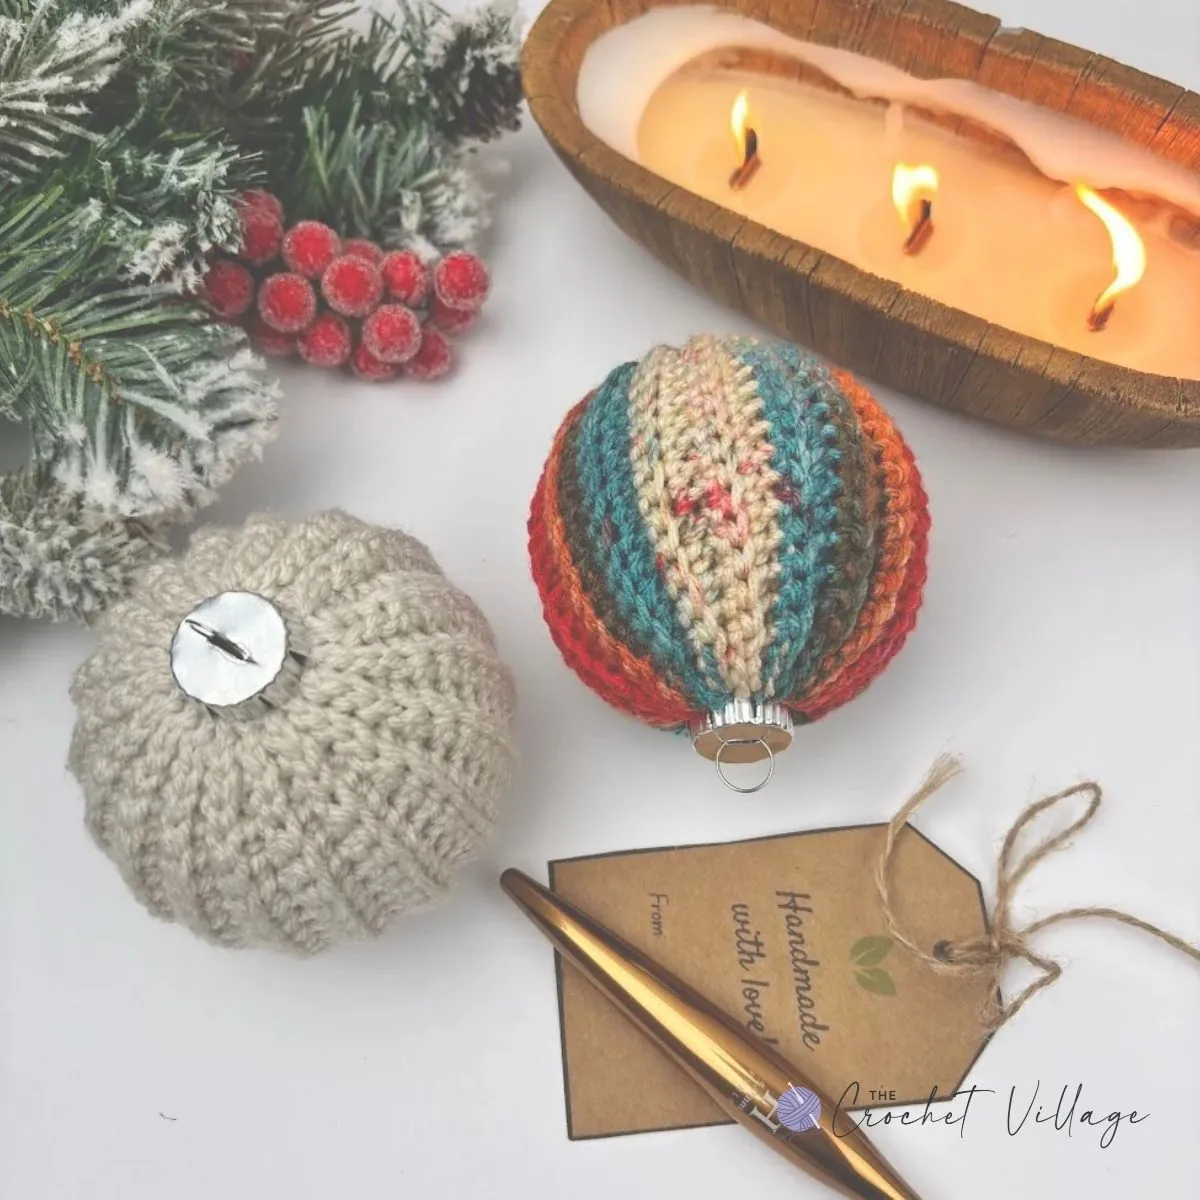
Crochet your own Christmas bauble ornament covers with this easy, free crochet pattern. The Jolly Bauble is worked flat in simple rows, gently shaped so it hugs the ball with no bulk at the top or bottom, then wrapped around a plain plastic ornament. It’s written in 2 sizes, and adjusts easily to fit whatever baubles you already have — a perfect little project for using up leftover yarn and giving your tree decor a brand new look.
Give Your Old Ornaments a Whole New Look
Do you have a box of old ornaments that have gone a little faded and tired? And a bin of scrap yarn — solids, variegated, whatever’s left over from your last project?
If you can crochet a single crochet, a slip stitch, and count your rows, you can make these. That’s genuinely all it takes.
The Jolly Bauble Ornament Cover might be the easiest crochet Christmas ornament pattern out there. It’s worked flat in rows with just a little gentle shaping, so it hugs the ball smoothly when you wrap it around — no working in the round, no magic ring, no fussy stitches. Wrap it, close it up, and you’re done.
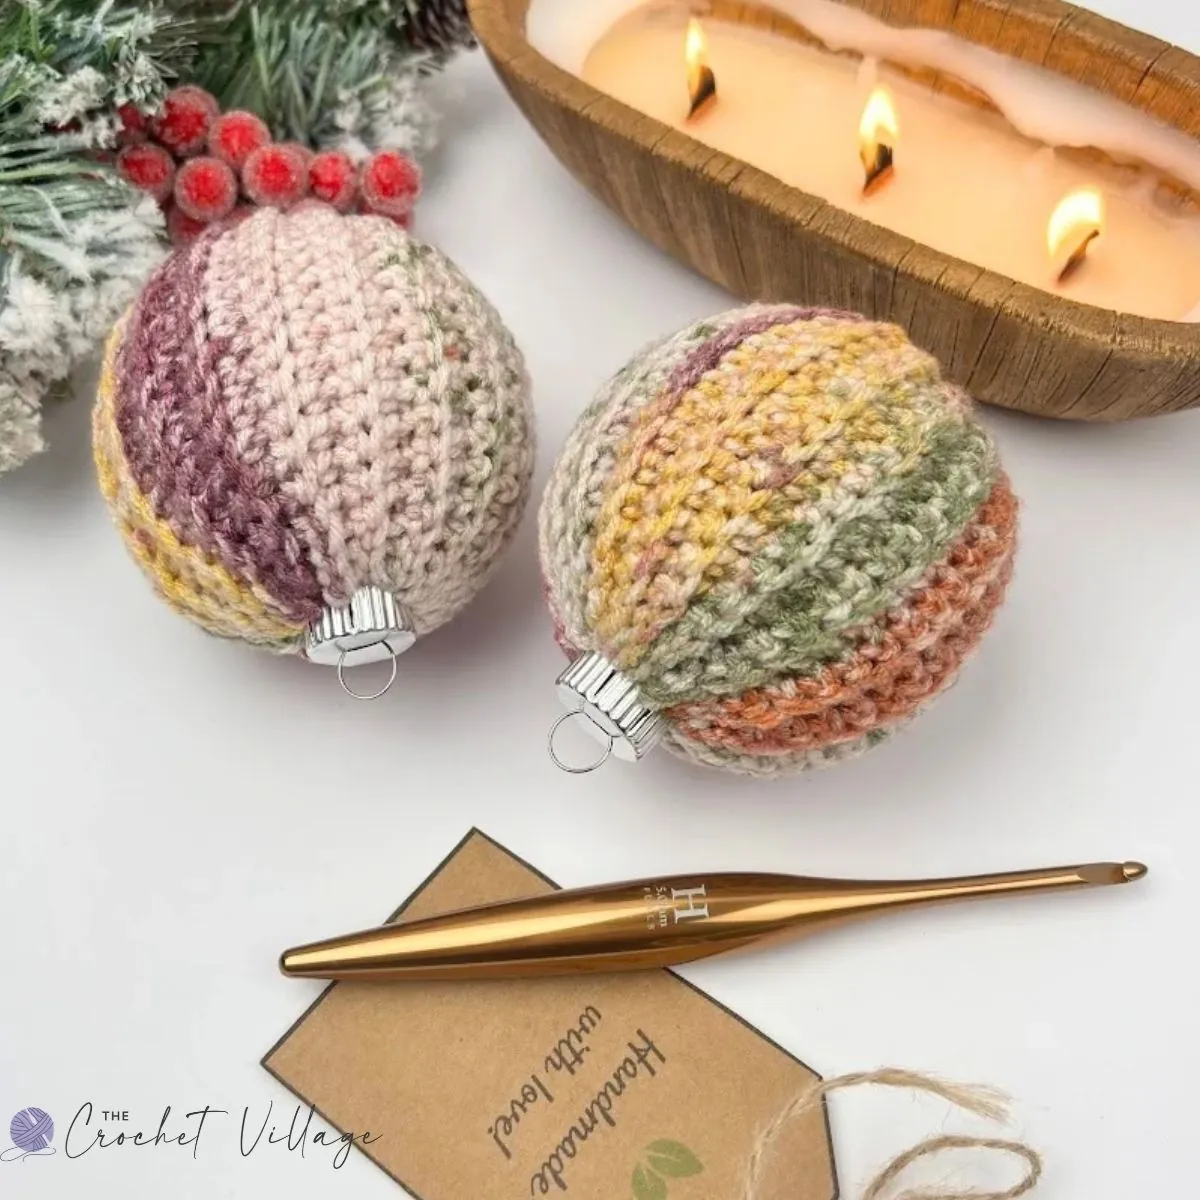
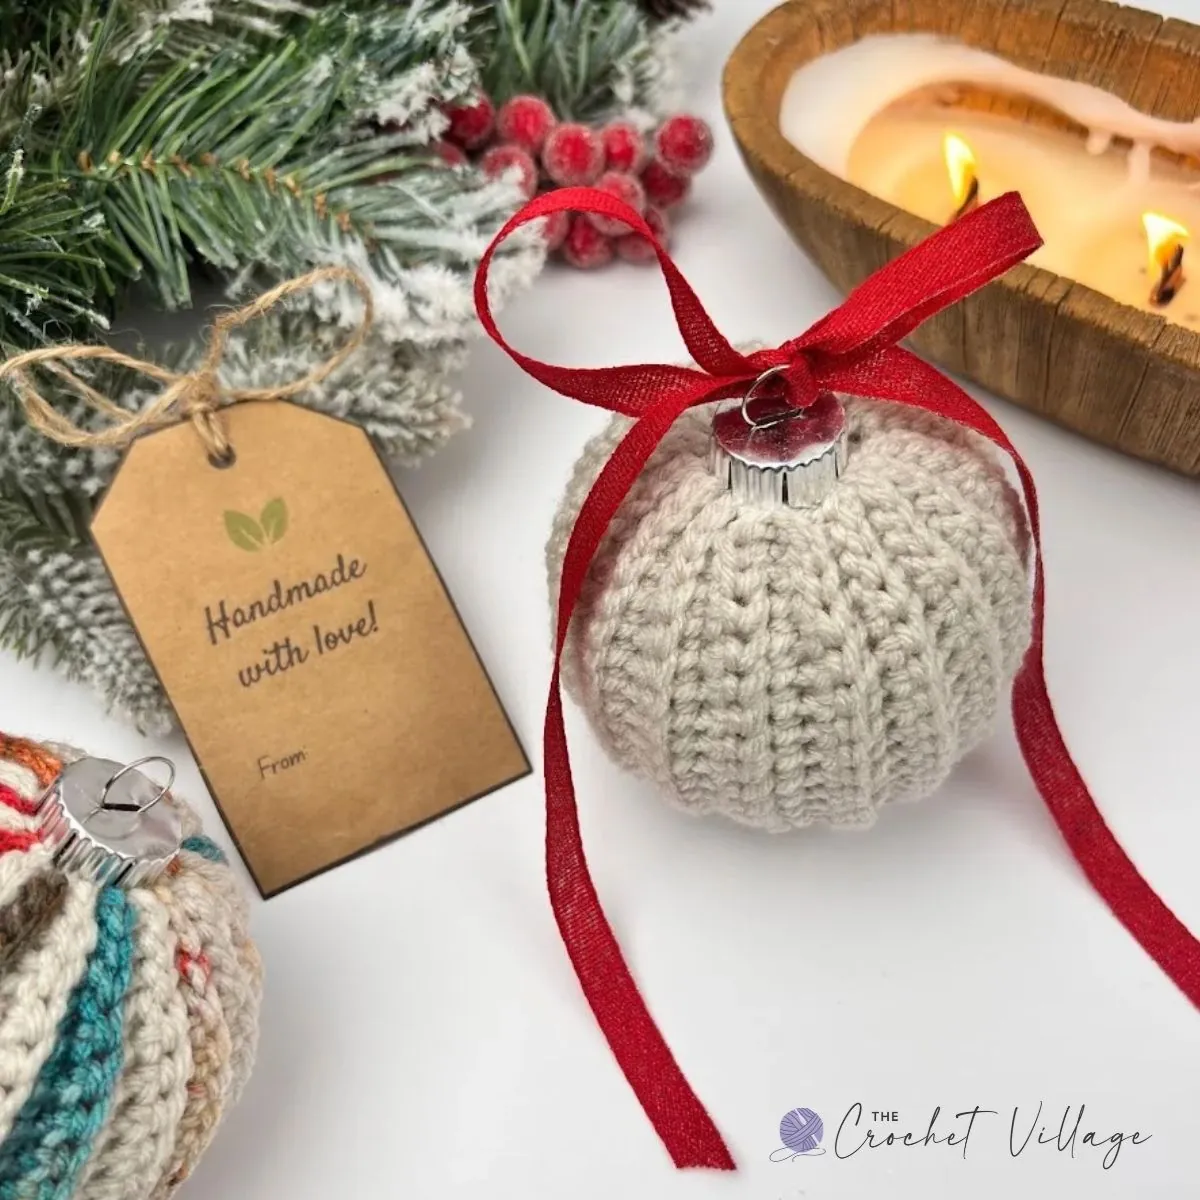
I made mine in a bold variegated yarn that gave them a lovely vintage feel, and added a little ribbon at the top for extra flair. Then I got completely carried away and ended up making a whole batch — so now I have gifts ready for neighbors, teachers, coaches, and coworkers. Handmade, inexpensive, and genuinely lovely to receive.
Sizes and Yarn — Make It Fit Any Ornament
I’ve written the pattern in two sizes — small, which fits a 3.25″ bauble, and large, which fits a 4″ one. Both use #4 worsted weight yarn, the kind most of us already have half a dozen partial skeins of.
That said, ornaments come in all sorts of sizes, and so does everybody’s stash. So I’ve also included instructions for adjusting the cover to fit any bauble, in any yarn weight. I’ll walk you through taking the measurements so your cover fits perfectly whatever size you’re working with.
Everything You Need to Make Your Jolly Baubles
Below you’ll find everything you need to make your own crochet ornament covers — the materials, the sizing, how to measure your baubles, and the full free pattern. Just scroll down and it’s all there.
If you’d rather have a clean, ad-free PDF you can print or save to your phone, a beautifully formatted version is available in all my shops for a small fee — linked below.
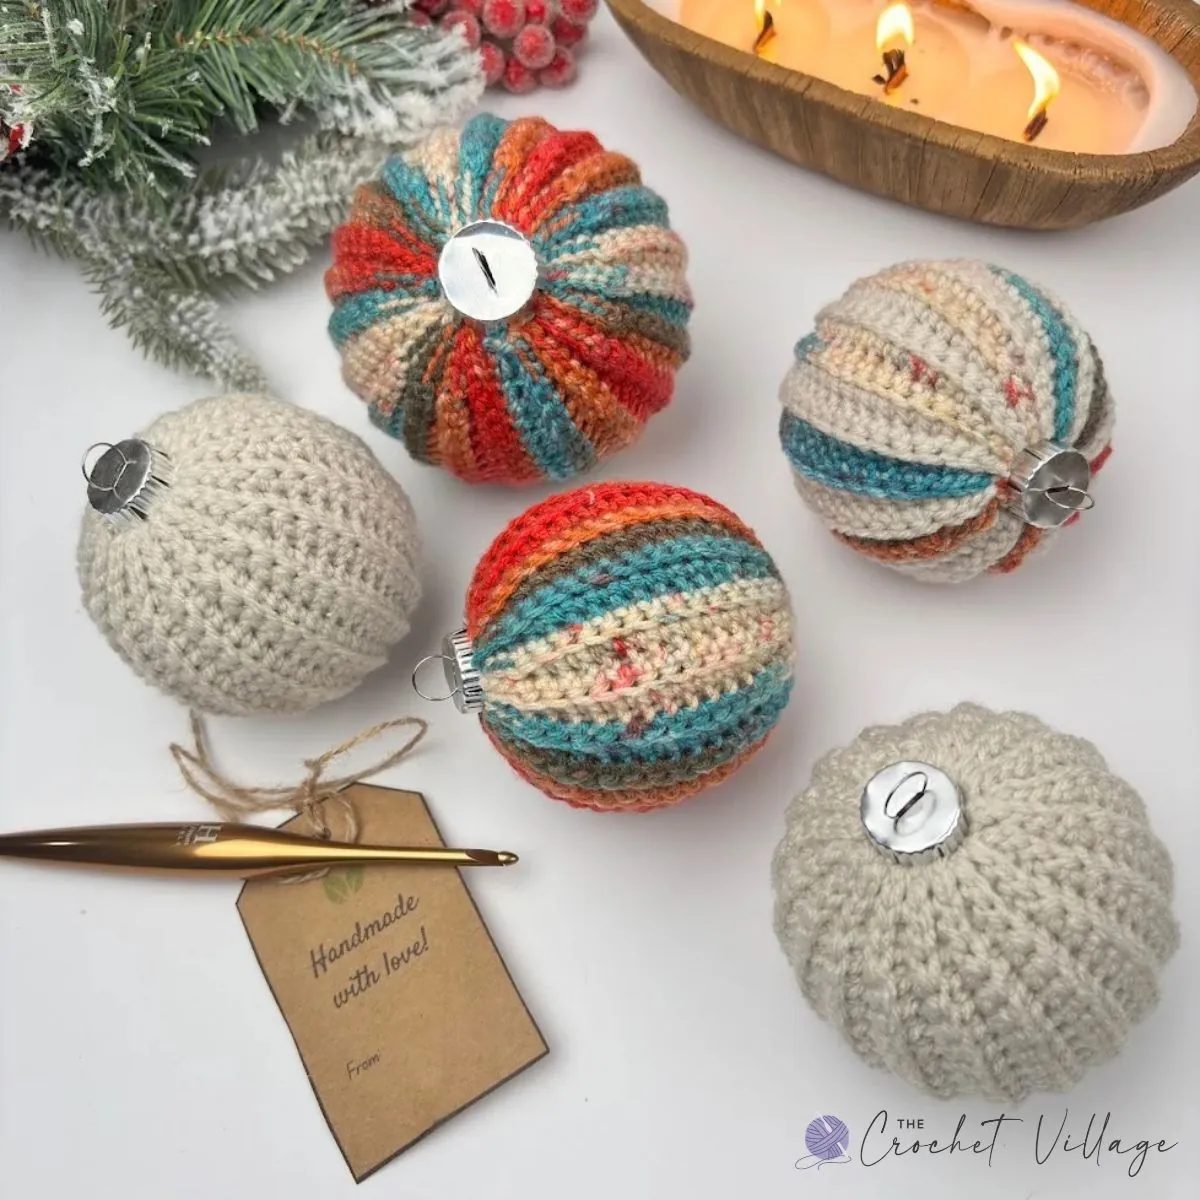
Prefer A Printable PDF?
Treat yourself to the ad-free, beautifully formatted version of this design for a small fee!
Christmas
Free Crochet Ornament Cover Pattern — Start Here
Recommended yarn: Any #4 medium-weight yarn. I used: Hobby Lobby’s I Love This Yarn. Colors shown:
In some photos I used: Yarn Bee Soft & Sleek. Color shown: Tropical Tiki
Yardage: Approximately 40 yd (37 m) for the small size and 60 yd (55 m) for the large size.
Yarn subsitution
- Red Heart Super Saver Bitty Stripes
- Lion Brand Yarn Mandala Ombré
- Lion Brand Yarn Ferris Wheel Yarn
- Bernat Super Value Yarn Ombre
Crochet hook: (G)4.5 mm
Gauge: 2” square =10 rows and 8 SC
Other materials
- Tapestry needle
- Scissors
- 4” Plastic Ball Ornaments
- 3.25″Plastic Ball Ornaments
Abbreviations
- CH: Chain
- ST: Stitch
- STS: Stitches
- SC: Single crochet
- SLS: Slip stitch
- BLO: Back loop only
- RS: Right side
- WS: Wrong side
Pattern notes
- Terminology: Written in US terms
- Difficulty: Easy
- Construction: The pattern is crocheted in rows to create a rectangular shape, then sewn around the plastic ornament.
- Sizes: The pattern is written for Small and Large ornaments measuring 3.25″ and 4″ in diameter.
- I used a slightly smaller hook to create a tight, snug-fitting fabric and make the ribbed texture more defined.
Adjusting the size
You can make this pattern using any yarn weight and customize it to fit any bauble size.
- Make a foundation chain that stretches from the center of the bauble’s bottom to its top opening. Stretch the chain slightly for a snug fit.
- Crochet a rectangle using the pattern.
- Continue until the rectangle wraps snugly around the bauble.
- Assemble and close the cover as instructed in the pattern
Step 1- Crochet the Bauble Cover
Small Size:
CH 21 to make the foundation chain.
Row 1: (RS) SL ST in the 2nd CH from the hook and in each of the next 2 CHS. SC in each of the next 14 CHS, then SL ST in each of the last 3 CHS. CH 1 and turn. (20 STS)
Row 2: (WS) SL ST BLO in each of the first 3 STS, SC BLO in each of the next 14 STS, then SL ST BLO in each of the last 3 STS. CH 1 and turn. (20 STS)
Rows 3–36: Repeat Row 2. At the end of Row 36, fasten off, leaving a long tail for sewing.
Large Size:
CH 25 to make the foundation chain.
Row 1: SL ST in the 2nd CH from the hook and in each of the next 3 CHS. SC in each of the next 18 CHS, then SL ST in each of the last 4 CHS. CH 1 and turn. (24 STS)
Row 2: SL ST BLO in each of the first 4 STS, SC BLO in each of the next 18 STS, then SL ST BLO in each of the last 4 STS. CH 1 and turn. (24 STS)
Rows 3–44: Repeat Row 2. At the end of Row 44, fasten off, leaving a long tail for sewing.
Step 2 — Assemble the Ornament
Close the bottom: With the WS facing, use a tapestry needle and the long tail to weave through the row-end STS along one long edge of the rectangle. Pull the yarn tightly to close the opening, then secure it with a knot. Do not cut yarn. This will form the bottom of the ornament cover.
Sew the Side
- Align the first and last rows. Sew the edges together, catching one ST from each edge, stopping halfway up.
- Remove the cap from the ornament and insert the plastic bauble into the crocheted cover. Continue sewing the side seam to the top, then secure with a knot.
Close the Top: Weave the yarn through the row-end STS around the top opening. Pull tightly to close, then secure with a few knots.
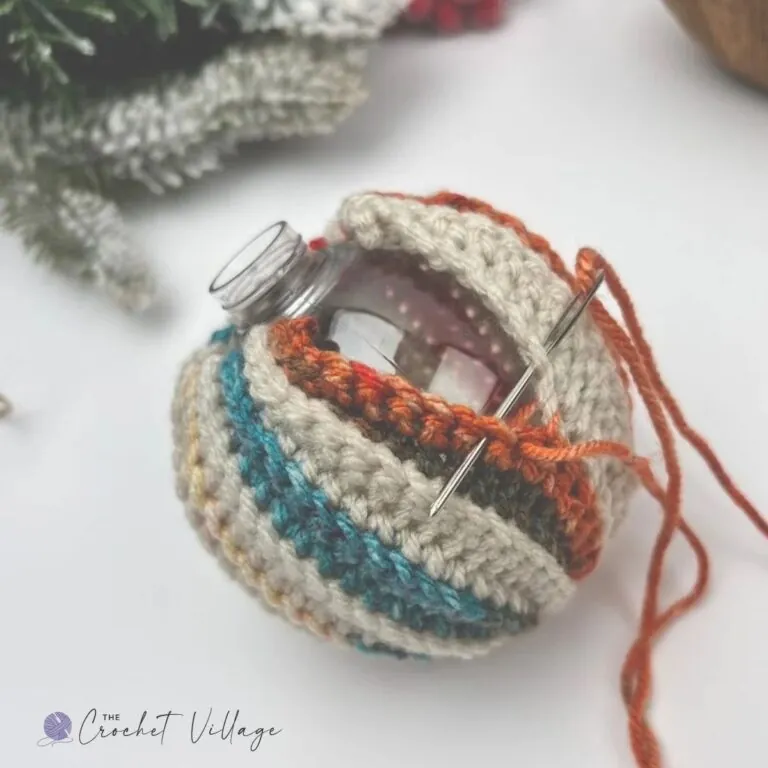
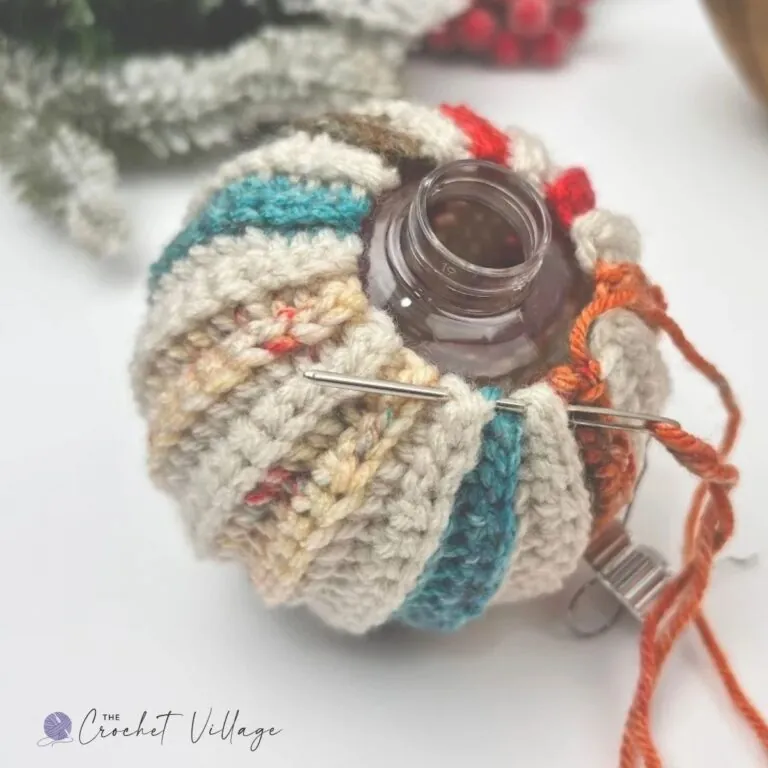
Finishing: Cut the yarn and weave in all ends. Replace the ornament cap. If desired, embellish the ornament with a ribbon.
I offer full support to help you with any questions or challenges you might have. Feel free to drop your comments in the section below or join our Facebook group, where I, along with my wonderful testers and community members, will be more than happy to assist you!




I wish you would allow us to print or copy this pattern. I tried to do it but could not. I like to take the patterns with me in the car etc and work on them. Do you allow them to be copied or am I doing something wrong.
Hi Peggy, thank you for your message! I totally understand—it’s so helpful to have a printed pattern when you’re crocheting on the go.
I don’t allow copying or printing directly from the blog. The free patterns are meant to be viewed on the site, where I earn a small amount from ads. That helps me cover the cost of running the blog and allows me to keep offering free patterns.
If you’d like a printable, ad-free version, I offer a PDF in all my shops for a small fee. Thank you for understanding and for supporting my work! 🧶💕