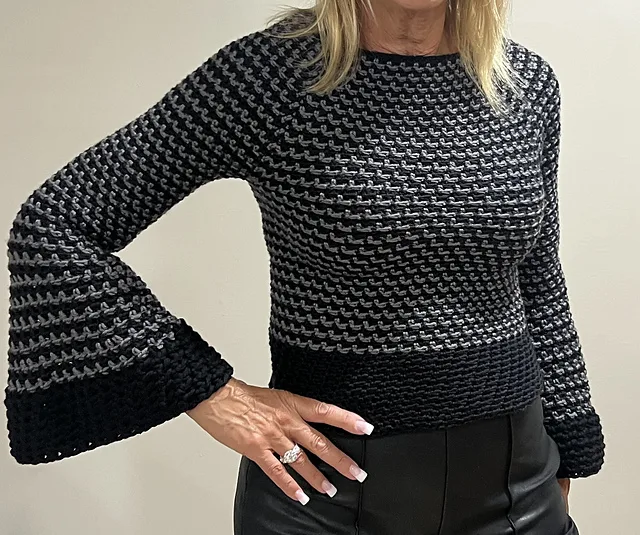
Looking for a top-down, seamless free crochet raglan sweater pattern that’s easy to make for a cozy and stylish long-sleeve sweater you’ll love to wear? Look no further—the Amber Sweater is a fantastic choice for winter crochet projects!

This easy crochet pullover is designed to be warm, comfortable, and super simple to whip up, with a free step-by-step sweater tutorial that’s beginner-friendly.
With sizes ranging from XS to 2XL, this pattern has been thoroughly tested for a great fit for everyone. Plus, I’ve included extra instructions to help you tweak the pattern for your measurements.
The Amber Sweater crochet pattern offers plenty of color options, allowing you to personalize your creation to match your unique style.
Keep reading to find the free pattern, or if you prefer a printable add-free PDF, you can find it on Etsy, Ravelry, and my online store!
You may also like: Crochet Sweaters – How to photograph your crochet items

Choosing the Perfect Yarn for Your Amber Sweater
To make the Amber Sweater, the yarn choice and colors are endless! This free raglan sweater crochet pattern gives you the freedom to use your favorite #4 medium worsted weight yarn, preferably in a variegated yarn and a matching solid color for a fun color blend. Solid color yarn works beautifully, too! 😊
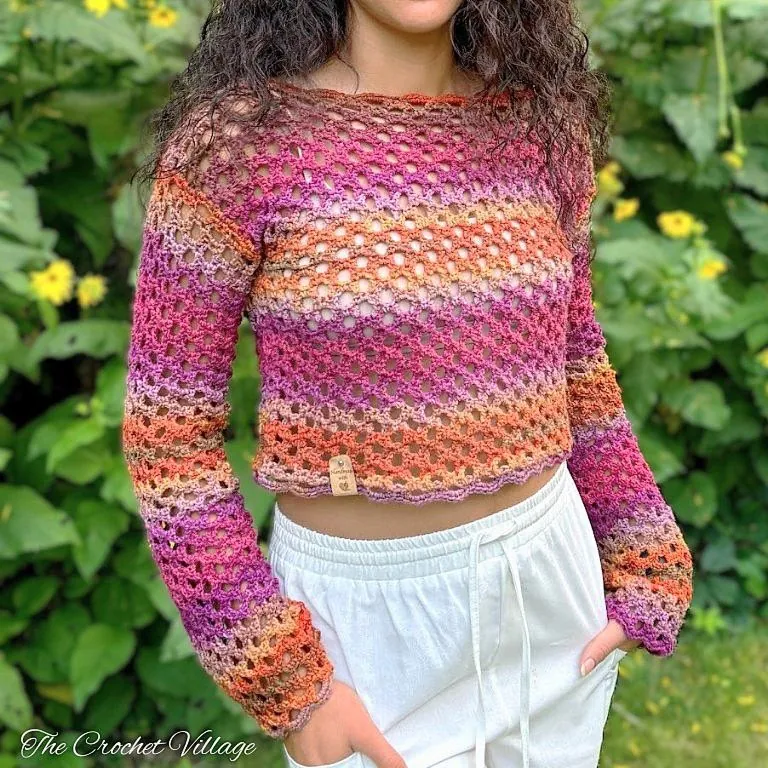
Check out the amazing sweaters my testers made to see the yarn and colors they used—get some great inspiration and ideas for your unique creation!
Free Crochet Raglan Sweater ~ Let’s Get Started
Recommended Yarn: 🧶I Love This Yarn #4 worsted weight yarn, colors shown:
- Linen: Yarn A.
- Royal Gorge: Yarn B.
Yarn Substitution: These yarns are a close match, but you should always swatch.
Yardage: Depends on the size you are making; see sizing table for details.
Crochet Hook: (J) 6 mm or the needed hook to meet the gauge.
Gauge: 4” square=12 rows and 13 ST
Other Materials
- Tag: Faux leather tags
- Stitch markers.
- Measuring tape.
- Tapestry needle.
- Scissors.
Abbreviations
- CH: Chain
- ST: Stitch
- SL ST: Slip stitch
- HDC: Half double crochet
- V-ST: V-Stitch
- RS: Right side
- SP: Space
- Rep: Repeat
Special Stitches
- V-Stitch (V-ST): Place *HDC, CH 2, HDC* in the ST. Note: After the 1st row, place your V-ST in the CH-2 sp of the V-ST of the previous row.
- Half double crochet in the 3rd loop: YO, instead of inserting the hook into the top two loops of the ST, look behind the ST. The 3rd loop is located just below the top two loops on the back side of the ST. Insert your hook into the 3rd loop from front to back. YO again and pull through the 3rd loop. YO and pull through all 3 loops to complete the HDC.
Pattern Notes
- This pattern is written in US terms.
- Skill level is intermediate.
- This sweater is worked in continuous rounds, in one piece from the top down.
- All sizes have the same size neck opening.
- Change colors in the last ST of the row.
Color changing
- To change yarn color, finish the last stitch of the row, but stop before the final yarn over.
- Introduce the new color by holding it behind your work, yarn over with the new color, and pull it through the last loops of the stitch.
- Drop the old color and continue crocheting with the new color as usual.
- Do not cut the old color when you finish using it. Drop it and pick it up again in the next round.
Construction
This sweater is crocheted seamlessly from the top down. If you’re not familiar with raglan-style sweaters, here’s how it’s constructed:
- Start with the neckline: Chain the foundation chain – Same for all sizes.
- Divide for the raglan structure: Divide the stitches into four sections—one for the front, two for the sleeves, and one for the back. Use V-stitches to mark the corners.
- Work the yoke: Crochet in the round, making increases (V-stitches) at the corners to expand the yoke.
- Separate the body and sleeves and work the body in continuous rounds until you reach the desired length.
- Return to the sleeve and work in rounds directly around the armhole openings.
- I chose to work in continuous rounds for ease, but you can also join rounds with a SL ST and CH 2, if you prefer.
Step 1- Check your gauge
Meeting the gauge is essential when working on a garment. If your gauge is off, the final sweater may end up too small or too large. To get the most accurate gauge, make a small sample in the rounds.
Related: How to Check Your Crochet Gauge: Step-by-Step Guide
Make a swatch: CH 30 to make a foundation chain, SL ST in the 1st CH to make a circle, CH1.
Row 1: HDC in each CH around, join with SL ST, CH1.
Row 2: HDC in same ST, *HDC in the 3rd loop in next ST, HDC in next ST*, rep *to* around, join with SL ST, CH1.
Row 3-12: Repeat Row 2.
Gauge: 4” square = 13 ST and 12 rows. If your width is correct but your height is a little off, use the hook that gives you the correct width.
Step 2 – Find your size
- The measurements are taken with the garment laid flat before wear.
- The model is 5’8″ with a 34″ bust and is wearing a size small.
- For the best fit, use your bust measurement and select the closest size from the table below. If you prefer a looser fit, consider sizing up.
- The stitch count and number of rows for each size can be found in parentheses in the corresponding color: XS (S, M, L, XL, 2XL). Color-coded sizes are available in the premium version only
- The numbers at the beginning of the rows are your row count for all sizes.
- The numbers at the end of the rows are your stitch counts for all sizes.
- The yardage will depend on the yarn you choose and whether you adjust the length and width of the sweater. You’ll need about 40% variegated yarn and 60% solid color yarn.
| Size | Bust Size | Width (underarm to underarm) | Total Length | Sleeve Length (underarm to cuff) | Yardage |
| XS | 28”- 30” | 14” | 18” | 14 ½” | 3 skeins/950 yds |
| S | 32”- 34” | 15” | 19” | 16” | 3 skeins/1000 yds |
| M | 36”- 38” | 17” | 20” | 16 ½” | 3 skeins/1200 yds |
| L | 40”- 42” | 19” | 21” | 17” | 4 skeins/1320 yds |
| XL | 44”- 46” | 21” | 22” | 17 ½” | 4 skeins/1350 yds |
| 2XL | 48”- 50” | 23” | 23” | 18” | 5 skeins/1400 yds |
Free Crochet Top-Down Sweater Pattern
In this blog, I’ll walk you through everything you need to crochet a sweater that fits just right. From picking the best yarn and checking your gauge to choosing the perfect size, I’ve got you covered.
If you want an easier option, you can get the full pattern as a printable PDF without ads. It comes with a full photo tutorial and a handy row tracker. You can buy and download it anytime from the shops linked below.
Prefer A Printable PDF?
Treat yourself to the ad-free, beautifully formatted version of this design for a small fee!
I offer full support to help you with any questions or challenges you might have. Feel free to drop your comments in the section below or join our Facebook group, where I, along with my wonderful testers and community members, will be more than happy to assist you!