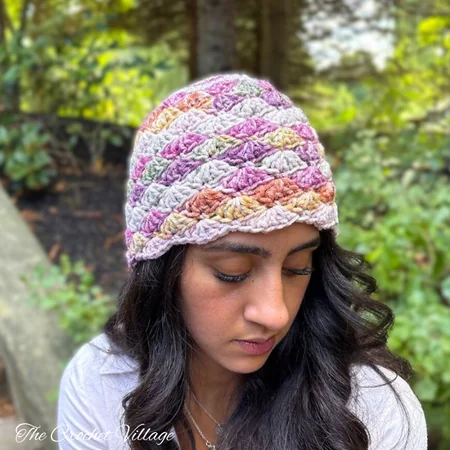
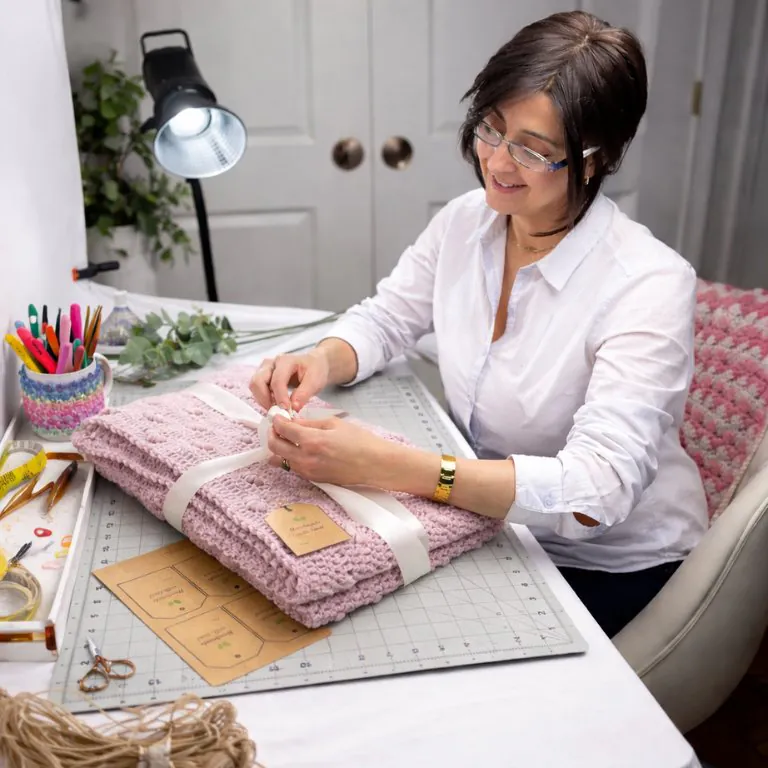
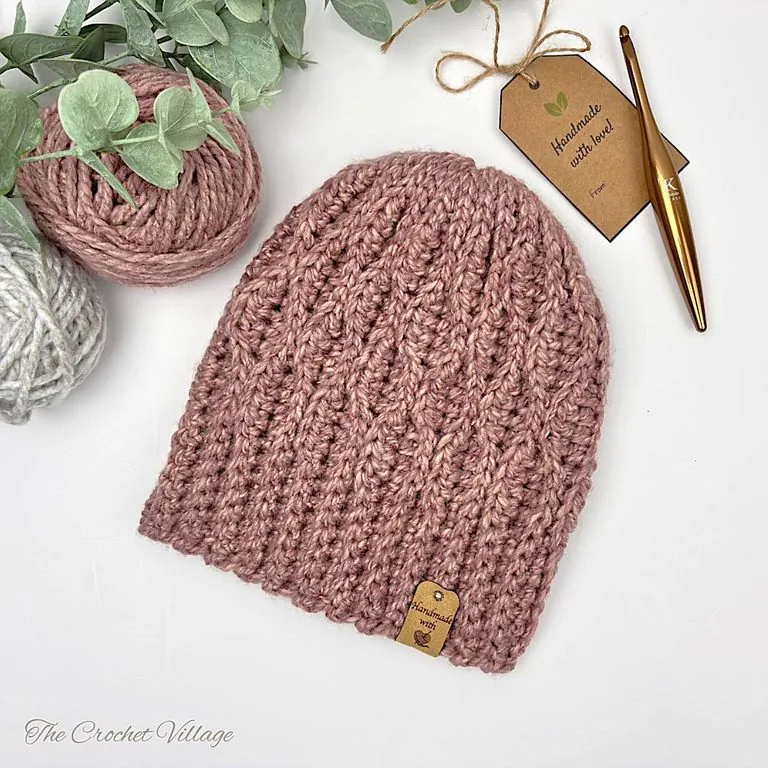
Meet the Geniva Hat — a free chunky crochet hat pattern that’s stylish, warm, and fits beautifully. You can whip one up in just over an hour, making it perfect for last-minute gifts, cozy weekend projects, or even for someone who could use a little extra warmth this season. With its quick and easy construction, the Geniva Hat is not only a delightful addition to your winter wardrobe but also a thoughtful choice for your loved ones.
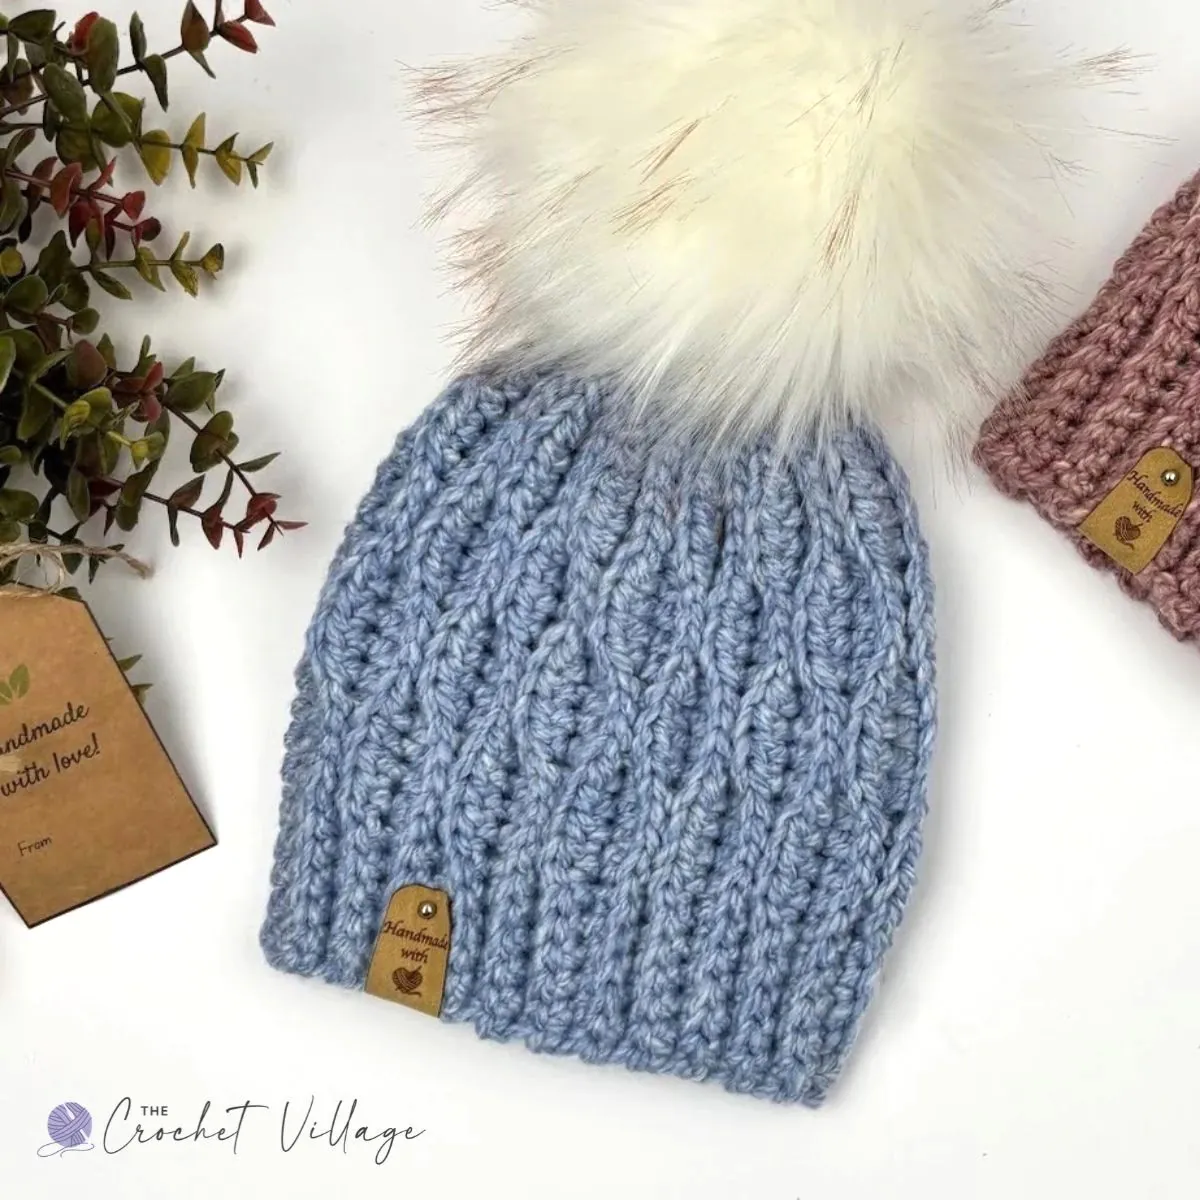
Why You’ll Love This Chunky Hat Pattern
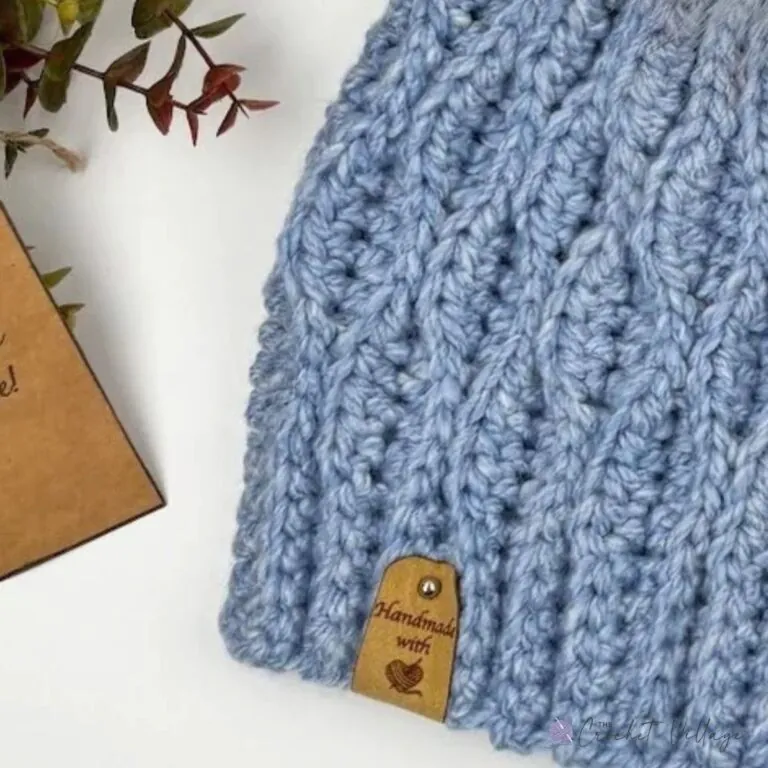
First off, you’ll appreciate the super easy construction. Instead of the typical “work in the round” method, the Geniva Hat is crocheted sideways as a simple rectangle and then seamed at the end to create its shape. The seam is barely noticeable, and the stitch design looks harmonious and pretty from all sides.
Next, this hat is made with chunky #5 bulky yarn, making it a fast and satisfying project that comes together in just over an hour. It’s perfect for adding to your family hat collection or for creating thoughtful donations.
The Geniva Hat is an excellent choice for intermediate crocheters or advanced beginners looking to take on a little challenge. It’s available in four sizes — toddler, child, teen/small adult, and adult medium/large — and can be easily adjusted to fit any size. Finally, the wave stitch is not only beautiful but also stretchy, providing a snug yet comfortable fit for everyone!
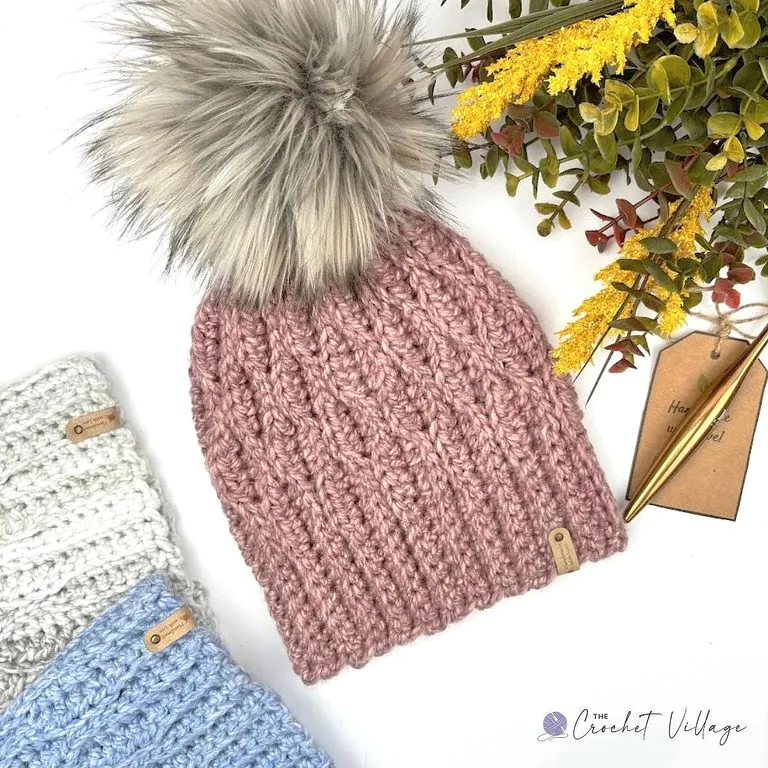
This Hat Is Part of the Cancer Challenge 2026 💛

The Geneva Beanie is featured today!
My Geneva Beanie is today’s featured design in the Crochet Cancer Challenge. You can download the PDF for free — today only.
Keep reading below to learn how.
This project means a little extra to me this year. The Geniva Hat is part of the Cancer Challenge 2026, hosted by the amazing Sweet Potato 3. Here’s how it works: designers offer up a free hat pattern, and in return, participants pledge to make a hat and donate it to someone facing cancer treatment. Simple idea, huge impact — a handmade hat can mean so much to someone going through chemo and dealing with hair loss.
This is actually my second year taking part, and I am beyond honored to be included again. Last year, I designed the Soft Heart Beanie for the challenge, If you missed that one, check out the Soft Heart Beanie pattern here — it’s another quick, cozy make for a great cause.
If you make a Geniva Hat, I’d love it if you considered making an extra one to donate through the Cancer Challenge too. Every hat really does make a difference. 💛
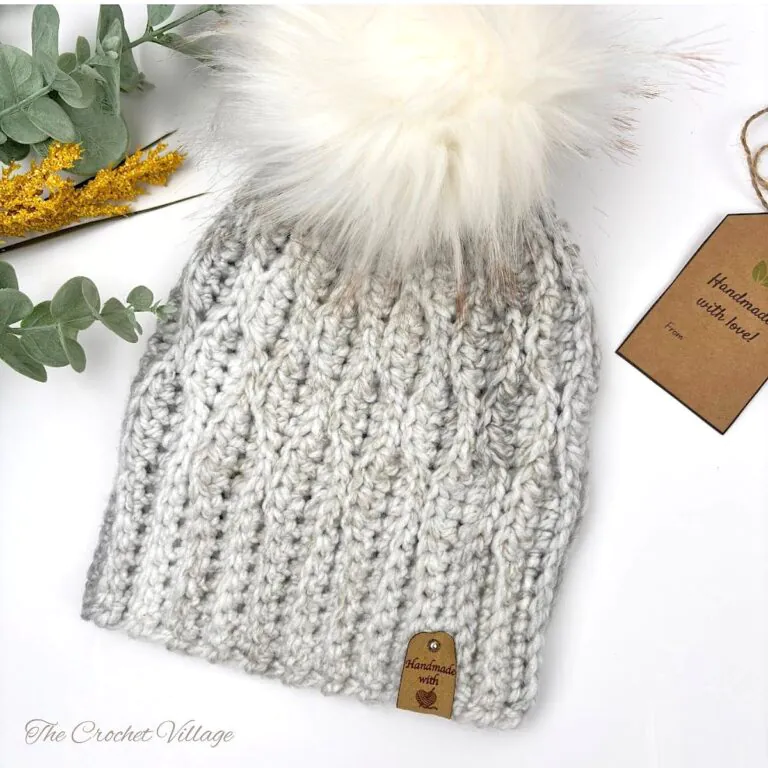
Free Chunky Crochet Hat Pattern: Start Here
Recommended Yarn: Any #5 bulky-weight yarn. I used Loops & Threads Charisma yarn.
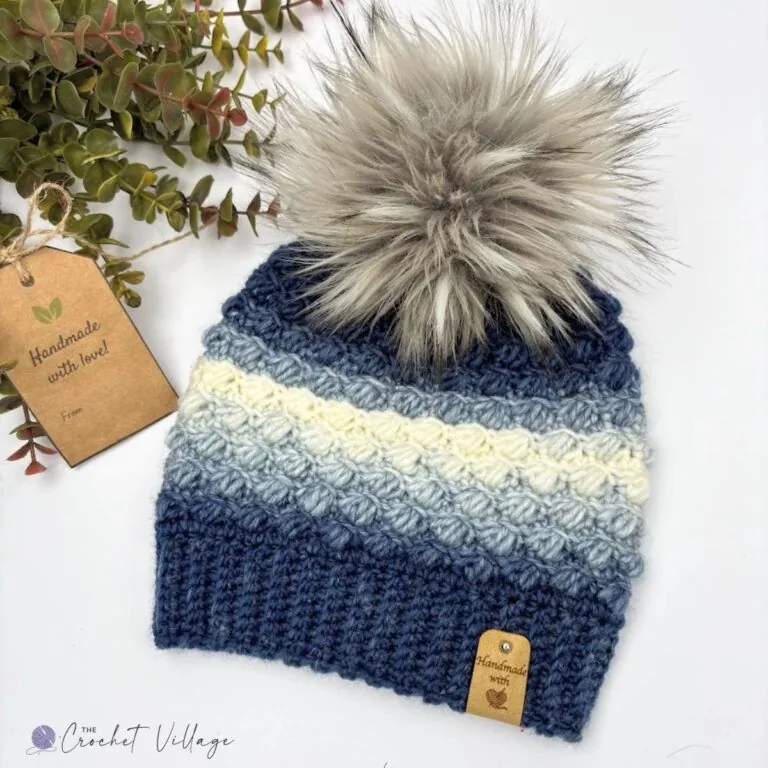
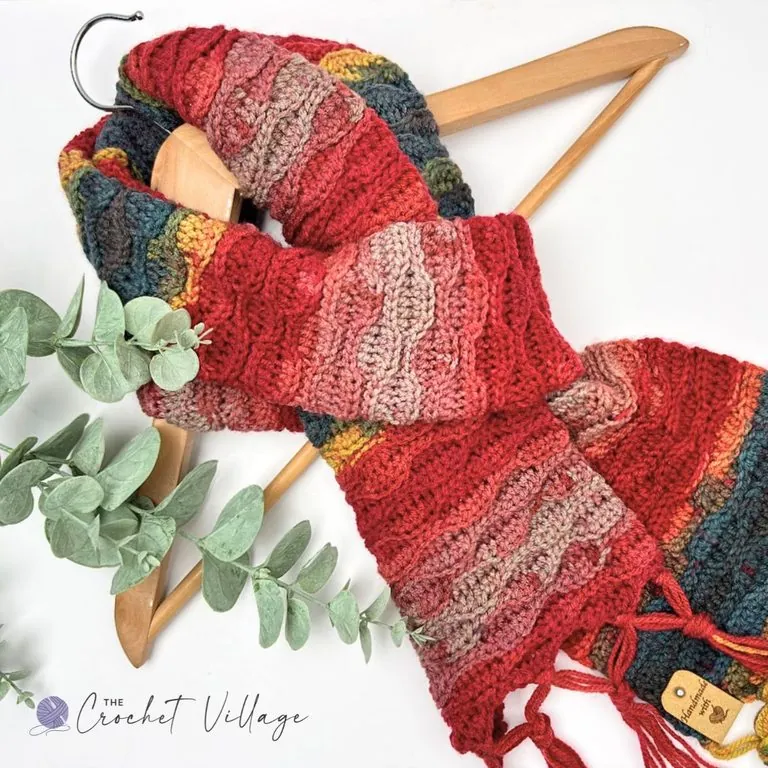
Colors shown:
Yardage
- Toddler: 72 yd/ 66 g / 2.3 oz
- Child: 92 yd/ 84 g / 3 oz
- Teen/Adult small: 100 yd/ 92 g / 3.2 oz
- Adult M/L: 113 yd /104 g / 3.7 oz
Yarn Substitution
Crochet Hook: L- 8 mm hook or the hook needed to meet the gauge
Gauge: 2” x 2” = 6 rows and 7 ST (pattern stitch)
Abbreviations
- CH: Chain
- ST: Stitch
- STS: Stitches
- SL ST: Slip stitch
- SC: Single crochet
- HDC: Half double crochet
- BLO: Back loop only
- RS: Right side
- WS: Wrong side
Pattern Notes
- Terminology: Written in US terms.
- Difficulty: Easy to intermediate.
- Construction: This beanie is worked sideways as a rectangle: the width becomes the hat’s height, the length its circumference. When finished, fold the rectangle and seam the short edges into a tube, then weave a length of yarn through the crown edge and pull tight to close.
Sizes and Measurements
- The pattern is written for four sizes: Toddler, Child, Teen/Adult Small, and Adult Medium/Large.
- The numbers at the end of the rows are the stitch count for that row.
- The numbers at the beginning of the rows are the stitch count for that row.
- Measurements were taken on the finished hat, laid flat and unstretched.
| Age | Fits Head circumference | Width | Height |
| Toddler | 18”- 19” | 6“-6.5” | 7.5” |
| Child | 19”- 20” | 6.5”-7” | 8” |
| Teen/ Adult small | 20”-22” | 7”-7.5” | 8.5” |
| Adult medium /large | 22”-24” | 8”-8.5” | 9” |
Free

Crochet the Hat-Adult Medium/Large
Row 1 — RS: CH 31. SL ST in the 2nd CH from the hook and in each of the next 5 CH. *HDC in the next 4 CH, SL ST in the next 4 CH; repeat from * until 8 CH remain. SC in each of the next 8 CH. CH 1 and turn.
Row 2: SC in the first ST, SC BLO in each of the next 7 STS. *SL ST BLO in the next 4 STS, HDC BLO in the next 4 STS; repeat from * until 6 STS remain. SL ST BLO in each of the next 6 STS. CH 1 and turn.
Row 3: SL ST BLO in each of the next 6 STS. *SL ST BLO in the next 4 STS, HDC BLO in the next 4 STS; repeat from * until 8 STS remain. SC BLO in each of the next 7 STS, then SC in the last ST. CH 1 and turn.
Row 4: SC in the first ST, SC BLO in each of the next 7 STS. *HDC BLO in the next 4 STS, SL ST BLO in the next 4 STS; repeat from * until 6 STS remain. SL ST BLO in each of the next 6 STS. CH 1 and turn.
Row 5: SL ST BLO in each of the next 6 STS. *HDC BLO in the next 4 STS, SL ST BLO in the next 4 STS; repeat from * until 8 STS remain. SC BLO in each of the next 7 STS, then SC in the last ST. CH 1 and turn.
Row 6: SC in the first ST, SC BLO in each of the next 7 STS. *SL ST BLO in the next 4 STS, HDC BLO in the next 4 STS; repeat from * until 6 STS remain. SL ST BLO in each of the next 6 STS. CH 1 and turn.
Rows 7–48: Repeat Rows 3–6. At the end of the last row, do not fasten off; cut the yarn and leave a long tail for seaming. Your finished piece before seaming should measure 10″ wide × 16″ long.
Note: The edge where you cut the yarn at the last row becomes the crown of the beanie. The edge with your beginning tail is the brim. Keep reading for the seaming and finishing instructions.
How to Get Your Free PDF
- Head over to the Sweet Potato 3 blog to get the code — or click the “Return to Blog Hop” graphic below
- Come back here and click the button below that says “Download Pattern Here” to go to the listing in my shop
- Add the pattern to your cart, enter the code, and that’s it — your PDF is FREE!
Just remember: a download = a pledge to make and donate a beanie
Crochet the Hat-Teen/ Adult Small
Row 1 — RS: CH 29. SL ST in the 2nd CH from the hook and in each of the next 5 CH. *HDC in the next 4 CH, SL ST in the next 4 CH; repeat from * until 6 CH remain. SC in each of the next 6 CH. CH 1 and turn.
Row 2: SC in the first ST, SC BLO in each of the next 5 STS. *SL ST BLO in the next 4 STS, HDC BLO in the next 4 STS; repeat from * until 6 STS remain. SL ST BLO in each of the next 6 STS. CH 1 and turn.
Row 3: SL ST BLO in each of the next 6 STS. *SL ST BLO in the next 4 STS, HDC BLO in the next 4 STS; repeat from * until 6 STS remain. SC BLO in each of the next 5 STS, then SC in the last ST. CH 1 and turn.
Row 4: SC in the first ST, SC BLO in each of the next 5 STS. *HDC BLO in the next 4 STS, SL ST BLO in the next 4 STS; repeat from * until 6 STS remain. SL ST BLO in each of the next 6 STS. CH 1 and turn.
Row 5: SL ST BLO in each of the next 6 STS. *HDC BLO in the next 4 STS, SL ST BLO in the next 4 STS; repeat from * until 6 STS remain. SC BLO in each of the next 5 STS, then SC in the last ST. CH 1 and turn.
Row 6: SC in the first ST, SC BLO in each of the next 5 STS. *SL ST BLO in the next 4 STS, HDC BLO in the next 4 STS; repeat from * until 6 STS remain. SL ST BLO in each of the next 6 STS. CH 1 and turn.
Rows 7–44: Repeat Rows 3–6. At the end of the last row, do not fasten off; cut the yarn and leave a long tail for seaming. Your finished piece before seaming should measure 9.5″ wide × 14.5″ long.
Note: The edge where you cut the yarn at the last row becomes the crown of the beanie. The edge with your beginning tail is the brim. Keep reading for the seaming and finishing instructions.
Crochet the Hat-Child
Row 1 — RS: CH 27. SL ST in the 2nd CH from the hook and in each of the next 4 CH. *HDC in the next 4 CH, SL ST in the next 4 CH; repeat from * until 5 CH remain. SC in each of the next 5 CH. CH 1 and turn.
Row 2: SC in the first ST, SC BLO in each of the next 4 STS. *SL ST BLO in the next 4 STS, HDC BLO in the next 4 STS; repeat from * until 5 STS remain. SL ST BLO in each of the next 5 STS. CH 1 and turn.
Row 3: SL ST BLO in each of the next 5 STS. *SL ST BLO in the next 4 STS, HDC BLO in the next 4 STS; repeat from * until 5 STS remain. SC BLO in each of the next 4 STS, then SC in the last ST. CH 1 and turn.
Row 4: SC in the first ST, SC BLO in each of the next 4 STS. *HDC BLO in the next 4 STS, SL ST BLO in the next 4 STS; repeat from * until 5 STS remain. SL ST BLO in each of the next 5 STS. CH 1 and turn.
Row 5: SL ST BLO in each of the next 5 STS. *HDC BLO in the next 4 STS, SL ST BLO in the next 4 STS; repeat from * until 5 STS remain. SC BLO in each of the next 4 STS, then SC in the last ST. CH 1 and turn.
Row 6: SC in the first ST, SC BLO in each of the next 4 STS. *SL ST BLO in the next 4 STS, HDC BLO in the next 4 STS; repeat from * until 5 STS remain. SL ST BLO in each of the next 5 STS. CH 1 and turn.
Rows 7–40: Repeat Rows 3–6. At the end of the last row, do not fasten off; cut the yarn and leave a long tail for seaming. Your finished piece before seaming should measure 9″ wide × 13.5″ long.
Note: The edge where you cut the yarn at the last row becomes the crown of the beanie. The edge with your beginning tail is the brim. Keep reading for the seaming and finishing instructions.
Crochet the hat-Toddler
Row 1 — RS: CH 25. SL ST in the 2nd CH from the hook and in each of the next 3 CH. *HDC in the next 4 CH, SL ST in the next 4 CH; repeat from * until 4 CH remain. SC in each of the next 4 CH. CH 1 and turn.
Row 2: SC in the first ST, SC BLO in each of the next 3 STS. *SL ST BLO in the next 4 STS, HDC BLO in the next 4 STS; repeat from * until 4 STS remain. SL ST BLO in each of the next 4 STS. CH 1 and turn.
Row 3: SL ST BLO in each of the next 4 STS. *SL ST BLO in the next 4 STS, HDC BLO in the next 4 STS; repeat from * until 4 STS remain. SC BLO in each of the next 3 STS, then SC in the last ST. CH 1 and turn.
Row 4: SC in the first ST, SC BLO in each of the next 3 STS. *HDC BLO in the next 4 STS, SL ST BLO in the next 4 STS; repeat from * until 4 STS remain. SL ST BLO in each of the next 4 STS. CH 1 and turn.
Row 5: SL ST BLO in each of the next 4 STS. *HDC BLO in the next 4 STS, SL ST BLO in the next 4 STS; repeat from * until 4 STS remain. SC BLO in each of the next 3 STS, then SC in the last ST. CH 1 and turn.
Row 6: SC in the first ST, SC BLO in each of the next 3 STS. *SL ST BLO in the next 4 STS, HDC BLO in the next 4 STS; repeat from * until 4 STS remain. SL ST BLO in each of the next 4 STS. CH 1 and turn.
Rows 7–38: Repeat Rows 3–6. At the end of the last row, do not fasten off; cut the yarn and leave a long tail for seaming. Your finished piece before seaming should measure 8.5″ wide × 12″ long.
Note: The edge where you cut the yarn at the last row becomes the crown of the beanie. The edge with your beginning tail is the brim.
Step 2 – Seaming
With the WS facing out, bring the first row up to meet the last row. Remove the hook from the working loop, insert the hook in the opposite corner, and pull the working loop through. Slip stitch across, working through one stitch from the first row and the back loop only of the corresponding stitch from the last row. Fasten off.
Step 3 – Close the crown
WS facing out, use a tapestry needle and a length of yarn, weave in and out of the stitches around the crown opening, then pull to cinch the crown closed and secure with a few stitches.
Weave in all ends, and you’re all done!
I offer full support to help you with any questions or challenges you might have. Feel free to drop your comments in the section below or join our Facebook group, where I, along with my wonderful testers and community members, will be more than happy to assist you!