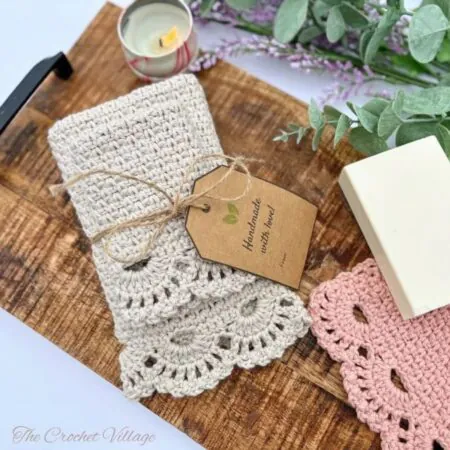
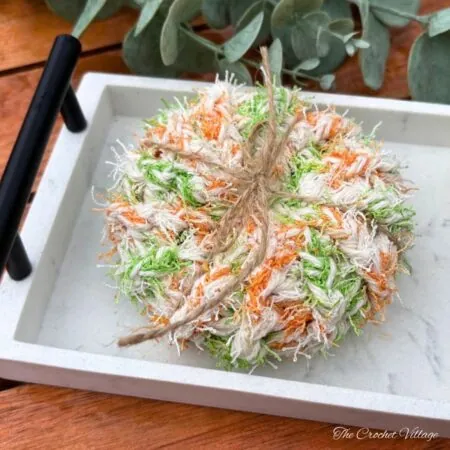
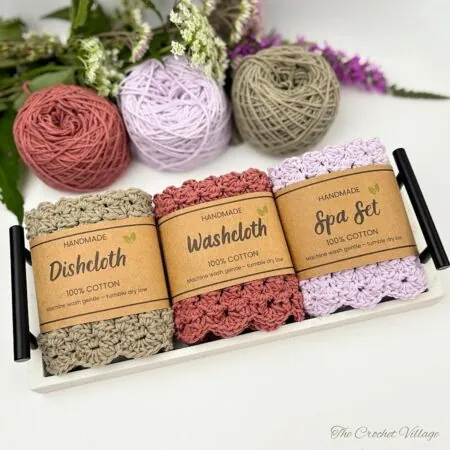
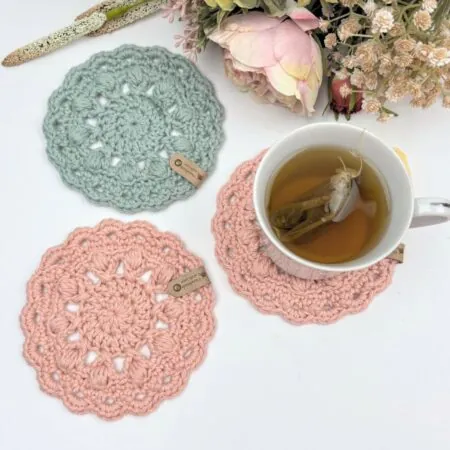
Looking to add a touch of handmade charm to your bathing routine? This free crochet shower mitt pattern is just what you need! It’s pretty, easy to make, and perfect for pampering yourself. Crafted from soft, reusable cotton yarn, this gorgeous mitt feels delightful against your skin and adds a lovely splash of color to your bathroom décor. Plus, it makes a thoughtful gift for friends and family who appreciate handmade treasures!
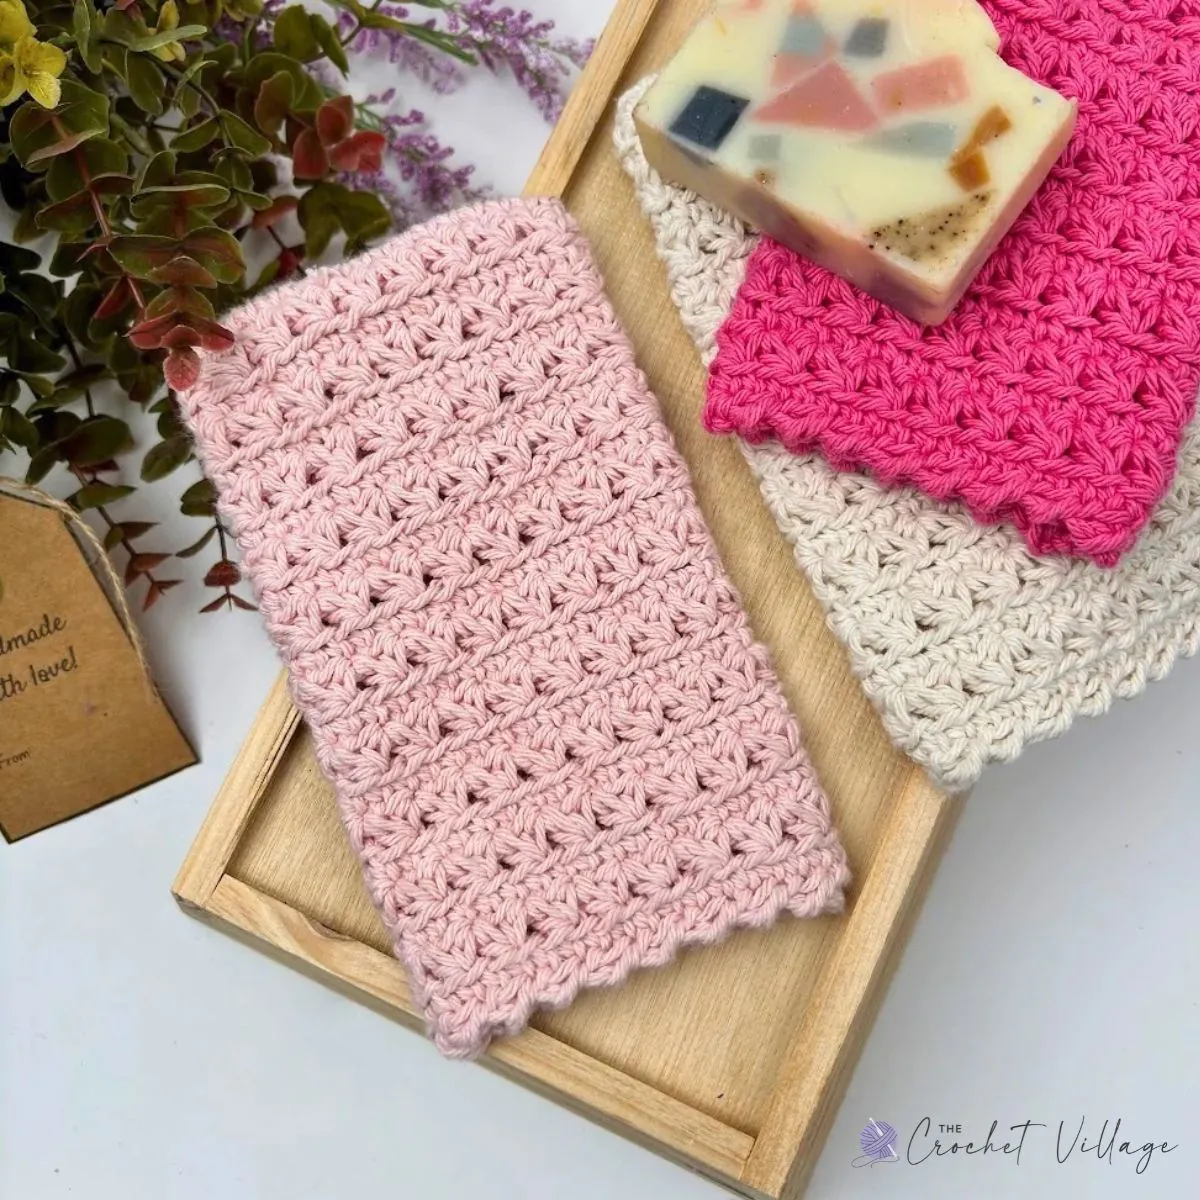
Amber Bath Mitt Crochet Pattern
I can’t remember the last time I bought a shower mitt — I always crochet my own! I guess I just love squeezing crochet into every aspect of my life (lol). There’s something about a handmade piece that feels luxurious and clean, and it’s much better than anything store-bought.
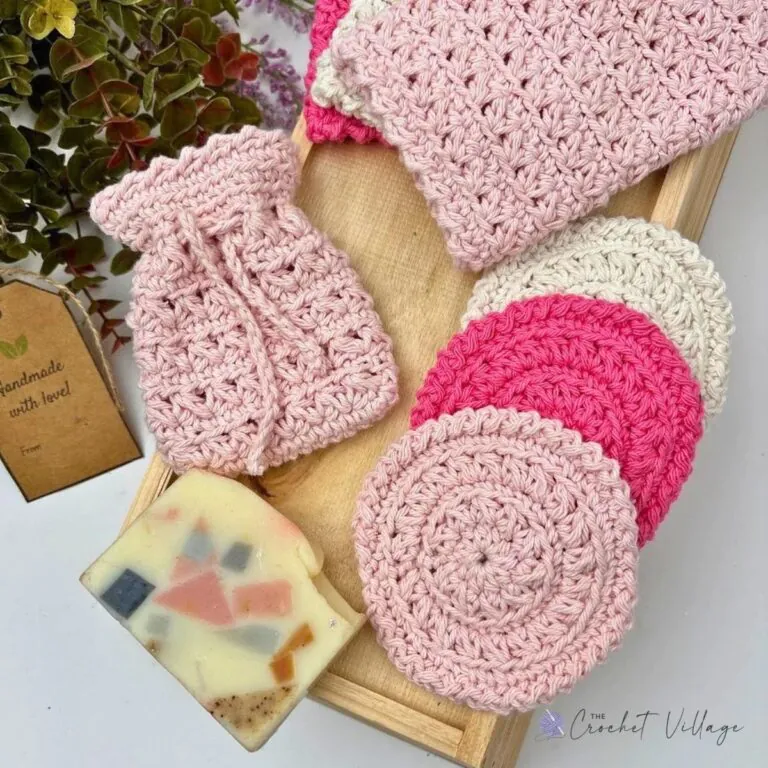
What I love most about the Amber Mitt is the gorgeous stitching and the lovely finish; it genuinely looks high-end! It not only makes for nice bath décor but also makes a wonderful gift. Plus, it’s part of the Amber Collection, which you can check out here!
Why You’ll Love This Free Crochet Bath Mitt Pattern
You’re going to adore this free crochet bath mitt pattern for so many reasons! Not only is it quick and easy to make, but it’s also a wonderful way to add a personal touch to your self-care routine. Each time you reach for your handmade mitt, you’ll appreciate its luxurious feel and the care that went into crafting it. Plus, it’s a fantastic gift idea for friends and family who deserve a little pampering!
- Quick to Make — works up in about an hour, making it perfect for last-minute gifts.
- Luxurious Feel — crafted from soft, reusable cotton yarn for maximum comfort.
- Stylish Design — gorgeous stitching and a lovely finish give it a high-end look.
- Beginners Welcome — this pattern is suitable for adventurous beginners and beyond.
- Eco-Friendly — sustainable and reusable, great for minimizing waste.
- Part of the Amber Collection — easily coordinate with other spa essentials.
Amber Shower Mitt Crochet Pattern
- In this post, I will share everything you need to make your own Amber Mitt — from the yarn and hook to detailed instructions for each step. Keep reading for the free pattern!
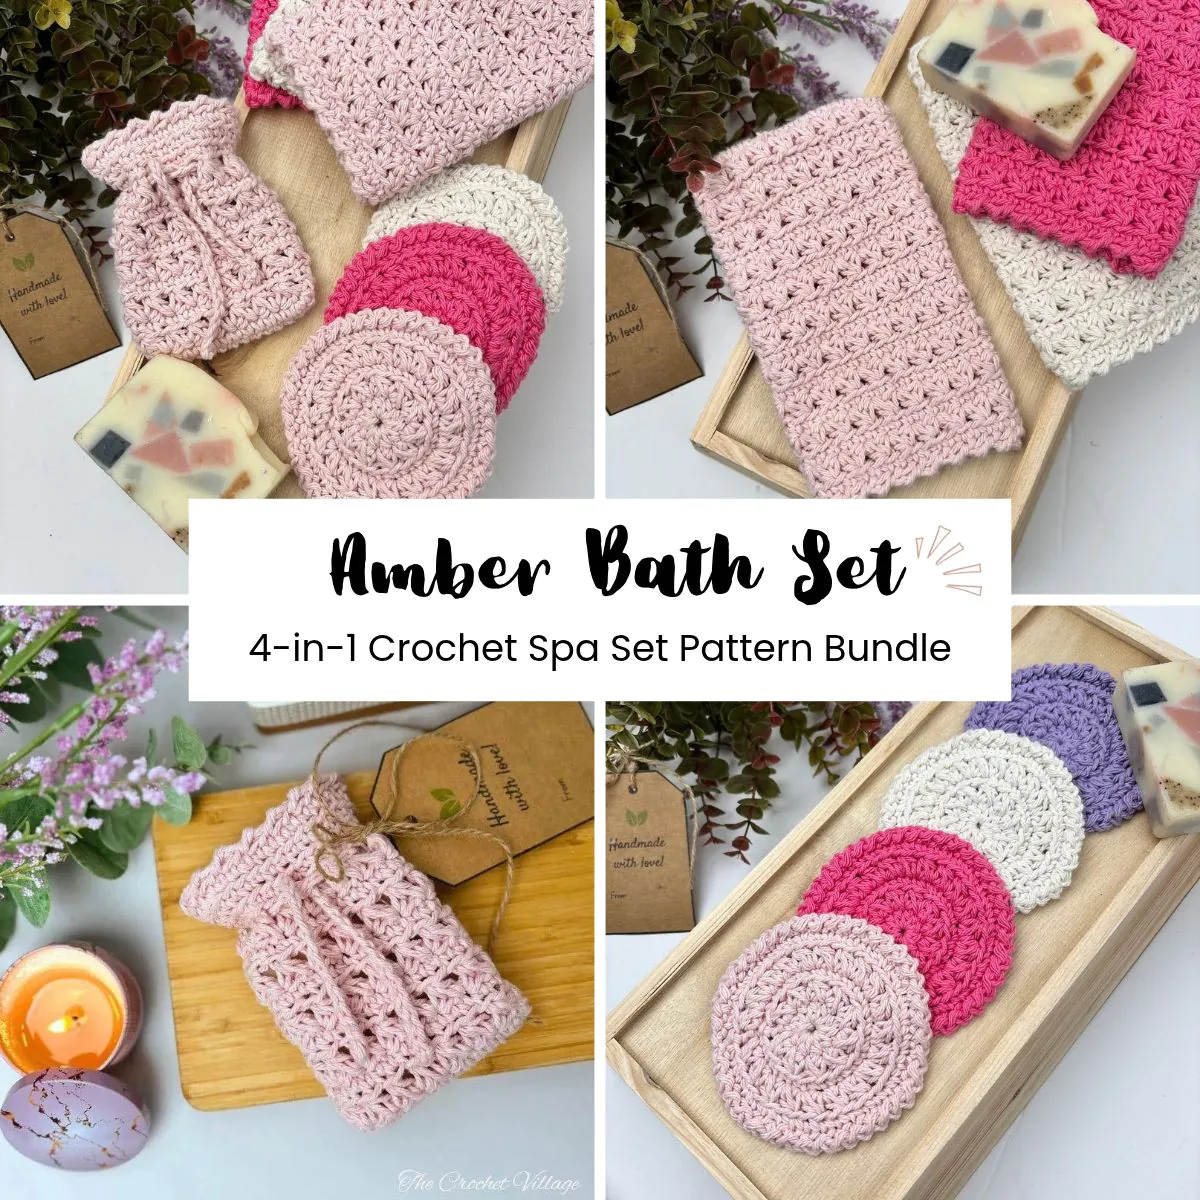
- If you prefer an ad-free printable PDF, the entire Amber 4-in-1 Bath Set Bundle is available for a small fee in my shops linked below. This delighful bundle includes the matching shower mitt, soap saver, face rounds scrubbies, and a handy basket. Plus, it comes complete with free printable gift wraps and tags, making it a perfect option for gifting or selling at craft shows.
Prefer A Printable PDF?
Treat yourself to the ad-free, beautifully formatted version of this design for a small fee!
Free Crochet Shower Mitt Pattern Starts Here
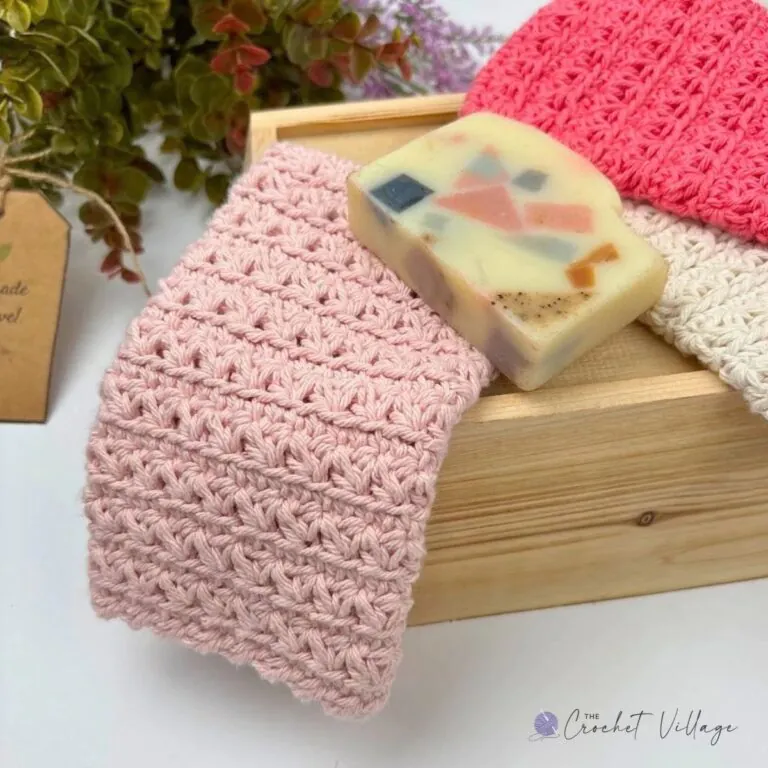
RECOMMENDED YARN: Any #4 worsted-weight cotton yarn. I used: Crafter’s Secret Cotton Yarn,
Colors shown:
- Ivory
- Rose quartz
- Hot Pink
YARDAGE: About 90 yds
CROCHET HOOK: (H) 5 mm
FINISHED SIZE: About 7 ¼ x 4 ¼”
GAUGE: Not important in this pattern
YARN SUBSTITUTION
- Paint Box Aran Cotton yarn
- Premier Yarns Home Cotton
- I Love This Cotton Yarn
- Lily Sugar N Cream Cotton Yarn
PATTERN NOTES
- TERMINOLOGY: Written in US terms.
- DIFFICULTY: Easy to intermediate
- The numbers at the end of the rows are the stitch count for that row.v
ABBREVIATIONS
- CH: Chain
- ST: Stitch
- STS: Stitches
- SLST: Slip stitch
- SC: Single crochet
- BLO: Back loop only
- RSC: Reverse single crochet
- SP: Space
- YO: Yarn over
- Rep: Repeat
SPECIAL STITCH: Reverse single crochet (RSC): Without turning your work, single crochet from left to right (the opposite of usual). Insert your hook into the next stitch to the right, yarn over, pull up a loop, yarn over, and pull through both loops on the hook.
Favorites

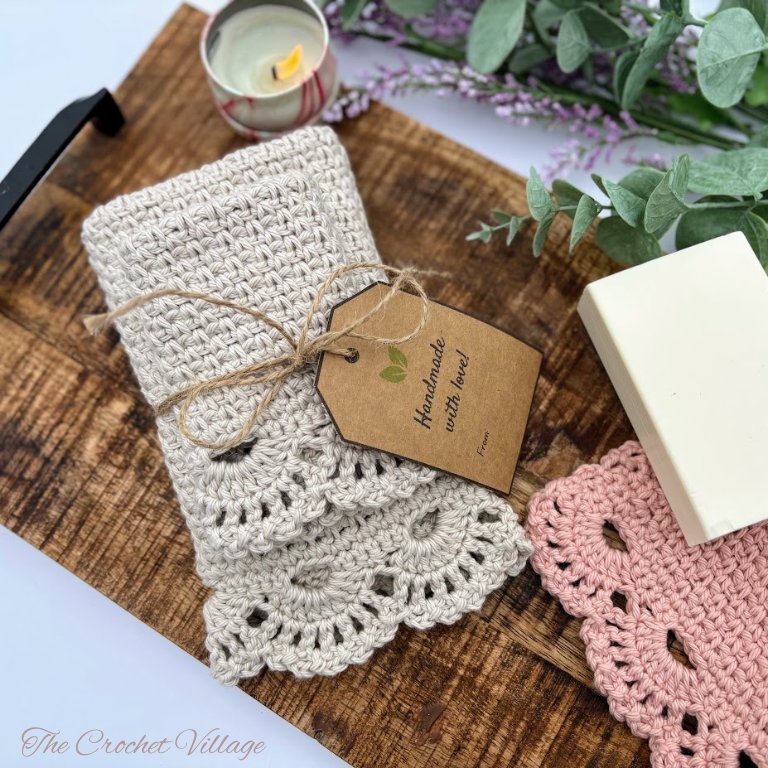

Crochet the Amber Shower Mitt
CH 17 to make a foundation chain.
Rnd 1:
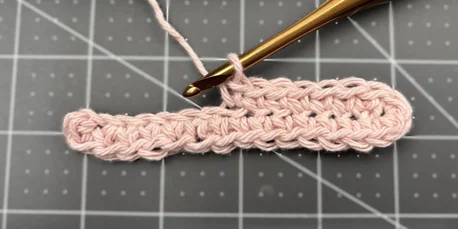
- 2 SC in the 2nd CH from the hook, SC in the next 14 CH, 3 SC in the last CH. (Work into one loop only of each chain. We’ll use the other loop in the next step.) (19 SC)
- Continue crocheting along the other side of the chains, working into the unused loops: SC in the next 14 CH (crochet over the tail to hide it). SC in the last CH that already has 2 SC. Join with a SL ST into the 1st SC, CH 1. (15 SC). You should have 34 ST around Total
Rnd 2:
- YO, insert the hook in the 1st ST (in the same ST as the SL ST) pull up a loop, YO, skip next ST, insert the hook in the next ST, pull up a loop, YO, pull through all 5 loops, CH 1.
- 2.*YO, insert the hook in the last worked ST, pull up a loop, YO, skip next ST, insert the hook in the next ST, pull up a loop, YO, pull through all 5 loops, CH 1, repeat from * around, Join with a SL ST into the 1st ST, CH 1. (17 clusters)
Rnd 3: SC BLO in the 1st ST (in the same ST as the SL ST), SC BLO in each ST and CH around. Join with a SL ST into the 1st SC, CH 1.(34 S!)
Rnds 4 – 21: Rep Rnds 2 – 3.
Rnd 22: *RSC in the next ST to the right, skip the next ST to the right, repeat from * around, join with a SL ST into the 1st ST, fasten off.
Weave in all ends, and you are all done!
I offer full support to help you with any questions or challenges you might have. Feel free to drop your comments in the section below or join our Facebook group, where I, along with my wonderful testers and community members, will be more than happy to assist you!