Ready to make a modern, chunky crochet crossbody bag that’s easy to create and functional? I’ve got the perfect free pattern for you! It’s ideal for confident beginners, and with simple, step-by-step instructions, you’ll have a sturdy, stylish, and practical boho messenger bag in no time. Whether you’re just starting or looking for a fun, satisfying project, this one’s for you!
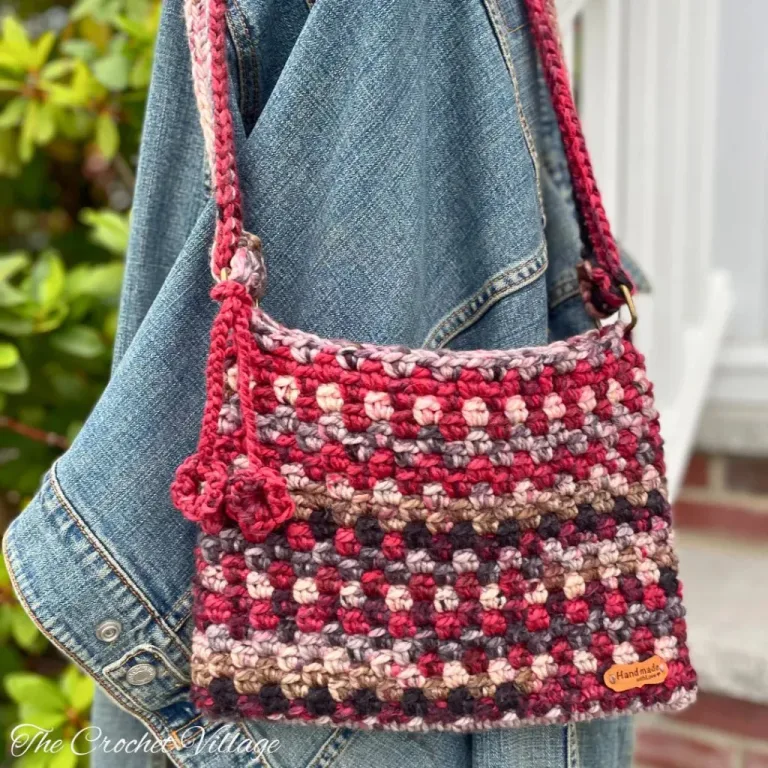
I’m so excited to share my Modern Crochet Crossbody Bag — the Safari Bag — a free pattern designed to be just as practical as it is beautiful. Whether you’re new to crocheting or looking for a stylish handmade accessory, this chunky crossbody bag is perfect for you! It’s beginner-friendly, sturdy, comfortable to wear, and on-trend!
The Best Yarn for this Modern Chunky Crochet Crossbody Bag
Yarn choice can make all the difference when creating your modern crochet crossbody bag. This Safari Bag works wonderfully with a #5 bulky weight yarn, and if you have a variegated yarn in your stash with a bold or unique color combo you’re not quite sure how to use, this is the perfect project to bring it to life.
Don’t shy away from vibrant, eye-catching colors—that’s exactly what makes the Safari Bag truly stand out!
For my own Safari Bag, I used I Love This Chunky from Hobby Lobby, and I love how it turned out! This pretty variegated yarn has a mix of colors that gives the bag a cool, chic-boho look!
Keep reading to find the free pattern, or if you prefer a printable add-free PDF, you can find it on Etsy, Ravelry, and my online store!
Modern Crochet Crossbody Bag: Start Here
Recommended Yarn: 🧶Hobby Lobby I Love This Chunky Yarn, #5 bulky weight yarn. Color Shown: Safari Trek.
Yardage: About 218 yards (2 skeins)
Yarn Substitution: These yarns are a close match, but you should always swatch.
Crochet Hooks
- (K) 6.5 mm
- (H) 5 mm
Finished Dimensions: 8 ½” in height to the base of the handles/ 12” in width
Other Materials
- Faux leather tag.
- Metal Rectangles: 2 x 1 ½ “
- Magnetic snaps.
- Stitch markers.
- Tapestry needle: to weave in ends.
- Fabric to line the bag.
- Thread and darning needle: to sew the fabric.
Gauge: 4” square/ 6.5mm = 12 rows and 10 SC
Abbreviations
- CH: Chain
- ST: Stitch
- SL ST: Slip stitch
- SC: Single crochet
- HDC: Half double crochet
- YO: Yarn over
- SP: Space
- Rnd: Round
- Rep: Repeat
Pattern details
- This pattern is written in US terms.
- The skill level is easy.
- The bag is crocheted continuously. Do not SL ST to join the rounds, but use a stitch marker to identify the start of the rounds and move it up every round.
- For other sizes: make a foundation chain in multiples of 3 and crochet to the desired height.
- Keep your tension a little loose and even.
- Lining the bag is highly recommended to improve functionality and prevent stretching. You can use a premade canvas matching the size of your bag or follow the provided instructions on how to line your bag. Only basic hand sewing skills are needed.
Safari bag Free crochet pattern
This delightful modern crochet crossbody bag free pattern is all you need to create your very own Safari Bag! In this blog, you’ll find all the materials needed and step-by-step instructions to guide you through the process. But if you prefer a printable, ad-free PDF, you can grab a copy for a small fee in any of my shops—I’ve linked them below for easy access.
Prefer A Printable PDF?
Treat yourself to the ad-free, beautifully formatted version of this design for a small fee!
Step 4 – Crochet the string
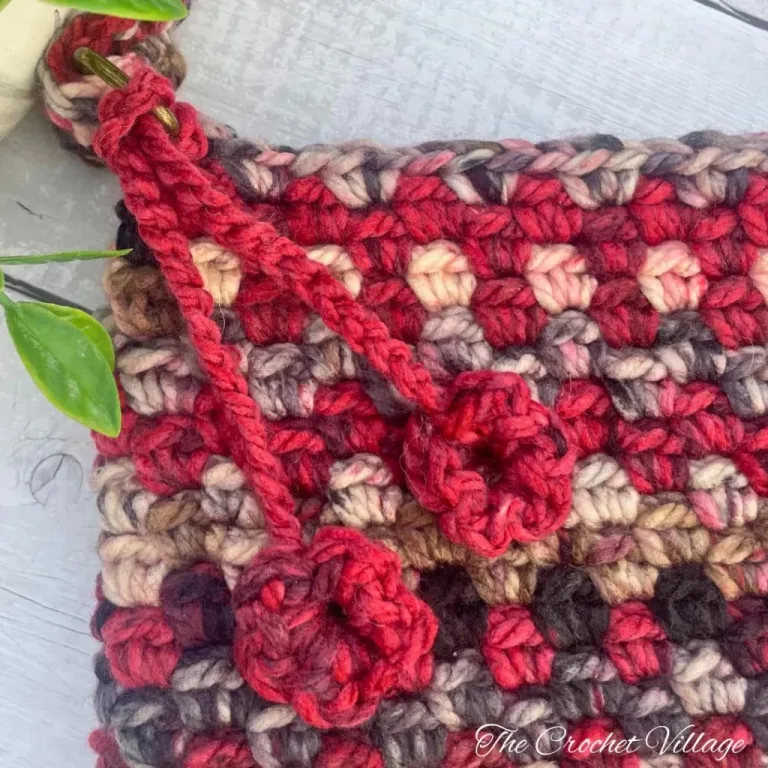
- With a 5 mm hook, make a magic ring. * 2 HDC, SL ST* x 5 times in the ring, join with a SL ST into the 1st HDC, CH 42, in the 2nd CH from the hook * 2 HDC, SL ST* x 5 times, join with a SL ST in 1st HDC, fasten off. Cut and weave in ends.
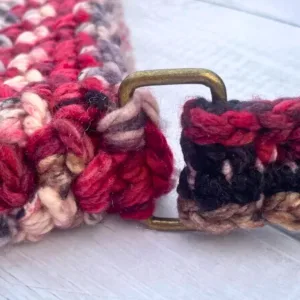
- Fold the string in half, then thread it through the metal rectangle, forming a little loop. Pull both ends through the loop to make a knot.
Step 5 – Line your bag
Lining the bag is easy – no need for major sewing skills (hand sewing works!). You will make a fabric pouch the same size as your crocheted bag, slide it in, and stitch up the top. To close the bag, you can add a magnetic snap or a zipper, following the links below.
- Iron the fabric you are planning to use.
- Lay your fabric out on a smooth surface, and fold it in half.
- Place your bag on top of it. The bottom of the bag should be on top of the folded side of the fabric.
- Trace around the bag, leaving roughly 1/2-inch extra fabric along the sides and top of the bag, then cut out your fabric.
- Sew the sides of the fabric, leaving the top side only unsewed. You just made a pouch!
- Place the pouch inside the bag, the right side of the fabric facing out.
- Adjust the lining carefully, fold down the fabric roughly 1/2 inch at the top, and clip or pin it to the crochet bag.
- Use a needle and thread to stitch around the top of the bag, sewing the lining and crochet together.
- Attach the magnetic closure, and you are all done!
I offer full support to help you with any questions or challenges you might have. Feel free to drop your comments in the section below or join our Facebook group, where I, along with my wonderful testers and community members, will be more than happy to assist you!