
Ready to create your own handmade makeup pouch? Try the free Wildeflower Cosmetic Bag Crochet Pattern—a fun, stylish, and customizable project perfect for everyday essentials or as a thoughtful gift!

Who doesn’t love a cute little bag to keep everything organized? Meet the Wildeflower Cosmetic Pouch, a free crochet makeup bag pattern that will help you create a stylish and practical pouch for your makeup or any small essentials. With its lovely texture, perfect shape, and the option to close it with either a zipper or magnetic snaps, it’s as functional as it is beautiful!
This is such a fun and easy project, and the best part? You can adjust the size to fit whatever you need—make it bigger for travel essentials or smaller for everyday must-haves. Plus, you can play around with colors to match your vibe. Simple, useful, and totally customizable!
You may also like: Crochet bag collection. How to prevent your crochet bag from stretching.
Keep reading to find the free pattern, or if you prefer a printable add-free PDF, you can find it on Etsy, Ravelry, and my online store!
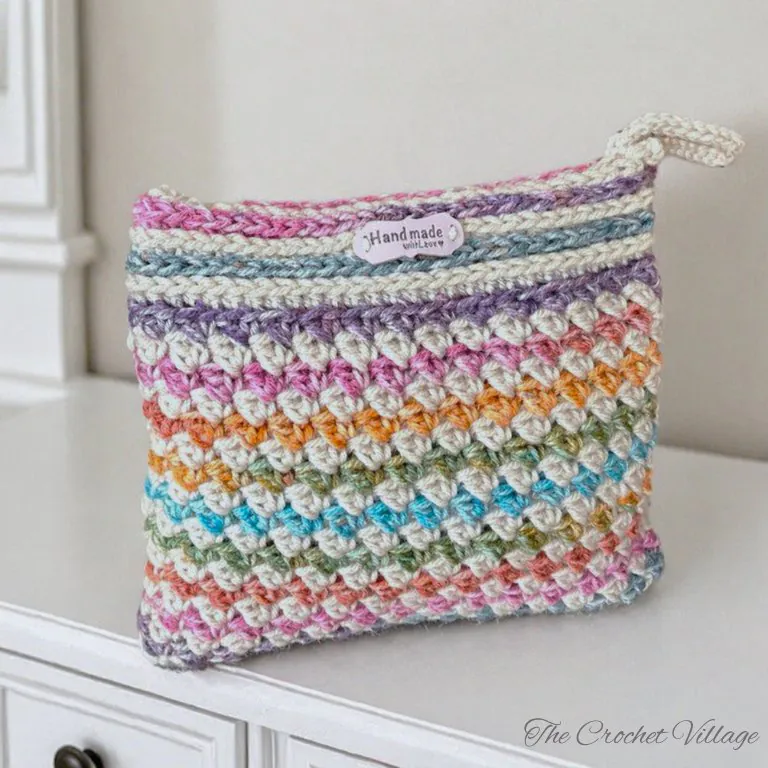
The Best Yarn for this Handmade Crochet Makeup Case
For the Wildeflower Cosmetic Pouch, you’ll need a #4 medium-weight yarn. I used acrylic yarn for this project, and since I lined my pouch, I’m not too worried about stretching. However, you can definitely use cotton or a cotton blend if that’s your preference. This project is also a fantastic way to use up leftover yarn!
I used a variegated yarn paired with a matching solid color, but it looks absolutely gorgeous in a single solid color as well. The possibilities are endless, so you can really get creative with your yarn choices!
I used I Love This Yarn from Hobby Lobby for my makeup pouch, and the gorgeous variegated colorway with its vibrant mix of colors gave it a stunning, boho-chic look. It turned out so unique, and I absolutely love it!

Do I need to line my crocheted cosmetic bag?
Lining your crochet cosmetic bag is definitely a good idea, and I highly recommend it for both durability and functionality. You can either line it with fabric or insert a premade canvas pouch with a zipper, which is super convenient and affordable.
Lining is really easy and only requires basic hand-sewing skills, so don’t worry if you’re not a pro with a sewing machine! I’ve included a tutorial to guide you through the process. For the closure, a zipper is a great choice, but a magnetic snap works too—just go with whatever works best for you!
If you’re going for the premade pouch option, just make sure to choose one that fits your bag’s size.
Free Crochet Makeup Bag Pattern: Start Here
Recommended yarn: 🧶I Love This Yarn, #4 Worsted weight yarn. Colors shown:
- Instant Classic: Yarn A
- Linen: Yarn B
Yarn Substitution
- Lion Brand Yarn Landscapes Yarn
- Red Heart Super Saver Yarn
- Bernat Super Value Yarn
- YarnArt Jeans Splash
Yardage: About 120 yd (Yarn A: 62 yds and Yarn B: 58 yds)
Crochet hook: (H) 5mm
Gauge: 4” square = 12 rows x 7 (SC, DC)
Finished Measurements: 7” in height and 8 1/2″ in width.
Other Materials
- Tapestry needle: to weave in ends
- Leather tag
- Optional: (Fabric for lining, Zipper or magnetic snaps)
Abbreviation
- CH: Chain
- ST: Stitch
- SL ST: Slip stitch
- SC: Single crochet
- HDC: Half double crochet
- DC: Double crochet
- BLO: Back loop only
- Rnd: Round
- Rep: Repeat
Special stitch
HDC in the 3rd loop: Find the third loop, which is located behind the stitch, under the top two loops. Yarn over, insert your hook into this third loop, pull up a loop, yarn over again, and pull through all three loops on your hook.
Pattern notes
- This pattern is written in US terms.
- Perfect for a confident beginner.
- The bag is crocheted from the bottom up in continuous rounds to eliminate the seam.
- Place a stitch marker in the last stitch of each round and move it as you go to keep track.
- Change colors at the end of each row: switch in the last stitch, drop the old color, and continue with the new one.
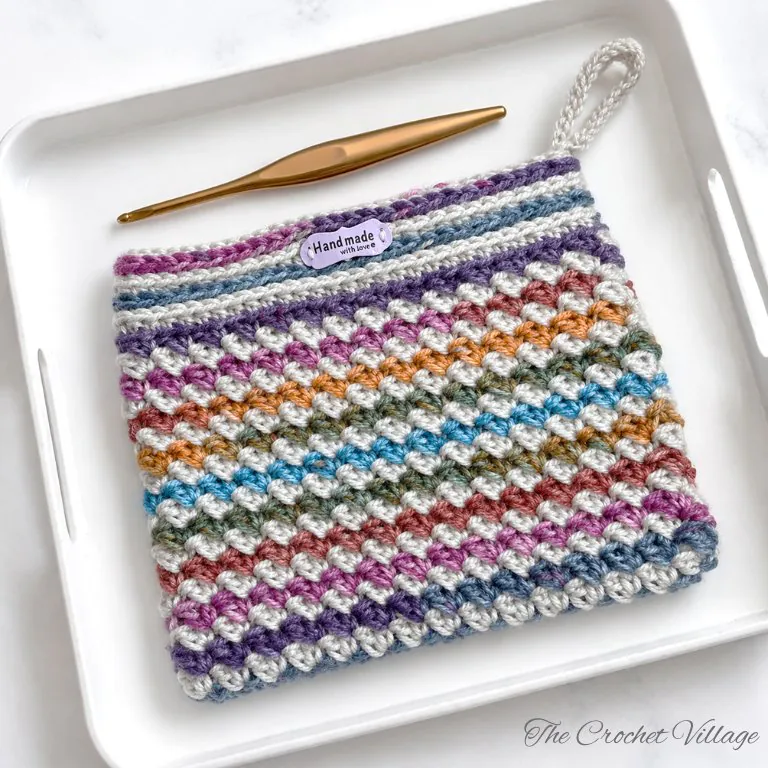
Wildflower Cosmetic Bag free Crochet Pattern
This charming crochet makeup bag free pattern is all you need to create your very own Wildeflower Cosmetic Pouch! In this blog, you’ll find all the materials you’ll need, plus step-by-step instructions to guide you through the entire process. I’ve made sure to include everything to help you get started on this fun and easy project. If you’d prefer a printable, ad-free PDF, you can grab a copy for a small fee in any of my shops—links are below for your convenience.
Prefer a Printable PDF?
Love this pattern? Treat yourself to the ad-free, beautifully formatted version of this design for a small fee.
Step 2 – Line your bag
Lining the bag is easy – no need for major sewing skills (hand sewing works!). You will make a fabric pouch the same size as your crocheted bag, slide it in, and stitch up the top. To close the bag, you can add a magnetic snap or a zipper, following the links below.
- Iron the fabric you are planning to use.
- Lay your fabric out on a smooth surface, and fold it in half.
- Place your bag on top of it. The bottom of the bag should be on top of the folded side of the fabric.
- Trace around the bag, leaving roughly 1/2-inch extra fabric along the sides and top of the bag, then cut out your fabric.
- Sew the sides of the fabric, leaving the top side only unsewed. You just made a pouch!
- Place the pouch inside the bag, the right side of the fabric facing out.
- Adjust the lining carefully, fold down the fabric roughly 1/2 inch at the top, and clip or pin it to the crochet bag.
- Use a needle and thread to stitch around the top of the bag, sewing the lining and the crochet together.
- Attach the magnetic closure, and you are all done! 🙂
Useful videos:
I offer full support to help you with any questions or challenges you might have. Feel free to drop your comments in the section below or join our Facebook group, where I, along with my wonderful testers and community members, will be more than happy to assist you!



hi im struggling a bit with the seam of this pattern. ive placed a stitch marker at the beginning of each row but it keeps shifting. this leaves almost a cluster of the same colour yarn where the new row begins. stitch 1 and 30 of each row sit on top of each other. is this correct?
Hi Samia! Yes, it’s normal for the seam to shift when working in spiral. If you join with an invisible slip stitch and tighten the first group of the round, the seam will be barely noticeable. Feel free to attach a photo if you want me to take a closer look.