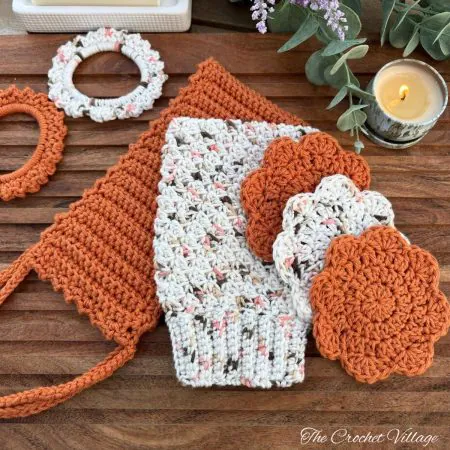
Create a luxurious handmade bath gift with the Amber Spa Set, a free 4-in-1 crochet bath bundle featuring a textured, reversible bath mitt, a matching drawstring soap bag, face scrubbie makeup pads, and a practical holder. Crafted from soft, reusable cotton yarn, this eco-friendly collection is perfect for self-care, thoughtful gifting, or market prep.
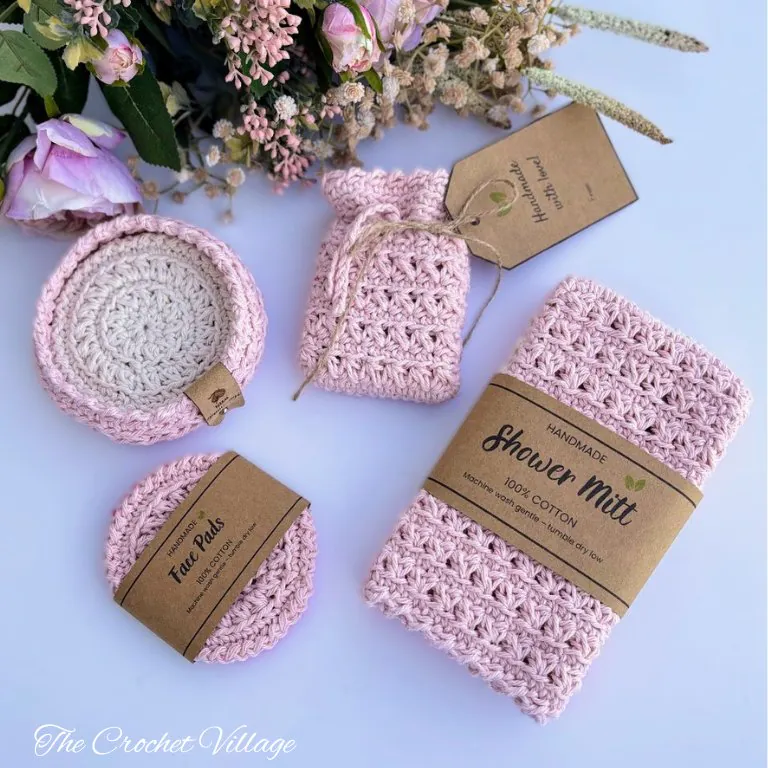
Meet the Amber Spa Set Pattern – Crochet 4-in-1 Bath Bundle
I’m so excited to introduce you to the Amber Spa Set, a gorgeous free crochet bath set pattern that’s perfect for pampering yourself or creating beautiful handmade gifts.
This 4-in-1 bundle gives you everything you need to craft a complete spa gift set—whether you’re making it for someone special, adding beautiful pieces to sell at markets, or simply treating yourself.
What makes this crochet spa set collection so special? It’s absolutely gorgeous, and every piece is beautifully crafted to match, made with soft, reusable cotton yarn. These handmade spa essentials are sustainable, practical, and feel luxurious every time you use them.
Keep reading to find the free pattern, or if you prefer a printable add-free PDF, you can find it on Etsy, Ravelry, and my online store!
What’s Included in this free bath set Bundle
The Amber Spa Set includes four essential pieces designed to work perfectly together:
- A gorgeous textured bath mitt with a reversible design (it looks equally beautiful on both sides!)
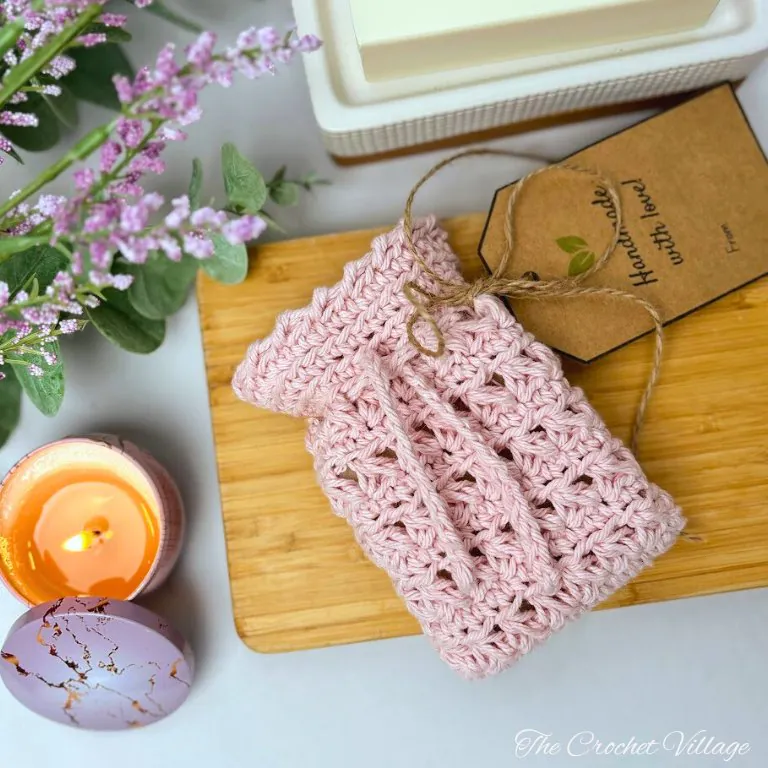
- A lovely matching drawstring soap bag
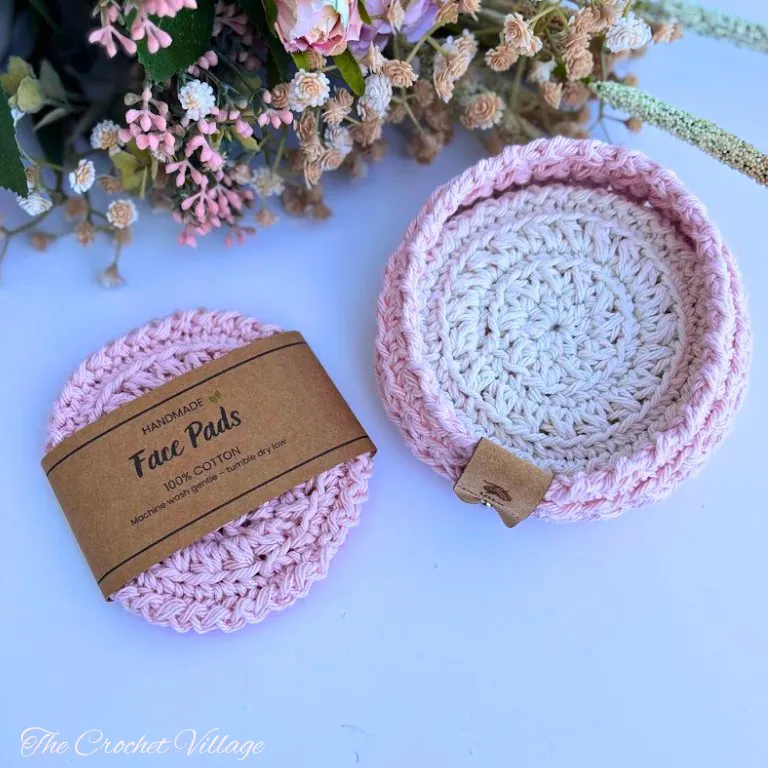
- Adorable face scrubbie makeup pads
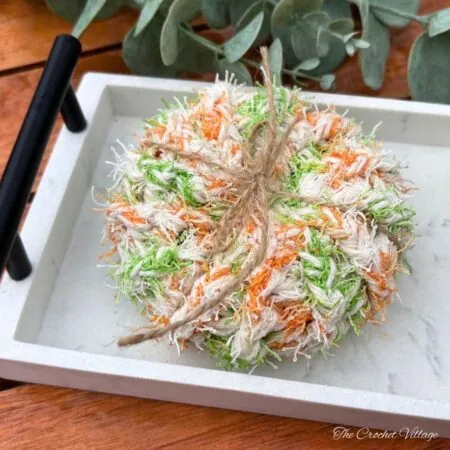
- A practical scrubbie holder to keep everything neat and organized
This pattern is designed for intermediate crocheters, and I highly recommend using cotton yarn for the best results.
Ready to get started? Keep reading below for the complete free pattern.
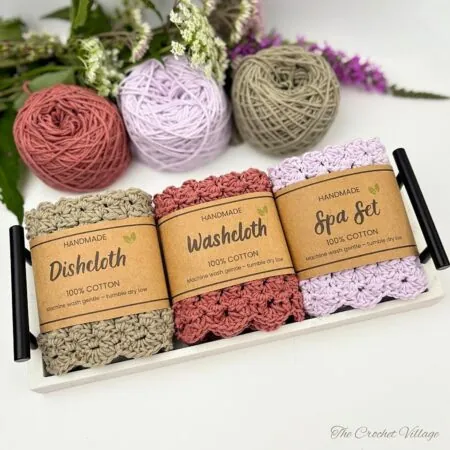
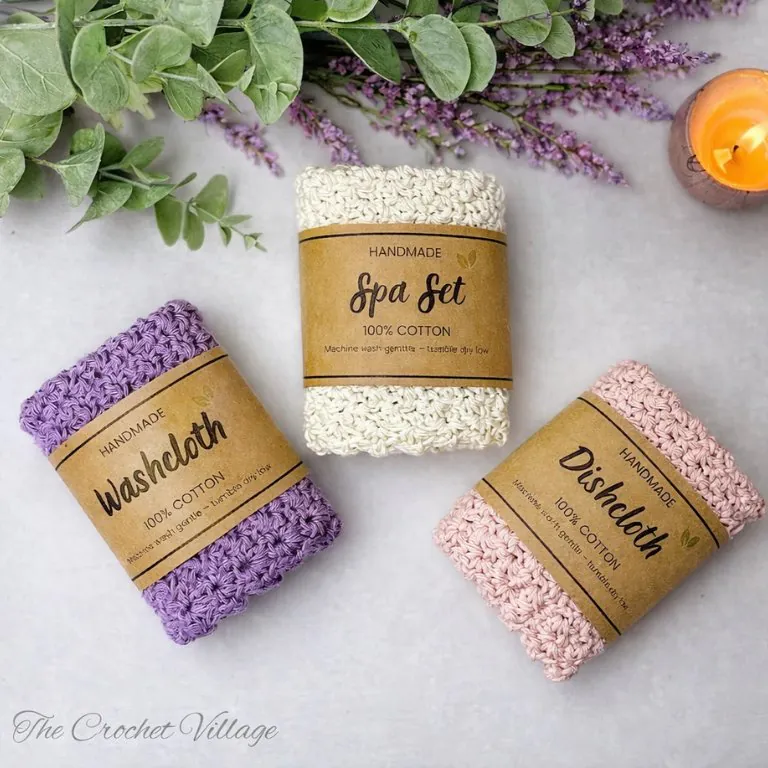
If you prefer an ad-free, printable PDF version, you’ll find it available in my Etsy and Ravelry shops. The premium version also includes beautiful gift labels and tags, so you can easily turn your finished pieces into the sweetest little gift sets. Just print, attach, and they’re ready to gift.
They’re also perfect if you’re preparing for market sales, helping your creations look polished, professional, and thoughtfully put together. It’s those little details that really make your handmade items stand out.
Free crochet Spa gift set patterns – Start Here
Pattern notes:
- This pattern is written in US terms.
- The skill level is intermediate.
- Numbers in parentheses at the end of each row indicate the total stitch count for that row.
Recommended yarn:🧶 Crafter’s Secret Cotton Yarn, #4 worsted-weight cotton yarn. Colors shown: Ivory, Rose quartz, and Hot pink
Yardage
- Bath mitt: About 90 yds
- Soap bag: About 75 yds
- Face rounds: About 15 yds each
- Basket: About 45 yds
Crochet hook: (H) 5 mm
Other materials: Tapestry needle to weave in ends.
Gauge: 4” square = 12 rows and 16 ST
Measurements
- Bath mitt: 7 ¼” x 4 ¼”
- Soap bag: 5” x 4”
- Face round: 4 ½” in diameter
- Holder: 4 ¾” in diameter
Abbreviations
- CH: Chain
- ST: Stitch
- SL ST: Slip stitch
- SC: Single crochet
- BLO: Back loop only
- RSC: Reverse single crochet
- YO: Yarn over
- Rnd: Round
- SP: Space
- Rep: Repeat
Special stitches
Reverse single crochet (RSC): Without turning your work, single crochet from left to right (the opposite of usual). Insert your hook into the next stitch to the right, yarn over, pull up a loop, yarn over, and pull through both loops on the hook. Watch here.
Amber Bath Set Crochet Pattern Bundle
In this free Amber Bath Set crochet pattern, I’ll share all the materials you need along with step-by-step instructions to create this beautiful spa bundle.
If you prefer a printable, ad-free PDF, the paid version is available in my Etsy and Ravelry shops. It also includes printable gift tags and labels to give your finished sets a polished, professional touch.
Prefer A Printable PDF?
Treat yourself to the ad-free, beautifully formatted version of this design for a small fee!
Crochet the shower mitt
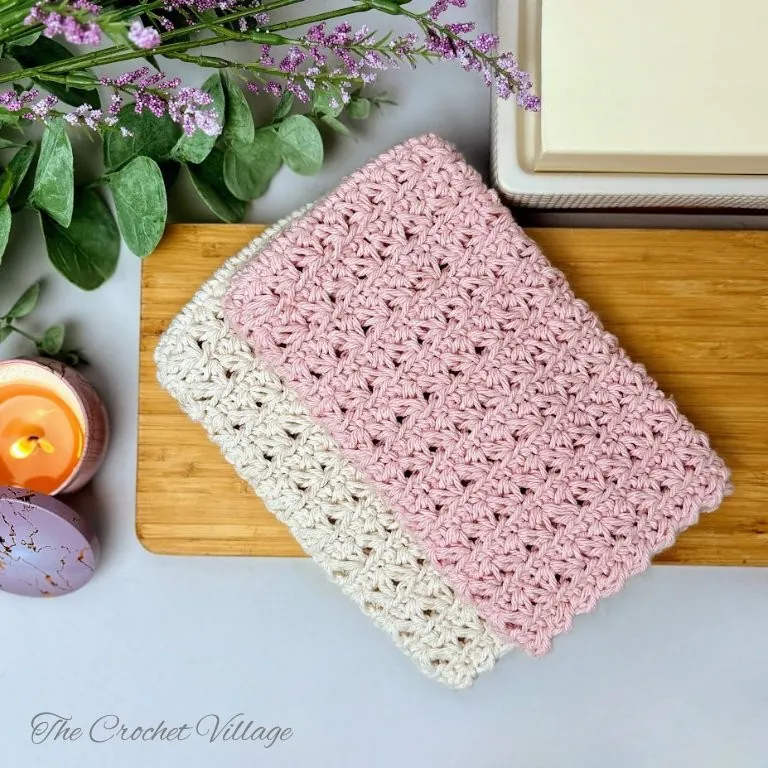
CH 17 to make a foundation chain.
Rnd 1:
- 2 SC in the 2nd CH from the hook, SC in the next 14 CH, 3 SC in the last CH. Work into one loop only of each chain. We’ll use the other loop in the next step. (19 SC)
- Continue crocheting along the other side of the chains, working into the unused loops. SC in the next 14 CH (crochet over the tail to hide it), SC in the last CH that already has 2 SC. join with a SL ST into the 1st SC, CH 1. (15 SC).
- You should have a total of 34 ST around.
Rnd 2:
- YO, insert the hook in the join, pull up a loop, YO, skip next ST, insert the hook in next ST, pull up a loop, YO, pull through all 5 loops, CH 1.
- * YO, insert the hook in the last worked ST, pull up a loop, YO, skip next ST, insert the hook in next ST, pull up a loop, YO, pull through all 5 loops, CH1,*
- Rep * to* around, join with a SL ST into the 1st ST, CH 1. (34 ST)
Rnd 3: SC BLO in the 1st ST (in same ST as the SL ST), SC BLO in each ST around, join with a SL ST into the 1st SC, CH 1. (34 SC)
Rnd 4 – 21: Rep Rnd 2-3.
Rnd 22: *RSC in the next ST to the right, skip next ST to the right,* rep *to* around, join with a SL ST into the 1st ST, fasten off.
Note: Remember to skip a ST between the RSC stitches.
Weave in all ends, and you are all done!
Crochet The Soap Bag
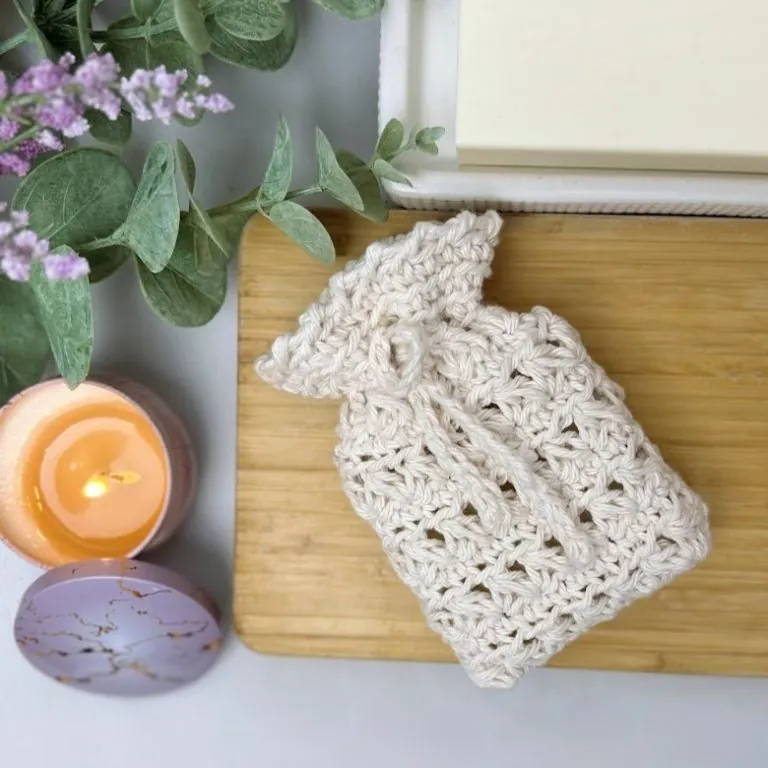
CH 15 to make a foundation chain
Rnd 1: 2 SC in the 2nd CH from the hook, SC in the next 12 ST, 3 SC in the last CH. Continue crocheting along the back, unused loops of the foundation Chain. SC in next 12 ST (crochet over the tail to hide it), SC in the last CH already holding 2 SC, join with a SL ST into the 1st SC, CH1. (30 SC)
Rnd 2:
- YO, insert the hook in the join, pull up a loop, YO, skip next ST, insert the hook in next ST, pull up a loop, YO, pull through all 5 loops, CH 1.
- * YO, insert the hook in the last worked ST, pull up a loop, YO, skip next ST, insert the hook in next ST, pull up a loop, YO, pull through all 5 loops, CH1*
- Rep * to* around, join with a SL ST into the 1st ST, CH 1. (30 SC)
Rnd 3: SC BLO in the 1st ST (in same ST as the SL ST), SC BLO in each ST around, join with a SL ST into the 1st SC, CH 1. (30 SC)
Rnd 4 -10: Rep Rnd 2-3.
Rnd 11-13: Rep Rnd 3.
Tip: To avoid a visible seam, feel free to crochet Rnds 11–13 in continuous rounds. Make sure to end Rnd 13 in the corner with a SL ST.
Rnd 14: *RSC in the next ST to the right, skip next ST to the right,* rep *to* around, join with a SL ST into the 1st ST, fasten off. Weave in all ends.
Note: Remember to skip a ST between the RSC stitches.
Make the Drawstring
CH 48, secure both ends with a couple of knots, then cut the yarn. Thread the drawstring through Rnd 10, two stitches at a time.
Crochet the face scrubbies
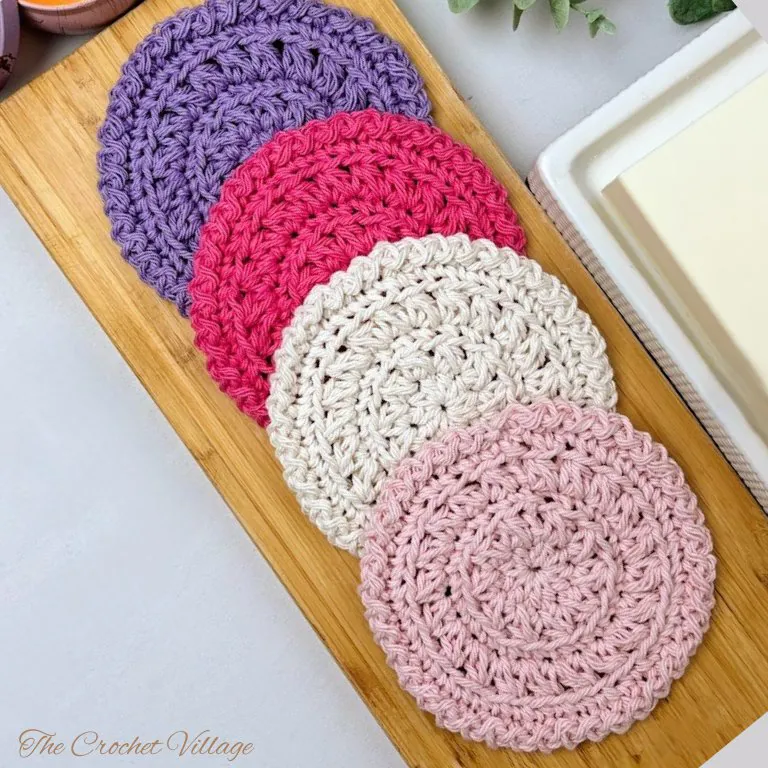
Make a magic circle, CH 1.
Rnd 1: 10 HDC in the circle, join with a SL ST into the 1st HDC, CH 1. (10 HDC). Close the magic circle by pulling the tail tight, then secure it with a couple of knots.
Rnd 2:
- YO, insert the hook in the join, pull up a loop, YO, insert the hook in the next ST, pull up a loop, YO, pull through all 5 loops, CH 1.
- * YO, insert the hook in last worked ST, pull up a loop, YO, insert the hook in next ST, pull up a loop, YO, pull through all 5 loops, CH 1*
- Rep * to * around, join with a SL ST into the 1st ST, CH 1. (20 ST)
Rnd 3: SC BLO in the 1st ST (same ST as the SL ST), SC BLO in each ST around, join with a SL ST into the 1st SC, CH1. (20 SC).
Note: No worries if your work curves here — it will straighten out at the end.
Rnd 4: Rep Rnd 2. (40 ST)
Rnd 5: Rep Rnd 3. (40 SC)
Rnd 6: *SL ST into the next ST, CH 1,* rep *to* around, join with a SL ST into the 1st ST around, fasten off.
Weave in all ends, and you are all done!
Crochet the holder
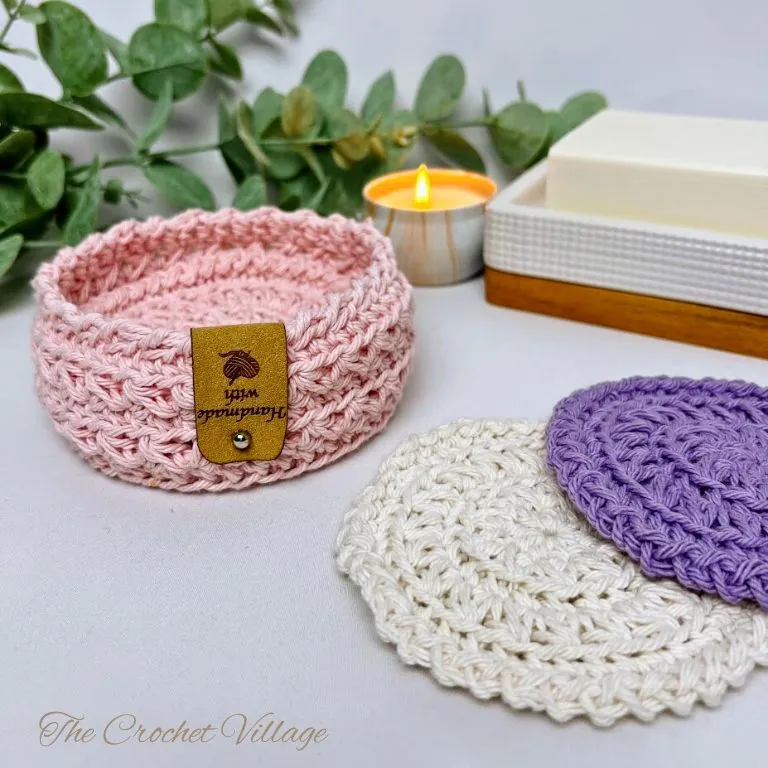
Make a magic circle, CH 1.
Rnd 1: 10 HDC in the circle, join with a SL ST into the 1st HDC, CH 1. (10 HDC). Close the magic circle by pulling the tail tight, then secure it with a couple of knots.
Rnd 2: 2 HDC in each ST around, join with a SL ST into the 1st ST, CH 1. (20 HDC)
Rnd 3: *2 HDC in next ST, HDC in next ST,* rep *to* around, join with a SL ST into the 1st ST, CH 1. (30 HDC)
Rnd 4: *2 HDC in next ST, HDC in next 2 ST,* rep *to* around, join with a SL ST into the 1st ST, CH 1. (40 HDC)
Rnd 5: *2 HDC in next ST, HDC in next 3 ST,* rep *to* around, join with a SL ST into the 1st ST, CH 1. (50 HDC)
Rnd 6: SC BLO in the 1st ST (same ST as the SL ST), SC BLO in each ST around, join with a SL ST into the 1st SC, CH1. (50 SC).
Rnd 7:
- YO, insert the hook in the join, pull up a loop, YO, skip next ST, insert the hook in next ST, pull up a loop, YO, pull through all 5 loops, CH 1,
- * YO, insert the hook in last worked ST, pull up a loop, skip next ST, YO, insert the hook in next ST, pull up a loop, YO, pull through all 5 loops, CH 1*, rep * to * around, join with a SL ST into the 1st ST, CH 1. (50 ST)
Rnd 8 -10: Rep Rnd 6-7
Rnd 11: *RSC in next ST to the right, skip next ST to the right,* rep *to* around, join with a SL ST into the 1st ST, fasten off.
Weave in all ends, and you are all done!
I offer full support to help you with any questions or challenges you might have. Feel free to drop your comments in the section below or join our Facebook group, where I, along with my wonderful testers and community members, will be more than happy to assist you!