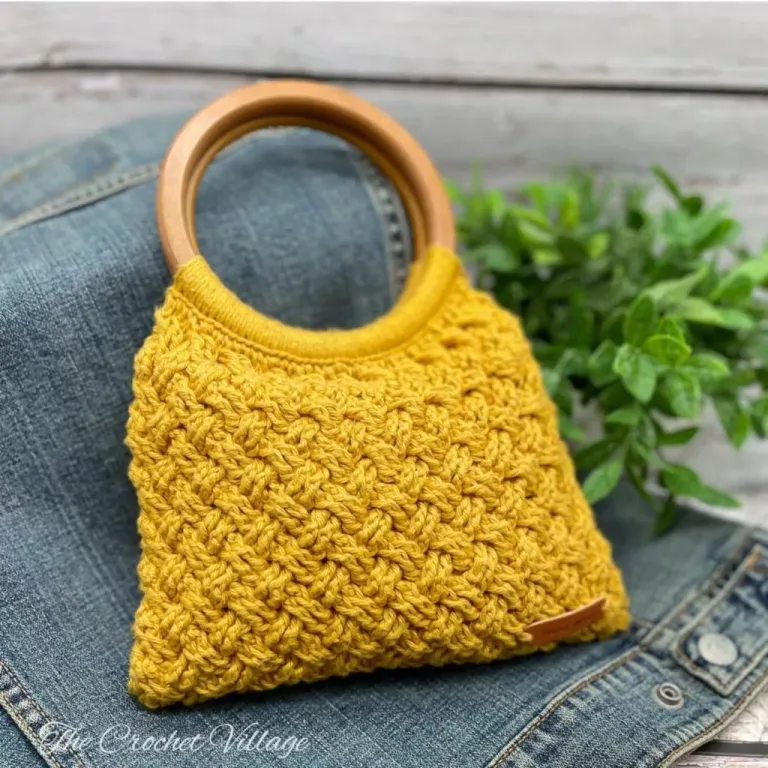
This free crochet bag pattern combines a stunning Celtic weave stitch with beautiful round wooden handles for a handmade purse you’ll be so proud to carry. The Naomi Bag is designed for intermediate crocheters and includes an easy lining tutorial — follow along and you’ll have a gorgeous, polished bag to show for it!
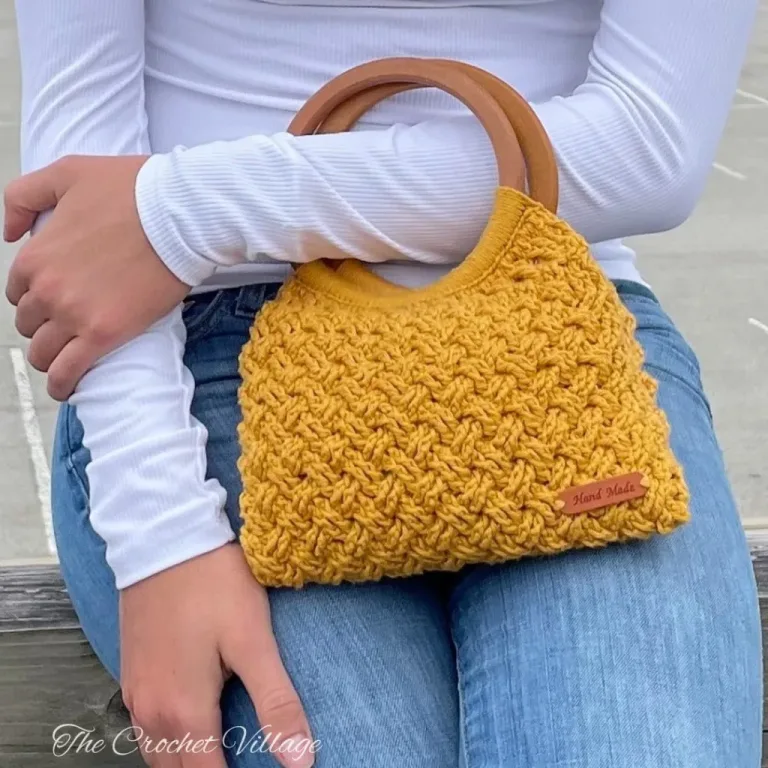
If you love handmade crochet bags, you’re going to obsess over the Naomi Bag free crochet pattern! This stylish crochet handbag with wooden handles is a beautiful mix of modern style and handmade charm, featuring a gorgeous textured Celtic weave stitch and sturdy round wooden handles that add both style and functionality.
The wooden handles aren’t just pretty—they’re super practical too! They give your bag a clean, polished look and are one of the best ways to prevent your crochet bag from stretching over time. I share even more tips on keeping your bag in shape in my How to Prevent Your Crochet Bag from Stretching blog post!
Keep reading to find the free pattern, or if you prefer a printable add-free PDF, you can find it on Etsy, Ravelry, and my online store!

What Makes the Celtic Weave Stitch So Special?
The Celtic weave crochet stitch is what gives this bag its stunning texture—and yes, it looks complicated! It’s considered an advanced stitch, but if you’re comfortable with FPTR and BPTR, you’ll find it much easier than it looks. This free crochet bag pattern is designed with intermediate crocheters in mind, so you’ve totally got this.
You can use this beautiful stitch in other crochet projects too, like pillows, blankets, and hats. Check out my Nordic Wine Cozy
The construction is straightforward, too—you’ll crochet a rectangle, then attach the round wooden handles along the short sides by simply crocheting over them as you go. No complicated finishing!
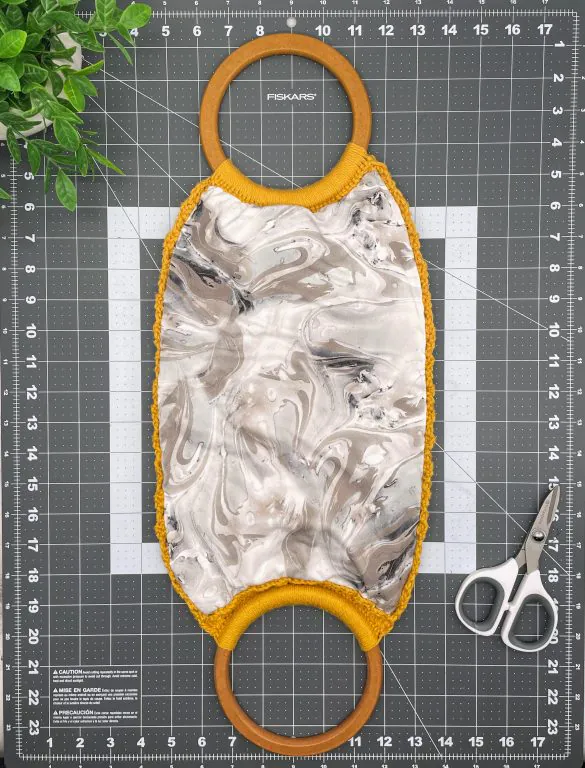
Since the bag is worked as a rectangle, you can add a lining before closing the sides, which makes the whole process really easy with just a bit of basic hand sewing. I used satin fabric from an old dress (lol), so feel free to recycle old clothes or sheets and use whatever fabric you have on hand! 😉
Free crochet Naomi Bag pattern – Start Here
Recommended Yarn: 🧶 I Love This Cotton Yarn, #4 worsted-weight cotton. Yarn. Color shown: Gold.
Yardage: About 310 yards.
Yarn Substitution: Avoid stiff, thick cotton yarn—it can make the Celtic weave stitch harder to crochet.
Crochet Hook: F/4 mm hook
Finished Dimensions: Height= 6“ x Width= 9”
Other Materials:
- 2 wooden rings
- Faux leather label
- Tapestry needle.
- Fabric for lining (recycle old clothing)
- Rotary fabric cutter
- A thread and a darning needle to sew the fabric.
Gauge: 4” square = 16 rows and 16 SC
Abbreviations:
- CH: Chain
- ST: Stitch
- SL ST: Slip stitch
- SC: Single crochet
- DC: Double crochet
- TR: Treble
- FLO: Front loop only
- FPTR: Front post treble
- BPTB: Back post treble
- YO: Yarn over
- SP: Space
- Rep: Repeat

Pattern notes
- This pattern is written in US terms.
- The skill level is intermediate.
- The bag measures 6” high and 9” wide—perfect for a wrist bag. To adjust the size, change the foundation chain (in multiples of 4) and add or reduce rows for the height.
Special stitches
- Front post treble (FPTR): YO, twice, insert your hook from front to back to front around the post of the next stitch, YO, pull up a loop, YO, pull through 2 loops on your hook, YO, pull through 2 loops on your hook, YO, pull through remaining two loops on your hook. Watch here.
- Back post treble (BPTR): YO twice, insert your hook from the back to front, and work around the post of the stitch. YO, pull up a loop, YO, pull through 2 loops on your hook, YO, pull through 2 loops on your hook, YO, pull through the remaining two loops on your hook. Watch here.
- Double crochet in the front loop only: (DC FLO) Instead of inserting your hook into both top loops, insert the hook into the front loop of the stitch and exit through the center of the stitch, working the double crochet around the front loop. Watch here.
Naomi Bag Free Crochet Pattern — Celtic Weave Stitch Handbag with Wooden Handles
In this free crochet bag pattern, I’ll walk you through all the materials you need and provide step-by-step instructions to make this gorgeous crochet handbag with wooden handles.
If you prefer a printable, ad-free PDF with everything beautifully laid out — including a video tutorial for the Celtic weave stitch and progress photos — the premium version is available now in my online shops linked below!
Prefer A Printable PDF?
Treat yourself to the ad-free, beautifully formatted version of this design for a small fee!
Step 1 – Attach the 1st handle
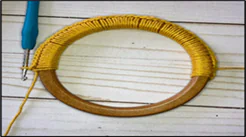
Slip knot, then SC around the 1st handle as follows: * slide the crochet hook inside the handle, place the yarn over the handle, YO, slide back the hook forward, YO, pull through both loops*, rep *to* 47 more times, then turn. (48).
Note: If needed, click here to watch a video on how to single crochet around a ring.
Step 2 – Crochet the bag
The Celtic weave crochet stitch can feel a little confusing at first, but don’t worry — you’ll memorize the pattern quickly as you work through the bag! The placement of your Front Post Treble (FPTR) and Back Post Treble (BPTR) stitches is key. To easily identify the skipped stitches and find the correct placement, simply look at your stitches from above — it makes a huge difference!
Row 1: CH2 (counts as a DC), DC FLO in every ST across, turn. (48)
Row 2: CH2 (doesn’t count as a ST), DC in same ST, *skip next 2 ST, FPTR in next 2 ST, FPTR in the 1st skipped ST, FPTR in the 2nd skipped ST,* rep *to* across until you have 3 ST left (+ CH2), FPTR in next 2 ST, skip next DC, DC into the top CH2, turn.
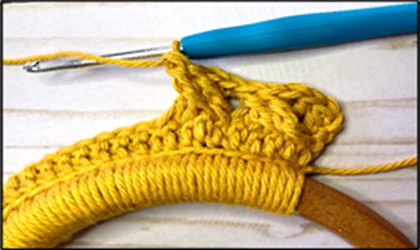
Row 3: CH2 (doesn’t count as a ST), DC in same ST,*skip next 2 ST, BPTR in next 2 ST, BPTR in 1st skipped ST, BPTR in 2nd skipped ST,* rep * to* across until you have 3 ST left (+ CH2), BPTR in next 2 ST, skip next ST, DC into the top CH2, turn.
Row 4- 31: Rep Row 2- 3
Row 32: CH2, DC in every ST across ( DC in between the TR, not at the top), CH1, turn.
Step 3 – Attach the 2nd handle
Row 33: *Insert the hook into the FLO of next ST, slide the crochet hook inside the 2nd handle, place the yarn over the handle, YO, slide back the hook forward through the FLO, YO, pull through both loops*, rep *to* across.
Optional: For a nice finish, fasten off but leave a long tail (about 15”) for sewing. Use a tapestry needle to attach the “loose stitches” of Row 33 to the back unused loops of Row 32, one stitch at a time.
Step 4 – Line the bag
- Before you line the bag, weave, cut all ends, and attach a tag.
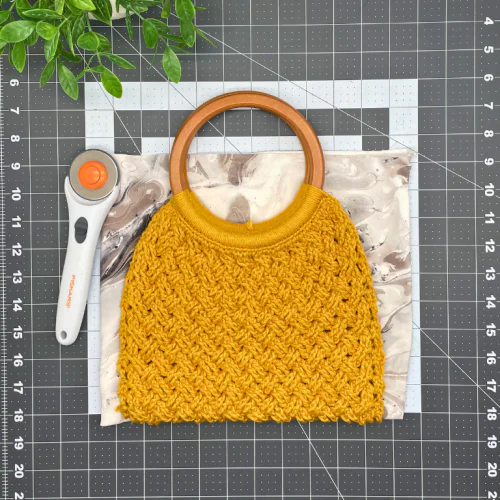
- Iron the fabric you are planning to use as your lining.
- Lay your fabric out on a smooth surface, and fold it in half.
- Place your folded bag on top of it. The bottom of the bag on top of the folded side.
- Trace around the bag, leaving roughly 1/2- inch extra fabric along the sides and top of the bag.
- Cut out your fabric.
- Lay the bag flat with the wrong side facing up.
- Lay the lining on top with the right side facing up.
- Adjust the lining carefully. Fold down the fabric roughly 1/2 inch around and clip or pin it to the crochet bag.
- Use a needle and a thread to stitch around the bag, sewing the lining and crocheted bag together.
- Fold the lined bag inside out. With a tapestry needle and the yarn, sew the sides together to close the bag, one stitch at a time.
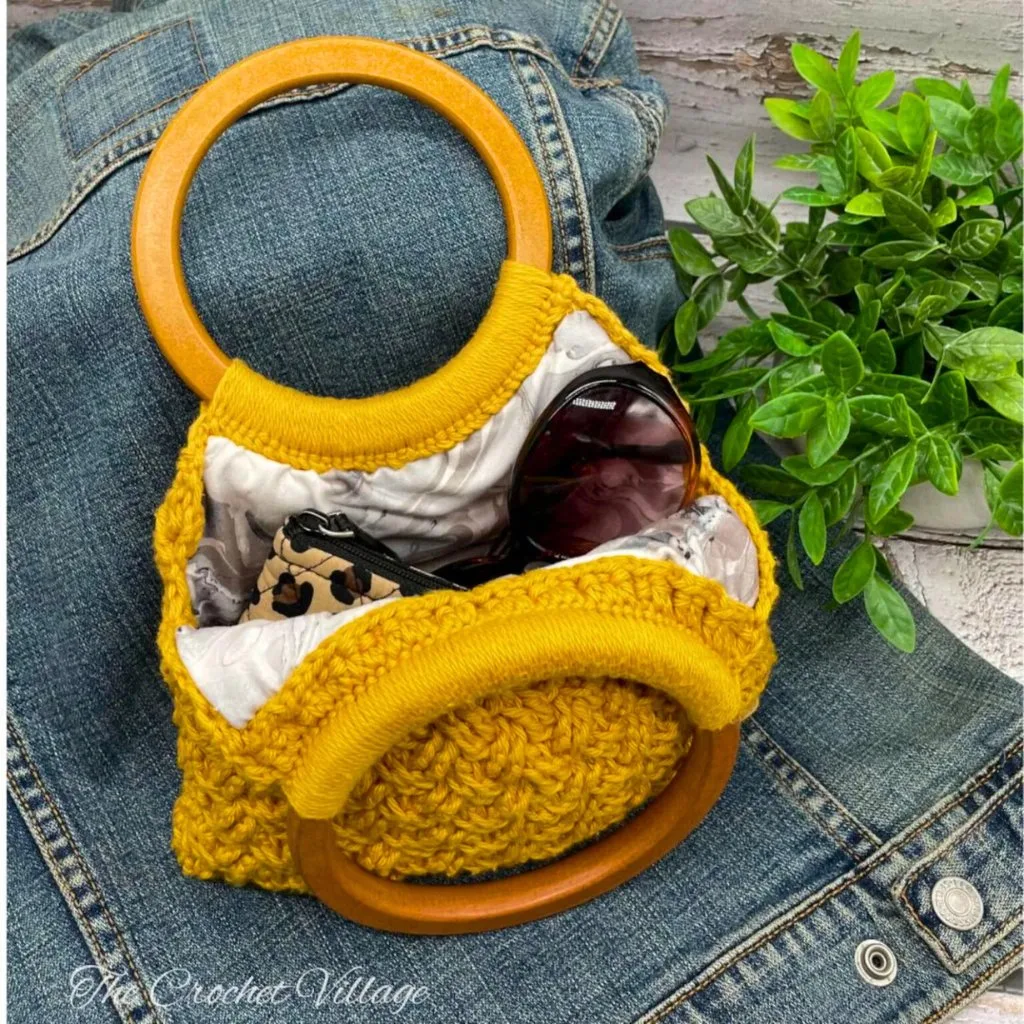
- Sew through the backs of the stitches so that the stitches don’t show on the front side of the bag.
- Leave about 3” unsewed on both sides, near the top, for an easy opening.
I offer full support to help you with any questions or challenges you might have. Feel free to drop your comments in the section below or join our Facebook group, where I, along with my wonderful testers and community members, will be more than happy to assist you!