
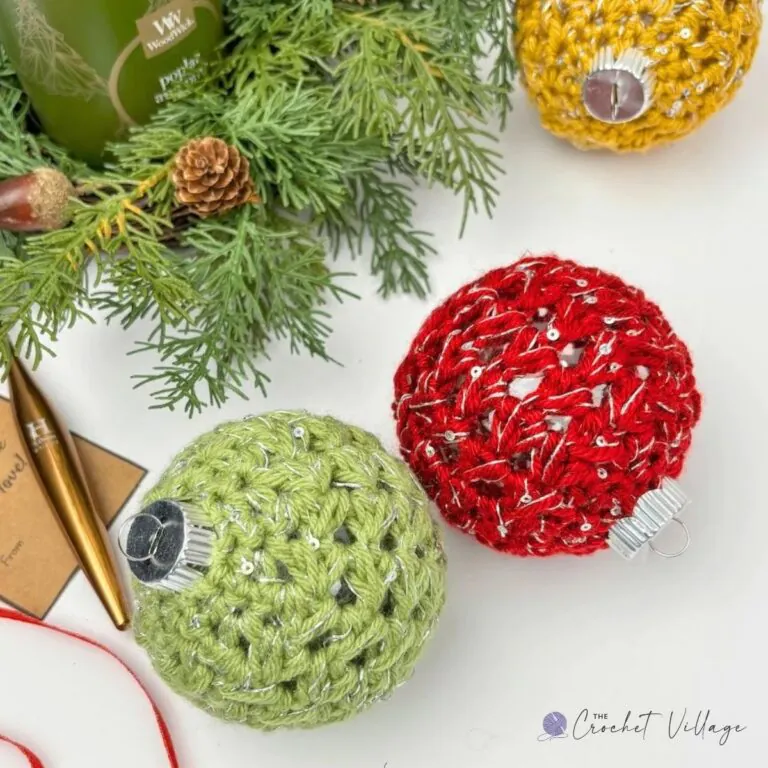
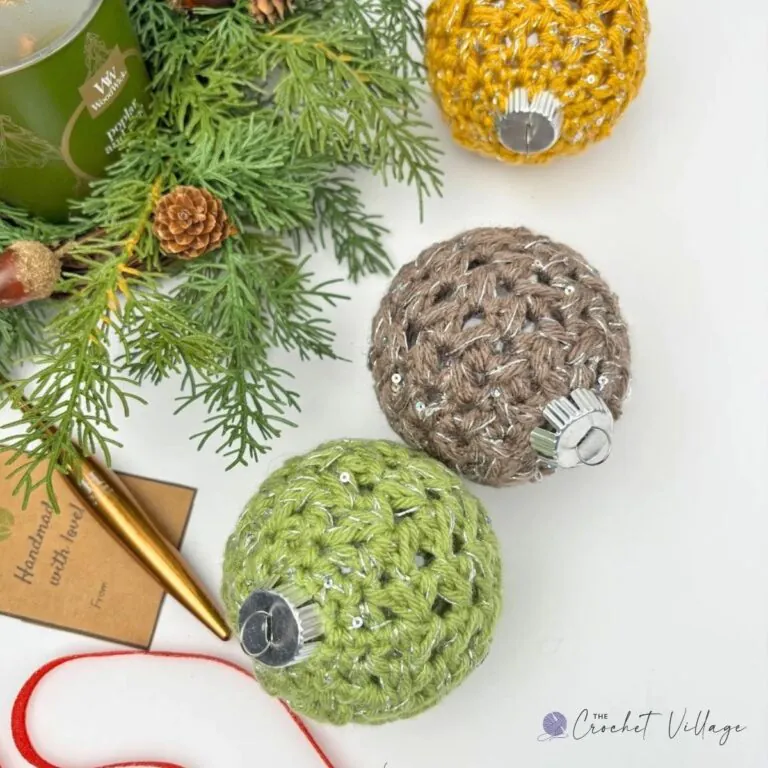
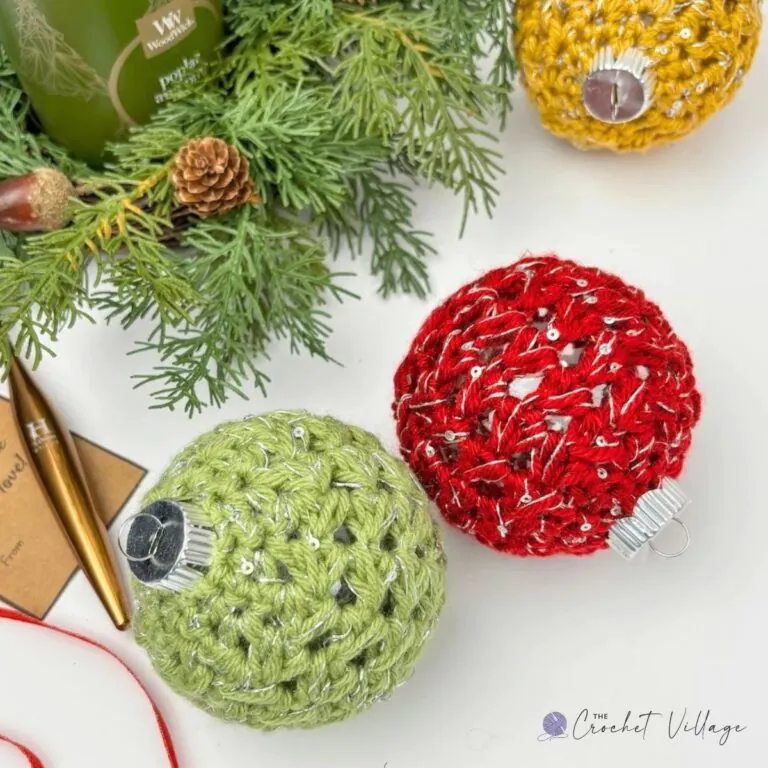
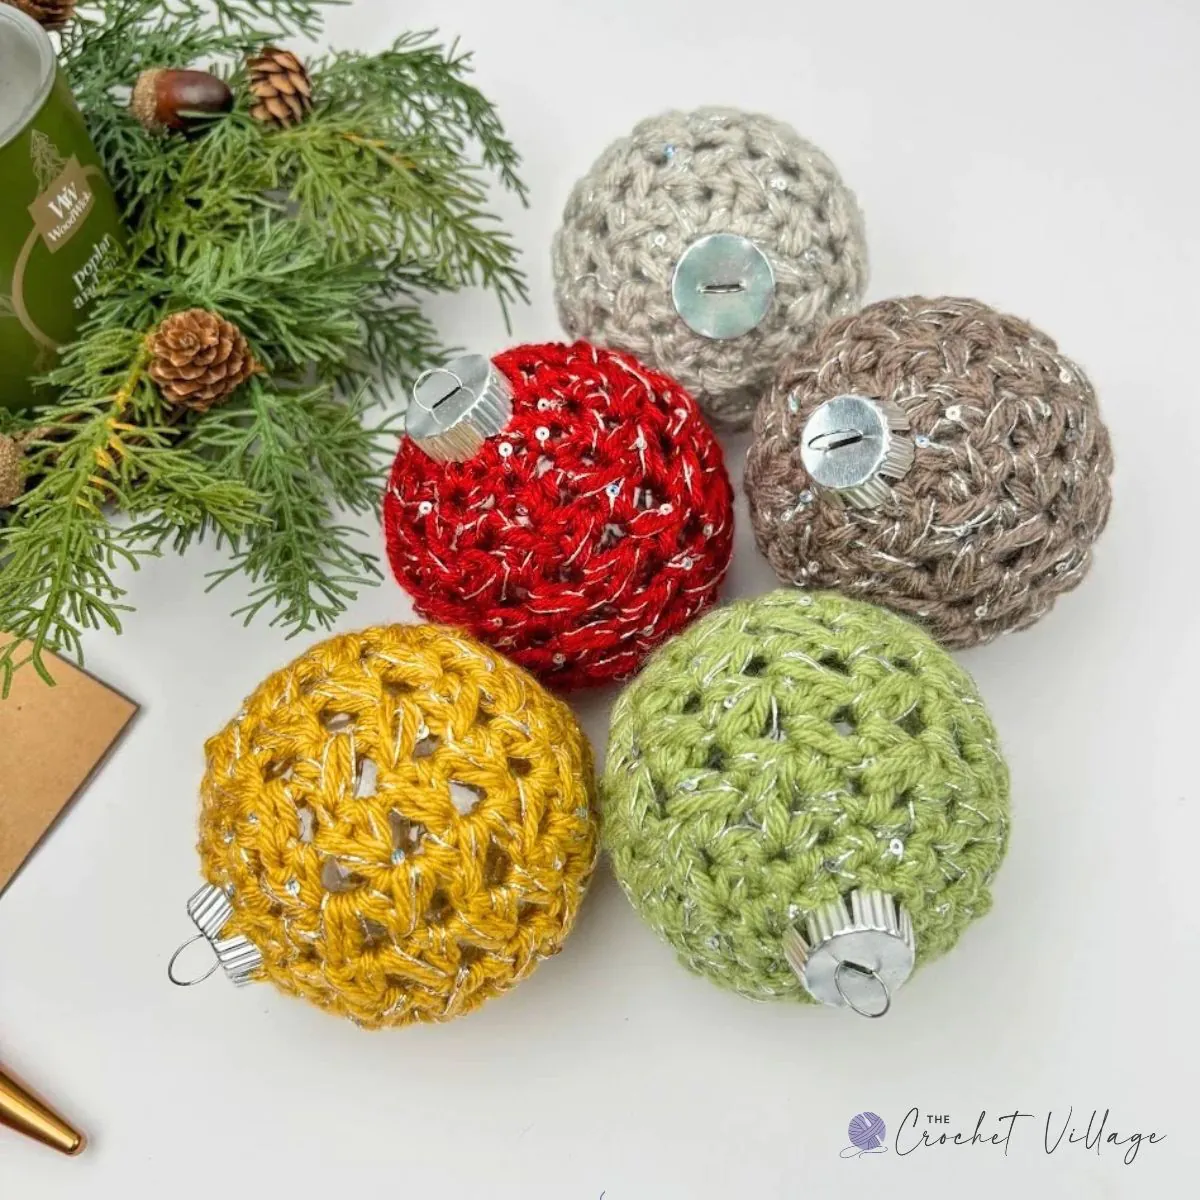
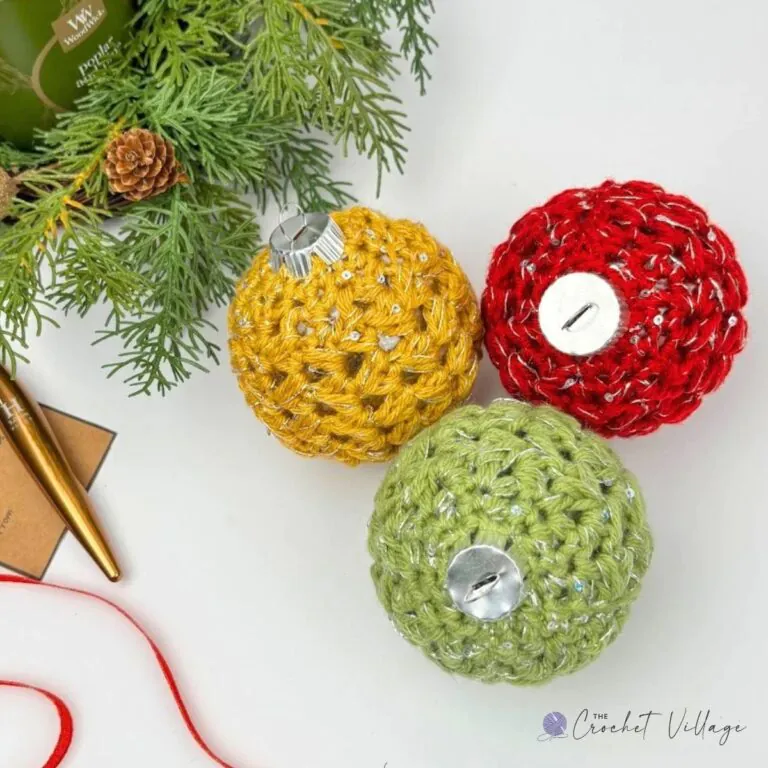
This free crochet Christmas ornament pattern turns a simple rectangle into the prettiest little bauble covers! Merry & Bright works up fast in #4 medium-weight yarn, comes in two sizes with tips to fit any ornament, and is the perfect way to use up leftover yarn. Add a strand of metallic thread for extra sparkle
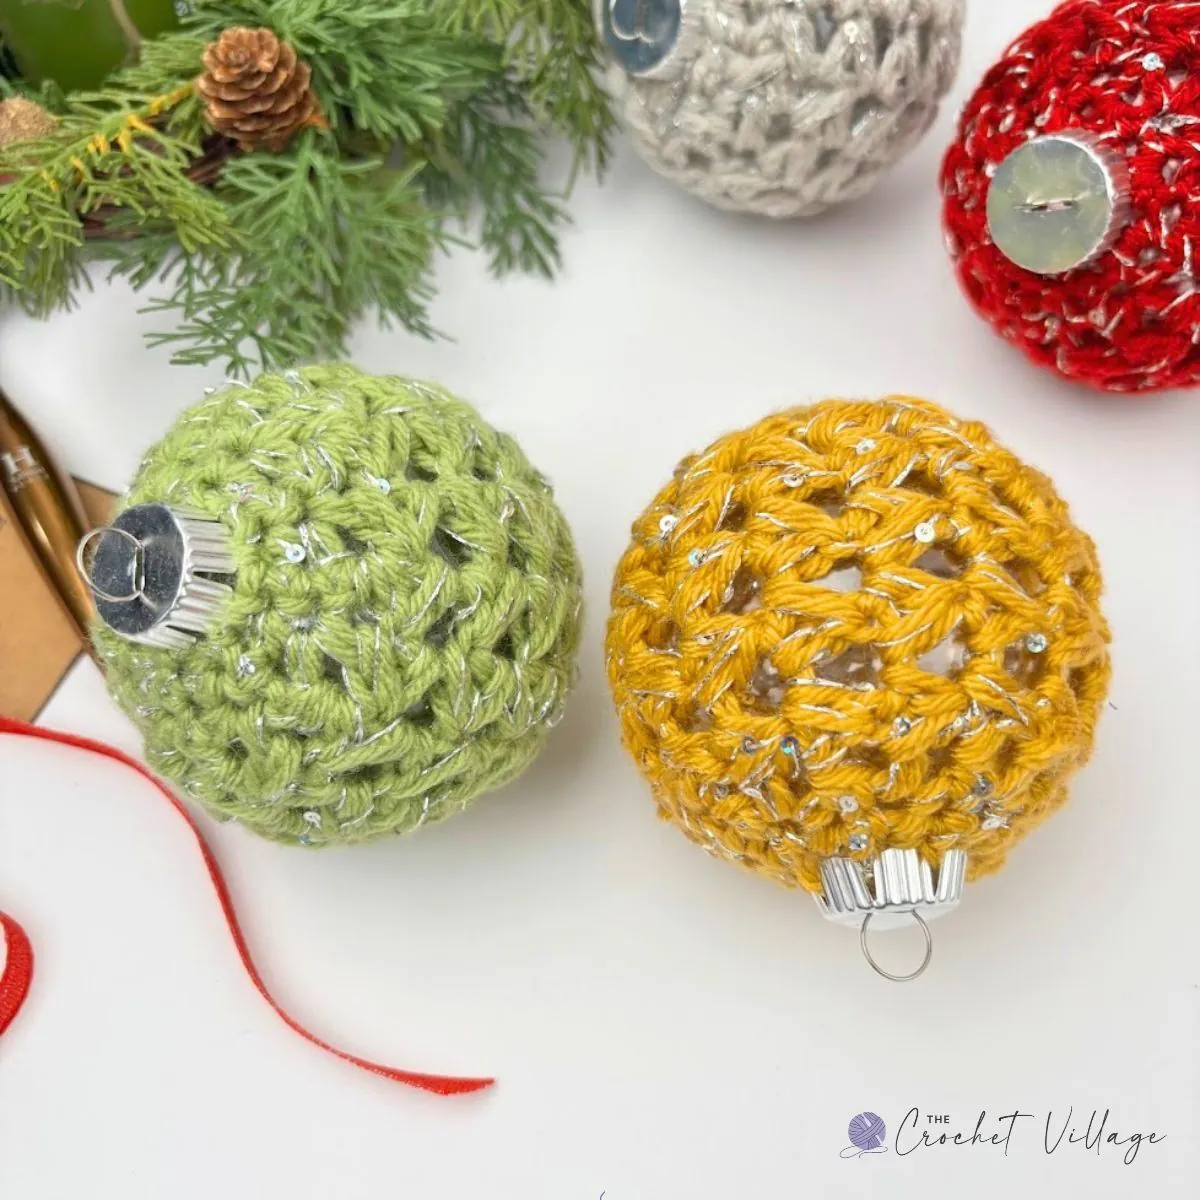
The Merry & Bright ornament covers started with a plain plastic bauble and a basket of leftover yarn — and I honestly didn’t expect them to turn out as pretty as they did. Each one begins as a simple rectangle. You crochet a flat piece, wrap it around your ornament, and that’s really it.
This free crochet Christmas ornament pattern is written for two sizes — small and large — plus simple instructions for adjusting it to fit whatever baubles you already have in the box. It’s a lovely way to give those old, scratched-up ornaments a second life, too!
I used #4 medium-weight yarn and held a strand of silver metallic thread alongside it for that extra festive sparkle, but these look just as lovely in a plain solid, a sparkle yarn, or something variegated.
And because each cover takes so little yarn, this is one of the best ways I know to use up those odds and ends you can’t bring yourself to throw away.
Why You’ll Love These Crochet Ornament Covers
Some Christmas projects take a whole weekend, and some you can finish before your tea goes cold. These little ornament covers are so quick to make, which is exactly what I love about them. Each one is just a small rectangle with a bit of shaping along the edges, so it closes up neatly into a perfect round shape. And the stitch has a pretty, lacy look that lets just a hint of the ornament peek through. 💛
- Made from a simple rectangle — shaped at the edges for a neat, round fit
- Quick to finish — a perfect one-sitting project
- Pretty lacy stitch — a one row repeat easy to memorize
- Two sizes included — plus tips to fit any bauble you own
- Scrap-busting — uses barely any yarn, perfect for leftovers
- Upcycle old ornaments — cover up scratched or faded baubles
- Beginner-friendly — if you can work a flat piece, you can make these
- Endlessly customizable — solids, sparkle yarn, variegated, or add metallic thread
In this post, I’ll share everything you need — yarn, hook, sizing, and full step-by-step instructions — to make your own set of Merry & Bright ornament covers. Keep reading for the free pattern!
Prefer an Ad-Free Printable PDF?
The full pattern is always free right here on the blog! But if you’d rather crochet from a clean, well-formatted, ad-free printable PDF, it’s available in my online shops listed below for a small fee — and it helps me keep offering free patterns here on the blog, which I truly appreciate 💛
Prefer A Printable PDF?
Treat yourself to the ad-free, beautifully formatted version of this design for a small fee!
Christmas
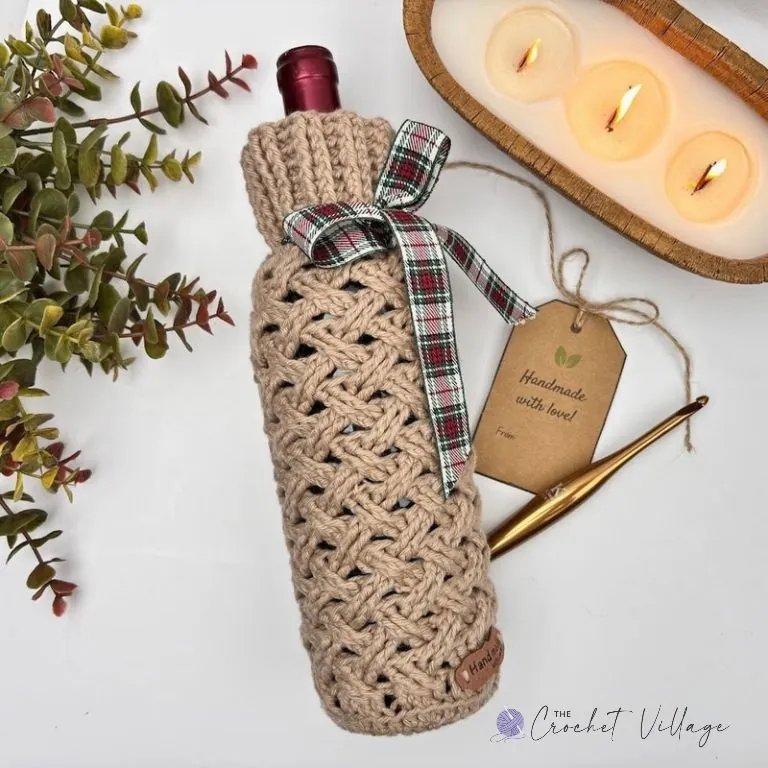
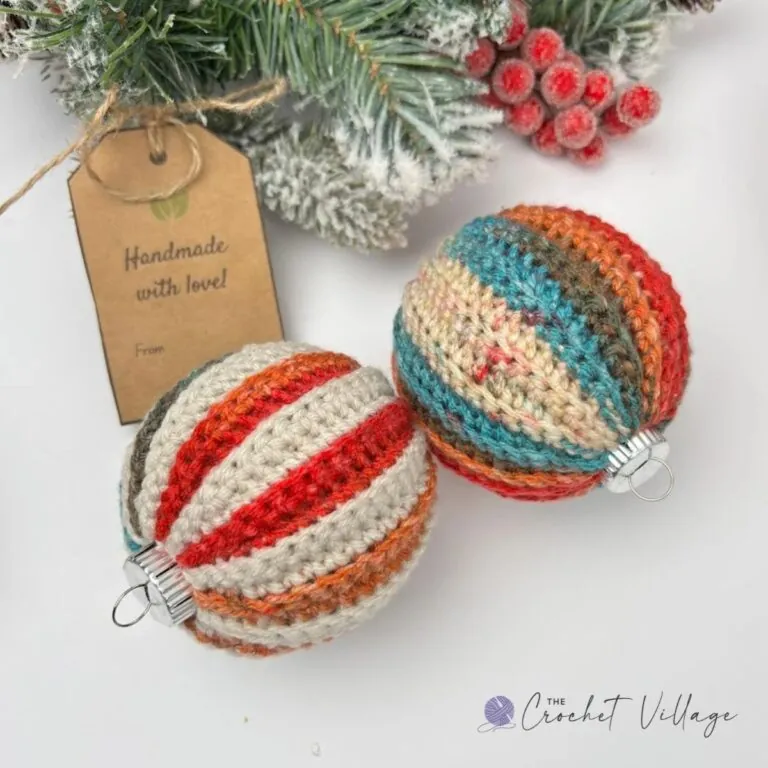
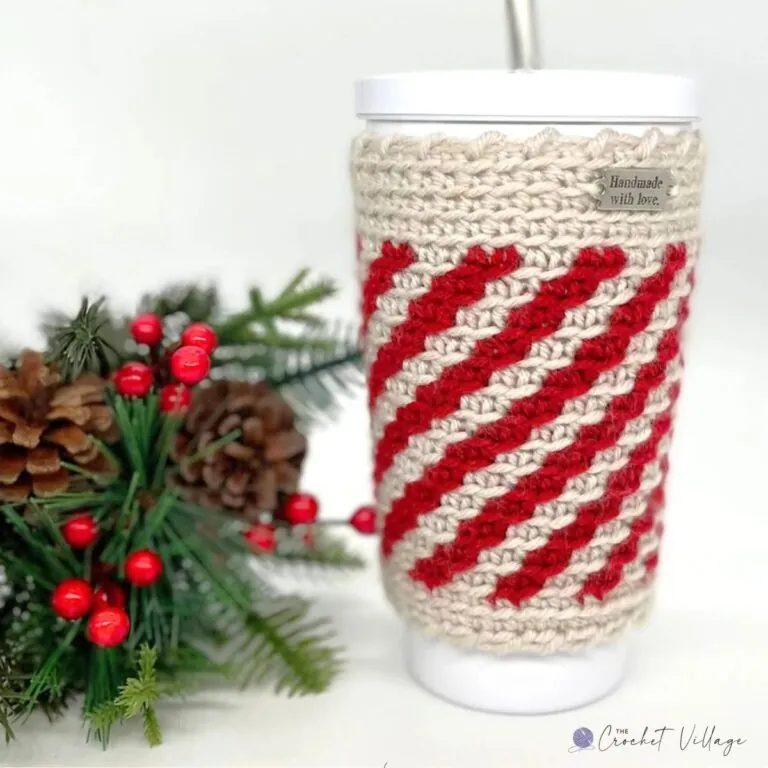
The Free Crochet Ornament Pattern Starts Here
RECOMMENDED YARN: Any #4 medium-weight yarn works. I used leftover yarn from I Love This Yarn and Big Twist Yarn. I also added Bejeweled Sequin Silver yarn from Hobby Lobby, held together with the other yarn. Feel free to use sparkly yarn if you prefer.
YARDAGE: Approximately 60 yd for the small size and 80 yd for the large size.
YARN SUBSTITUTION
- Red Heart Super Saver Yarn
- Paintbox Yarns Simply Aran Yarn
- Premier Yarns Basix
- Caron One Pound Soft Yarn
CROCHET HOOK: 6.5 mm
GAUGE: Not important in this pattern, but my gauge is: 2” square = 5 rows and 8 ST (pattern stitch)
OTHER MATERIALS
- Tapestry needle
- Scissors.
- 4” Plastic Ball Ornaments (for a large size)
- 3.25″Plastic Ball Ornaments (for a small size)
ABBREVIATIONS
- CH: Chain
- ST: Stitch
- STS: Stitches
- SC: Single crochet
- SLS: Slip stitch
- YO: Yarn over
- SP: Space
- Rep: Repeat
Pattern notes
- Terminology: Written in US terms
- Difficulty: Easy to intermediate
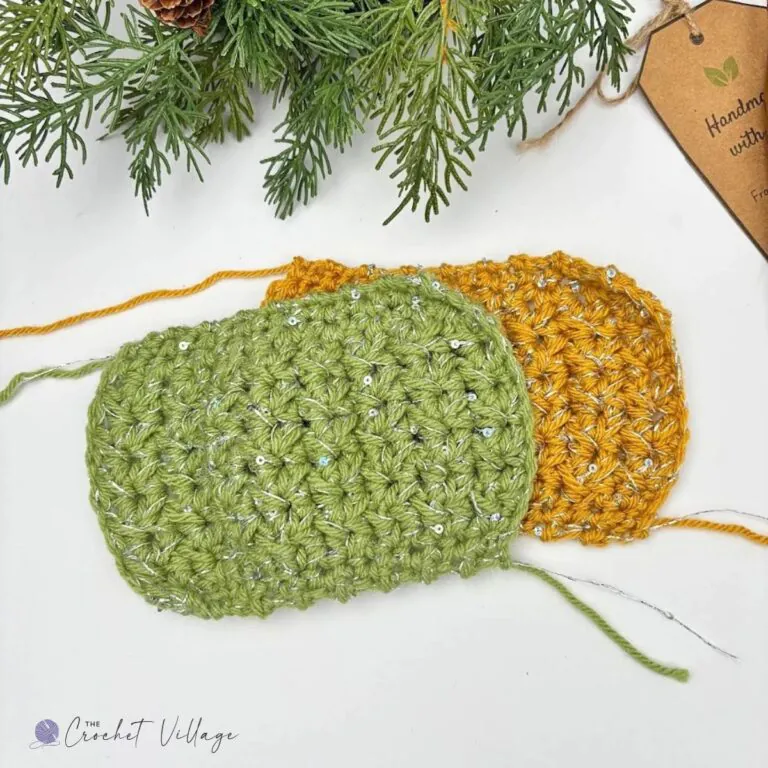
- Construction: The pattern is crocheted in rows to create a rectangular shape, then sewn around the plastic ornament.
- Sizes: The pattern is written for Small and Large ornaments measuring 3.25″ and 4″ in diameter.
- ADJUSTING THE SIZE: You can make this pattern using any yarn weight and customize it to fit any bauble size.
- Make an even number foundation chain that stretches from the center of the bauble’s bottom to its top opening. Stretch the chain slightly for a snug fit.
- Crochet a rectangle using the pattern.
- Continue until the rectangle wraps snugly around the bauble.
- Assemble and close the cover as instructed in the pattern
Step 1 – Crochet the Rectangle – Small Size
For a large ornament, make a foundation chain of 20 CH and crochet 20 rows following the same pattern as the small size, but work 3 SC in each edge instead of 2.
CH 16 to make a foundation chain.
Row 1: SC in the 2nd CH from the hook and in the next CH, YO, insert the hook in the next CH and pull up a loop, YO, skip the next CH, insert the hook in the next CH and pull up a loop, YO, and pull through all 5 loops on the hook, CH 1 to close the group;
*YO, insert the hook in the last CH worked and pull up a loop, YO, skip the next CH, insert the hook in the next CH and pull up a loop, YO and pull through all 5 loops on the hook, CH 1 to close the group; rep from * across until 2 CH remain, HDC in the last worked CH, SC in each of the last 2 CH, turn. You should have 2 SC, 5 groups, 1 HDC, 2 SC.
Row 2: SC in each of the first 2 STS, *YO, insert the hook in the next CH-1 SP and pull up a loop, YO, skip the next ST, insert the hook in the next CH-1 SP and pull up a loop, YO and pull through all 5 loops on the hook, CH 1 to close the group; rep from * across until 2 STS remain, HDC in the last worked CH-1 SP, SC in each of the last 2 STS, turn. You should have 2 SC, 5 groups, 1 HDC, 2 SC.
Rows 3-16: Repeat Row 2. At the end of the last row, cut the yarn, leaving about a 15″ long tail for sewing.
Step 2 – Assemble Your Ornament
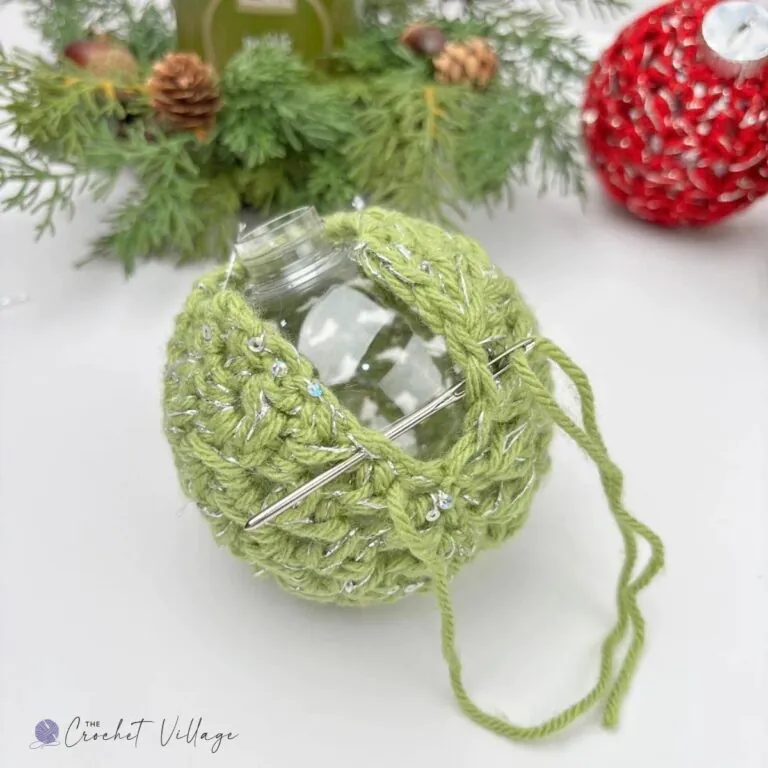
Close the bottom: Using a tapestry needle and the long tail, weave through the row-end STS along one short edge, one row at a time. When you reach the end, pull the yarn tight to close the bottom and secure it with a knot.
Seam the Side:
- Sew along the long side by grabbing one ST from the foundation chain and one ST from the last row, working halfway up.
- Remove the cap from the ornament, then insert the plastic ball into the crochet cover.
- Continue sewing to the top, then secure with a knot.
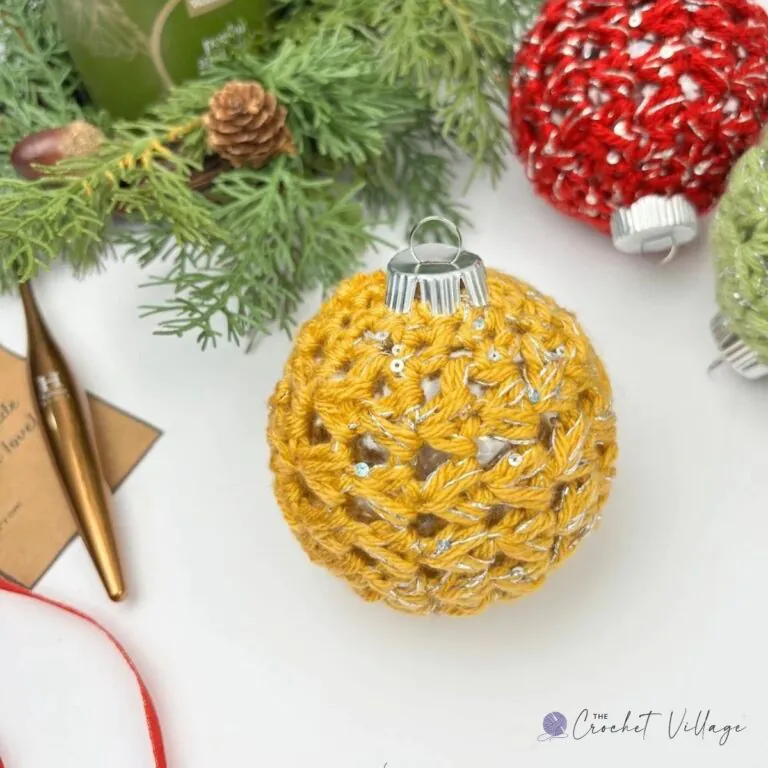
Close the Top: Thread the yarn through the row-end STS around the top opening. Pull tight to close around the neck of the ornament, then secure with a few knots.
Cut the yarn and weave in all ends. Replace the cap and embellish your ornament with a ribbon if desired.
I offer full support to help you with any questions or challenges you might have. Feel free to drop your comments in the section below or join our Facebook group, where I, along with my wonderful testers and community members, will be more than happy to assist you!


Can you please explain what “CH 1-sp” means in Row 2? I have looked at your abbreviations listing for this pattern, but did not see it listed.
Thank you in advance!
Hi Michelle! CH-1 sp means the chain-1 space from the previous row.