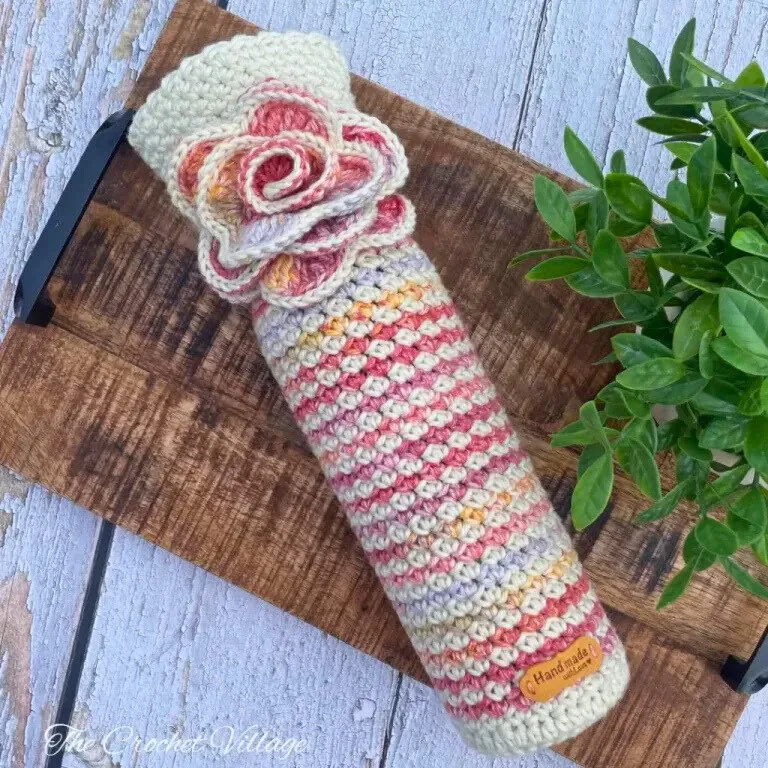
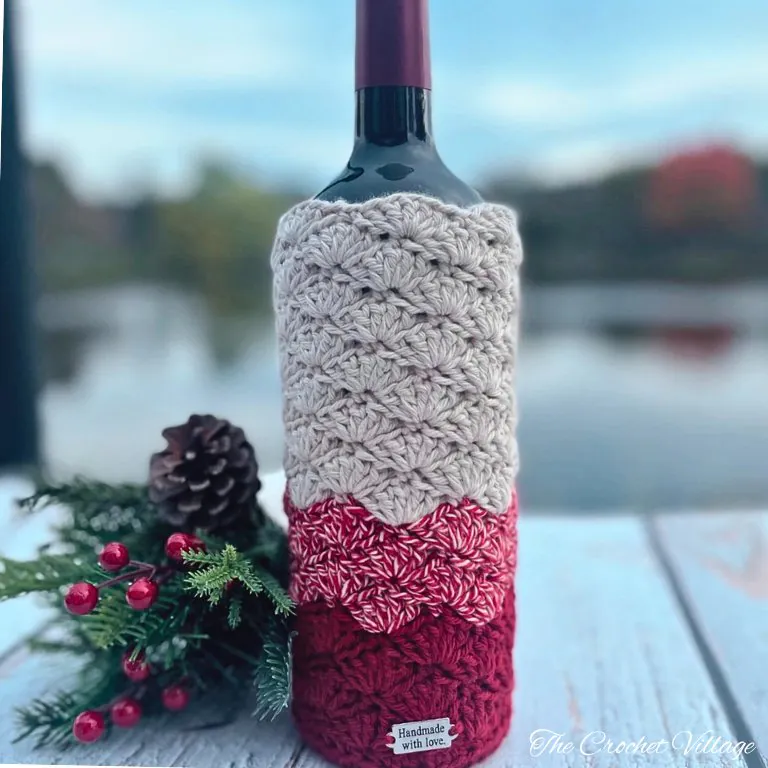
Discover the Noel Wine Cozy with its classic buffalo plaid design — the perfect Christmas gift for wine lovers🎄 Follow the step-by-step tutorial and use up leftover yarn for this quick and festive project.

Are you looking for the perfect Christmas crochet project that adds a touch of holiday charm to your table? Look no further than the Buffalo Plaid Wine Cover Free Crochet Pattern! This cozy wine holder is designed to bring festive flair to your gatherings or make a thoughtful, handmade gift for someone special.
In this free crochet pattern, I’ll walk you through every step to create this classic buffalo plaid wine cover. Not only is it a fun and easy project, but it’s also a great way to use up those leftover yarn scraps you have lying around. Let’s dive into this holiday project and create something beautiful together!
Keep reading to find the free pattern, or if you prefer a printable add-free PDF, you can find it on Etsy, Ravelry, and my online store!
Best Yarn Choice for the Buffalo Plaid Wine Cover
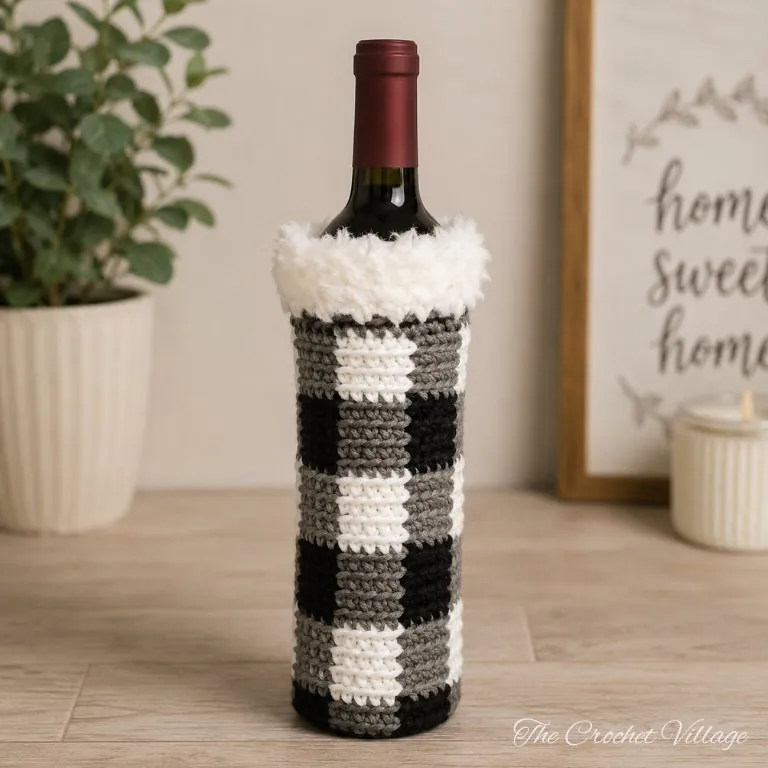
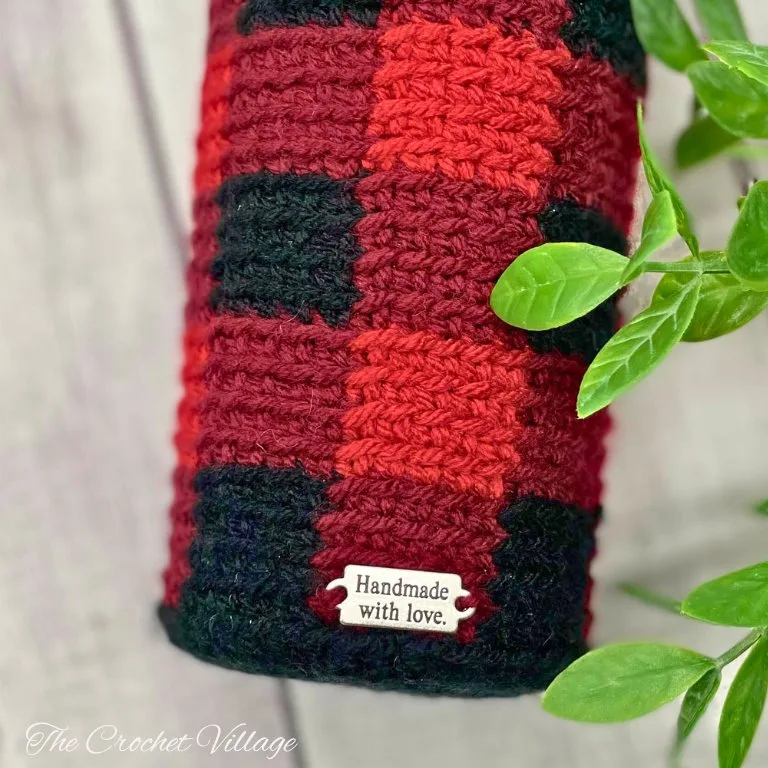
For this Buffalo Plaid Wine Cozy, I chose #4 medium worsted-weight yarn. I went with classic deep red, bright red, and black colors to bring the traditional buffalo check pattern to life, but the possibilities are endless! You could mix black, white, and grey for a chic, modern look, or even experiment with other bold color combinations to suit your personal style.
To give the cozy an extra touch of charm, I added a few yards of faux-fur yarn along the top edge. This fluffy detail finishes off the design beautifully, but if faux fur yarn isn’t available to you, don’t worry—crocheting the edging with your main yarn will still create a gorgeous result.
Prefer an ad-free printable PDF?
In this free Buffalo Plaid Wine Cozy pattern, I’ll guide you step by step through the entire process, including the materials you’ll need to bring this festive project to life. But if you prefer a more convenient option, the premium version is now available in all my shops!
For just a small fee, you’ll get an ad-free, printable format—no more endless scrolling. You can download it, save it, and come back to it whenever you’re ready!
Prefer A Printable PDF?
Treat yourself to the ad-free, beautifully formatted version of this design for a small fee!
Free Buffalo Plaid Wine Cover Pattern
Recommended Yarn
- I Love This Yarn, #4 worsted weight yarn, colors shown:
- Aubergine: Yarn A
- Black: Yarn B
- Cranberry: Yarn C
- Yarn Bee Truly Teddy White Yarn
Yardage: About 150 yd total
Yarn Substitution
Crochet Hooks
- (H) 5mm
- (K) 6.5mm for the fur border
Gauge: 4” square/ 5mm hook = 16 Rows x 13 SC BLO
Other Materials
- Tag: Metal tag
- Tapestry needle: to weave in ends.
Finished measurements: H=9.5” / W=4.5”
Abbreviations
- CH: Chain
- ST: Stitch
- SLST: Slip stitch
- SC: Single crochet
- BLO: Back loop only
- YO: Yarn over
- Rnd: Round
- Rep: Repeat
Pattern Notes
- This pattern is written in US terms.
- Skill level is intermediate.
- Keep your tension even.
Color changing ~ General information
- Before beginning this project, you will need to become familiar with color changes. This tutorial will guide you through the basic techniques. Read through this thoroughly and practice if needed. Watch this tutorial if needed.
- You will also need to get familiar with reading a chart. Watch here how to read a tapestry graph.
Introducing the contrast yarn
To begin, crochet with your working yarn as usual. When the pattern indicates, incorporate the contrast yarn even if its immediate use isn’t required:
- Insert your hook into the first single crochet back loop only.
- Add the contrast yarn, ensuring the crochet hook is positioned beneath.
- YO with the working yarn and pull up a loop.
- YO again and pull through the two loops on the hook.
- Continue crocheting, carrying the contrast yarn behind the stitches, crocheting over it, until it’s needed in the pattern.
Changing colors
When transitioning to Yarn B, begin by inserting your hook into the last stitch made with Yarn A. Pull up a loop with Yarn A, then YO with Yarn B. Finish the stitch by pulling through both loops with Yarn B. From here, proceed with crocheting using Yarn B, ensuring to keep Yarn A hidden behind the stitches until it’s required again in the pattern.
Special Stitches: Invisible slip stitch
To join the rows, you can use a SL ST and CH1, but for a perfect color transition and alignment of the rows, I recommend using the invisible slip stitch to join. Here’s how to do it:
- AT the end of the row, remove the hook and insert it into the back of the 1st ST of the row.
- Pull the working loop through to the inside of the tote.
- CH1 in the new color you’re using, continue crocheting.
- Watch here how to join with an invisible SL ST.
Free Crochet Buffalo Plaid Bottle Cover: Start Here
Step 1-Crochet the base
Use yarn B and a 5mm hook to make a magic circle, then,
Rnd 1: 8 HDC in the circle, join with a SL ST into the 1st HDC, CH1. (8)
Rnd 2: 2 HDC in each ST around, join with a SL ST into the 1st HDC, CH1. (16)
Rnd 3: * 2 HDC in next ST, HDC in next ST,* rep *to* around, join with a SL ST into the 1st HDC, CH1. (24)
Rnd 4: * 2HDC in next ST, HDC in next 2 ST,* rep *to* around, join with a SL ST into the 1st HDC, CH1. (32)
Rnd 5: *2 HDC in the next ST, HDC in the next 3 STs,* rep *to* around, join with an SL ST into the 1st HDC, CH1. (40). From now on, join all rounds with the invisible SL ST.
Close the magic circle by pulling the tail tight, secure with a couple of knots.
Step 2- Crochet the body
Rnd 6: Add yarn A here and carry it until you need to use it. *with yarn B, SC BLO in next 5 ST, change to yarn A. With yarn A, SC BLO in next 5 ST, change to yarn B*, rep *to* around, Join with invisible SL ST, CH 1 with yarn B.
Rnd 7- 9: Rep Rnd 6. Finish Rnd 9 with invisible SL ST into the 1st SC, CH1 with yarn A, drop yarn B.
Rnd 10: Add C here and carry it until you need to use it. *with yarn A, SC BLO in next 5 ST, change to yarn C. With yarn C, SC BLO in next 5 ST, change to yarn A*. Rep *to* around, join with invisible SL ST, CH 1 with yarn A.
To keep the inside of the tote neat, crochet over all the yarns behind your work in the 1st ST of each round.
Note:
- In each round, you will only use two yarns, while the third yarn will stay at the beginning of the round until it’s needed.
- When you’re ready to use the third yarn, simply drop the yarn you won’t be using next after joining the round. Then, CH1with the third yarn.
Rnd 11-13: Rep Rnd 10. Finish Rnd 13 with an invisible SL ST, CH1 with yarn B.
Rnd 14- 33: Rep Rnd 6-13
Rnd: 34: Yarn A. Crochet loosely. SC in each ST around, join with a SL ST, fasten off.
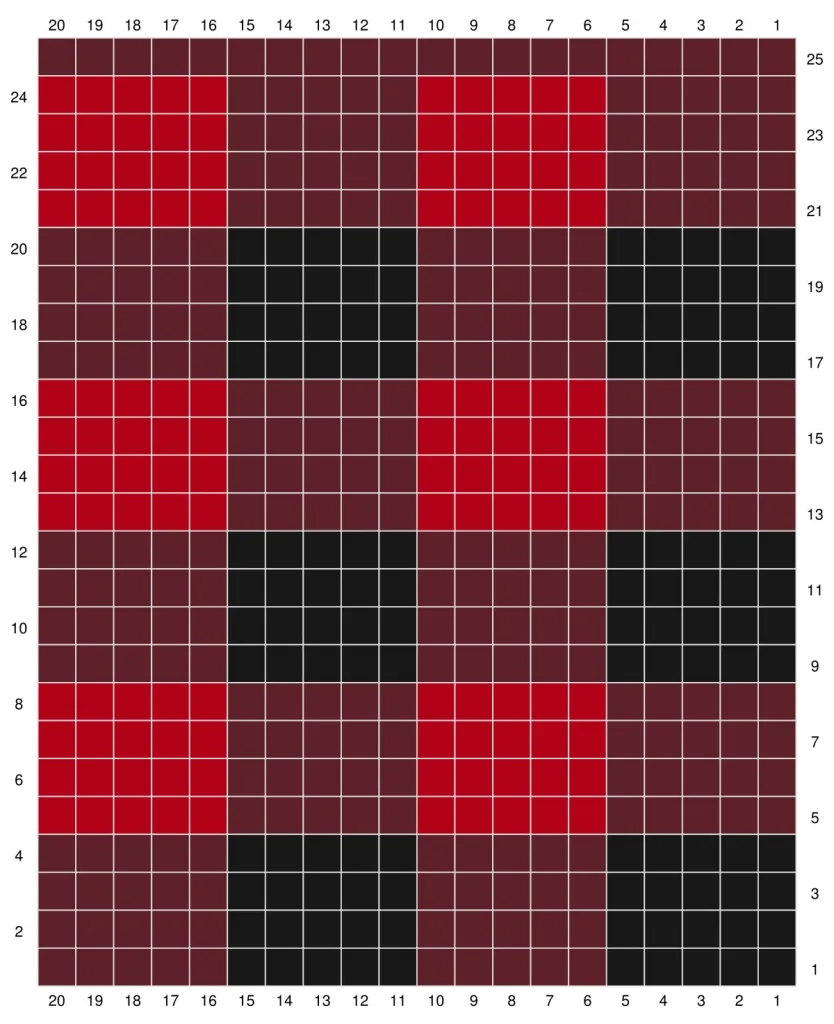
Step 3 – Finish the tote
To crochet the border, it’s very hard to see the stitches when you use a faux fur yarn, but you can easily feel them with your fingers (big holes). The border is made of 2 rounds of SC, crocheted continuously.
With a 6.5 mm hook and the faux fur yarn, SL ST into the last ST of the body,
Rnd 35: *SC in next ST, skip next 2 ST,* rep * to*around.
Rnd 36: SC in each ST around, ending with a SL ST in the last ST, fasten off.
Weave in all ends, attach the tag, and you are all done!
I offer full support to help you with any questions or challenges you might have. Feel free to drop your comments in the section below or join our Facebook group, where I, along with my wonderful testers and community members, will be more than happy to assist you!