Looking for a free crochet circle bag pattern that’s firm and sturdy? The Mystic Bag is here! Easy to make, beginner-friendly, and most importantly, firm and functional. This step-by-step free tutorial will guide you through crafting a functional, boho-style round bag that’s perfect for carrying all your essentials with ease and style.

I’m so excited to share with you this Free Crochet Round Bag Pattern – the Mystic Bag! This easy, beginner-friendly tutorial will guide you step-by-step in creating a sturdy and functional circle bag. Whether you prefer a shoulder purse or a crossbody style, this bag has you covered for all your summer adventures.
For this project, I used a gorgeous variegated yarn that gives off the perfect boho vibe, making it an ideal crochet project for those relaxed summer days. The bag’s panels are reinforced for extra sturdiness and durability, so you can carry all your essentials with ease.
I love how this crochet circle purse turned out, and I’m sure you will too! Ready to make your own? Let’s dive in.
Related: How to prevent your crochet bag from stretching. Crochet bag collection.
Keep reading to find the free pattern, or if you prefer a printable add-free PDF, you can find it on Etsy, Ravelry, and my online store!

The Best Yarn for this Circle Purse Crochet Pattern
I usually choose cotton yarn for bags to avoid stretching, but for the Mystic Bag, I couldn’t resist using this beautiful variegated acrylic yarn with bold, rich tones that give this boho summer crochet bag a unique, stunning look.
I used I Love This Yarn in Royal Gorge, and I’m obsessed! I’ve used it in other projects like my Amber Sweater and Jolly Ornament—this colorway looks amazing in every design.
Since we reinforce the bag with fabric interfacing and add a lining, acrylic yarn works perfectly for this beginner-friendly project—no worries about stretching! I’ll guide you step-by-step to make a sturdy, functional round purse with acrylic yarn you’ll love.
Free Crochet Round Bag Pattern: Start Here
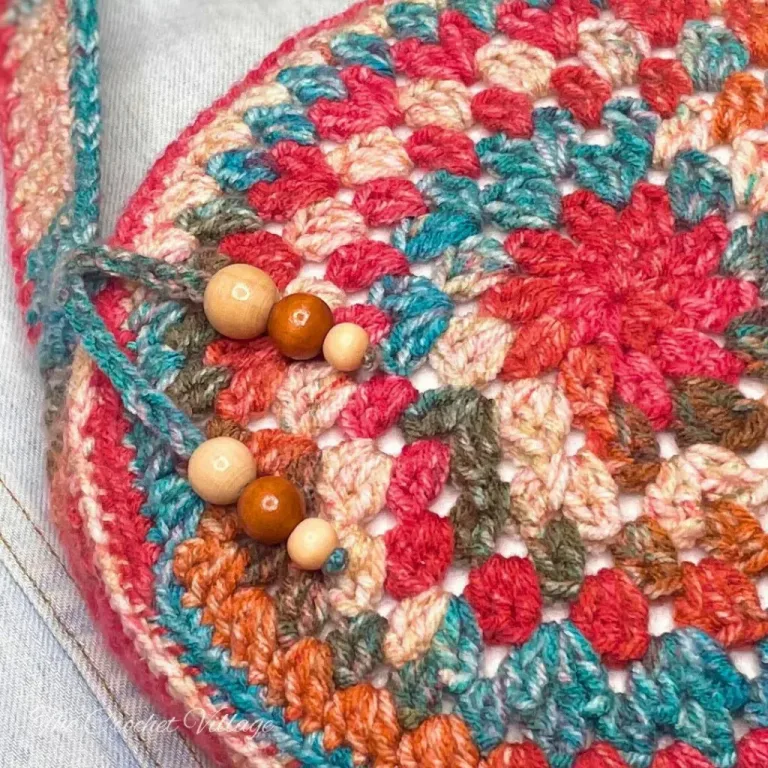
Recommended Yarn: I Love This Yarn, #4 worsted weight yarn. Color shown: Royal Gorge.
Yardage: About 252 yards (1 skein)
Yarn Substitution
Crochet Hook: G/4 mm hook
Gauge: 4”square = 8 rows and 15 DC
Finished Dimensions: 9” in diameter
Materials
- Fabric Glue
- Fabric for lining
- Fabric interfacing (stabilizer)
- 2 Magnet snaps
- Wooden beads
- Faux Leather label tag
- Tapestry needle: to weave in ends.
- Thread and darning needle: to sew the fabric.
- Stitch markers
Abbreviations
- CH: Chain
- ST: Stitch
- SL ST: Slip stitch
- SC: Single crochet
- DC: Double crochet
- YO: Yarn over
- SP: Space
- Rnd: Round
- Rep: Repeat
Pattern notes
- This pattern is written in US terms.
- The skill level is easy.
- The bag consists of two crocheted circles (the panels) and a long crossbody strap that wraps around them.
- Lining the bag is highly recommended to improve its functionality and prevent stretching. The process is easy and only requires basic hand sewing skills.
- For sturdiness and functionality, I suggest using fabric stabilizer (interfacing), details further.
- To close the small bag, I used magnetic snaps.
free Crochet Round Bag Pattern
You can make the Mystic Bag using the free version of the pattern—just scroll down for the full materials list and step-by-step instructions.
If you’d rather have a printable, ad-free version with extra guidance, the premium PDF is available for a small fee in all my shops (links below). It includes step-by-step photos, a full photo tutorial for lining the bag, helpful tips, and more—extras that aren’t included in the free version.
Prefer A Printable PDF?
Treat yourself to the ad-free, beautifully formatted version of this design for a small fee!
Step 1 – Crochet the Panels (make 2)
Rnd 1: CH4, SL ST into the 1st CH to make a circle. CH 3 (counts as a DC), 9 DC in the circle, join with a SL ST into the top CH3, CH1. (10)
Rnd 2: CH3 (counts as a DC), DC in last CH1 sp,*CH1, 2DC in next ST*, rep *to* around, join with a SL ST into the top CH3, CH1. (10- 2DC clusters).
Rnd 3: CH3 (counts as a DC), 2DC in last CH1 sp,*CH1, 3DC in next CH1 sp*, rep *to* around, join with a SL ST into the top CH3, CH1. (10-3DC clusters).
Rnd 4: CH3 (counts as a DC), (DC, CH1, 2DC) in last CH1 sp,*CH1, (2DC, CH1, 2DC) in next CH1 sp*, rep *to*, join with a SL ST into the top CH3, CH1. (10-[2DC, CH1, 2DC] clusters).
Rnd 5: CH3 (counts as a DC), DC in last CH1 sp,*CH1, 2DC in next CH1 sp*, rep *to* around, join with a SL ST into the top CH3, CH1. (20- 2DC clusters)
Rnd 6-7: Repeat Rnd 3-4. (20 clusters)
Rnd 8: Repeat Rnd 5. (40- 2DC clusters)
Rnd 9: CH3 (counts as a DC), 2DC in last CH1 sp,*3DC in next CH1 sp*, rep*to*, join with a SL ST into the top CH3, CH1. (40- 3DC clusters)
Rnd 10: SC in every ST around, join with a SL ST, then fasten off. (120)
Note: Depending on your tension or the type of yarn used, the panel may become slightly wavy at the end. No worries; it will flatten out after blocking.
Step 2 – Crochet the strap (about 54” long)
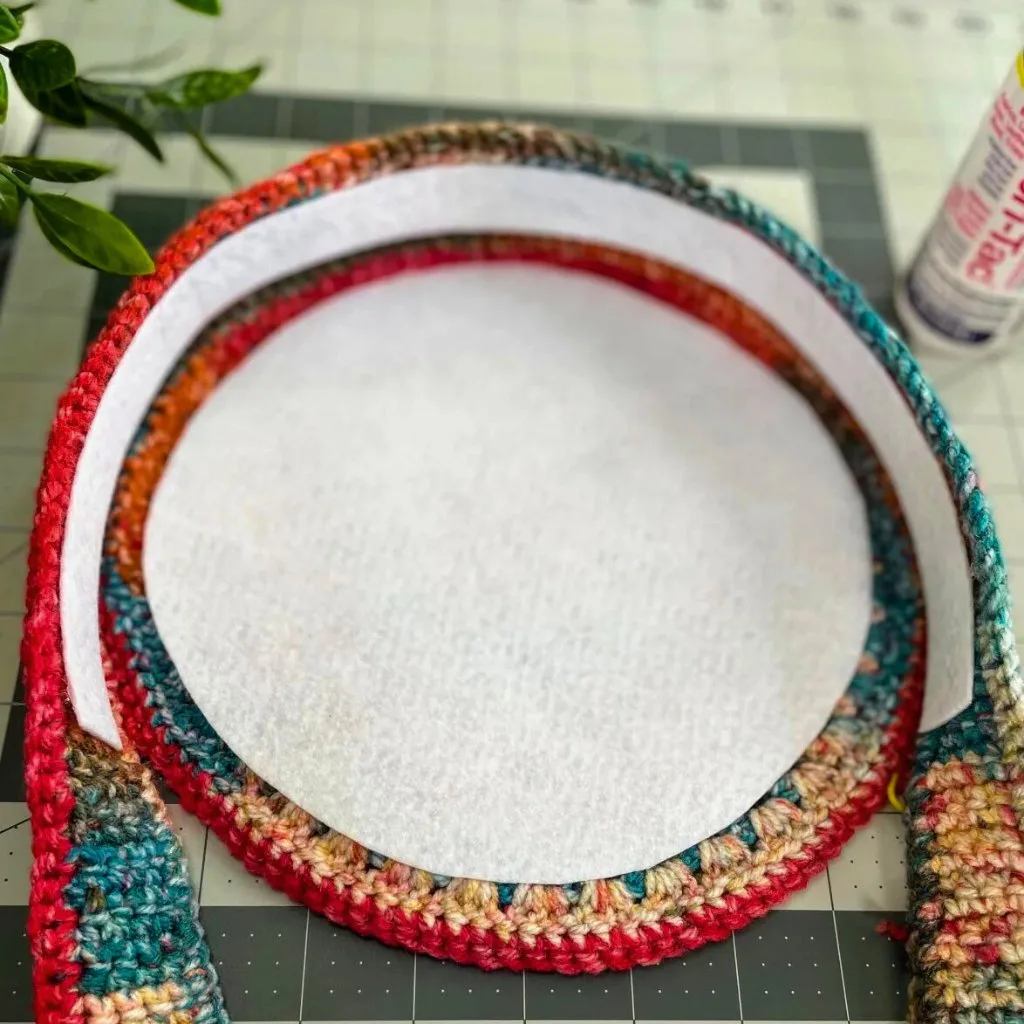
Step 6 – Line the panels and strap
This step is for those with limited sewing skills. You’ll line the panels and strap separately before assembling the bag. You can choose to line your bag after assembling it, if you prefer.
- Lay your fabric on a flat surface.
- Place your panels and strap them on top of the fabric.
- Secure them with pins to hold them in place.
- Trace around the panels and strap, leaving about a 1/2-inch margin.
- Carefully cut around the traced lines.
- Place the fabric you cut on top of the wrong side of the panel (the side with the stabilizer), ensuring the right side of the fabric is facing up.
- Secure the fabric with a few pins to hold it in place.
- Fold the fabric approximately 1/2 inch all the way around the panel, securing it with pins as you go.
- Hand sew the fabric onto the panels and strap all the way around, leaving a 1/4-inch margin.
Note: Feel free to line your bag at the very end. Watch here how to line a round bag.
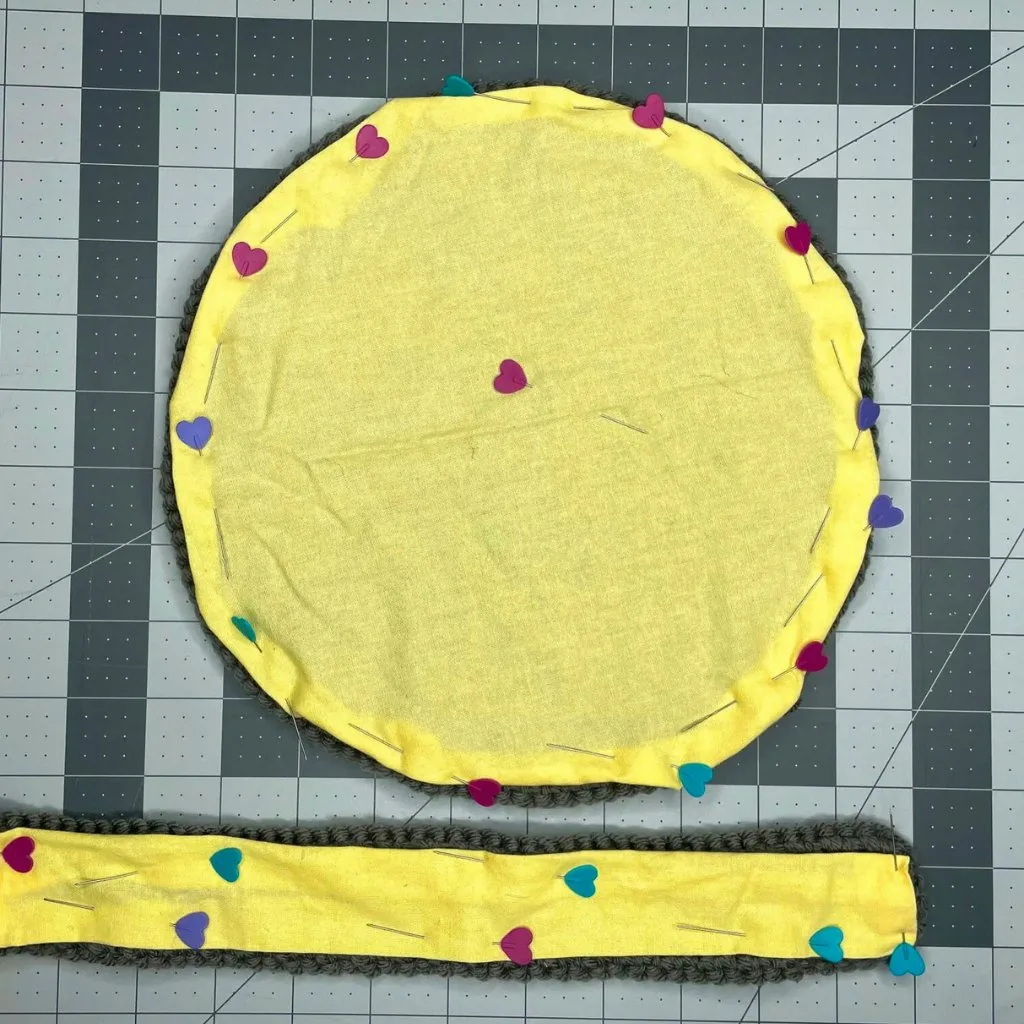
Step 7 – Assemble the bag
- With the right side of the front panel facing out, mark the opening of the bag by placing two stitch markers 30 stitches apart at the top of the panel.
- Place a 3rd stitch marker at the bottom, 45 stitches from the top stitch markers.
- Use a pin to attach the middle of the strap to the 3rd stitch marker.
- Pin the strap to the panel all the way up on both sides to the marked stitches.
- Using a tapestry needle and yarn, sew the strap to the panel one stitch at a time, from the top right stitch marker all the way to the top left stitch marker, working through the back loops only. Grab one stitch from the panel and the opposite stitch from the strap. Fasten off.
- Attach the strap to the back panel following the same method used for the front panel.
- Weave in all ends, and you are all done!
I offer full support to help you with any questions or challenges you might have. Feel free to drop your comments in the section below or join our Facebook group, where I, along with my wonderful testers and community members, will be more than happy to assist you!